Let me tell you, the sweet, tangy scent of fresh raspberries mingling with a hint of vanilla and a whisper of honey bubbling on the stove is enough to make anyone’s mouth water. The first time I made these easy homemade raspberry gummies, I was instantly hooked. It was one of those rare moments where I paused, took a deep breath, and just smiled because I knew I’d stumbled onto something truly special. Honestly, when I was knee-high to a grasshopper, my grandma used to make homemade treats that felt like pure magic, and this recipe brings back that same cozy, nostalgic comfort.
I first whipped up these gummies on a rainy weekend, aiming to recreate a childhood favorite without all the store-bought junk. My family couldn’t stop sneaking them off the cooling rack (and I can’t really blame them). Let’s face it, gummies are dangerously easy to love, and these are perfect for brightening up your kids’ lunchboxes, impressing friends at potlucks, or just treating yourself to a sweet bite without the guilt. You know what? After testing this recipe multiple times (in the name of research, of course), it’s become a staple for family gatherings and little gift bags. This one’s definitely a keeper you’re going to want to bookmark!
Why You’ll Love This Recipe
Let me share a few reasons why this easy homemade raspberry gummies recipe should be your new go-to sweet treat:
- Quick & Easy: Comes together in under 30 minutes, perfect for busy days or last-minute cravings.
- Simple Ingredients: No fancy trips to specialty stores—just pantry staples and fresh raspberries.
- Perfect for Any Occasion: Great for kids’ snacks, weekend parties, or a fun DIY project with friends.
- Crowd-Pleaser: Kids and adults alike rave about the natural fruity flavor and chewy texture.
- Unbelievably Delicious: The balance of sweet and tart, with just the right bounce, is pure, nostalgic comfort.
What sets this recipe apart? It’s the little tricks—like using gelatin for that perfect chew and honey to naturally sweeten without overpowering the raspberry’s bright flavor. Plus, blending the raspberries to a smooth puree gives these gummies a silky texture that’s honestly hard to beat. This isn’t just any gummy; it’s your best homemade version, a treat that feels wholesome but still indulgent.
This recipe isn’t just tasty—it’s the kind of treat that makes you close your eyes after the first bite and smile. It’s comfort food reimagined: healthier, faster, and with that same soul-soothing satisfaction. Whether you want to impress guests without stress or simply crave a sweet fix, these raspberry gummies have your back.
What Ingredients You Will Need
This easy homemade raspberry gummies recipe uses simple, wholesome ingredients to deliver bold flavor and satisfying texture without the fuss. Most are pantry staples, with fresh raspberries adding that seasonal pop.
- Fresh Raspberries (about 2 cups / 300 grams) – the star of the show, bursting with natural tartness
- Unflavored Gelatin Powder (4 tablespoons / 40 grams) – for that perfect chewy texture (I like Knox brand for consistency)
- Honey (1/3 cup / 113 grams) – adds natural sweetness and a lovely depth (feel free to swap for maple syrup)
- Water (1 cup / 240 ml) – helps dissolve the gelatin and blend everything nicely
- Lemon Juice (1 tablespoon / 15 ml) – a little brightness to balance the sweetness
- Vanilla Extract (1 teaspoon / 5 ml) – optional, but it adds a lovely warm note
If fresh raspberries aren’t in season, frozen ones work just fine—just thaw and strain them well to avoid watery gummies. For a vegan alternative, agar-agar can be used, but keep in mind the texture will be a bit different (firmer, less chewy). Also, if you prefer less sweet gummies, reduce the honey by a tablespoon or two.
Equipment Needed
- Medium Saucepan: For gently heating your mixture without scorching.
- Blender or Food Processor: To puree the raspberries smooth (I use a trusty Ninja blender).
- Fine Mesh Sieve: Essential for straining out seeds and getting a silky gummy base.
- Silicone Gummy Molds or Small Baking Dish: Molds give cute shapes, but a lined dish works too.
- Measuring Cups and Spoons: Accuracy is key for gelatin.
- Whisk or Spoon: For stirring the mixture smoothly.
If you don’t have silicone molds, you can cut the set gummy sheet into fun shapes with a knife or cookie cutters. For cleaning gelatin residue, soaking your utensils in hot water helps tremendously. I keep a set of inexpensive molds on hand for different treats; they’re a fun investment and last forever.
Preparation Method
- Puree the Raspberries: Place 2 cups (300g) of fresh or thawed raspberries into your blender. Blend until smooth, about 30 seconds. Pour the puree through a fine mesh sieve into a bowl, pressing gently to extract as much juice as possible. This step removes seeds for a silky texture—don’t skip it! (Prep time: 10 minutes)
- Bloom the Gelatin: In a medium saucepan, pour 1 cup (240 ml) of water and sprinkle 4 tablespoons (40g) of unflavored gelatin evenly over the surface. Let it sit for 5 minutes to bloom. You’ll notice the gelatin absorbs water and thickens—that’s the magic starting.
- Heat and Sweeten: Gently warm the bloomed gelatin over low heat, whisking constantly until completely dissolved and smooth. Avoid boiling, which kills gelatin’s setting power. Stir in 1/3 cup (113g) honey, 1 tablespoon (15ml) lemon juice, and 1 teaspoon (5ml) vanilla extract (if using). Mix until combined and fragrant. (Cooking time: 5 minutes)
- Combine Raspberry Juice: Remove the saucepan from heat and carefully whisk in the strained raspberry puree. Give it a taste—if it’s too tart, add a touch more honey. The mixture should be smooth, shiny, and pourable.
- Pour and Set: Pour the mixture evenly into silicone molds or a parchment-lined baking dish. Let it cool at room temperature for 10 minutes, then transfer to the refrigerator. Chill for at least 2 hours or until fully set and firm to the touch. Once set, pop gummies out of molds or cut into bite-sized squares from the dish. Store in an airtight container. (Setting time: 2+ hours)
Pro tip: If your gummies don’t set after refrigeration, it might mean the gelatin was overheated or expired—always check your gelatin package date! Also, avoid adding fresh fruit directly to the mixture; it can interfere with setting.
Cooking Tips & Techniques
Honestly, making gummies at home feels fancy but is pretty straightforward once you know the tricks. Here’s what I’ve learned from a few gummy-making mishaps:
- Blooming gelatin: This step is crucial. Never skip or rush it. Let the gelatin absorb water fully before heating.
- Low and slow heat: Gelatin hates boiling. Keep the heat gentle so it dissolves without losing its gelling power.
- Strain the puree: Seeds can mess with the texture and mouthfeel. A fine mesh sieve makes a world of difference.
- Don’t add fresh fruit chunks: They can disrupt setting and cause uneven texture.
- Timing matters: Pour your mixture while warm but not hot. If it cools too much, it starts to set in the pot—nobody wants a gummy mess!
- Work fast: Once combined, get your mix into molds quickly before it firms up.
Multitasking helps—prepare your molds before starting so they’re ready. And if you want consistent gummies, use a kitchen scale for your ingredients. Trust me, it’s worth the extra precision!
Variations & Adaptations
The great thing about this easy homemade raspberry gummies recipe is how versatile it can be. Here are some variations I’ve played around with:
- Flavor Swap: Try swapping raspberries with fresh strawberries, blueberries, or blackberries. Each berry brings its own twist of sweetness and tartness.
- Vegan Version: Use agar-agar powder instead of gelatin. The texture will be a bit firmer and less bouncy but still delicious.
- Added Boost: Stir in a teaspoon of vitamin C powder or a splash of fresh orange juice for a tangy twist and a health boost.
- Sugar-Free: Replace honey with a sugar-free syrup or omit sweetener altogether for a more tart gummy.
- Spiced Gummies: Add a pinch of cinnamon or a drop of rose water for an unexpected flavor note.
Personally, I once made a batch with fresh mint leaves steeped in the water before mixing—it came out wonderfully refreshing and perfect for summer snacking. Feel free to experiment and find your favorite twist!
Serving & Storage Suggestions
Serve these easy homemade raspberry gummies chilled or at room temperature. They’re perfect little bites for snack time, lunchboxes, or party favors. For a fun presentation, toss them in a little granulated sugar or coconut flakes to keep them from sticking.
Pair them with a warm cup of herbal tea or sparkling water with a slice of lemon for a refreshing treat. They also make cute additions to dessert boards or gift jars for friends and neighbors.
Store gummies in an airtight container in the refrigerator for up to 1 week. For longer storage, freeze them in a single layer on wax paper, then transfer to a freezer bag. Thaw in the fridge before enjoying. Keep in mind that refrigeration firms them up nicely, but they soften a bit at room temperature—flavor deepens after a day or two, so patience pays off.
Nutritional Information & Benefits
Each gummy is roughly 30 calories, depending on size. This recipe is free from artificial colors, flavors, and preservatives, using natural ingredients you can feel good about. Raspberries bring antioxidants and vitamin C, while honey offers gentle sweetness and antimicrobial properties.
These gummies are gluten-free and can easily be made vegan with agar-agar. They’re a better alternative to store-bought candies loaded with corn syrup and additives. From a wellness perspective, these little treats satisfy sweet cravings without guilt, making them a smart snack option for kids and adults alike.
Conclusion
So, why not give this easy homemade raspberry gummies recipe a try? It’s a simple, fun way to enjoy a sweet treat made from scratch, with fresh ingredients you can trust. Plus, it’s customizable to fit your tastes and dietary needs. I love this recipe because it brings back that warm, fuzzy feeling of homemade goodness—something you don’t find in the candy aisle.
Go ahead, make a batch, and share how you personalized it! I’d love to hear your tweaks, tips, or even gummy success stories in the comments. Remember, cooking should be joyful, so have fun with it and enjoy every chewy, fruity bite. Happy gummy making!
Frequently Asked Questions
Can I use frozen raspberries for this recipe?
Yes! Frozen raspberries work well. Just thaw them completely and strain out the seeds as you would with fresh berries to keep the texture smooth.
How long do homemade gummies last?
Stored in an airtight container in the fridge, they last up to one week. You can freeze them for longer storage, but thaw in the fridge before eating.
What if I don’t have silicone molds?
No worries! Pour the mixture into a parchment-lined baking dish, chill until set, then cut into squares or fun shapes with cookie cutters.
Can I make these gummies vegan?
Absolutely. Substitute gelatin with agar-agar powder. Keep in mind the texture will be firmer and less chewy.
Why didn’t my gummies set properly?
Common reasons include overheating the gelatin, using expired gelatin, or skipping the blooming step. Make sure to follow the steps carefully and avoid boiling the mixture.
Pin This Recipe!
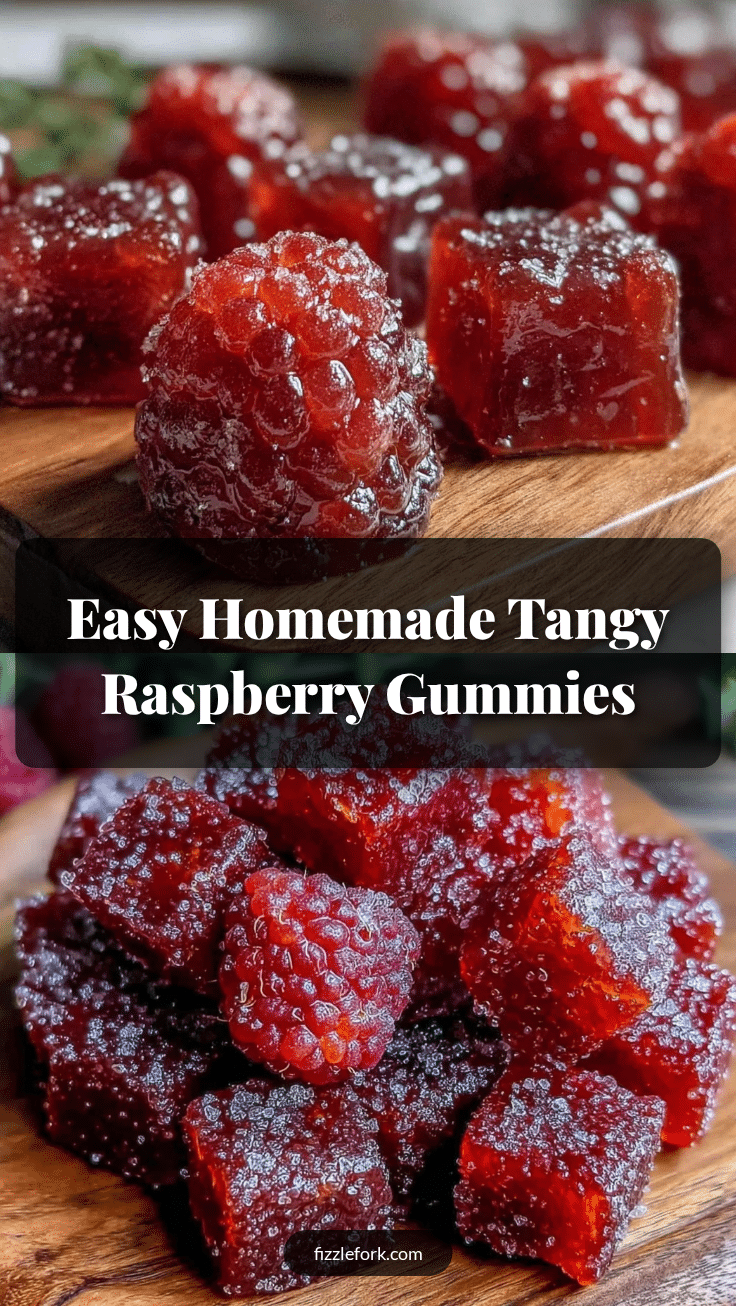
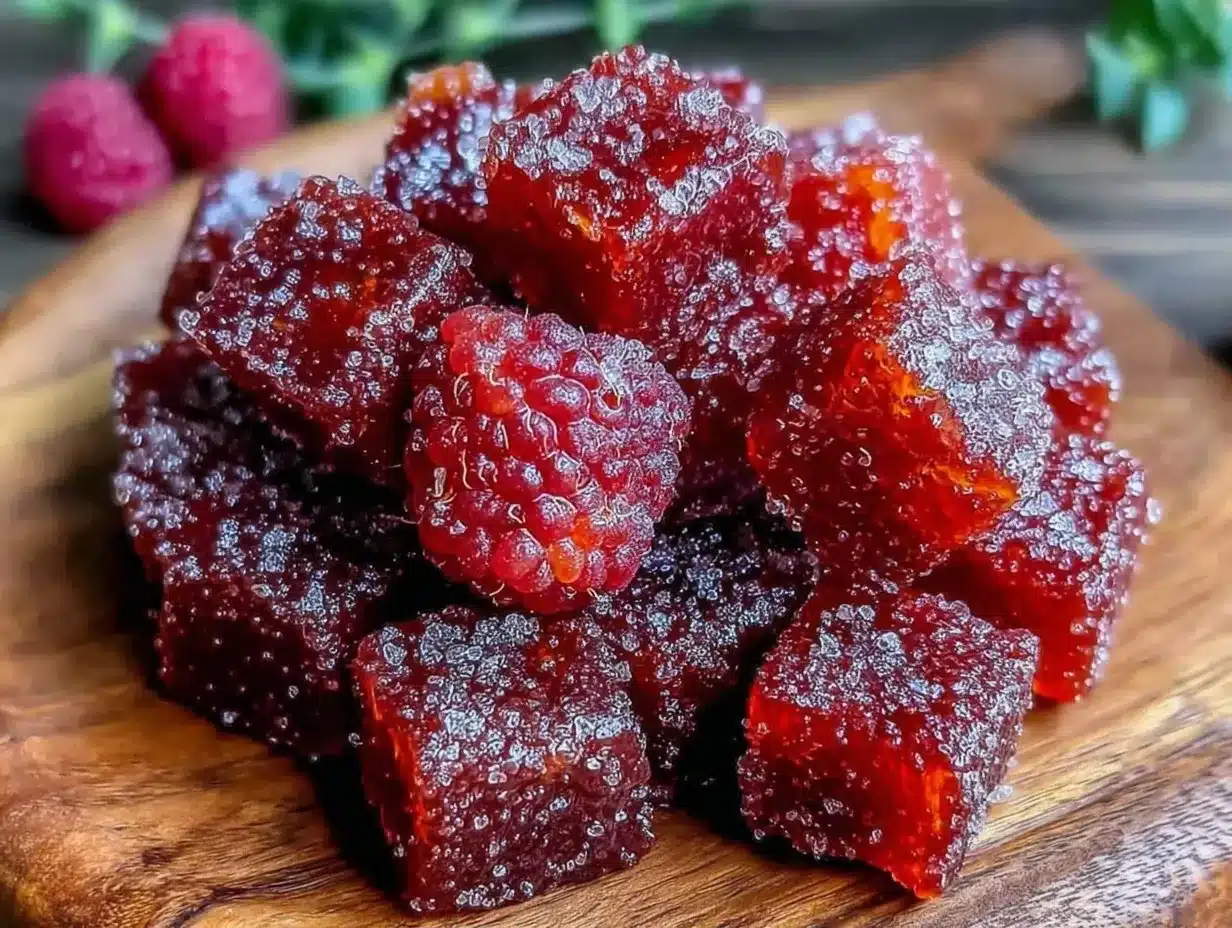
Easy Homemade Raspberry Gummies
A quick and simple recipe for homemade raspberry gummies using fresh raspberries, gelatin, and honey for a natural, chewy treat perfect for snacks and parties.
- Prep Time: 10 minutes
- Cook Time: 5 minutes
- Total Time: 2 hours 15 minutes
- Yield: About 20 gummies 1x
- Category: Snack
- Cuisine: American
Ingredients
- 2 cups (300 grams) fresh raspberries
- 4 tablespoons (40 grams) unflavored gelatin powder
- 1/3 cup (113 grams) honey
- 1 cup (240 ml) water
- 1 tablespoon (15 ml) lemon juice
- 1 teaspoon (5 ml) vanilla extract (optional)
Instructions
- Puree the raspberries in a blender until smooth, about 30 seconds. Strain through a fine mesh sieve to remove seeds and collect the juice.
- In a medium saucepan, pour 1 cup of water and sprinkle 4 tablespoons of gelatin evenly over the surface. Let it sit for 5 minutes to bloom.
- Gently warm the bloomed gelatin over low heat, whisking constantly until completely dissolved. Avoid boiling. Stir in honey, lemon juice, and vanilla extract until combined.
- Remove from heat and whisk in the strained raspberry puree. Taste and add more honey if desired.
- Pour mixture into silicone molds or a parchment-lined baking dish. Let cool at room temperature for 10 minutes, then refrigerate for at least 2 hours until set. Remove from molds or cut into squares and store in an airtight container.
Notes
Do not boil the gelatin mixture to preserve its setting power. Bloom gelatin fully before heating. Strain raspberry puree to remove seeds for smooth texture. Work quickly when pouring mixture into molds to avoid premature setting. For vegan option, substitute gelatin with agar-agar powder but expect firmer texture.
Nutrition
- Serving Size: 1 gummy
- Calories: 30
- Sugar: 7
- Sodium: 5
- Carbohydrates: 8
- Fiber: 1
- Protein: 1
Keywords: raspberry gummies, homemade gummies, easy gummies recipe, healthy gummies, gelatin gummies, kids snacks, natural sweets