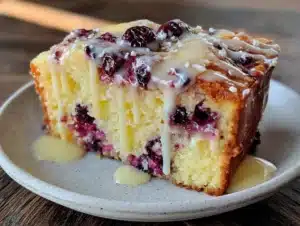
The office holiday party was in 24 hours and I had completely forgotten. Everyone else would be bringing elaborate cookie platters, homemade fudge, and those fancy little tartlets that look like they belong in a bakery window. I had a box of stale snack cake crumbs at the bottom of my pantry and a block of cream cheese that was about to expire. Let me tell you, the panic was real. I mean, I actually stood in my kitchen with the fridge door open, hoping a fully-formed dessert would just appear.
Then I spotted the green food coloring in the back of the spice cabinet. And honestly, a slightly unhinged idea started forming. What if I just… smashed up what I had? Made it look like something? The Christmas party was the next day—there was no time for baking, no time for a grocery run, and definitely no time for dignity. So I grabbed that snack cake, some cream cheese, and powdered sugar, and started winging it.
The result was this ridiculous, glorious, surprisingly beautiful Festive Christmas Tree Snack Cake Dip. It looked like a little Christmas tree on a plate. People went absolutely nuts for it. They asked for the recipe. They asked if I’d cater their parties. I stood there with a spatula in my hand, sheepishly admitting I’d thrown it together in ten minutes flat. That’s the thing about this dip—it looks like you tried so hard, but you really, really didn’t. And maybe you’ve been there, staring at your pantry and wondering how to turn nothing into something. This is that something.
Why You’ll Love This Recipe
This isn’t just another dessert dip. It’s the one that saves your holiday sanity. Here’s why it works so well:
- No-Bake & Ready in 10 Minutes : You don’t even turn on the oven. Just mix, shape, and decorate. Perfect for when you’re running late or the kids are bouncing off the walls.
- Simple Ingredients : Snack cakes, cream cheese, and powdered sugar are all you need for the base. You probably have them right now.
- Perfect for Holiday Parties : It looks like a centerpiece but eats like a fun, shareable dip. Kids love it, adults sneak seconds.
- Crowd-Pleaser : I’ve brought this to three different gatherings now, and every single time, someone asks for the recipe. It’s that kind of dip.
- Unbelievably Delicious : The creamy, sweet texture paired with the crumbly cake bits is pure comfort. It tastes like a holiday hug in dip form.
What makes this version different? It’s the texture. Most cake dips are either too runny or too thick. I figured out the perfect ratio of cream cheese to cake crumbs to get that scoopable, spreadable consistency that holds its shape. Plus, shaping it into a Christmas tree isn’t just cute—it makes the whole experience more fun. You’re not just serving dip; you’re serving a moment.
This is the kind of recipe that makes you close your eyes after the first bite. It’s sweet, creamy, and just nostalgic enough to feel like the holidays. Perfect for impressing guests without any of the stress. Honestly, it might become your new holiday tradition.
What Ingredients You Will Need
This recipe uses simple, pantry-friendly ingredients to create something that looks way more complicated than it is. Most of these are staples during the holiday season anyway.
- 1 box (about 10 oz) of snack cake crumbs – I use store-brand vanilla or lemon snack cakes. You can also use leftover pound cake or even plain yellow cake. The key is that they’re soft and slightly sweet. (Pro tip: let them sit out for a few hours so they get a little stale—it helps the texture.)
- 8 oz cream cheese, softened – Full-fat cream cheese gives the best creamy, stable texture. Low-fat works too, but the dip will be a bit softer. Let it sit on the counter for 30 minutes before mixing.
- 1/2 cup powdered sugar – This sweetens the dip without making it grainy. Sift it if you have the time, but honestly, I never do.
- 1 teaspoon vanilla extract – Pure vanilla adds warmth. Imitation is fine in a pinch.
- Green food coloring – Gel food coloring works best because it doesn’t thin the dip. I like the Wilton brand for vibrant color without extra liquid.
- For decoration: Small star-shaped cookie or cracker, sprinkles, mini candies, or even a pretzel stick for the trunk. Get creative with what you have.
For the dipping, you can use graham crackers, pretzels, vanilla wafers, or even apple slices. The salty-sweet combo from pretzels is especially good if you ask me.
If you want to make this gluten-free, just use gluten-free snack cakes. There are some good ones out there now. For a dairy-free version, swap the cream cheese for a plant-based block-style cream cheese—just make sure it’s the kind that firms up when chilled.
Equipment Needed
You don’t need much for this recipe. That’s part of the charm.
- Mixing bowl – A medium-sized bowl works fine. I use a glass one so I can see the color as I mix.
- Hand mixer or stand mixer – A hand mixer is perfect here. You could use a wooden spoon, but your arm will get tired. Trust me, I’ve tried.
- Spatula – For scraping down the sides and shaping the dip. A silicone one is best.
- Serving platter or cutting board – A flat surface is key for shaping the tree. A wooden board or a white platter looks great for photos.
- Piping bag or zip-top bag – For the star on top. You can just spoon it on, but piping looks cleaner.
- Small star cookie cutter – Optional, but makes the star on top look perfect. I use a tiny one from a set I got at the dollar store.
If you don’t have a piping bag, just snip the corner of a zip-top bag. It works exactly the same and costs nothing.
Preparation Method
- Crush the snack cakes (2 minutes) – Open the box and crumble the snack cakes into a bowl. You want small, even crumbs—about the size of breadcrumbs. Don’t pulverize them into dust; a little texture is good. I use my hands, but you can also use a food processor if you’re in a hurry. Set aside about 1/4 cup of the crumbs for later, if you want to sprinkle some on top.
- Make the cream cheese base (3 minutes) – In a separate mixing bowl, beat the softened cream cheese with the powdered sugar and vanilla extract until smooth and fluffy. Scrape down the sides once or twice. This should take about 2 minutes with a hand mixer on medium speed.
- Add the cake crumbs (1 minute) – Add the snack cake crumbs to the cream cheese mixture. Mix on low speed until just combined. Don’t overmix, or the dip will get too dense. You want some little pockets of cake visible.
- Color it green (1 minute) – Add a few drops of green gel food coloring. Mix until the color is even. Start with a small amount—you can always add more. I usually do 4-5 drops for a nice tree green. If it gets too dark, add a tiny bit of white food coloring to lighten it.
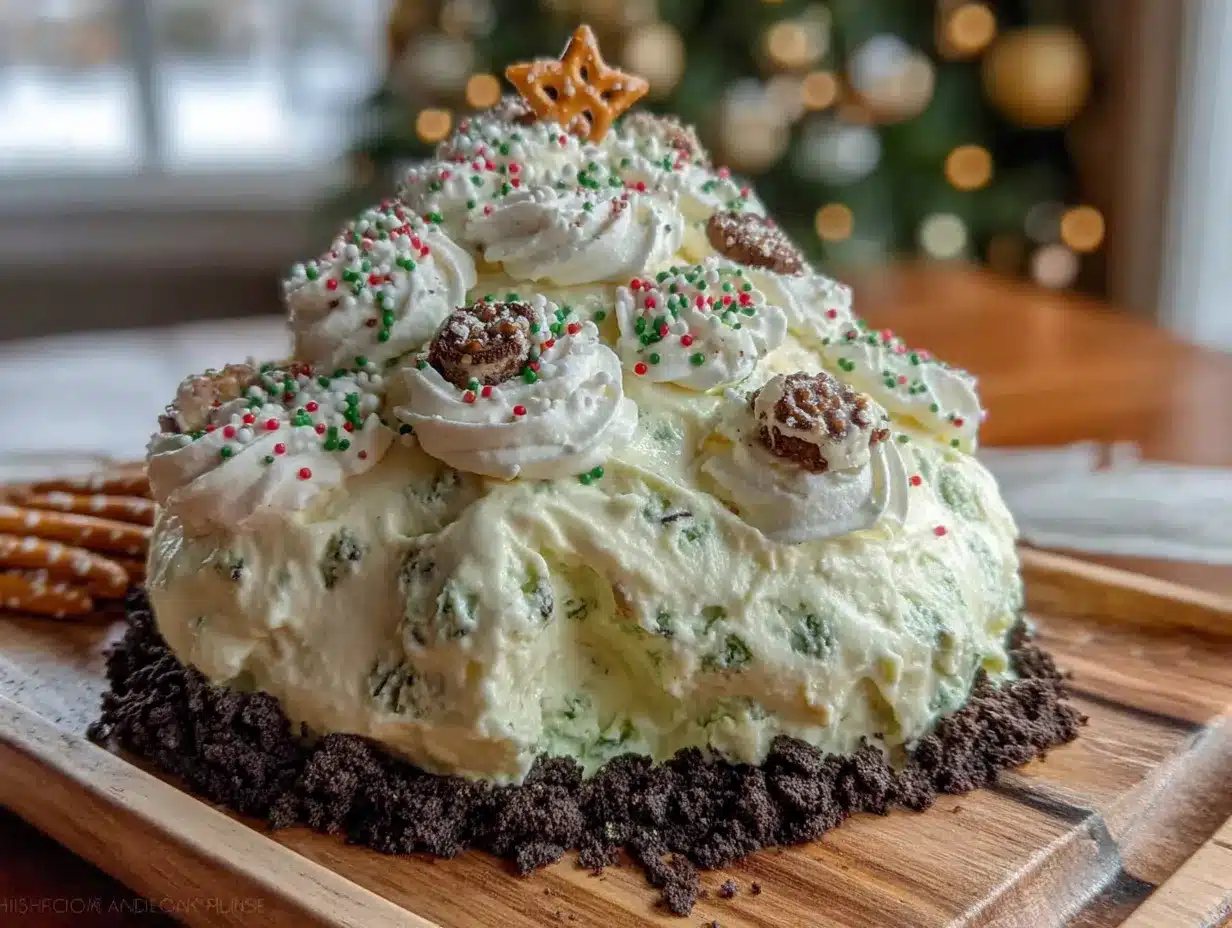
- Shape the tree (3 minutes) – Scoop the dip onto your serving platter. Use a spatula to shape it into a Christmas tree shape—wide at the bottom, tapering to a point at the top. Don’t stress about perfection; it’s supposed to look rustic. A little imperfection makes it look homemade and charming.
- Decorate the tree (2 minutes) – Add a star on top. You can use a star-shaped cookie, a cracker, or pipe a star using a bit of the dip mixed with a little extra powdered sugar. Then press sprinkles, mini candies, or even small pretzel pieces into the dip to look like ornaments. I like to use red and green sprinkles for a festive look.
- Chill (20 minutes minimum) – Pop the platter in the fridge for at least 20 minutes. This sets the dip so it holds its shape when served. You can make it a day ahead and keep it covered in the fridge.
- Serve (1 minute) – Arrange your dipping items around the tree. Pretzels, graham crackers, vanilla wafers, or apple slices all work great. Let guests just dig in—it’s meant to be casual and fun.
A quick note: if the dip feels too soft after mixing, just chill it for 10 minutes before shaping. It’ll be much easier to work with.
Cooking Tips & Techniques
I’ve made this dip about a dozen times now, and I’ve learned a few things the hard way. Here’s what I wish I knew the first time.
Don’t overmix the cream cheese. If you beat it too long, it gets thin and runny. Just mix until it’s smooth and fluffy—about 2 minutes on medium speed. That’s all it needs.
Use room temperature cream cheese. I know, I know, everyone says this. But it really matters here. Cold cream cheese won’t blend smoothly, and you’ll end up with lumps. Leave it out for 30 minutes. If you forget, microwave it for 10 seconds at a time until it’s soft but not warm.
Go easy on the food coloring. Gel coloring is concentrated, so a little goes a long way. I once added too much and ended up with a dip that looked like a cartoon radioactive tree. Still tasted fine, but it was a weird color. Start with 3 drops, mix, and add more if needed.
Chill before serving. This is non-negotiable. The dip needs at least 20 minutes in the fridge to firm up. If you serve it right away, it’ll be too soft and won’t hold its tree shape. I learned this when I brought it to a party straight from the mixing bowl. It looked more like a green blob than a tree. Still got eaten, but the presentation was a mess.
Make it ahead. This dip actually gets better after a few hours in the fridge. The flavors meld together, and the texture becomes perfectly scoopable. I usually make it the night before and just decorate it right before serving.
Variations & Adaptations
This recipe is super flexible. Here are some ways to change it up.
Chocolate version: Use chocolate snack cakes instead of vanilla. Add a tablespoon of cocoa powder to the cream cheese mixture. Decorate with white sprinkles for a snowy look. My kids actually prefer this version.
Peppermint bark dip: Add 1/4 cup crushed peppermint candies to the dip. Use white snack cakes and skip the green food coloring. Shape it into a circle and top with more crushed candy. It tastes just like peppermint bark, but in dip form.
Gingerbread twist: Use gingerbread or spice cake snack cakes. Add a teaspoon of molasses and a pinch of cinnamon to the cream cheese. Shape into a tree and decorate with mini gingerbread cookies. This one is perfect for a cozy winter night.
Dairy-free option: Use plant-based cream cheese and dairy-free snack cakes. I’ve tried this with Kite Hill cream cheese and it worked beautifully. Just make sure to chill it a little longer, as vegan cream cheese can be softer.
Low-sugar version: Use sugar-free snack cakes and a sugar substitute like monk fruit sweetener in place of powdered sugar. The texture will be slightly different, but it still tastes great.
I once tried a version with lemon snack cakes and added a little lemon zest to the cream cheese. It was bright and tangy—perfect for a spring party. Don’t be afraid to experiment.
Serving & Storage Suggestions
Serve this dip chilled, right from the fridge. It’s best at a cool temperature—not ice cold, but definitely not room temperature. The texture is firmer and easier to scoop when it’s cold.
For presentation, I like to put the tree on a large wooden board or a white platter. Arrange the dippers around it in a circle or fan shape. It makes a beautiful centerpiece for a holiday dessert table. Add a few sprigs of fresh rosemary around the base for a festive touch—it looks like little pine branches.
Complementary dippers include graham crackers, vanilla wafers, shortbread cookies, pretzels, apple slices, or even marshmallows. The salty pretzels are my favorite because they balance the sweetness.
For storage, cover the dip tightly with plastic wrap or transfer it to an airtight container. It will keep in the fridge for up to 3 days. The texture stays creamy and scoopable. I don’t recommend freezing it—the cream cheese gets grainy when thawed.
If you’re making this for a party, you can assemble and decorate it up to 24 hours in advance. Just keep it covered in the fridge and add any delicate decorations (like sprinkles) right before serving so they don’t get soggy.
Leftover dip? It’s amazing spread on toast or used as a filling for crepes. Honestly, I’ve eaten it straight from the bowl with a spoon more times than I’d like to admit.
Nutritional Information & Benefits
Let’s be real—this is a treat. It’s not health food, and that’s okay. But here’s a rough estimate per serving (about 2 tablespoons):
- Calories: 120
- Fat: 7g
- Carbohydrates: 14g
- Sugar: 10g
- Protein: 2g
The cream cheese does provide a little protein and calcium, and the snack cakes offer quick energy. If you use whole-grain graham crackers for dipping, you’ll get a bit of fiber too.
For those with dietary restrictions, this recipe can be adapted to be gluten-free or dairy-free as noted above. It’s also nut-free if you use safe dippers, making it a good option for school parties.
I like to think of this dip as a fun, occasional indulgence. It’s the kind of thing you make for a special celebration, not for everyday snacking. And honestly, that’s what makes it feel so festive. A little bit of joy in every scoop.
Conclusion
This Festive Christmas Tree Snack Cake Dip is the recipe you’ll turn to year after year. It’s easy, it’s fun, and it always steals the show. Whether you’re in a last-minute panic like I was, or you just want something simple and delicious, this dip delivers.
I love how it brings people together. There’s something about a shared dip that makes a party feel more casual and warm. Everyone gathers around, dipping and laughing, and for a moment, the stress of the holidays melts away.
So go ahead—make this for your next holiday gathering. Customize it with your favorite flavors, decorate it with your kids, and watch it disappear. And when someone asks for the recipe, just smile and say, “It’s my little secret.” Then maybe share it anyway. That’s what the holidays are all about.
I’d love to hear how yours turns out! Leave a comment below and tell me what dippers you used, or if you tried a fun variation. Don’t forget to share this recipe with a friend who needs a last-minute holiday win. Happy dipping!
Frequently Asked Questions
Can I make this dip ahead of time?
Absolutely! You can make it up to 24 hours in advance. Just shape it, cover it tightly, and keep it in the fridge. Add decorations right before serving so they stay fresh and crisp.
What if I don’t have snack cakes?
No problem. You can use pound cake, angel food cake, or even plain yellow cake. Just crumble it up and let it sit out for a few hours to get slightly stale. The texture will be a little different, but it still works great.
How do I get the tree shape to hold?
The key is chilling. After you shape the dip, refrigerate it for at least 20 minutes before serving. If it’s still too soft, add a little more powdered sugar to the mixture to firm it up.
Can I use low-fat cream cheese?
Yes, but the dip will be softer and may not hold its shape as well. If you use low-fat, chill it for an extra 10-15 minutes before serving. Full-fat cream cheese gives the best results for shaping.
What’s the best way to decorate the tree?
Get creative! I use a star-shaped cracker or cookie for the top, then press sprinkles, mini candies, or small pretzel pieces into the dip to look like ornaments. You can also drizzle a little melted white chocolate over the top for a snowy effect.
Pin This Recipe!
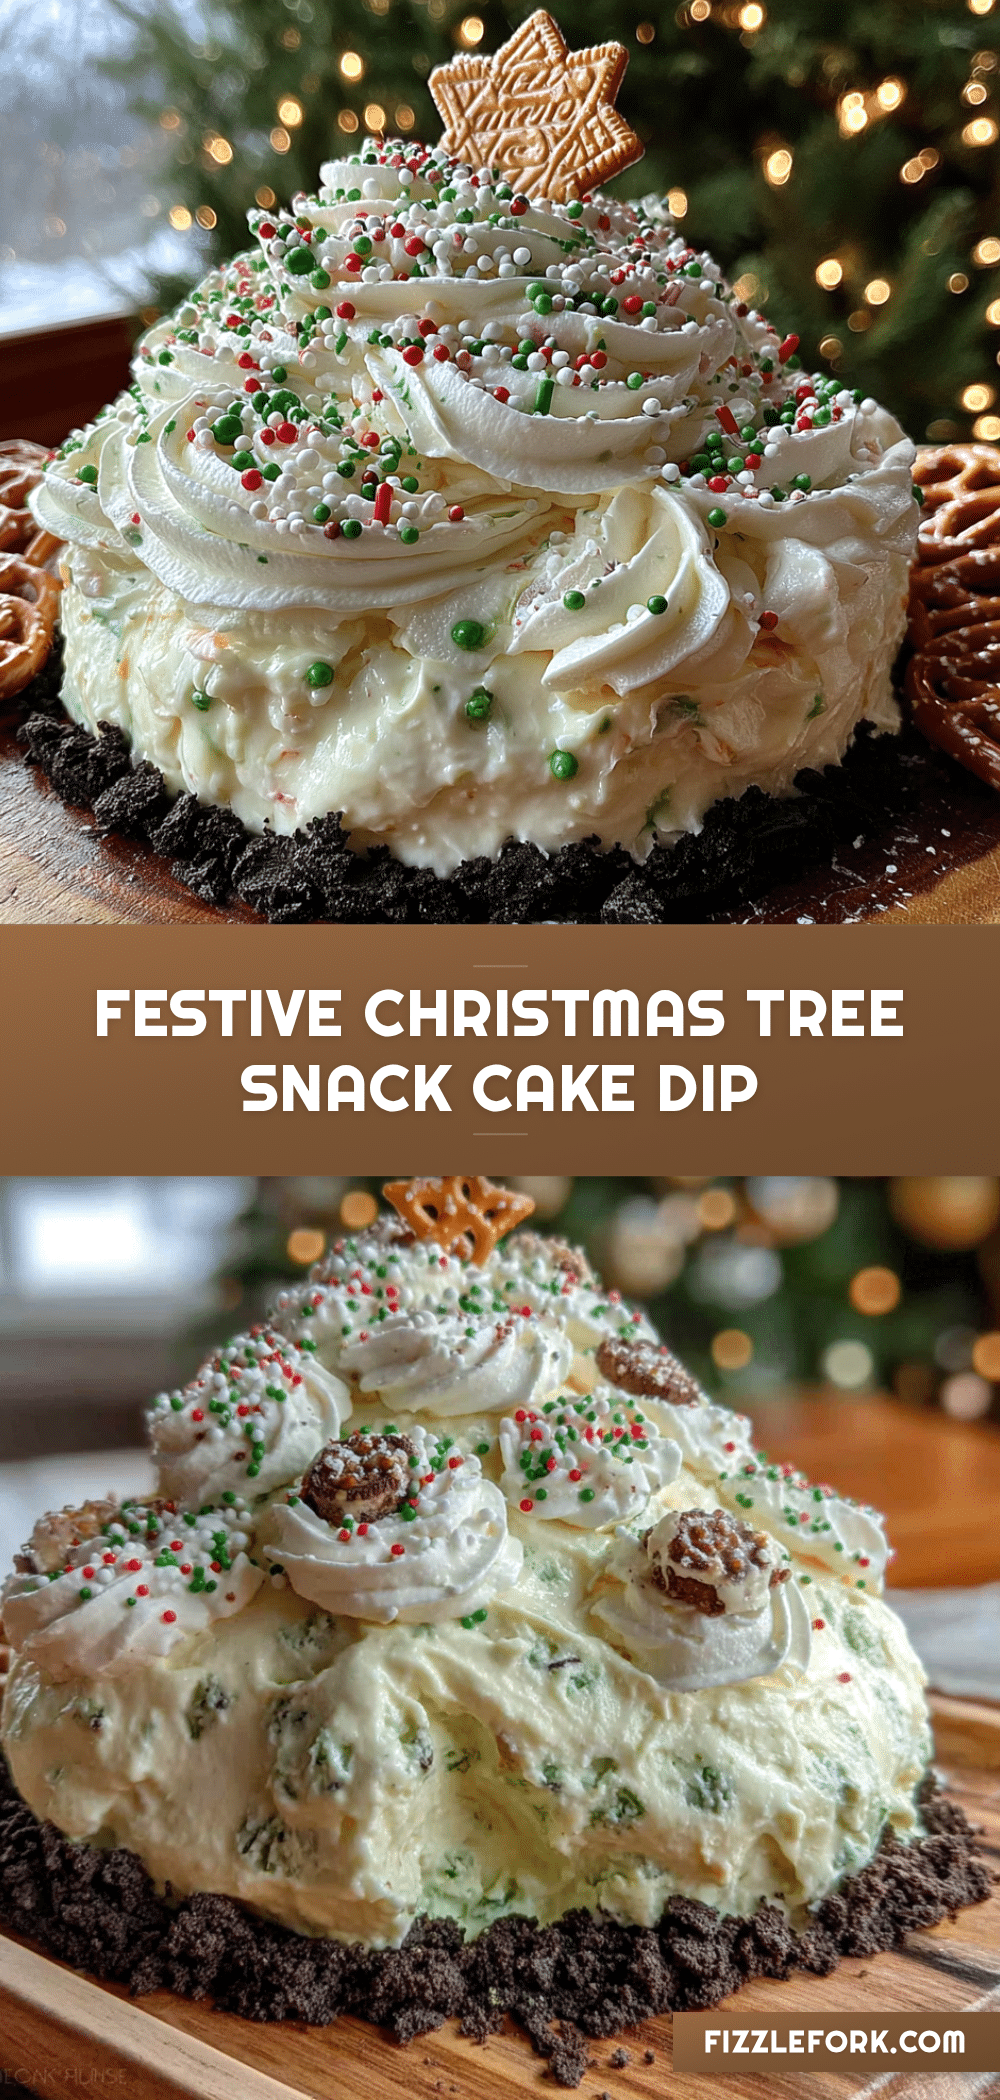
Festive Christmas Tree Snack Cake Dip: Easy No-Bake Dessert

A quick, no-bake dessert dip shaped like a Christmas tree, made with snack cake crumbs, cream cheese, and powdered sugar. Perfect for holiday parties when you need a last-minute showstopper.
- Prep Time: 10 minutes
- Cook Time: 0 minutes
- Total Time: 30 minutes (includes chilling)
- Yield: 8 servings 1x
- Category: Dessert
- Cuisine: American
Ingredients
- 1 box (about 10 oz) snack cake crumbs (vanilla or lemon)
- 8 oz cream cheese, softened
- 1/2 cup powdered sugar
- 1 teaspoon vanilla extract
- Green gel food coloring
- For decoration: small star-shaped cookie or cracker, sprinkles, mini candies, or pretzel stick
Instructions
- Crush the snack cakes into small, even crumbs (about breadcrumb size). Set aside 1/4 cup for garnish if desired.
- In a mixing bowl, beat softened cream cheese with powdered sugar and vanilla extract until smooth and fluffy (about 2 minutes on medium speed).
- Add the snack cake crumbs to the cream cheese mixture and mix on low speed until just combined. Do not overmix.
- Add a few drops of green gel food coloring and mix until evenly colored. Start with 3-4 drops and add more as needed.
- Scoop the dip onto a serving platter and shape into a Christmas tree shape using a spatula (wide at bottom, tapering to a point at top).
- Decorate the tree: place a star-shaped cookie or cracker on top, and press sprinkles, mini candies, or pretzel pieces into the dip to look like ornaments.
- Chill in the refrigerator for at least 20 minutes to set the shape.
- Serve chilled with graham crackers, pretzels, vanilla wafers, or apple slices for dipping.
Notes
Use room temperature cream cheese for best texture. If dip is too soft after mixing, chill for 10 minutes before shaping. Can be made up to 24 hours in advance; add decorations just before serving. For a gluten-free version, use gluten-free snack cakes. For dairy-free, use plant-based cream cheese.
Nutrition
- Serving Size: 2 tablespoons
- Calories: 120
- Sugar: 10
- Sodium: 95
- Fat: 7
- Saturated Fat: 4
- Carbohydrates: 14
- Protein: 2
Keywords: Christmas tree dip, snack cake dip, no-bake dessert, holiday dessert, easy dessert dip