This was supposed to be a braised chicken. I had it all planned out—a slow, lazy Sunday with a Dutch oven bubbling away on the stove, filling my tiny apartment with the smell of wine and herbs. But I grabbed the wrong pack of chicken from the freezer (thighs instead of legs), my neighbor decided to test out her new drum kit at 3 PM, and I was already running late for a video call with my sister. So I tossed the thawed thighs in a bowl with some garlic, herbs, and a glug of olive oil, muttered something unkind about my afternoon, and shoved everything into the air fryer. Honestly, I was just trying to salvage dinner without a full kitchen meltdown.
What came out of that machine was nothing like the plan. The skin was shatteringly crisp, the meat was somehow still juicy, and the garlic had turned into these little golden, toasty bits that tasted like pure spring. I actually stood there in my messy kitchen, fork in hand, staring at the basket like it had performed a magic trick. Maybe you’ve been there—when a recipe you threw together in a panic turns out better than the one you spent hours planning. It’s a weird kind of triumph, isn’t it?
I’ve made this crispy garlic herb air fryer chicken at least a dozen times since that chaotic Sunday. It’s become my go-to for those early spring evenings when the light hangs around longer but you’re still too tired to stand over a stove. The herbs taste like the season—fresh, bright, a little bit hopeful. And the air fryer does all the heavy lifting, which means I get to sit on my porch with a glass of something cold while dinner practically cooks itself. That’s the kind of spring energy I can get behind.
Why You’ll Love This Recipe
Let me tell you why this particular chicken recipe has earned a permanent spot in my weekly rotation. I’ve tested it for friends, picky eaters, and even my uncle who swears he doesn’t like air fryer food. It won every single time.
- Quick & Easy: From fridge to table in under 30 minutes. No marinating required, no complicated steps. Perfect for those spring weeknights when you’d rather be outside than in the kitchen.
- Simple Ingredients: You probably have everything in your pantry right now. Garlic, dried herbs, olive oil, salt, pepper. That’s it. No trips to a specialty store, no obscure spices gathering dust.
- Perfect for Spring Dinners: Light enough for a warm evening, satisfying enough to feel like a real meal. Pair it with a simple salad or some roasted asparagus, and you’ve got dinner that tastes like the season.
- Crowd-Pleaser: I’ve served this at a small dinner party and watched people go back for seconds. The crispy skin is addictive, and the garlic-herb flavor is just familiar enough to feel comforting.
- Unbelievably Delicious: The texture is what gets me every time. The skin turns golden and crunchy, almost like it’s been fried, but the meat stays tender and juicy. It’s comfort food that doesn’t weigh you down.
What makes this different from every other air fryer chicken recipe out there? It’s the technique. Most recipes tell you to just dump everything in the basket and hope for the best. I figured out that patting the chicken dry (really dry) and letting it sit with the seasoning for just ten minutes makes all the difference. That little bit of patience gives you a crust that actually stays crispy, not soggy. Plus, the ratio of garlic to herbs is dialed in—enough to taste it in every bite, but not so much that it overpowers the chicken itself.
This recipe is the kind that makes you close your eyes after the first bite. It’s spring on a plate—fresh, bright, and exactly what you need after a long day.
What Ingredients You Will Need
This recipe relies on simple, pantry-friendly ingredients that come together to create something genuinely special. No fuss, no fussing—just good food.
For the Chicken
- 4 bone-in, skin-on chicken thighs (about 1.5 lbs / 680 g) – The skin is crucial for that crispy texture. I prefer thighs for their flavor and forgiving nature, but you can use drumsticks or breasts (see notes below).
- 1 tablespoon olive oil (15 ml) – Helps the seasoning stick and encourages browning. A good extra-virgin olive oil adds a subtle fruitiness.
- 4 cloves garlic, minced – Fresh garlic is non-negotiable here. The jarred stuff just doesn’t caramelize the same way in the air fryer.
- 1 teaspoon dried oregano – Earthy and slightly floral. I like using dried oregano here because it doesn’t burn as easily as fresh.
- 1 teaspoon dried thyme – Adds a subtle lemony, woodsy note that screams spring.
- 1 teaspoon dried rosemary, crushed – Crush it between your fingers to release the oils before adding. Trust me on this.
- 1 teaspoon garlic powder – Not the same as fresh garlic. This adds a deeper, roasted garlic flavor that rounds everything out.
- ½ teaspoon salt – I use fine sea salt. Adjust based on your preference and the saltiness of your other ingredients.
- ¼ teaspoon black pepper, freshly ground – Freshly ground makes a difference. Pre-ground pepper can taste flat.
- Optional: ½ teaspoon paprika – Not traditional for a garlic herb profile, but it adds a lovely color and a hint of smokiness. I add it when I’m feeling fancy.
Ingredient Notes & Substitutions
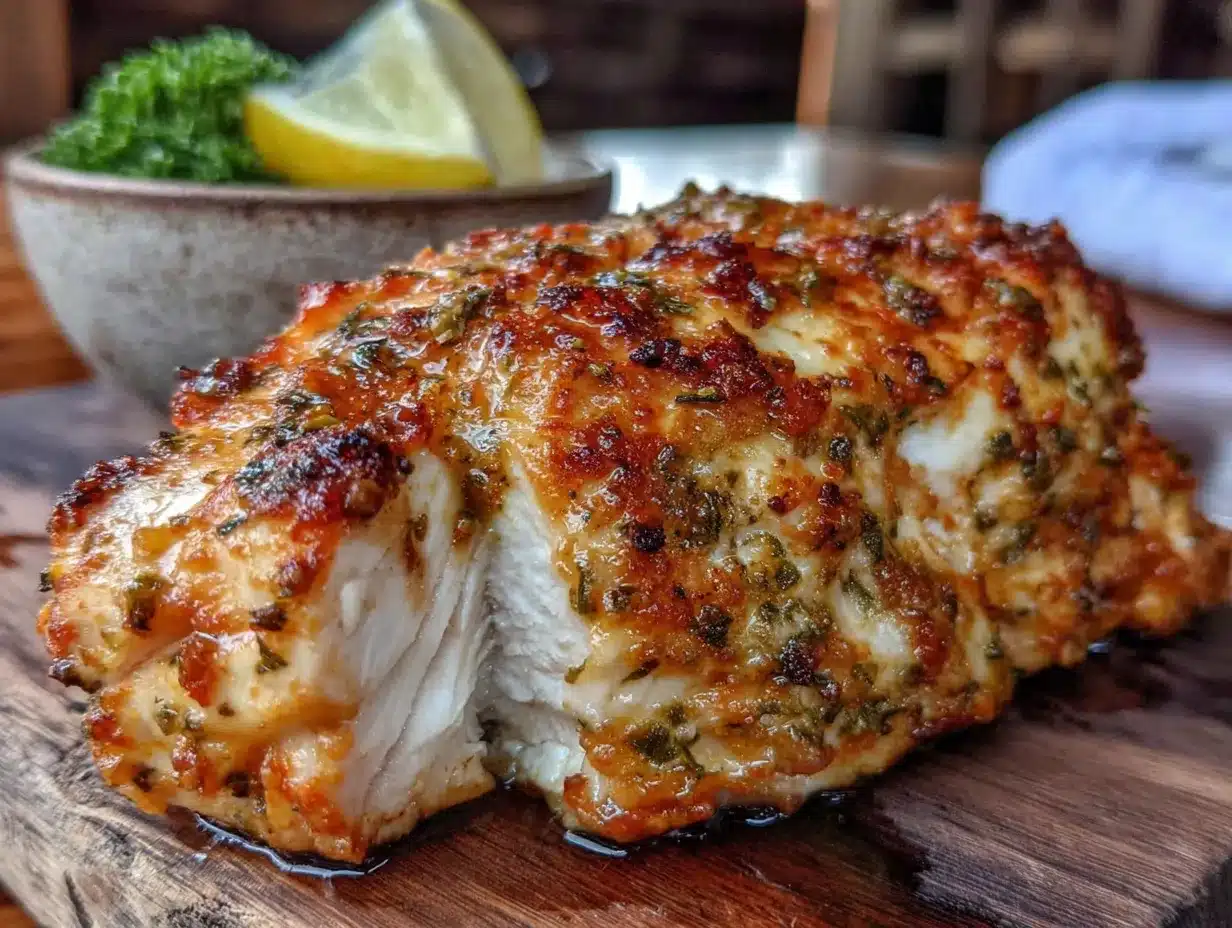
Chicken cuts: Bone-in, skin-on thighs are my top recommendation for the crispiest results. You can use drumsticks (adjust cooking time to 22-25 minutes) or boneless, skinless breasts (cook for 12-15 minutes at 375°F, but you’ll miss that glorious crispy skin). For a whole chicken cut into pieces, follow the thigh cooking time for dark meat and remove white meat pieces earlier.
Fresh vs. dried herbs: I developed this recipe with dried herbs because they’re more concentrated and don’t wilt in the high heat of the air fryer. If you want to use fresh herbs, double the amount and add them halfway through cooking so they don’t burn. I’ve tried both, and honestly, dried works better here.
Oil options: Olive oil is great, but avocado oil works beautifully too—it has a higher smoke point, which means even crispier skin. Avoid butter here because it burns at air fryer temperatures.
Garlic: Please use fresh garlic. I know it’s an extra step, but the flavor is incomparable. If you’re in a real pinch, you can use 1 teaspoon of garlic powder in place of the fresh minced garlic, but you’ll lose that lovely caramelized texture.
Equipment Needed
- Air fryer – Any model works. I use a 5.8-quart basket style, which fits four thighs comfortably without overcrowding. If yours is smaller, cook in batches.
- Paper towels – For patting the chicken dry. This step is more important than you think.
- Mixing bowl – Large enough to toss the chicken with the seasoning.
- Tongs – For flipping the chicken halfway through. Metal or silicone, whichever you have.
- Instant-read thermometer – Not strictly necessary if you’re experienced, but I highly recommend it for perfect doneness every time. Chicken is safe at 165°F (74°C), but thighs are actually better at 175-180°F (80-82°C) for the juiciest texture.
- Cutting board – For resting the chicken after cooking. Let it rest for 5 minutes before serving.
Budget tip: You don’t need an expensive air fryer. I started with a $40 model from a discount store, and it made excellent chicken. The key is learning your specific machine’s hot spots and quirks.
Preparation Method
- Prep the chicken (5 minutes): Remove the chicken thighs from the refrigerator and pat them completely dry with paper towels. I mean really dry—get in between the skin and the meat if you can, and blot the skin until the paper towel comes away clean. Excess moisture is the enemy of crispy skin. Let the chicken sit at room temperature while you prepare the seasoning.
- Make the seasoning paste (3 minutes): In a small bowl, combine the minced garlic, olive oil, dried oregano, dried thyme, crushed rosemary, garlic powder, salt, pepper, and paprika if using. Stir until it forms a thick, fragrant paste. The smell at this point is incredible—earthy, garlicky, like spring in a bowl.
- Season the chicken (5 minutes): Place the dried chicken thighs in a large mixing bowl. Add the seasoning paste and use your hands to rub it all over the chicken, making sure to get some under the skin if possible. This is a messy job, but it’s worth it. Don’t be shy—really work it in. Let the chicken sit at room temperature for 10 minutes. This rest allows the salt to penetrate the meat and the flavors to meld.
- Preheat the air fryer (3 minutes): Preheat your air fryer to 380°F (193°C). Most air fryers have a preheat function, but if yours doesn’t, just run it empty for 3 minutes. Preheating ensures the chicken starts cooking immediately, which helps the skin crisp up.
- Arrange the chicken (2 minutes): Place the seasoned chicken thighs in the air fryer basket in a single layer, skin side down. Do not overcrowd—leave at least half an inch of space between each piece. If your air fryer is small, cook in two batches. Overcrowding traps steam and makes the skin soggy.
- First cook (12 minutes): Air fry at 380°F (193°C) for 12 minutes. The skin should start to turn golden and crispy. You’ll hear a satisfying sizzle—that’s the sound of dinner happening.
- Flip and finish (10-12 minutes): Using tongs, carefully flip the chicken thighs so they’re skin side up. Cook for another 10-12 minutes, until the skin is deep golden brown and incredibly crispy. The internal temperature should reach 175-180°F (80-82°C) for thighs. If using breasts, cook to 165°F (74°C).
- Rest (5 minutes): Remove the chicken from the air fryer and transfer to a cutting board. Let it rest for 5 minutes before serving. This rest is crucial—it allows the juices to redistribute so your chicken stays moist, not dry.
Sensory cues: At the 12-minute mark, the kitchen should smell like roasted garlic and herbs. The skin should look golden and feel firm to the touch. When you flip the chicken, you should see crispy, browned bits on the bottom. If the skin looks pale or feels soft, give it another 2-3 minutes before flipping.
Troubleshooting: If your chicken skin isn’t getting crispy, it’s likely one of three things: the chicken wasn’t dry enough, the basket was overcrowded, or your air fryer runs cool. Try increasing the temperature to 400°F (204°C) for the last 5 minutes of cooking.
Cooking Tips & Techniques
I’ve made this recipe enough times to learn a few things the hard way. Here’s what I wish someone had told me.
Dry the chicken like you mean it: The single biggest mistake people make with air fryer chicken is not drying it thoroughly. I once rushed through this step and ended up with pale, leathery skin. Pat it dry, then pat it again. If you have time, leave the chicken uncovered in the fridge for an hour—that really dries out the skin for maximum crispiness.
Don’t skip the rest time: I know it’s tempting to just season and cook, but letting the chicken sit for 10 minutes after seasoning makes a real difference. The salt has time to work its way into the meat, seasoning it from the inside out. Plus, the garlic and herbs get a chance to really adhere to the skin.
Mind the hot spots: Every air fryer has them. In my model, the back right corner runs about 15°F hotter than the rest. I’ve learned to rotate the basket halfway through cooking for even browning. Pay attention to your machine’s quirks and adjust accordingly.
Timing strategy: If you’re making a side dish that requires oven time, start that first. The air fryer chicken cooks so quickly that you want everything else ready to go when it’s done. I usually prep my salad or roast my vegetables while the chicken rests after seasoning.
Batch cooking: Cooking for a crowd? You can keep the first batch warm in a 200°F (93°C) oven while the second batch cooks. Place the chicken on a wire rack set over a baking sheet so the skin doesn’t get soggy from steam.
Variations & Adaptations
This recipe is endlessly adaptable. Here are a few variations I’ve tried and loved.
Lemon Herb Version: Add the zest of one lemon to the seasoning paste and replace the dried thyme with fresh lemon thyme if you can find it. Squeeze a little lemon juice over the finished chicken for brightness. This version is especially good for spring—it feels lighter and more vibrant.
Spicy Garlic Version: Add ½ teaspoon of red pepper flakes or a teaspoon of harissa paste to the seasoning mixture. The heat cuts through the richness of the skin beautifully. My partner loves this version, and I’ve started making it whenever I want a little kick.
Dairy-Free Adaptation: This recipe is already dairy-free, which is one of the reasons I love it. If you’re avoiding dairy, just make sure your seasoning paste doesn’t accidentally include butter—stick with olive oil or avocado oil.
Different Cuts: As mentioned, you can use drumsticks, bone-in breasts, or even chicken wings. For wings, cook at 380°F for 20-25 minutes, flipping halfway. They’ll be incredibly crispy and perfect for game day or a casual dinner.
Herb Swap: Not a fan of rosemary? Use sage instead. Prefer a more Italian profile? Add a teaspoon of dried basil and a pinch of fennel seeds. The base technique is solid—feel free to make the flavor your own.
Serving & Storage Suggestions
This chicken is best served hot, straight from the air fryer. The skin is at its crispiest within the first 15 minutes of cooking. Serve it alongside a simple spring greens salad with lemon vinaigrette for a complete meal that feels light and fresh. Roasted asparagus, sautéed spinach, or a simple couscous with herbs also pair beautifully.
For a more substantial dinner, serve the chicken over a bed of creamy polenta or garlic mashed potatoes. The juices from the chicken mingle with the starch and create something truly comforting. I’ve also shredded leftover chicken and used it in tacos with fresh salsa and avocado—highly recommended.
Storage: Leftover chicken keeps in an airtight container in the refrigerator for up to 4 days. The skin will lose its crispiness, but the flavor remains excellent. To reheat, place the chicken back in the air fryer at 350°F (177°C) for 5-7 minutes. This restores some of the crunch. Avoid microwaving—it makes the skin rubbery.
Freezing: You can freeze cooked chicken thighs for up to 3 months. Wrap each piece tightly in plastic wrap, then place in a freezer bag. Thaw overnight in the refrigerator and reheat in the air fryer as described above.
Flavor development: Interestingly, the garlic and herb flavors deepen overnight. Cold leftover chicken makes an amazing addition to a lunch salad—just slice it up and toss it with greens, cherry tomatoes, and a simple vinaigrette.
Nutritional Information & Benefits
Per serving (1 chicken thigh): Approximately 285 calories, 22g protein, 3g carbohydrates, 20g fat (5g saturated), 90mg cholesterol, 450mg sodium. Values are estimates and will vary based on specific ingredients and portion sizes.
Chicken thighs are a good source of niacin, vitamin B6, phosphorus, and selenium. The skin contains healthy fats, and the olive oil adds monounsaturated fats that support heart health. Garlic is known for its anti-inflammatory properties, and the herbs provide antioxidants. This recipe is naturally gluten-free, dairy-free, and low-carb, making it suitable for a variety of dietary needs. If you’re watching your sodium intake, reduce the salt to ¼ teaspoon.
I love that this recipe feels indulgent (crispy skin!) but is actually quite balanced. It’s protein-rich and satisfying without being heavy—exactly what I want for a spring dinner.
Conclusion
This crispy garlic herb air fryer chicken started as a kitchen accident, but it’s become one of my most reliable recipes. It’s proof that sometimes the best dishes come from moments of chaos and improvisation. The crispy skin, the fragrant herbs, the juicy meat—it all comes together in under 30 minutes with minimal effort.
I hope you give this recipe a try, especially on a spring evening when you want something delicious without spending hours in the kitchen. Feel free to play with the herbs, adjust the garlic to your liking, or try it with different cuts of chicken. That’s the beauty of a simple recipe—it becomes yours the moment you start cooking.
If you make this, I’d love to hear about it. Leave a comment below and tell me how it turned out, or share your own twist on the recipe. And if you’re looking for more quick and easy dinner ideas, check out my easy one-pan spring vegetable risotto—it’s another weeknight hero. Happy cooking!
Frequently Asked Questions
Can I use boneless, skinless chicken breasts for this recipe?
Yes, but you’ll need to adjust the cooking time. Boneless, skinless breasts cook faster (12-15 minutes at 375°F) and won’t have that crispy skin. To add flavor, consider brushing them with extra seasoned oil halfway through cooking.
How do I prevent the garlic from burning in the air fryer?
Minced garlic can burn if it’s exposed directly to the heating element. Mixing it thoroughly with the olive oil helps protect it. If you’re worried, you can add the garlic halfway through cooking instead of at the beginning.
Can I make this recipe without an air fryer?
Absolutely. Bake the chicken on a wire rack set over a baking sheet at 425°F (218°C) for 35-40 minutes, flipping halfway. The skin won’t be quite as crispy as the air fryer version, but it’s still delicious.
How do I know when the chicken is fully cooked?
Use an instant-read thermometer inserted into the thickest part of the thigh without touching the bone. Chicken thighs are safe at 165°F (74°C), but they’re juiciest at 175-180°F (80-82°C). The juices should run clear when pierced.
Can I marinate the chicken overnight?
Yes, but don’t leave it longer than 24 hours. The acid in the garlic can start to break down the meat’s texture. If you’re marinating overnight, skip the salt and add it just before cooking to prevent the chicken from becoming too salty.
Pin This Recipe!
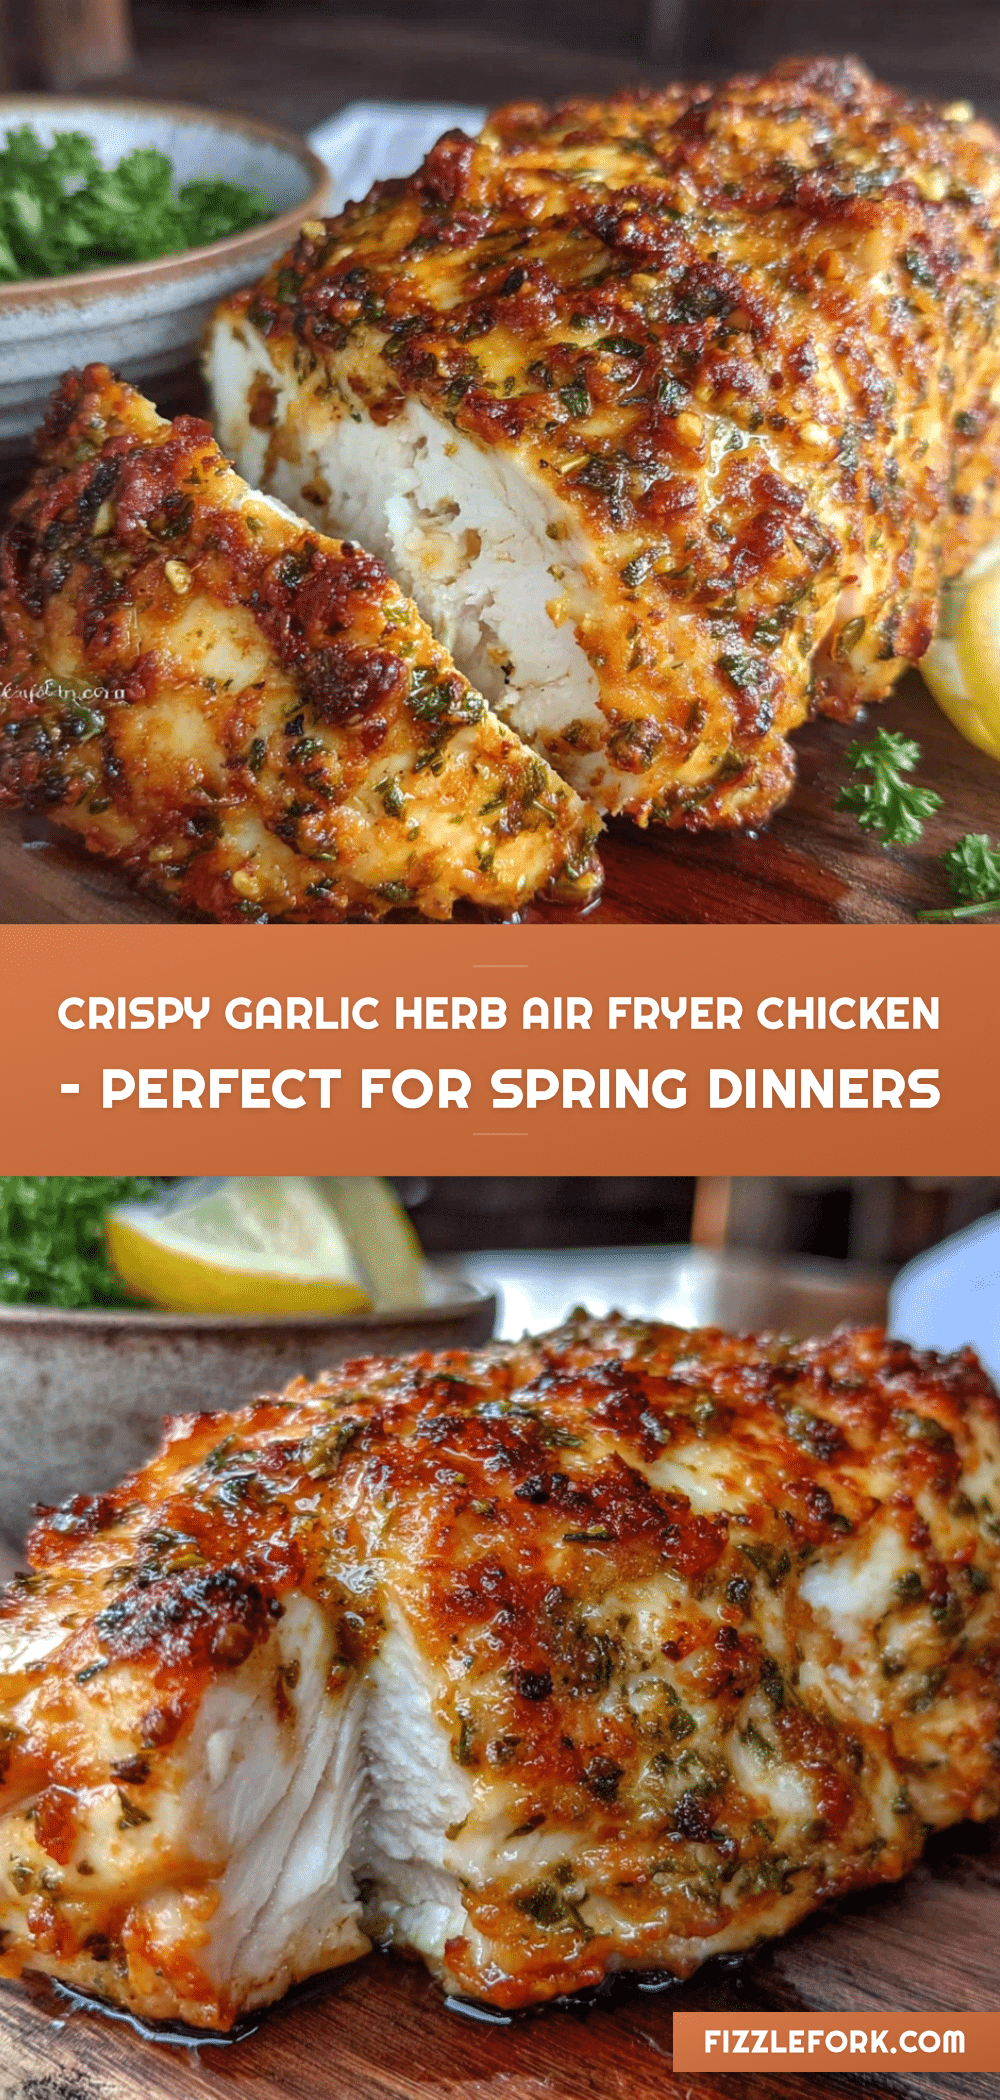
Crispy Garlic Herb Air Fryer Chicken

A quick and easy spring dinner featuring bone-in, skin-on chicken thighs with a crispy, golden crust and fragrant garlic-herb flavor, all made in the air fryer in under 30 minutes.
- Prep Time: 15 minutes
- Cook Time: 22-24 minutes
- Total Time: 37-39 minutes
- Yield: 4 servings 1x
- Category: Main Course
- Cuisine: American
Ingredients
- 4 bone-in, skin-on chicken thighs (about 1.5 lbs / 680 g)
- 1 tablespoon olive oil (15 ml)
- 4 cloves garlic, minced
- 1 teaspoon dried oregano
- 1 teaspoon dried thyme
- 1 teaspoon dried rosemary, crushed
- 1 teaspoon garlic powder
- ½ teaspoon fine sea salt
- ¼ teaspoon freshly ground black pepper
- ½ teaspoon paprika (optional)
Instructions
- Prep the chicken: Remove chicken thighs from refrigerator and pat completely dry with paper towels. Let sit at room temperature while preparing seasoning.
- Make the seasoning paste: In a small bowl, combine minced garlic, olive oil, dried oregano, dried thyme, crushed rosemary, garlic powder, salt, pepper, and paprika (if using). Stir into a thick paste.
- Season the chicken: Place dried chicken thighs in a large mixing bowl. Add seasoning paste and rub all over chicken, including under the skin if possible. Let sit at room temperature for 10 minutes.
- Preheat the air fryer: Preheat air fryer to 380°F (193°C) for 3 minutes.
- Arrange the chicken: Place seasoned chicken thighs in air fryer basket in a single layer, skin side down, leaving at least half an inch of space between pieces.
- First cook: Air fry at 380°F (193°C) for 12 minutes until skin starts to turn golden and crispy.
- Flip and finish: Flip chicken thighs skin side up. Cook for another 10-12 minutes until skin is deep golden brown and internal temperature reaches 175-180°F (80-82°C) for thighs.
- Rest: Remove chicken from air fryer and transfer to a cutting board. Let rest for 5 minutes before serving.
Notes
Pat chicken very dry for crispiest skin. Let seasoned chicken rest 10 minutes before cooking. For best results, use fresh garlic and dried herbs. If skin isn’t crispy, increase temperature to 400°F for last 5 minutes. Chicken thighs are juiciest at 175-180°F internal temperature.
Nutrition
- Serving Size: 1 chicken thigh
- Calories: 285
- Sodium: 450
- Fat: 20
- Saturated Fat: 5
- Carbohydrates: 3
- Protein: 22
Keywords: air fryer chicken, crispy chicken, garlic herb chicken, spring dinner, quick chicken recipe, bone-in chicken thighs