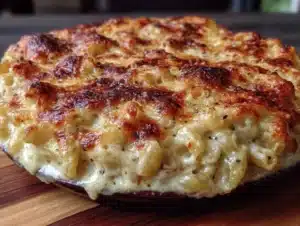
My brother-in-law Mark swore he hated mac and cheese. For years. Every family gathering, every potluck, every time someone mentioned the words “creamy” and “cheddar” in the same sentence, he’d make a face and launch into a speech about how it was “baby food” and “not real cooking.” I’d just nod and keep stirring my roux, honestly. Then came the Super Bowl party two winters ago. I made this four-cheese version for the crowd, thinking nothing of it. Halfway through the third quarter, I walked past the kitchen island and there he was—Mark, standing alone with a fork, scraping the last bit of cheese sauce from the edges of the baking dish. He didn’t even look up. Just mumbled, “Don’t say a word,” and walked away. I didn’t. But I smiled about it for a week.
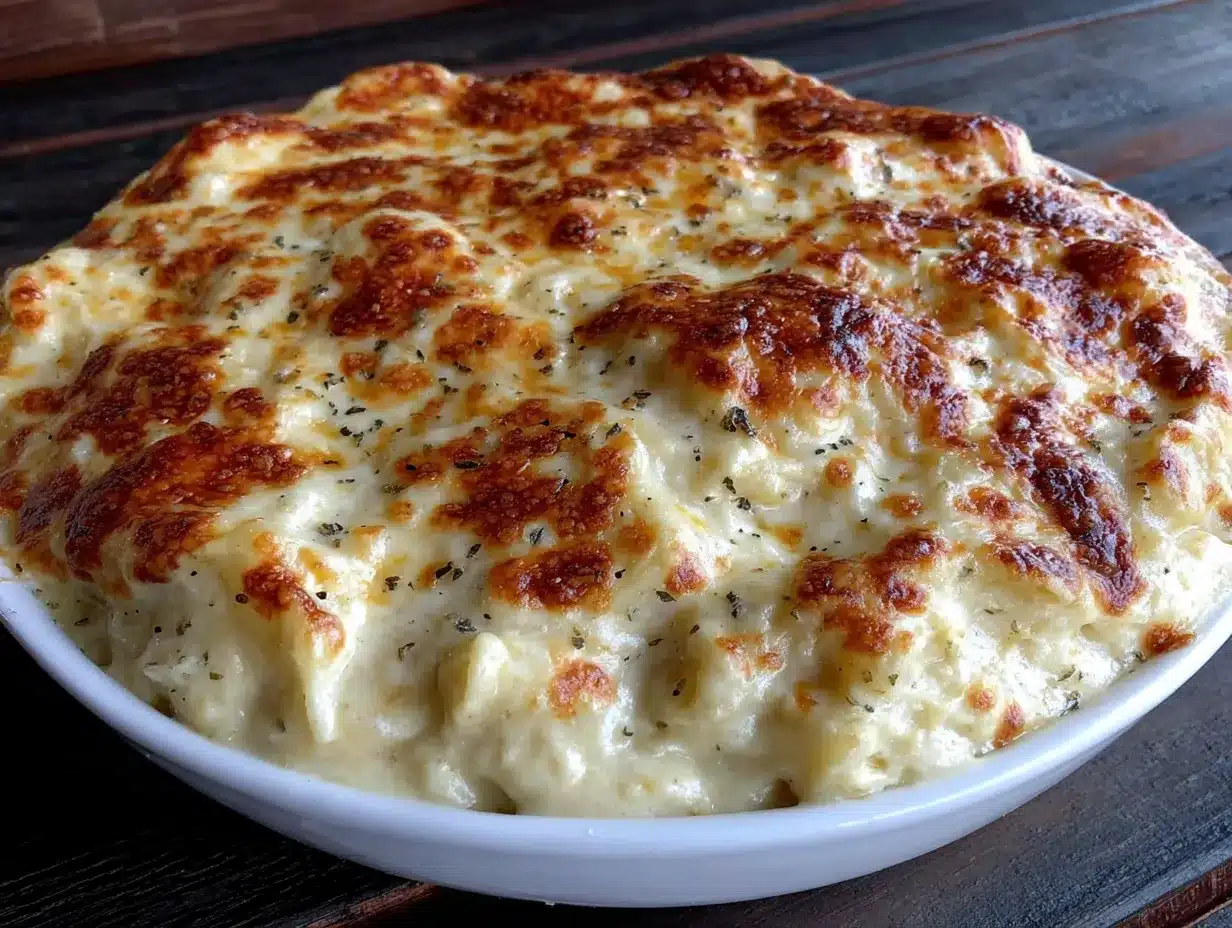
That moment stuck with me because it proved something I’d always suspected. Mac and cheese isn’t the problem. Boring mac and cheese is the problem. The boxed stuff, the one-note sauces, the dry baked versions that sit under a heat lamp too long—that’s what gives this dish a bad name. But a really good, wholesome, baked four-cheese mac and cheese? That’s different. That’s the kind of dish that changes minds without even trying. You know that feeling when something is so good it just speaks for itself? That’s what this recipe does. It doesn’t need a fancy introduction or a sales pitch. It just sits there on the table, golden and bubbling, and people find their way to it.
I’ve been making mac and cheese for over a decade now, testing different cheese combinations, noodle shapes, and topping techniques. This version came together after a particularly rainy Tuesday when I had leftover Gruyère from a party and a block of sharp white cheddar that needed using up. I threw in some mozzarella for the stretch and a little cream cheese for the tang, and honestly, I almost ate the whole thing standing over the stove. Maybe you’ve been there—standing in your kitchen, fork in hand, telling yourself you’ll stop after one more bite. This recipe is exactly that kind of dangerous. And I wouldn’t have it any other way.
Why You’ll Love This Recipe
Let me be straight with you. There are a million mac and cheese recipes out there, and I’ve tried more than my fair share. Some are too dry. Some are so heavy they sit in your stomach like a brick. Some use weird ingredients that don’t belong anywhere near a cheese sauce. This one is different. Here’s why people keep coming back to it:
- Feeds a Crowd Without the Fuss: This recipe makes a generous 9×13 pan that serves 12 to 16 people easily. Perfect for potlucks, holiday dinners, game days, or just meal prepping for a busy week. You can make it ahead and bake it when you’re ready.
- Four Cheeses, One Perfect Sauce: Sharp cheddar, Gruyère, mozzarella, and cream cheese work together to create a sauce that’s creamy, tangy, stretchy, and deeply flavorful. Each cheese brings something different to the table.
- Wholesome Enough to Feel Good About: I use whole wheat pasta and real, full-fat dairy. No processed cheese products, no artificial anything. It’s indulgent but honest food—the kind you can serve to your family without reading a label.
- That Golden, Crunchy Topping: The panko breadcrumb topping gets perfectly crispy in the oven, creating that satisfying contrast between the creamy sauce and the crunchy crust. It’s the best part, honestly.
- Foolproof for Beginners: If you’ve never made a béchamel sauce before, don’t worry. I’ll walk you through every step, including what to look for and what to avoid. You’ve got this.
I’ve made this recipe for holiday dinners, casual Sunday suppers, and even a friend’s wedding reception (she asked me to cater the mac and cheese bar, and I was honored). Every single time, someone asks for the recipe. It’s the kind of dish that makes you look like a rock star in the kitchen without actually being difficult. And honestly, isn’t that what we all want?
What Ingredients You Will Need
This recipe uses simple, wholesome ingredients to deliver big flavor and that irresistible creamy texture. Most of these are pantry staples or easy to find at any grocery store. Here’s what you’ll need and why each ingredient matters:
For the Pasta
- 1 pound (454g) whole wheat elbow macaroni or cavatappi – Whole wheat pasta holds up better to baking and adds a nice nutty flavor that complements the cheese. Cavatappi is my personal favorite because the ridges catch extra sauce.
- Salt for the pasta water – Don’t skip this. Seasoning the pasta water is your first chance to build flavor. I use about 1 tablespoon of kosher salt per gallon of water.
For the Four-Cheese Sauce
- 4 tablespoons (56g) unsalted butter – The base of your roux. I prefer unsalted so I can control the salt level, but salted butter works if you reduce the added salt slightly.
- 1/4 cup (31g) all-purpose flour – This thickens the sauce. All-purpose flour is standard, but a gluten-free 1:1 blend works too if needed.
- 3 cups (710ml) whole milk – Whole milk gives the creamiest sauce. I’ve tried 2% in a pinch, and it works, but the sauce is noticeably thinner. Save skim milk for cereal.
- 1 cup (237ml) heavy cream – This adds richness and helps the sauce stay creamy during baking. You can substitute with half-and-half if you want a lighter version, but the texture won’t be quite as luxurious.
- 2 cups (226g) sharp cheddar cheese, shredded – The backbone of the flavor. I recommend buying a block and shredding it yourself. Pre-shredded cheese has anti-caking agents that prevent smooth melting.
- 1 1/2 cups (170g) Gruyère cheese, shredded – This is the secret weapon. Gruyère melts beautifully and adds a nutty, slightly sweet flavor that takes the sauce to another level. It’s worth seeking out.
- 1 cup (113g) mozzarella cheese, shredded – Mozzarella gives that beautiful stretch when you pull a forkful out of the pan. Use low-moisture mozzarella, not fresh.
- 4 ounces (113g) cream cheese, softened – The cream cheese adds tanginess and helps stabilize the sauce so it doesn’t separate during baking. Make sure it’s softened to room temperature before adding.
- 1 teaspoon Dijon mustard – Don’t worry, you won’t taste mustard. It just brightens the cheese flavor and adds a little depth. Trust me on this one.
- 1/2 teaspoon garlic powder – A subtle savory note that rounds out the richness.
- 1/2 teaspoon smoked paprika – Optional, but I love the subtle smoky warmth it adds. Regular paprika works too.
- 1/4 teaspoon cayenne pepper (optional) – Just a tiny pinch for warmth, not heat. Leave it out if you’re serving kids or sensitive palates.
- Salt and black pepper to taste – I usually start with 1/2 teaspoon of salt and 1/4 teaspoon of pepper and adjust from there.
For the Topping
- 1 cup (85g) panko breadcrumbs – Panko gives the crispiest, lightest topping. Regular breadcrumbs work but won’t be as crunchy.
- 2 tablespoons (28g) unsalted butter, melted – This helps the breadcrumbs toast evenly and get that golden color.
- 1/4 cup (28g) grated Parmesan cheese – Adds salty, umami flavor to the topping. I like using a microplane to grate it finely so it mixes evenly with the breadcrumbs.
- 1 tablespoon fresh parsley, chopped (optional) – Just for color, honestly. It makes the finished dish look prettier on the table.
Equipment Needed
You don’t need a lot of fancy equipment for this recipe. Here’s what you’ll want to have on hand:
- Large stockpot (6 to 8 quarts) – For boiling the pasta. Make sure it’s big enough that the pasta has room to move around.
- Large saucepan or Dutch oven (4 to 5 quarts) – For making the cheese sauce. A heavy-bottomed pot helps prevent scorching.
- 9×13-inch baking dish – Glass, ceramic, or metal all work. Glass lets you see the browning on the bottom, which I like.
- Whisk – A good whisk is essential for a smooth roux and cheese sauce. A silicone whisk is nice because it won’t scratch your pot.
- Box grater or food processor with shredding disk – For shredding your own cheese. I use my food processor when I’m making a big batch because it’s faster, but a box grater works perfectly fine.
- Colander – For draining the pasta.
- Wooden spoon or silicone spatula – For stirring the sauce and combining everything.
- Small bowl – For mixing the breadcrumb topping.
- Aluminum foil – For covering the dish during part of the baking time to prevent the topping from burning.
If you don’t have a Dutch oven, a regular large saucepan works just fine. I’ve made this recipe in a cheap nonstick pot before, and it turned out great. The key is just having enough room to whisk without splashing hot cheese sauce everywhere—learned that one the hard way.
Preparation Method
Alright, let’s make some mac and cheese. This recipe takes about 45 minutes of active prep time and 25 to 30 minutes of baking. Plan for about 1 hour and 15 minutes total. Here’s how it goes:
Step 1: Preheat and Prep (5 minutes)
Preheat your oven to 375°F (190°C). Grease your 9×13-inch baking dish with butter or nonstick spray. Shred all your cheeses if you haven’t already. This is important—once you start making the sauce, you won’t have time to stop and shred. Trust me, I’ve been there, and it’s stressful.
Step 2: Cook the Pasta (10 to 12 minutes)
Fill your large stockpot with water and bring it to a rolling boil. Add a generous tablespoon of salt—the water should taste like the sea. Add your pasta and cook it according to the package directions for al dente, usually about 7 to 9 minutes for elbow macaroni. Here’s the trick: cook it 1 to 2 minutes less than the package says. The pasta will continue cooking in the oven, and you don’t want it mushy. Drain the pasta well, but don’t rinse it. Rinsing removes the starch that helps the sauce cling to the noodles. Just let it sit in the colander while you make the sauce.
Step 3: Make the Roux (5 minutes)
While the pasta cooks, melt the 4 tablespoons of butter in your large saucepan over medium heat. Once it’s fully melted and starts to foam, add the flour. Whisk constantly for about 1 to 2 minutes until the mixture turns a light golden color and smells slightly nutty. This is your roux, and it’s the foundation of the whole sauce. Don’t walk away from it—burnt roux tastes bitter and will ruin the dish. I learned this the hard way when I got distracted by a phone call and had to start over.
Step 4: Build the Sauce (8 to 10 minutes)
Slowly pour in the milk and heavy cream while whisking constantly. Keep whisking until the mixture is smooth and starts to thicken, about 3 to 4 minutes. You’ll know it’s ready when it coats the back of a spoon and doesn’t run off immediately. Reduce the heat to low. Add the softened cream cheese and whisk until it’s completely melted and incorporated. The sauce should look smooth and glossy at this point.
Step 5: Add the Cheeses (3 to 4 minutes)
Now the fun part. Add the shredded cheddar, Gruyère, and mozzarella in handfuls, whisking after each addition until the cheese is fully melted before adding the next. Keep the heat on low—high heat can cause the cheese to seize up and become grainy. Once all the cheese is melted, add the Dijon mustard, garlic powder, smoked paprika, cayenne (if using), and salt and pepper to taste. Give it one last whisk and taste it. Does it make you want to drink it straight from the pot? Good. That’s the goal.
Step 6: Combine and Assemble (5 minutes)
Add the drained pasta to the cheese sauce and stir gently until every piece of pasta is coated. Pour the mixture into your prepared baking dish and spread it evenly. In a small bowl, mix the panko breadcrumbs with the melted butter and grated Parmesan until the breadcrumbs are evenly moistened. Sprinkle this mixture evenly over the top of the mac and cheese.
Step 7: Bake (25 to 30 minutes)
Place the dish in the preheated oven and bake for 15 minutes. Then cover it loosely with aluminum foil and bake for another 10 to 15 minutes. The foil prevents the breadcrumbs from burning while the inside gets hot and bubbly. You’ll know it’s done when the sauce is bubbling around the edges and the top is golden brown. Let it rest on the counter for 5 to 10 minutes before serving. This resting time is crucial—it lets the sauce set up so you get clean slices instead of a soupy mess.
Cooking Tips & Techniques
I’ve made this recipe more times than I can count, and I’ve definitely made my share of mistakes along the way. Here are the things I wish someone had told me when I started:
Shred your own cheese. I know, I know, the pre-shredded bags are so convenient. But they’re coated with cellulose and other anti-caking agents that prevent smooth melting. Your sauce will be grainy instead of silky. Buy blocks and shred them yourself. It takes 5 extra minutes and makes a huge difference.
Don’t overcook the pasta. This is the most common mistake I see. If you cook the pasta to fully tender, it will turn to mush in the oven. Cook it al dente—firm to the bite—and let the oven finish the job. Your mac and cheese will have better texture and won’t turn into baby food.
Low heat is your friend. When you’re making the cheese sauce, patience pays off. High heat can cause the dairy to separate and the cheese to become grainy. Keep it on low and whisk gently. The sauce will come together smoothly if you give it time.
Taste as you go. Cheese brands vary in saltiness, so don’t just dump in the full amount of salt the recipe calls for. Taste the sauce before you add the pasta and adjust the seasoning. You can always add more salt, but you can’t take it out.
Let it rest. I know it’s hard to wait when the kitchen smells amazing, but letting the mac and cheese rest for 5 to 10 minutes after baking is non-negotiable. The sauce needs time to set up so it doesn’t run all over the plate. Use this time to set the table or make a salad.
Variations & Adaptations
This recipe is wonderfully adaptable. Here are some ways I’ve changed it up over the years:
Make it Gluten-Free: Use gluten-free pasta (I like the brown rice pasta from Trader Joe’s) and substitute the all-purpose flour with a gluten-free 1:1 blend or cornstarch. For the cornstarch version, mix 2 tablespoons of cornstarch with 1/4 cup of cold milk to make a slurry, then add it to the milk mixture instead of the flour roux.
Add Some Protein: Stir in 2 cups of cooked, shredded chicken, crumbled bacon, or diced ham before baking. I made a version with leftover Thanksgiving turkey and crispy bacon for a post-holiday dinner, and it was a huge hit. The smoky flavor from the bacon pairs beautifully with the Gruyère.
Vegetable Boost: Add steamed broccoli florets, roasted butternut squash cubes, or sautéed mushrooms to the pasta before baking. My sister-in-law adds a full head of roasted garlic to her cheese sauce, and honestly, it’s genius. The sweetness of the roasted garlic balances the sharp cheddar perfectly.
Spice It Up: Add a chopped jalapeño to the cheese sauce or stir in some diced green chiles for a Southwest twist. I made a version with chipotle powder and smoked Gouda for a barbecue-themed party, and people went crazy for it.
Dairy-Free Option: Use unsweetened oat milk or cashew milk instead of whole milk, and substitute the cheeses with your favorite dairy-free alternatives. I’ve had good luck with Violife’s cheddar and mozzarella shreds, though the texture is slightly different. The cream cheese can be replaced with a dairy-free version or simply omitted.
Serving & Storage Suggestions
This mac and cheese is best served hot, straight from the oven, with that golden topping still crispy. I like to set it on the table in the baking dish with a big spoon so everyone can help themselves. It pairs beautifully with a simple green salad dressed with lemon vinaigrette—the acidity cuts through the richness of the cheese. For a heartier meal, serve it alongside roasted chicken, grilled steak, or even a pile of roasted vegetables.
If you’re making it for a party, you can assemble the whole dish up to 24 hours ahead of time. Just prepare the mac and cheese through step 6, cover it tightly with foil, and refrigerate. When you’re ready to bake, let it sit on the counter for 30 minutes to take the chill off, then bake as directed. You might need to add 5 to 10 minutes to the baking time since it’s starting from cold.
Storing Leftovers: Store any leftovers in an airtight container in the refrigerator for up to 4 days. The topping will lose its crunch, but the mac and cheese itself will still be delicious. To reheat: Place individual portions in the microwave for 1 to 2 minutes, or reheat the whole dish in a 350°F (175°C) oven for 15 to 20 minutes. Add a splash of milk before reheating to restore some creaminess.
Freezing: This mac and cheese freezes beautifully. Assemble it completely but don’t bake it. Cover it tightly with plastic wrap and then foil, and freeze for up to 3 months. To bake from frozen, remove the plastic wrap, cover with foil, and bake at 375°F (190°C) for 45 to 50 minutes, then uncover and bake for another 15 minutes until golden and bubbly.
Nutritional Information & Benefits
Here’s the honest truth: this is not a low-calorie dish, and it’s not pretending to be. But it is made with real, whole ingredients, and that counts for something. Here’s a rough estimate per serving (based on 12 servings):
- Calories: Approximately 480-520
- Protein: 22-25g
- Fat: 28-32g
- Carbohydrates: 38-42g
- Fiber: 4-5g (thanks to the whole wheat pasta)
- Calcium: 35-40% of your daily value
The whole wheat pasta adds fiber and complex carbohydrates that help keep you full longer. The cheese provides protein and calcium, which is good for bone health. And the full-fat dairy actually helps your body absorb the fat-soluble vitamins (A, D, E, K) from the cheese. It’s not health food, but it’s honest food—the kind that nourishes both body and soul when eaten in moderation.
For those watching their intake, a smaller portion (about 1 cup instead of the full serving) paired with a big salad makes a satisfying meal that won’t weigh you down.
Conclusion
This four-cheese mac and cheese has become my go-to for every gathering, every holiday, every time I need comfort food that actually delivers. It’s the recipe that changed my brother-in-law’s mind, the one that gets requested at every potluck, the one I turn to when I need something reliable and deeply satisfying. It’s not fancy or complicated, but it’s honest and good, and that’s what matters.
I hope you make this recipe your own. Add your favorite mix-ins, play with the cheese combinations, serve it at your next family dinner and watch it disappear. And when someone asks for the recipe—because they will—send them my way. I’d love to hear how it turned out for you. Drop a comment below and let me know what variations you tried, or tag me in your photos on social media. There’s nothing I love more than seeing this dish bring people together.
Now go preheat that oven. Your mac and cheese adventure is waiting.
Frequently Asked Questions
Can I use pre-shredded cheese?
You can, but I really don’t recommend it. Pre-shredded cheese is coated with anti-caking agents that prevent it from melting smoothly. Your sauce will be grainy instead of silky. Take the extra 5 minutes to shred your own cheese—your taste buds will thank you.
Can I make this recipe without heavy cream?
Yes. Substitute the heavy cream with an additional cup of whole milk or half-and-half. The sauce will be slightly less rich and creamy, but it will still be delicious. You can also use evaporated milk for a similar richness without the extra fat.
Why did my cheese sauce turn out grainy?
Grainy cheese sauce usually happens for one of two reasons: the heat was too high, or the cheese was added too quickly. Keep the heat on low and add the cheese in small handfuls, whisking until each addition is fully melted before adding more. Also, make sure you’re using freshly shredded cheese.
Can I double this recipe for a larger crowd?
Absolutely. Double all the ingredients and use a large roasting pan or two 9×13 dishes. The baking time might increase by 10 to 15 minutes since there’s more volume. Check for doneness by looking for bubbling edges and a golden top.
How do I prevent the breadcrumb topping from burning?
Cover the dish loosely with aluminum foil for the last 10 to 15 minutes of baking. This allows the inside to get hot and bubbly without the topping getting too dark. If you prefer an extra-crispy topping, remove the foil for the last 5 minutes of baking.
Pin This Recipe!
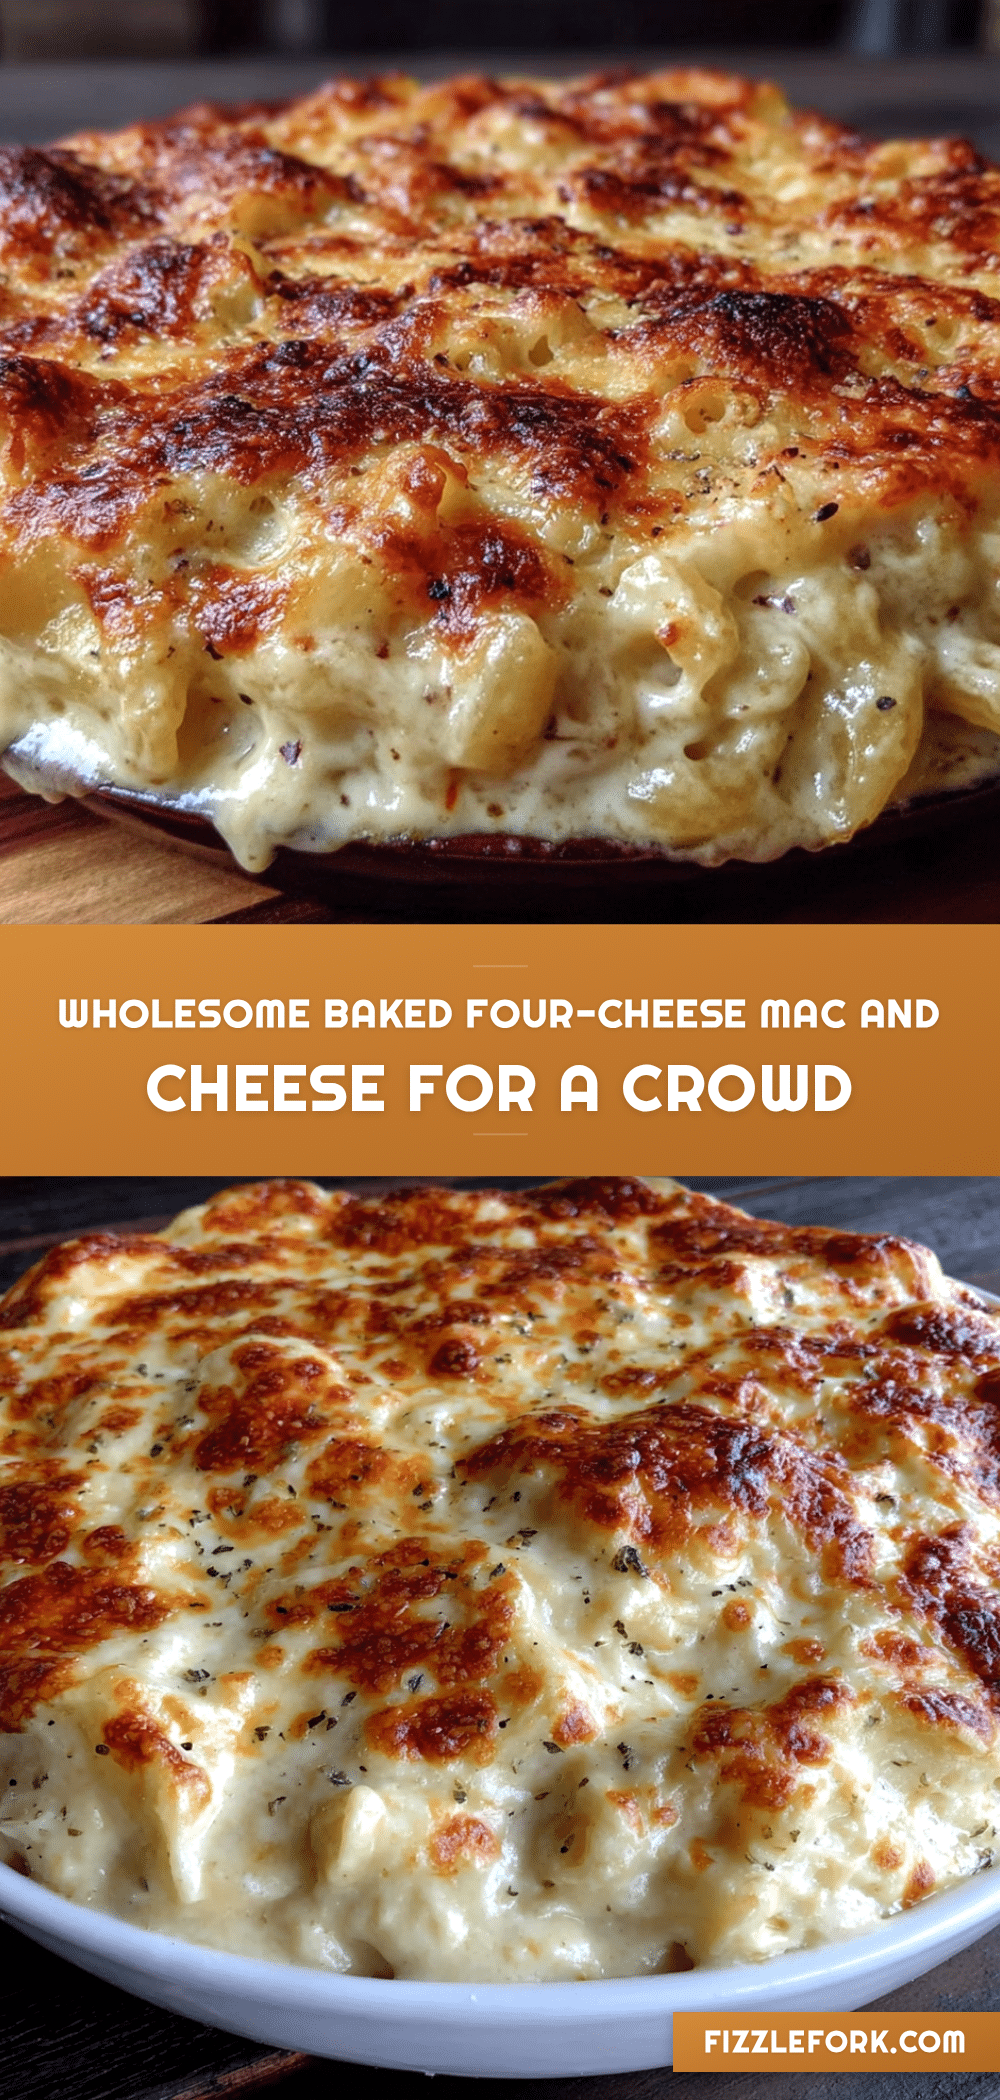
Best Easy Four-Cheese Mac and Cheese for a Crowd
This creamy, indulgent four-cheese mac and cheese is made with sharp cheddar, Gruyère, mozzarella, and cream cheese, baked with a crispy panko topping. Perfect for feeding a crowd at potlucks, holidays, or game days.
- Prep Time: 45 minutes
- Cook Time: 30 minutes
- Total Time: 1 hour 15 minutes
- Yield: 12 to 16 servings 1x
- Category: Main Course
- Cuisine: American
Ingredients
- 1 pound (454g) whole wheat elbow macaroni or cavatappi
- Salt for the pasta water
- 4 tablespoons (56g) unsalted butter
- 1/4 cup (31g) all-purpose flour
- 3 cups (710ml) whole milk
- 1 cup (237ml) heavy cream
- 2 cups (226g) sharp cheddar cheese, shredded
- 1 1/2 cups (170g) Gruyère cheese, shredded
- 1 cup (113g) mozzarella cheese, shredded
- 4 ounces (113g) cream cheese, softened
- 1 teaspoon Dijon mustard
- 1/2 teaspoon garlic powder
- 1/2 teaspoon smoked paprika
- 1/4 teaspoon cayenne pepper (optional)
- Salt and black pepper to taste
- 1 cup (85g) panko breadcrumbs
- 2 tablespoons (28g) unsalted butter, melted
- 1/4 cup (28g) grated Parmesan cheese
- 1 tablespoon fresh parsley, chopped (optional)
Instructions
- Preheat your oven to 375°F (190°C). Grease a 9×13-inch baking dish with butter or nonstick spray. Shred all cheeses if not already done.
- Fill a large stockpot with water and bring to a rolling boil. Add a generous tablespoon of salt. Cook the pasta according to package directions for al dente, but 1 to 2 minutes less than recommended. Drain well without rinsing.
- While the pasta cooks, melt 4 tablespoons of butter in a large saucepan over medium heat. Add the flour and whisk constantly for 1 to 2 minutes until the roux turns light golden and smells nutty.
- Slowly pour in the milk and heavy cream while whisking constantly. Continue whisking until the mixture thickens and coats the back of a spoon, about 3 to 4 minutes. Reduce heat to low. Add the softened cream cheese and whisk until smooth.
- Add the shredded cheddar, Gruyère, and mozzarella in handfuls, whisking after each addition until fully melted. Keep heat on low. Stir in Dijon mustard, garlic powder, smoked paprika, cayenne (if using), and salt and pepper to taste.
- Add the drained pasta to the cheese sauce and stir until every piece is coated. Pour into the prepared baking dish and spread evenly.
- In a small bowl, mix panko breadcrumbs with melted butter and grated Parmesan until evenly moistened. Sprinkle over the mac and cheese.
- Bake for 15 minutes. Then cover loosely with aluminum foil and bake for another 10 to 15 minutes, until the sauce is bubbling and the top is golden brown. Let rest for 5 to 10 minutes before serving.
Notes
Shred your own cheese for a smooth sauce. Cook pasta al dente to avoid mushiness. Keep heat low when making the cheese sauce to prevent graininess. Let the dish rest after baking for clean slices. For make-ahead, assemble up to 24 hours in advance and refrigerate; add 5-10 minutes to baking time. To freeze, assemble unbaked, wrap tightly, and freeze for up to 3 months; bake from frozen at 375°F for 45-50 minutes covered, then 15 minutes uncovered.
Nutrition
- Serving Size: 1 serving (about 1 c
- Calories: 480520
- Sugar: 68
- Sodium: 600800
- Fat: 2832
- Saturated Fat: 1620
- Carbohydrates: 3842
- Fiber: 45
- Protein: 2225
Keywords: mac and cheese, four-cheese, baked mac and cheese, crowd-pleaser, comfort food, whole wheat pasta, cheddar, Gruyère, mozzarella, cream cheese, panko topping