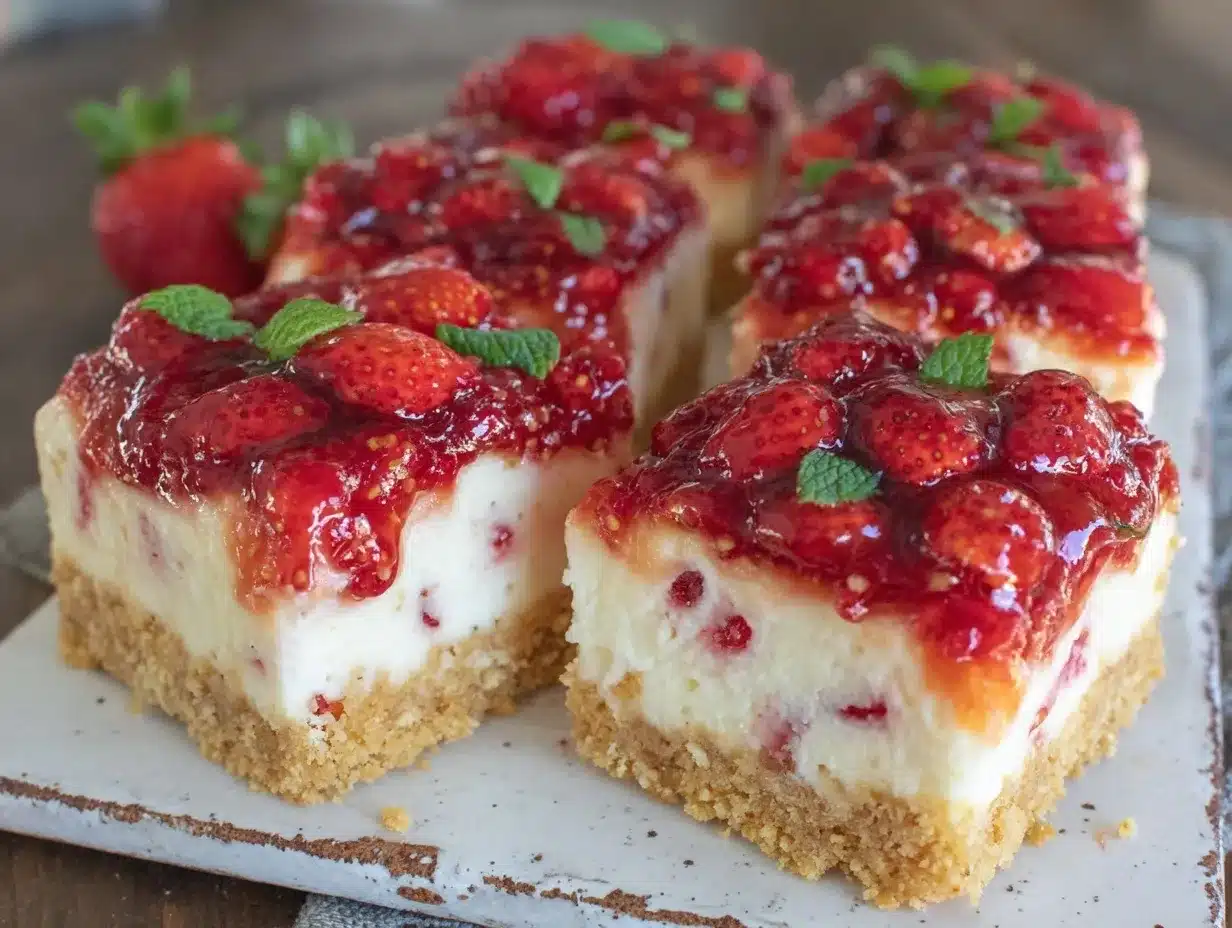
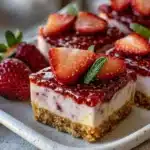
Early July morning, and the kitchen feels cool against the summer heat that’s already creeping in through the cracked window. The faint smell of fresh strawberries lingers in the air, mingling with the soft hum of the refrigerator. I’m standing at the counter, slicing strawberries with a quiet kind of focus, arranging them carefully on a pan of creamy cheesecake bars. It’s a simple ritual—the kind I keep coming back to each summer—not for any grand occasion, just because these Easy No-Bake Strawberry Cheesecake Flag Bars feel right for this time of year. The way the bright red berries catch the light and contrast with the snowy white cheesecake layer, all resting on a buttery graham cracker crust, it’s a little moment of calm and sweetness I look forward to.
Honestly, it’s not about impressing anyone or making a fuss. It’s that perfect mix of cool, sweet, and fresh—the kind of dessert that invites you to pause, take a slow bite, and feel a quiet kind of contentment. I’ve made these bars on lazy weekend mornings, after long afternoons by the pool, and yes, even for the occasional summer party where they vanish faster than expected. There’s something about putting together this no-bake treat that feels like a slow celebration of summer’s best flavors, especially when paired with a glass of sparkling strawberry lemonade punch.
These bars have stuck with me over the years because they’re easy enough to pull off without fuss, but they taste like you put in the kind of care you’d only find in a long, quiet afternoon spent in the kitchen. The strawberry flag pattern on top isn’t just festive—it’s a reminder of those small, slow moments that make summer feel like summer. If you like no-bake treats that are both light and indulgent, you’ll find these bars hard to resist.
Why You’ll Love This Recipe
After tinkering with cheesecake bars for a while, I landed on this version that’s become my go-to for any summer gathering. Here’s why it’s such a winner:
- Quick & Easy: This recipe comes together in under 30 minutes, so you’re not stuck in the kitchen all day. Perfect for those last-minute summer parties when you want something impressive but fuss-free.
- Simple Ingredients: No fancy or hard-to-find items here. Just basics like cream cheese, strawberries, graham crackers, and a few pantry staples.
- Perfect for Summer Parties: The patriotic strawberry flag design makes it a standout at 4th of July barbecues, family picnics, or casual get-togethers.
- Crowd-Pleaser: Kids and adults alike can’t get enough. The creamy cheesecake with fresh strawberry topping strikes just the right balance of refreshing and indulgent.
- Unbelievably Delicious: The crust is buttery and crisp, the cheesecake layer smooth and tangy, and the strawberry topping fresh and bright—honestly, the combo is comfort food with a light twist.
What sets this recipe apart is the no-bake technique combined with the fresh strawberry flag design. I experimented with blending cottage cheese once (more of a texture experiment that didn’t stick), but settling on a classic cream cheese and whipped topping base gave me the smoothest, most satisfying texture. Also, layering the strawberries in a neat flag shape takes a little patience but makes all the difference for a festive look. It’s not just a dessert—it’s a quiet celebration you can put together without breaking a sweat.
What Ingredients You Will Need
This recipe uses simple, wholesome ingredients to deliver bold flavor and that satisfying creamy texture without any baking hassle. Most of these you might already have in your pantry or fridge, which makes it even better for those spontaneous summer dessert needs.
- For the Crust:
- 1 ½ cups graham cracker crumbs (about 10 full sheets, finely crushed)
- ⅓ cup unsalted butter, melted (adds richness and holds the crust together)
- 2 tablespoons granulated sugar (balances the buttery crust)
- For the Cheesecake Layer:
- 16 oz (450g) cream cheese, softened (I like Philadelphia for the smoothest texture)
- 1 cup powdered sugar (for sweetness without graininess)
- 1 teaspoon vanilla extract (pure vanilla really makes a difference here)
- 1 cup heavy whipping cream, cold (whipped to soft peaks for lightness)
- For the Strawberry Topping:
- 2 cups fresh strawberries, hulled and sliced thin (in summer, fresh berries are a must; frozen won’t give the same vibrant look)
- 2 tablespoons strawberry jam or preserves (optional, to brush over for shine)
- Blueberries (about ½ cup) for the flag’s “stars” section
If you want a gluten-free crust, swap the graham cracker crumbs with almond flour or gluten-free graham crumbs. Also, if dairy is a concern, use dairy-free cream cheese and coconut cream instead of heavy cream. The recipe still holds up nicely with those adjustments.
Equipment Needed
- 9×13-inch (23×33 cm) baking pan or dish – I find glass or metal works fine, but glass is easier to keep chilled.
- Mixing bowls – one for whipping cream, one for mixing cream cheese.
- Electric hand mixer or stand mixer – essential for whipping the cream and smoothing the cheesecake layer.
- Spatula – for folding and spreading layers smoothly.
- Measuring cups and spoons – for accuracy, especially with sugar and butter measurements.
- Food processor or plastic bag and rolling pin – to crush graham crackers finely.
- Sharp knife – for slicing strawberries evenly.
If you don’t have a mixer, you can whip cream by hand with a balloon whisk, but it takes extra elbow grease. For the crust, if you don’t have a food processor, just put the graham crackers in a sealed plastic bag and crush them with a rolling pin or heavy pan—works just as well, trust me.
Preparation Method
- Make the crust: In a bowl, combine 1 ½ cups of finely crushed graham cracker crumbs with ⅓ cup melted butter and 2 tablespoons granulated sugar. Mix well until the crumbs are evenly coated and the mixture feels like wet sand. Press the mixture firmly into the bottom of your 9×13-inch pan to create an even layer. Use the bottom of a glass or measuring cup to compact it tightly. Chill in the fridge while you prepare the filling (about 10 minutes).
- Prepare the cheesecake filling: In a large mixing bowl, beat the softened cream cheese until smooth and creamy—no lumps should remain. Add 1 cup powdered sugar and 1 teaspoon vanilla extract, continuing to beat until fully incorporated. In a separate chilled bowl, whip 1 cup cold heavy whipping cream to soft peaks. Gently fold the whipped cream into the cream cheese mixture using a spatula, taking care not to deflate the mixture. This folding step is key to keeping the filling light and airy.
- Assemble the cheesecake layer: Spread the cheesecake filling evenly over the chilled crust. Use an offset spatula or the back of a spoon to smooth the top gently. Return the pan to the fridge to chill for at least 1 hour. This helps the filling set up before adding the fruit topping.
- Prepare the strawberry flag topping: While the cheesecake layer chills, wash and hull the strawberries. Slice them thinly, about ⅛-inch thick, so they lay flat and even. When ready, arrange the blueberries in the top left corner of the pan to mimic the “stars” on the flag—about a 3×3 grid works well.
- Arrange strawberry stripes: Starting at the top right next to the blueberries, lay out strawberry slices in neat horizontal rows across the rest of the pan. Alternate the rows to create the flag’s stripes effect—this is a bit of a slow step but well worth the effort. If you want a glossy finish, gently brush the strawberries with warmed strawberry jam using a pastry brush.
- Chill and serve: Once the flag is assembled, chill the bars for at least 2 more hours or overnight for the best texture. When ready, slice into squares with a sharp knife (dip the knife in warm water and wipe it clean between cuts for neat edges). Serve chilled and enjoy the cool, creamy, fruity goodness.
Cooking Tips & Techniques
Making these no-bake bars is pretty straightforward, but a few tips make all the difference:
- Soften cream cheese fully: If the cream cheese isn’t softened enough, you’ll end up with lumps. A quick tip is to microwave it in 10-second bursts, checking often.
- Whip cream right: Don’t overwhip the heavy cream. Once you see soft peaks form, stop. Overwhipping can turn it grainy or into butter.
- Folding technique matters: When combining whipped cream and cream cheese, use a gentle folding motion to keep the filling airy. Stirring aggressively will deflate the cream.
- Chill times are key: Don’t rush the setting stages. The crust needs to firm to hold the filling, and the filling needs to set for clean slicing.
- Neat strawberry slices: Use a sharp knife and slice strawberries evenly; uneven pieces make it tricky to create the flag pattern.
- Cleaning the knife: For slicing bars without mess, dip your knife in hot water and wipe it dry between cuts.
Early on, I used to skip chilling steps and ended up with messy, runny bars. Patience pays off here, and you’ll impress yourself with how clean and perfect those flag bars look.
Variations & Adaptations
You can easily switch things up with this recipe to suit different tastes and dietary needs:
- Berry Medley: Replace strawberries and blueberries with raspberries and blackberries for a mixed berry flag look. It’s a bit more rustic but just as delicious.
- Gluten-Free Crust: Use almond flour or gluten-free graham cracker crumbs to make this dessert gluten-free without sacrificing texture.
- Vegan Version: Swap cream cheese with vegan cream cheese, use coconut cream instead of heavy cream, and a vegan butter substitute for the crust. The flag design still holds up beautifully.
- Chocolate Twist: Add a thin layer of melted dark chocolate between the crust and cheesecake filling for a subtle chocolate surprise.
- Mini Cheesecake Bars: Make individual servings in muffin tins lined with paper cups for easy portion control and party-friendly presentation.
Once, I tried adding a layer of lemon curd beneath the strawberry topping—it gave a nice tangy surprise that cut through the richness. If you want to try that, spread about ¼ cup lemon curd on top of the cheesecake layer before chilling.
Serving & Storage Suggestions
These cheesecake bars are best served chilled, straight from the fridge. Their creamy texture and fresh fruit topping shine when cool, especially on a warm summer day.
For presentation, I like to serve them on a simple white plate so the vibrant red, white, and blue colors pop. They pair wonderfully with a tall glass of iced tea or the previously mentioned sparkling strawberry lemonade punch. If you’re hosting a backyard BBQ, these bars fit right in alongside savory dishes like smoked pulled pork sliders for a sweet finish.
To store, cover the pan tightly with plastic wrap or transfer bars to an airtight container. They keep well in the fridge for up to 4 days. If you want to make them ahead for a party, they hold up nicely overnight, and the flavors meld beautifully. Avoid freezing, as the fresh strawberries don’t thaw well and can become mushy.
When reheating isn’t an option here, but letting the bars sit at room temperature for about 10 minutes before serving softens the cheesecake slightly, making it even creamier.
Nutritional Information & Benefits
Each serving of these Easy No-Bake Strawberry Cheesecake Flag Bars offers a balanced treat with creamy dairy and fresh fruit. Estimated per bar (assuming 12 servings):
| Calories | Fat | Carbohydrates | Protein | Sugar |
|---|---|---|---|---|
| 250 kcal | 18g | 18g | 4g | 14g |
The strawberries add vitamin C and antioxidants, giving this dessert a fresh nutrient boost. Using fresh berries instead of sugary jams keeps it lighter. The cream cheese and heavy cream provide calcium and protein, but also saturated fat, so moderation is key. For those watching carbs, swapping the crust with almond flour lowers the carb count.
Personally, I find this dessert fits well into a balanced summer diet—something indulgent but balanced by fresh fruit and simple ingredients. It’s a reminder that treating yourself doesn’t have to come with complicated recipes or guilt.
Conclusion
These Easy No-Bake Strawberry Cheesecake Flag Bars are the kind of dessert that feels like a small celebration in every bite. They bring together fresh summer berries, creamy cheesecake, and a buttery crust—all without turning on the oven. Whether you’re making them for a holiday, a casual weekend, or just because, they deliver that cool, sweet satisfaction that summer dessert dreams are made of.
Feel free to customize the flag design or swap ingredients to suit your family’s tastes—this recipe is forgiving and flexible. I love how these bars make me slow down, focus on simple pleasures, and enjoy the season’s best flavors in a quiet, satisfying way.
If you try them out, I’d love to hear how you made them your own. Share your tweaks or favorite moments in the comments below, and maybe pair them with some of my other summer favorites like the creamy strawberry pretzel salad cheesecake bars or the festive flag sheet cake. Here’s to sweet, simple summers!
FAQs About Easy No-Bake Strawberry Cheesecake Flag Bars
Can I use frozen strawberries for these bars?
It’s best to use fresh strawberries for the topping because frozen berries release extra moisture and can make the bars soggy. If you do use frozen, thaw and drain them thoroughly, then pat dry before arranging.
How long do these bars keep in the refrigerator?
Stored in an airtight container, these bars stay fresh for up to 4 days. After that, the crust may soften, and the strawberries might lose their firmness.
Can I make these bars ahead of time?
Absolutely! They actually taste better after chilling overnight as the flavors meld and the cheesecake layer sets perfectly.
Is there a way to make these bars gluten-free?
Yes, substitute the graham cracker crumbs with gluten-free alternatives like almond flour or gluten-free graham cracker crumbs.
What’s the best way to cut neat squares?
Use a sharp knife dipped in hot water and wiped clean between each cut. This helps slice cleanly through the creamy layers without sticking.
Pin This Recipe!
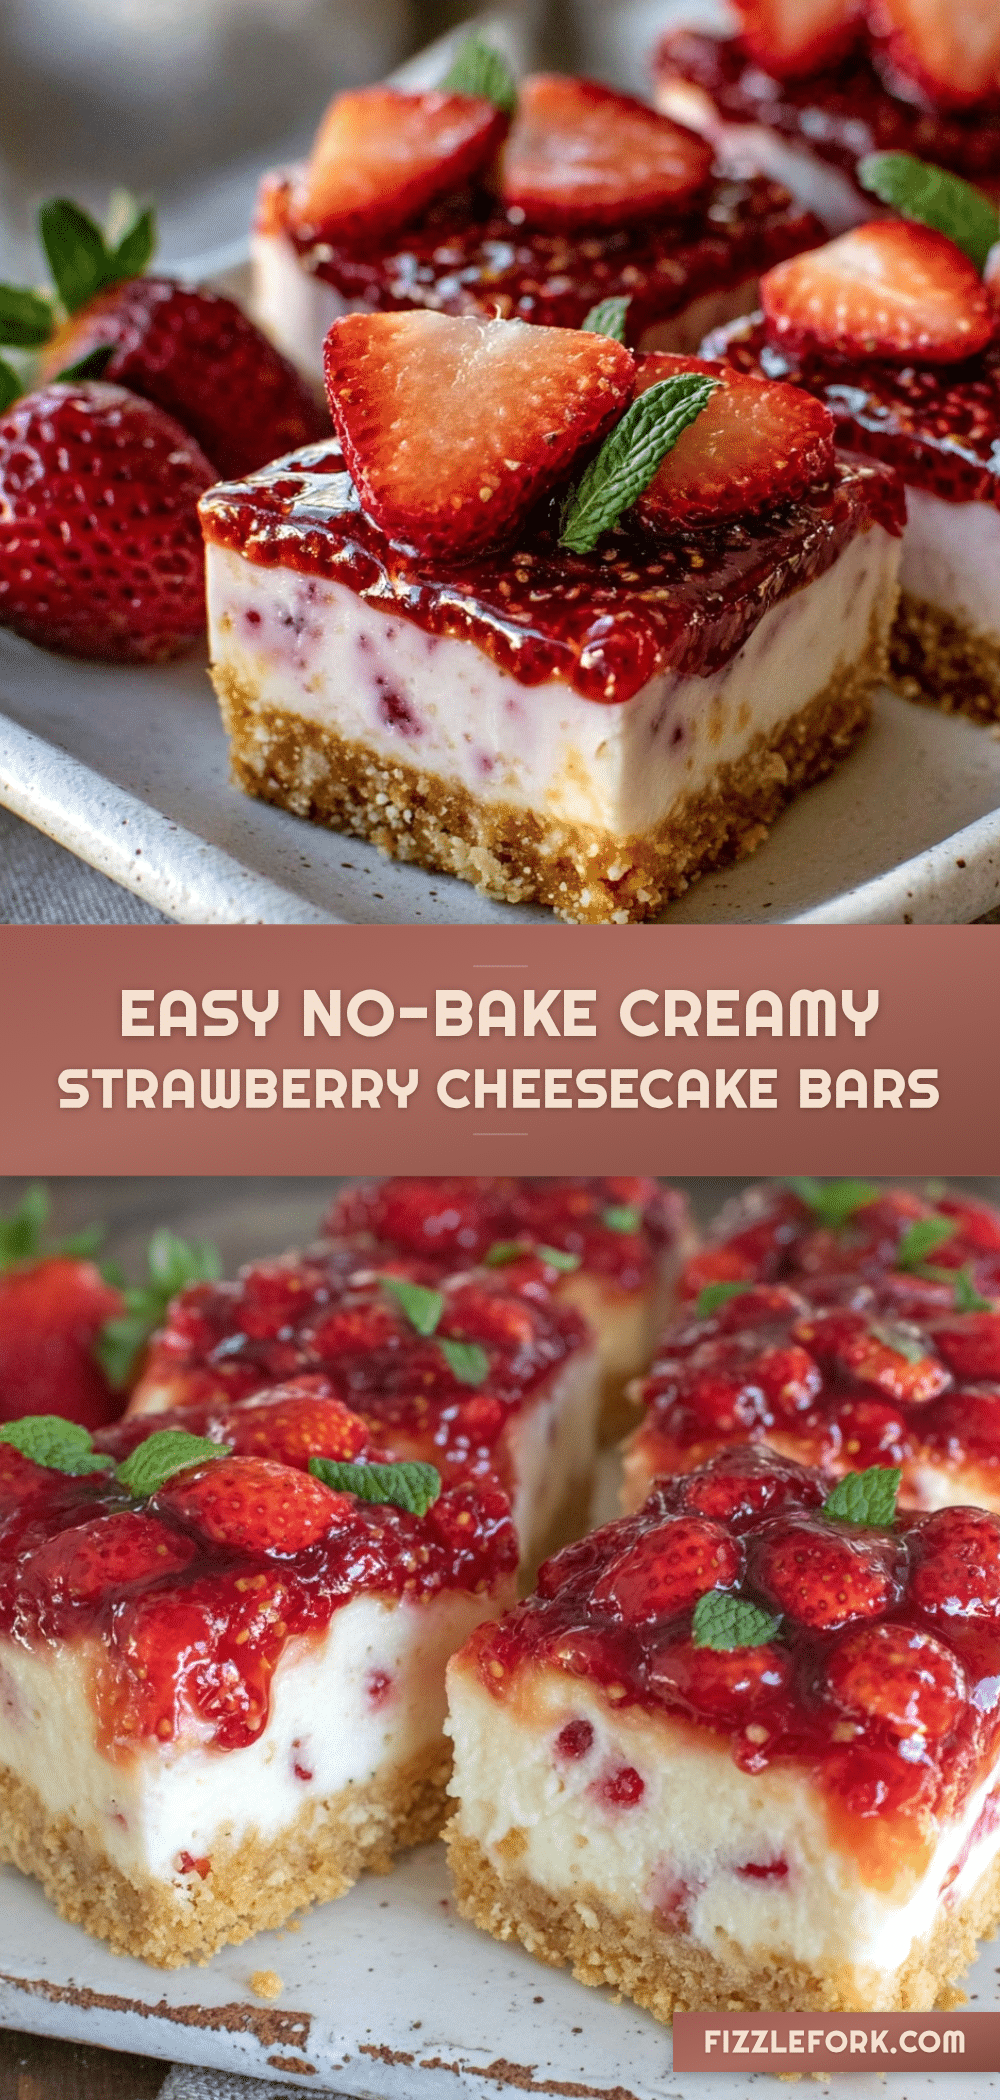
Easy No-Bake Strawberry Cheesecake Flag Bars
A simple, no-bake cheesecake bar recipe featuring a buttery graham cracker crust, creamy cheesecake layer, and a fresh strawberry and blueberry flag topping, perfect for summer parties.
- Prep Time: 20 minutes
- Cook Time: 0 minutes
- Total Time: 3 hours 30 minutes
- Yield: 12 servings 1x
- Category: Dessert
- Cuisine: American
Ingredients
- 1 ½ cups graham cracker crumbs (about 10 full sheets, finely crushed)
- ⅓ cup unsalted butter, melted
- 2 tablespoons granulated sugar
- 16 oz (450g) cream cheese, softened
- 1 cup powdered sugar
- 1 teaspoon vanilla extract
- 1 cup heavy whipping cream, cold
- 2 cups fresh strawberries, hulled and sliced thin
- 2 tablespoons strawberry jam or preserves (optional)
- ½ cup blueberries
Instructions
- Make the crust: In a bowl, combine 1 ½ cups of finely crushed graham cracker crumbs with ⅓ cup melted butter and 2 tablespoons granulated sugar. Mix well until the crumbs are evenly coated and the mixture feels like wet sand. Press the mixture firmly into the bottom of your 9×13-inch pan to create an even layer. Use the bottom of a glass or measuring cup to compact it tightly. Chill in the fridge for about 10 minutes.
- Prepare the cheesecake filling: In a large mixing bowl, beat the softened cream cheese until smooth and creamy. Add 1 cup powdered sugar and 1 teaspoon vanilla extract, continuing to beat until fully incorporated. In a separate chilled bowl, whip 1 cup cold heavy whipping cream to soft peaks. Gently fold the whipped cream into the cream cheese mixture using a spatula, taking care not to deflate the mixture.
- Assemble the cheesecake layer: Spread the cheesecake filling evenly over the chilled crust. Use an offset spatula or the back of a spoon to smooth the top gently. Return the pan to the fridge to chill for at least 1 hour.
- Prepare the strawberry flag topping: Wash and hull the strawberries. Slice them thinly, about ⅛-inch thick. Arrange the blueberries in the top left corner of the pan in a 3×3 grid to mimic the stars on the flag.
- Arrange strawberry stripes: Starting at the top right next to the blueberries, lay out strawberry slices in neat horizontal rows across the rest of the pan, alternating rows to create the flag’s stripes effect. Optionally, brush the strawberries with warmed strawberry jam for shine.
- Chill and serve: Chill the bars for at least 2 more hours or overnight for best texture. Slice into squares with a sharp knife dipped in warm water and wiped clean between cuts. Serve chilled.
Notes
Soften cream cheese fully before mixing to avoid lumps. Whip cream to soft peaks and fold gently to keep filling airy. Chill crust and filling properly for best texture. Use a sharp knife dipped in warm water and wiped clean between cuts for neat slices. Fresh strawberries are preferred over frozen to avoid sogginess. Can be made gluten-free or vegan with substitutions.
Nutrition
- Serving Size: 1 bar (1/12 of recip
- Calories: 250
- Sugar: 14
- Fat: 18
- Carbohydrates: 18
- Protein: 4
Keywords: no-bake cheesecake, strawberry cheesecake bars, summer dessert, patriotic dessert, easy cheesecake, no-bake dessert, strawberry flag bars