My husband swore he hated chili. For five years. Every time I mentioned making it, he’d make that face—you know the one. The “please don’t” face. He claimed it was too heavy, too tomato-y, and honestly, he just wasn’t interested. I stopped bringing it up. Then, last October, I was testing a venison recipe for the blog. I had a pound of ground venison left over and a cold, rainy Saturday stretching out in front of me. I figured I’d make a small pot of chili “just for myself” and freeze the rest for lunches. I browned the meat, let the aromatics fill the kitchen, and let that pot bubble away in my Dutch oven for a good two hours.
Around the one-hour mark, I caught him hovering near the stove. He was pretending to look for a snack, but I saw him lift the lid and take a long sniff. I didn’t say a word. When I finally ladled myself a bowl, I sat down at the counter with a spoonful of cornbread. He walked over, grabbed a spoon, and—without asking—dipped it straight into my bowl. I froze. He took a bite. Then another. Then he looked at me and said, “Okay, this is good. This is different.”
That was the moment. He didn’t apologize for years of chili-slander, but he didn’t have to. I just smiled and pushed the pot toward him. Let me tell you, watching someone eat their words—literally—is one of the most satisfying feelings a home cook can have. This Dutch Oven Venison Chili with Beans is the reason I now make chili at least twice a month. It’s rich without being heavy, smoky without being overpowering, and it has this deep, slow-simmered flavor that tricks you into thinking you spent all day stirring. I think you’re going to love it, too.
Why You’ll Love This Recipe
This isn’t just another chili recipe. I’ve tested about a dozen versions over the years, and this one is the keeper. Here is why it stands out:
- Rich, Deep Flavor: Venison has a lean, earthy quality that takes to bold spices better than beef. When you brown it properly in a Dutch oven, you get this incredible fond on the bottom of the pot that builds layers of flavor you just can’t get from a quick stovetop simmer.
- Simple Ingredients: No weird processed mixes or hard-to-find ingredients. You probably have most of these in your pantry right now. The venison is the star, and everything else just supports it.
- Perfect for Game Day or Cozy Nights: This chili works for everything. Football Sundays, cold winter weeknights, or even a big pot for a crowd. It’s hearty enough to be a meal on its own but flexible enough to serve with all the fixings.
- Crowd-Pleaser: I’ve served this to people who “don’t like venison” and people who “don’t like beans in chili.” Both groups went back for seconds. It’s that balanced.
- Unbelievably Satisfying: There is something about the way the venison absorbs the smoky chili powder and the beans soak up all that broth. Every spoonful is just… right. It’s the kind of meal that makes you slow down and actually enjoy eating.
What makes this recipe different from the rest? It’s the technique. Most people rush the browning step or skip it entirely. I’m telling you—do not skip it. That deep, caramelized crust on the venison is where the magic lives. I also use a combination of dried and canned beans for the best texture, and I finish the chili with a splash of apple cider vinegar that brightens everything up without making it taste acidic. It’s a small trick, but it makes a huge difference.
This chili is comfort food reimagined. It’s healthier than traditional beef chili—venison is leaner and higher in protein—but it has the same soul-soothing satisfaction. You get to feel good about what you’re eating without sacrificing any of the flavor. Honestly, that’s the sweet spot.
What Ingredients You Will Need
This recipe uses simple, wholesome ingredients to deliver bold flavor and satisfying texture without the fuss. Most of these are pantry staples or easy to find at any grocery store. Here is what you will need:
For the Chili Base
- 2 pounds ground venison (if using lean venison, you may need a splash of oil for browning; if using a fattier grind, you can drain some fat after browning)
- 1 large yellow onion, diced (about 2 cups; adds sweetness and depth)
- 1 red bell pepper, diced (adds color and a mild sweetness)
- 4 cloves garlic, minced (fresh is best; don’t use the jarred stuff here)
- 2 jalapeños, seeded and minced (leave the seeds in if you want more heat)
Spice Blend
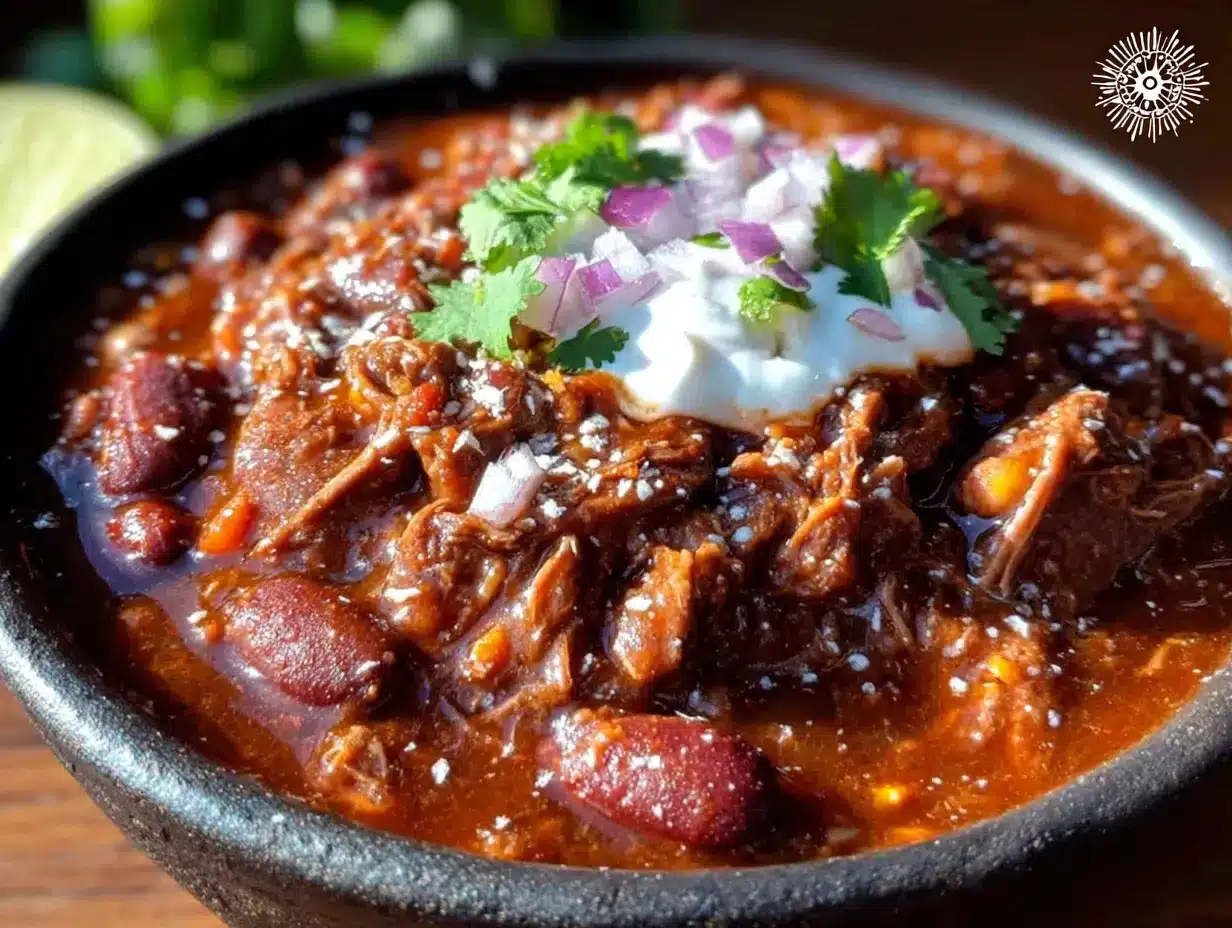
- 3 tablespoons chili powder (I prefer Gebhardt or a blend from a local spice shop; avoid old, stale chili powder—it makes a flat chili)
- 1 tablespoon ground cumin (toast it in the pan for 30 seconds before adding liquid for more flavor)
- 1 teaspoon smoked paprika (this gives the chili its subtle smokiness)
- 1 teaspoon dried oregano (Mexican oregano is ideal if you have it)
- 1/2 teaspoon cayenne pepper (adjust to your heat preference)
- 1 teaspoon salt (plus more to taste)
- 1/2 teaspoon black pepper
Liquids & Canned Goods
- 1 can (14.5 ounces) fire-roasted diced tomatoes (fire-roasted adds a subtle charred flavor that works beautifully with venison)
- 1 can (15 ounces) tomato sauce (not tomato paste; we want a smooth, pourable sauce)
- 2 cups beef broth (use low-sodium so you can control the salt; venison broth works great if you have it)
- 1 tablespoon Worcestershire sauce (adds umami depth)
- 1 tablespoon apple cider vinegar (added at the end to brighten the flavors)
Beans
- 1 can (15 ounces) kidney beans, drained and rinsed
- 1 can (15 ounces) black beans, drained and rinsed
- 1/2 cup dried pinto beans, cooked until tender (or use an extra can of pinto beans if you’re short on time; I like the texture of dried beans here—they hold their shape better)
Optional Toppings
- Shredded cheddar cheese, sour cream, diced avocado, fresh cilantro, sliced green onions, crushed tortilla chips
Ingredient Note: If you are new to cooking venison, here is a tip: venison is very lean, so it can dry out if you overcook it. For this chili, that isn’t a big concern because it simmers in liquid, but you still want to brown it properly. If your venison is extremely lean (like most wild game), add a tablespoon of olive oil or bacon fat to the pot before browning. I’ve used both, and honestly, bacon fat is a game-changer for this recipe.
Equipment Needed
The star of the show here is the Dutch oven. I use a 6-quart enameled cast iron Dutch oven (my Le Creuset is my prized possession, but a Lodge works just as well and costs a fraction of the price). The heavy bottom distributes heat evenly and retains it beautifully, which is exactly what you want for a long, slow simmer.
If you don’t have a Dutch oven, you can use a heavy-bottomed stockpot or a large stainless steel pot with a lid. Just be aware that the heat distribution won’t be as even, and you may need to stir more frequently to prevent scorching on the bottom.
Other tools you will need:
- A sharp chef’s knife (for dicing onions and peppers without crying—or at least with less crying)
- A wooden spoon or spatula (for scraping up the browned bits—that fond is flavor gold)
- A measuring spoon set (for the spices; don’t eyeball them)
- A colander (for draining and rinsing the canned beans)
- A ladle (for serving)
Budget-Friendly Tip: If you don’t own a Dutch oven yet, keep an eye on sales at places like TJ Maxx or HomeGoods. I found my first Lodge Dutch oven there for $30, and it lasted me five years before I upgraded. You really don’t need a fancy one to make great chili.
Preparation Method
Let’s get cooking. This recipe takes about 45 minutes of active prep and then 1.5 to 2 hours of simmering. The simmering is where the magic happens, so don’t rush it.
Step 1: Brown the Venison (10 minutes)
Place your Dutch oven over medium-high heat. Add 1 tablespoon of oil (or bacon fat) and let it get hot—you should see it shimmer. Add the ground venison in an even layer. Do not crowd the pot; if you have to, work in two batches. Let the meat sit undisturbed for 3-4 minutes until it forms a deep brown crust. Then break it apart with your wooden spoon and continue cooking until no pink remains. This should take about 6-8 minutes total. Use a slotted spoon to transfer the browned venison to a bowl, leaving any rendered fat in the pot.
Personal Tip: The first time I made venison chili, I stirred the meat constantly while browning. Big mistake. You need to let it sit and develop that crust. Trust me on this. It’s the difference between a good chili and a great one.
Step 2: Sauté the Aromatics (5 minutes)
Reduce the heat to medium. Add the diced onion and bell pepper to the pot. Cook, stirring occasionally, for 4-5 minutes until the onion is translucent and starting to soften. Add the minced garlic and jalapeños, and cook for another minute until fragrant. If the pot looks dry, add a splash of broth.
Step 3: Bloom the Spices (1 minute)
Add all the spices—chili powder, cumin, smoked paprika, oregano, cayenne, salt, and black pepper—directly to the pot. Stir constantly for 30-60 seconds. This “blooming” step wakes up the spices and makes them more aromatic. Your kitchen will smell incredible at this point.
Step 4: Deglaze the Pot (2 minutes)
Pour in about 1/2 cup of the beef broth and use your wooden spoon to scrape up all those browned bits from the bottom of the pot. This is where so much flavor lives. Don’t skip it.
Step 5: Build the Chili (5 minutes)
Return the browned venison to the pot. Add the fire-roasted diced tomatoes (with their juices), tomato sauce, remaining beef broth, Worcestershire sauce, and the cooked dried pinto beans (if using). Stir everything together until well combined.
Step 6: Simmer (1.5 to 2 hours)
Bring the chili to a gentle boil, then reduce the heat to low. Cover the pot with the lid slightly ajar to allow some steam to escape. Let it simmer for 1.5 to 2 hours, stirring every 20 minutes or so to prevent sticking. The chili should be bubbling gently, not furiously.
Sensory Cue: After about 45 minutes, the chili will start to thicken and the color will deepen to a rich, dark red. The aroma will fill your entire house. You’ll know it’s ready when the liquid has reduced and the chili has a hearty, stew-like consistency.
Step 7: Add the Canned Beans (5 minutes)
About 15 minutes before you’re ready to serve, stir in the drained and rinsed kidney beans and black beans. Let them heat through. If you add them too early, they can turn mushy. We want them to hold their shape.
Step 8: Finish with Vinegar (1 minute)
Just before serving, stir in the apple cider vinegar. This is the secret step that brightens all the flavors and balances the richness. Taste and adjust salt and heat levels as needed.
Step 9: Serve
Ladle the chili into bowls and top with your favorite garnishes. I love a pile of shredded cheddar, a dollop of sour cream, and a handful of crushed tortilla chips for crunch.
Cooking Tips & Techniques
Over the years, I’ve made every mistake in the book with chili. Here are the lessons I learned so you don’t have to:
Don’t rush the browning. I cannot emphasize this enough. The Maillard reaction—that browning process—is what gives the venison its deep, savory flavor. If you crowd the pot or stir too much, the meat will steam instead of brown. Be patient. Let it sit. Your future self will thank you.
Toast your spices. I know it’s an extra step, but toasting the cumin and chili powder in the hot pot for 30 seconds before adding liquid transforms them. They become nutty and aromatic instead of tasting raw. It takes almost no time and makes a noticeable difference.
Control the heat level. This recipe as written is medium-spicy. If you’re sensitive to heat, start with 1/4 teaspoon of cayenne and skip the jalapeño seeds. If you want it hotter, add an extra jalapeño or a teaspoon of chipotle powder. I once added too much cayenne and had to double the recipe to balance it out—so start low and add more at the end if needed.
Make it ahead. Chili is one of those rare dishes that actually tastes better the next day. The flavors meld and deepen overnight. I often make this on a Sunday and serve it on Monday. Just reheat gently on the stovetop, adding a splash of broth if it’s too thick.
Don’t forget the vinegar. This is the trick I learned from a chef friend. A splash of acid at the end of cooking brightens everything without making it taste sour. It’s like turning on a light in a dark room. Try it once, and you’ll never skip it again.
Variations & Adaptations
One of the best things about chili is how flexible it is. Here are some ways to make this recipe your own:
Dietary Variations
- Bean-Free Chili: If you’re a purist who believes chili shouldn’t have beans, simply omit them. The chili will still be hearty and delicious. You might want to add an extra cup of broth to compensate for the lost volume.
- Vegetarian Version: Swap the venison for 2 pounds of chopped portobello mushrooms and an extra can of black beans. The mushrooms have a meaty texture that works surprisingly well in chili. Brown them the same way you would the venison.
- Low-Carb Option: Skip the beans entirely and add extra bell peppers, zucchini, or even cauliflower florets. The chili will be less thick, but the flavor will still be fantastic.
Flavor Twists
- Smoky Chipotle: Add 1-2 minced chipotle peppers in adobo sauce along with the spices. This adds a wonderful smoky heat that pairs beautifully with venison.
- Dark Chocolate: Stir in 1 ounce of dark chocolate (70% cocoa or higher) during the last 30 minutes of simmering. It doesn’t make the chili sweet—it adds depth and richness, like mole.
- Beer-Braised: Replace 1 cup of the beef broth with a dark beer like a stout or a porter. The beer adds a malty, slightly bitter note that complements the venison. I’ve used Guinness and it was fantastic.
Cooking Method Adaptations
Slow Cooker: Brown the venison and sauté the aromatics on the stovetop first, then transfer everything to a slow cooker. Cook on low for 6-8 hours or on high for 3-4 hours. Add the canned beans during the last 30 minutes.
Instant Pot: Use the sauté function to brown the meat and cook the aromatics, then add all ingredients (except the canned beans and vinegar) and pressure cook on high for 20 minutes. Quick release, stir in the beans and vinegar, and serve.
Serving & Storage Suggestions
This chili is incredibly versatile when it comes to serving. Here are my favorite ways to enjoy it:
Serving Temperature: Serve piping hot, straight from the Dutch oven. I like to let it rest for 5 minutes after cooking to let the flavors settle.
Toppings Bar: Set out bowls of shredded cheddar, sour cream, diced avocado, fresh cilantro, sliced green onions, and crushed tortilla chips. Let everyone customize their own bowl. It makes the meal feel special without any extra work for you.
What to Serve With It: A slice of warm cornbread is the classic pairing, and for good reason—the sweetness balances the smoky heat. I also love serving this chili over a baked potato or with a side of crusty bread for dipping. If you’re keeping it low-carb, a simple green salad with a lime vinaigrette works beautifully.
Storage Instructions: Let the chili cool completely, then transfer it to an airtight container. It will keep in the refrigerator for up to 5 days. The flavors actually improve after a day or two, so don’t be afraid to make it ahead.
Freezer Instructions: This chili freezes like a dream. Portion it into freezer-safe bags or containers, leaving a little room for expansion. It will keep for up to 3 months. Thaw overnight in the refrigerator and reheat gently on the stovetop or in the microwave.
Reheating Tip: When reheating, add a splash of broth or water to loosen the chili, as it will thicken as it sits. Heat over medium-low, stirring occasionally, until warmed through. I find the stovetop gives the best texture, but the microwave works in a pinch.
Nutritional Information & Benefits
This Dutch Oven Venison Chili with Beans is not just delicious—it’s also packed with nutrients. Here is an approximate breakdown per serving (based on 8 servings, without toppings):
- Calories: 350
- Protein: 32g
- Fat: 12g
- Carbohydrates: 28g
- Fiber: 8g
- Sugar: 6g
- Sodium: 680mg
Health Benefits: Venison is one of the leanest red meats available. It’s high in protein, iron, and B vitamins, and it’s lower in saturated fat than beef. The beans add a solid dose of fiber, which helps with digestion and keeps you feeling full. The tomatoes are rich in lycopene, an antioxidant that supports heart health. This is a meal that truly earns its place in a balanced diet.
Dietary Considerations: This recipe is naturally gluten-free (just check your Worcestershire sauce label) and can be made dairy-free by skipping the cheese toppings. It’s also high in protein and fiber, making it a great option for anyone watching their carb intake.
FAQs
Can I use beef instead of venison?
Absolutely. Ground beef (80/20 is best) works perfectly in this recipe. The flavor will be slightly different—less earthy, more traditional—but it will still be delicious. Just follow the same browning instructions.
Can I make this chili in a slow cooker?
Yes, but I recommend browning the venison and sautéing the aromatics on the stovetop first. This step adds so much flavor that you don’t want to skip it. Then transfer everything to the slow cooker and cook on low for 6-8 hours. Add the canned beans during the last 30 minutes.
How do I make this chili less spicy?
Reduce or omit the cayenne pepper and use only one jalapeño (remove the seeds and membranes, which contain most of the heat). You can also use a mild chili powder instead of a hot blend. Taste as you go and adjust to your preference.
Why did my chili turn out watery?
This usually happens if you don’t simmer it long enough. The chili needs time to reduce and thicken. If it’s still watery after 1.5 hours, remove the lid and let it simmer uncovered for another 20-30 minutes. You can also mash some of the beans against the side of the pot to release their starches, which will naturally thicken the chili.
Can I freeze this chili?
Yes, it freezes beautifully. Let the chili cool completely, then portion it into freezer-safe bags or containers. It will keep for up to 3 months. Thaw overnight in the refrigerator and reheat gently on the stovetop. Add a splash of broth if it’s too thick after thawing.
Conclusion
This Dutch Oven Venison Chili with Beans is more than just a recipe—it’s the one that changed my husband’s mind about an entire category of food. It’s the one I make when I want something hearty, satisfying, and a little bit special without spending all day in the kitchen. The venison gives it a unique depth that beef just can’t match, and the slow simmer in a Dutch oven creates a texture that is thick, rich, and completely comforting.
I hope you give this recipe a try, whether you’re a seasoned venison cook or someone who’s never touched the stuff. Customize it to your taste—add more heat, swap the beans, or load it up with all the toppings. That’s the beauty of chili. It’s forgiving, it’s flexible, and it always delivers.
When you make it, I’d love to hear how it turned out. Drop a comment below and let me know if your family loved it as much as mine does. And if you have a favorite chili topping I haven’t tried, please share it—I’m always looking for new ideas. Happy cooking!
Pin This Recipe!
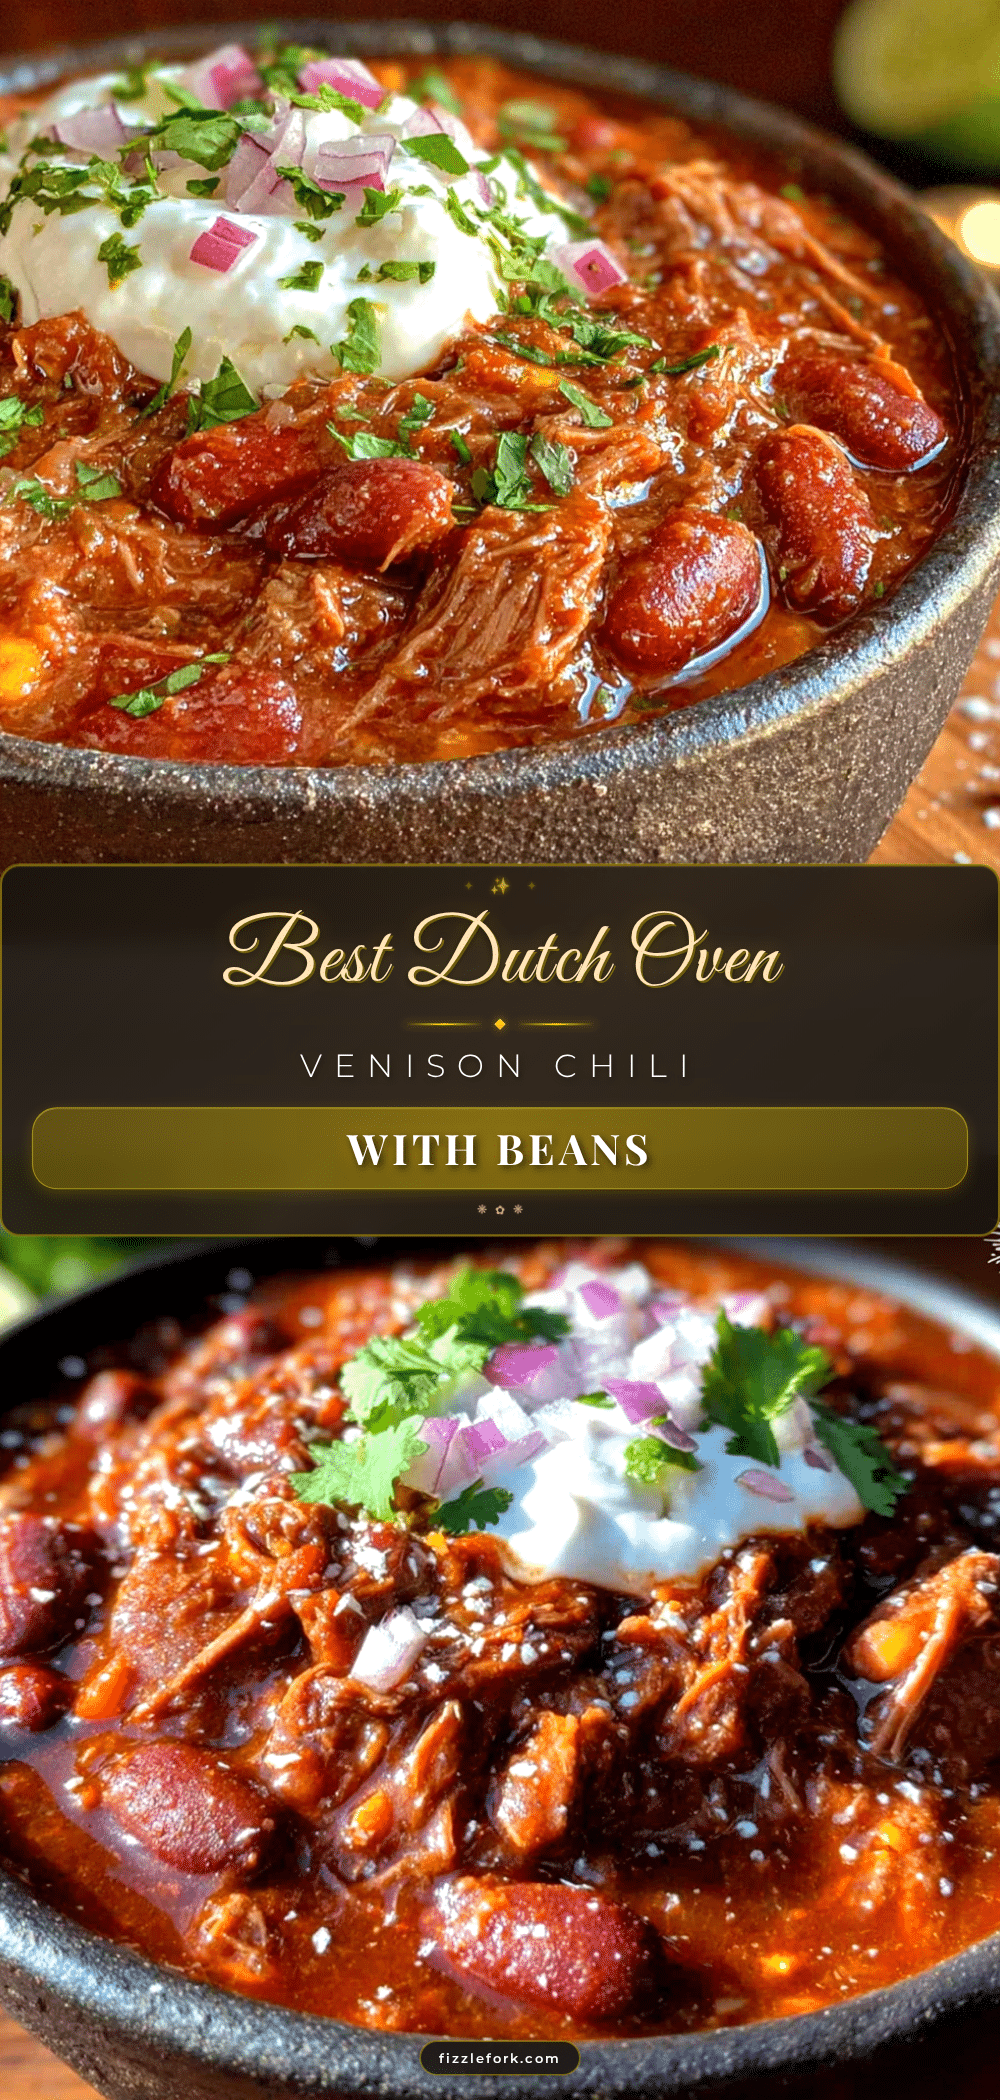
Best Dutch Oven Venison Chili with Beans – Easy Recipe

This Dutch Oven Venison Chili with Beans is rich, smoky, and deeply satisfying. It’s the recipe that converted a chili-hater and is perfect for game day or cozy nights.
- Prep Time: 45 minutes
- Cook Time: 1 hour 30 minutes
- Total Time: 2 hours 15 minutes
- Yield: 8 servings 1x
- Category: Main Course
- Cuisine: American
Ingredients
- 2 pounds ground venison
- 1 large yellow onion, diced (about 2 cups)
- 1 red bell pepper, diced
- 4 cloves garlic, minced
- 2 jalapeños, seeded and minced
- 3 tablespoons chili powder
- 1 tablespoon ground cumin
- 1 teaspoon smoked paprika
- 1 teaspoon dried oregano
- 1/2 teaspoon cayenne pepper
- 1 teaspoon salt
- 1/2 teaspoon black pepper
- 1 can (14.5 ounces) fire-roasted diced tomatoes
- 1 can (15 ounces) tomato sauce
- 2 cups beef broth, low-sodium
- 1 tablespoon Worcestershire sauce
- 1 tablespoon apple cider vinegar
- 1 can (15 ounces) kidney beans, drained and rinsed
- 1 can (15 ounces) black beans, drained and rinsed
- 1/2 cup dried pinto beans, cooked until tender (or 1 can pinto beans)
- 1 tablespoon oil or bacon fat (for browning)
- Optional toppings: shredded cheddar cheese, sour cream, diced avocado, fresh cilantro, sliced green onions, crushed tortilla chips
Instructions
- Brown the venison: Heat 1 tablespoon oil or bacon fat in a Dutch oven over medium-high heat. Add venison in an even layer, let sit undisturbed for 3-4 minutes to develop a deep brown crust, then break apart and cook until no pink remains (6-8 minutes total). Transfer to a bowl with a slotted spoon, leaving rendered fat in the pot.
- Sauté aromatics: Reduce heat to medium. Add onion and bell pepper, cook 4-5 minutes until translucent. Add garlic and jalapeños, cook 1 minute until fragrant. Add a splash of broth if dry.
- Bloom spices: Add chili powder, cumin, smoked paprika, oregano, cayenne, salt, and black pepper. Stir constantly for 30-60 seconds until fragrant.
- Deglaze: Pour in 1/2 cup beef broth and scrape up browned bits from the bottom of the pot.
- Build chili: Return venison to pot. Add fire-roasted tomatoes (with juices), tomato sauce, remaining beef broth, Worcestershire sauce, and cooked pinto beans. Stir to combine.
- Simmer: Bring to a gentle boil, then reduce heat to low. Cover with lid slightly ajar and simmer for 1.5 to 2 hours, stirring every 20 minutes, until thickened and deep red.
- Add canned beans: About 15 minutes before serving, stir in kidney beans and black beans. Heat through.
- Finish with vinegar: Just before serving, stir in apple cider vinegar. Adjust salt and heat to taste.
- Serve: Ladle into bowls and top with desired garnishes.
Notes
For best flavor, do not rush the browning step. Toast spices for 30 seconds before adding liquid. Add apple cider vinegar at the end to brighten flavors. Chili tastes even better the next day. For a milder version, reduce cayenne and remove jalapeño seeds. For more heat, add extra jalapeño or chipotle powder.
Nutrition
- Serving Size: 1 bowl (about 1.5 cu
- Calories: 350
- Sugar: 6
- Sodium: 680
- Fat: 12
- Saturated Fat: 4
- Carbohydrates: 28
- Fiber: 8
- Protein: 32
Keywords: venison chili, Dutch oven chili, venison recipe, chili with beans, game meat chili, easy chili recipe