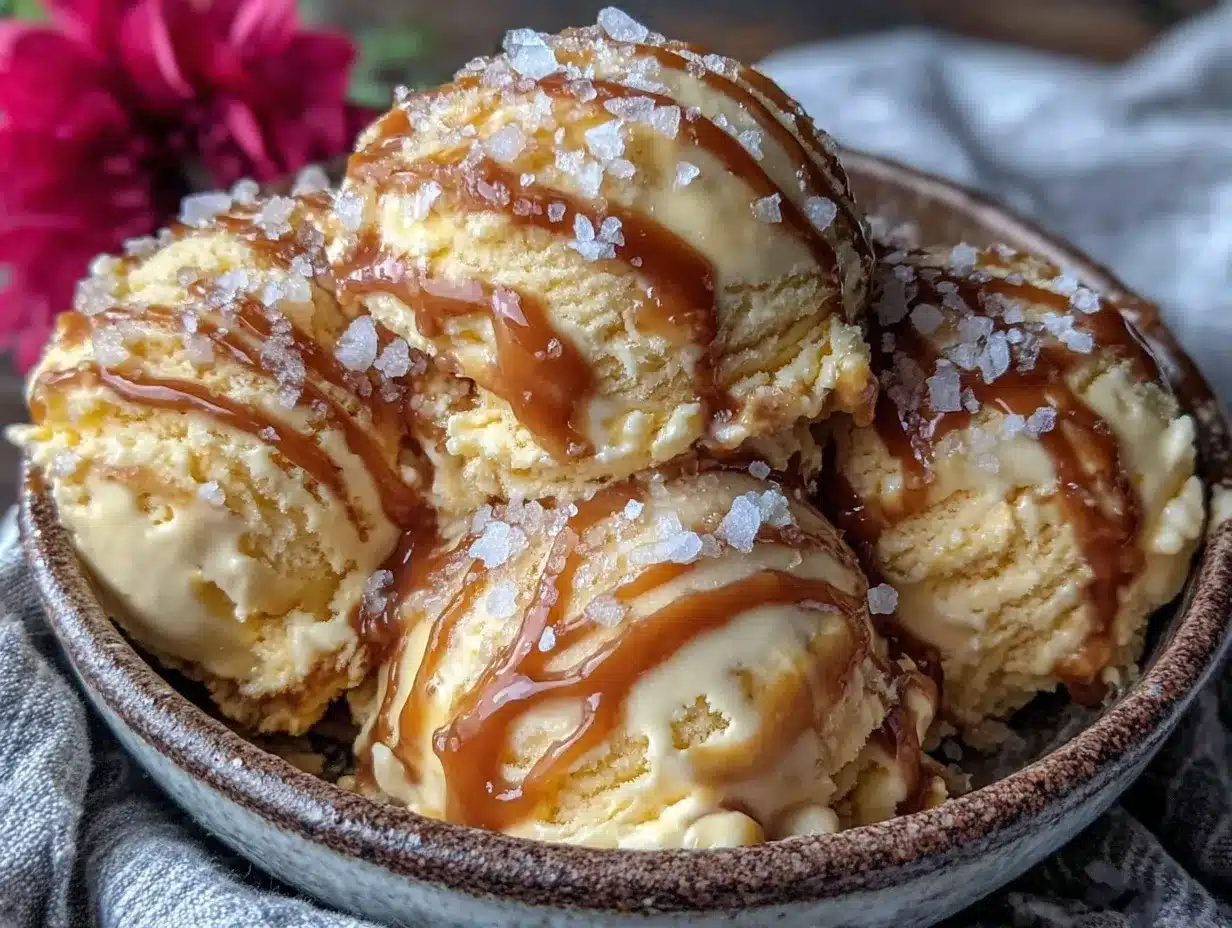
Salted caramel ice cream sounds like a dream you’d only find at a fancy scoop shop, but honestly, I want it now and have all the ingredients except—oh wait, no ice cream maker either. That’s the usual snag, right? But this creamy no-churn salted caramel ice cream recipe flips that dilemma on its head. It’s just me, a whisk, a bowl, and a craving that insists on being satisfied without fuss or fancy gadgets. The silkiness of caramel ribbons swirling through rich, velvety ice cream without the churn? Yes, please.
I remember the first time I tried making salted caramel at home—it was a bit of a balancing act, watching sugar bubble to the perfect amber, then nervously stirring in cream and salt, hoping it wouldn’t seize or burn. That initial batch was a little lumpy, a little too sweet, but the flavor? Magical. So I kept tweaking, mixing in whipped cream instead of heavy cream alone, and skipping the churn step entirely. The result? This recipe that’s as easy as it is indulgent.
What sticks with me is how the salted caramel ice cream feels like a hug in a bowl, one that’s quiet but confident. No need to fuss with a machine or wait hours by the freezer door. Plus, the salt cuts through the sweetness just right, making each spoonful a little adventure. It’s the kind of dessert that’s perfect after a weeknight dinner or a slow Sunday afternoon treat—and that’s why I keep coming back to it.
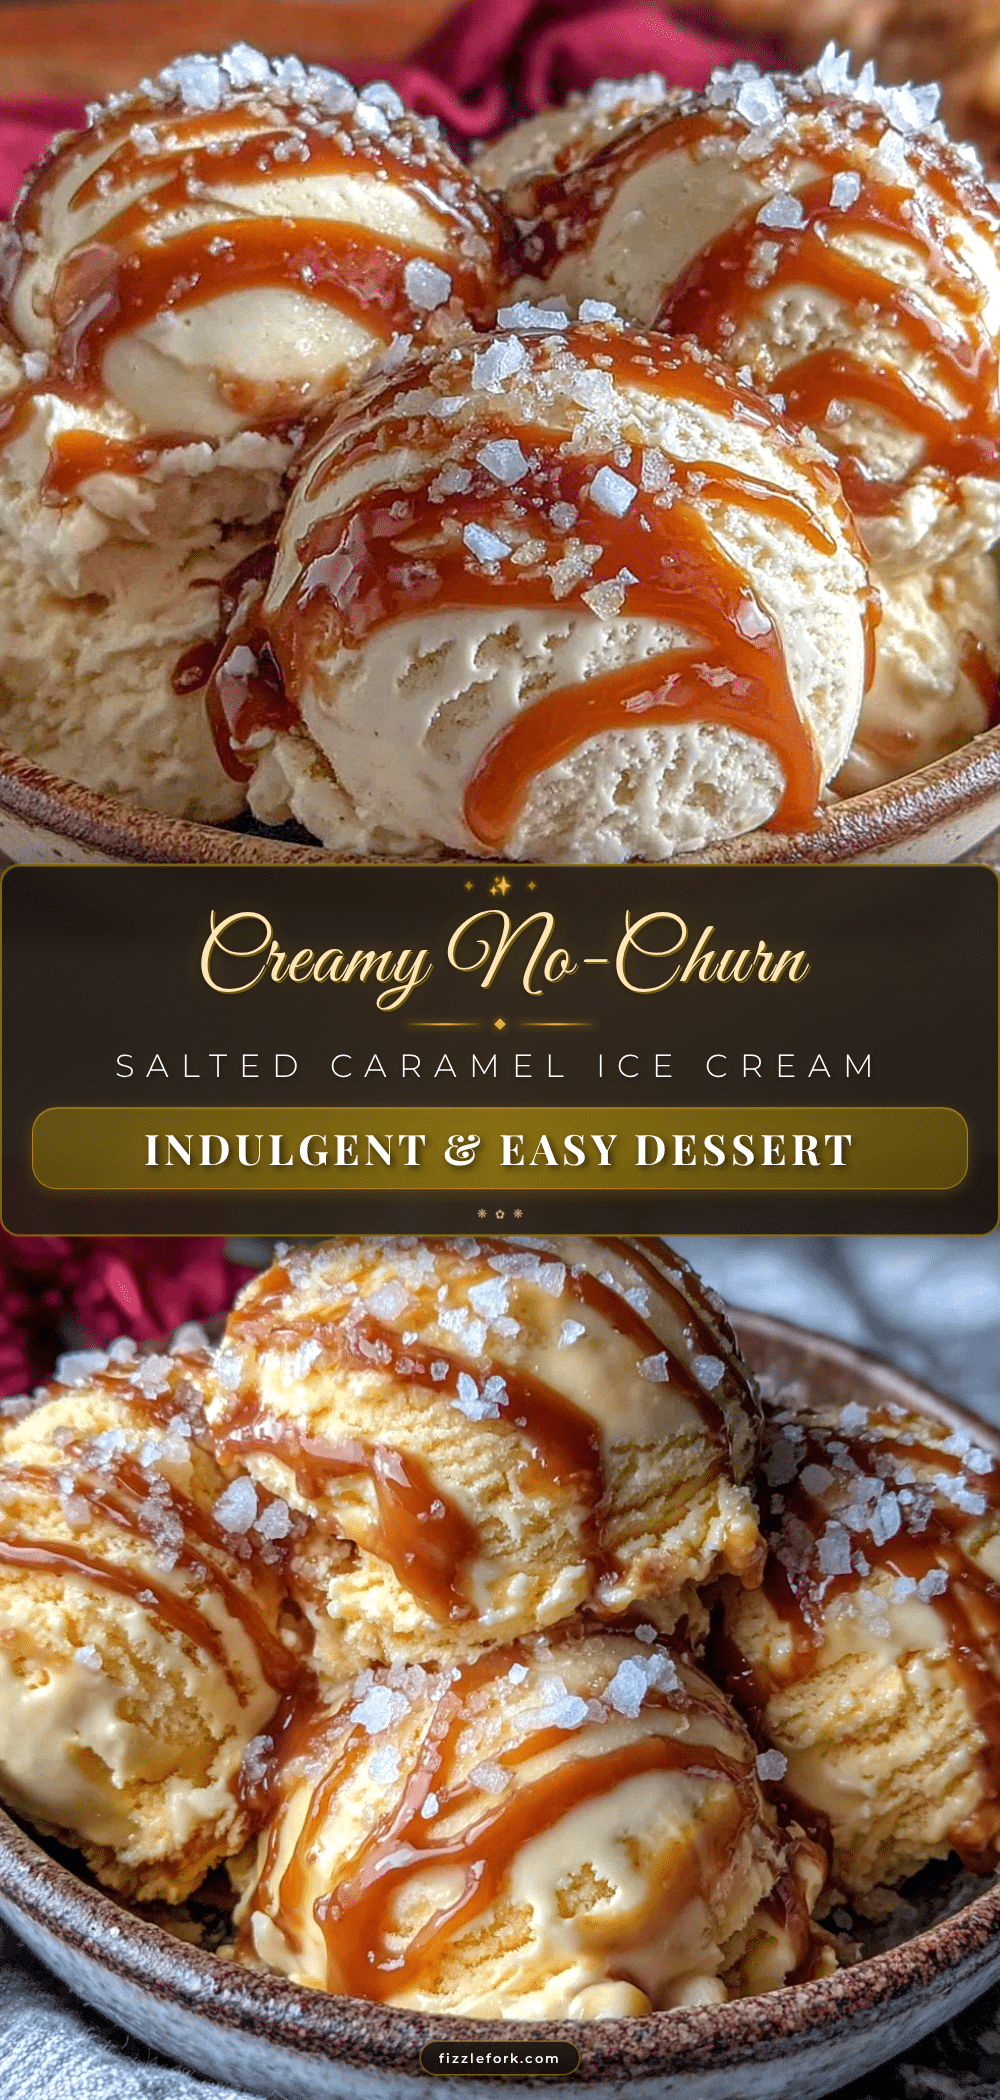
Why You’ll Love This Creamy No-Churn Salted Caramel Ice Cream Recipe
Honestly, this is one of those recipes that’s easy to trust because it’s been tested in real kitchens (mine included) and loved by friends who are notoriously picky about their ice cream. Here’s why it’s become a favorite:
- Quick & Easy: No ice cream maker needed! You can whip this up in about 15 minutes, then just freeze it.
- Simple Ingredients: Chances are, you already have most of these pantry staples, including the caramel sauce (or you can make it fresh with just sugar, butter, and cream).
- Perfect for Any Occasion: Whether it’s a cozy night in or an impromptu dessert for friends, this salted caramel ice cream fits the bill.
- Crowd-Pleaser: The sweet-salty combo always gets rave reviews from kids and adults alike, especially when paired with a crunchy topping.
- Unbelievably Delicious: The texture is creamy without being heavy, and the caramel ribbons add a luscious depth you won’t forget.
What makes this recipe stand out? It’s the simple technique of folding whipped cream into sweetened condensed milk and caramel, creating an ultra-smooth base without ice crystals or graininess. Plus, using a homemade salted caramel swirl—not just a sauce on top—means that every bite has that perfect pop of flavor. It’s not just another ice cream recipe; it’s the one I reach for when I want something both decadent and effortless.
What Ingredients You Will Need
This recipe uses simple, wholesome ingredients to deliver bold flavor and satisfying texture without the fuss. Most are pantry staples or easy to find, and I’ve included notes if you want to switch things up.
- Sweetened condensed milk (1 can, 14 oz / 396 g) – This creates the creamy, sweet base. I prefer Nestlé for consistency.
- Heavy whipping cream (2 cups / 480 ml) – Chilled, for whipping to soft peaks. Use full-fat for best creaminess.
- Granulated sugar (1 cup / 200 g) – For making homemade caramel. You can also use brown sugar for a deeper flavor.
- Unsalted butter (6 tablespoons / 85 g) – Adds richness to the caramel.
- Sea salt (1 teaspoon) – The magic touch that balances the sweetness. Maldon flakes work beautifully if you want texture.
- Vanilla extract (1 teaspoon) – For warmth and complexity in the ice cream base.
Optional ingredients:
- Flaky sea salt (for sprinkling on top)
- Chopped pecans or toasted almonds – For some crunch mixed in or as garnish.
- Alcohol like bourbon (1 tablespoon) – Adds a subtle warmth to the caramel, optional but highly recommended.
Seasonal twist: In summer, I sometimes swap out the sea salt for a pinch of smoked salt for an intriguing smoky note. When pressed for time, store-bought caramel sauce can replace homemade, but homemade always has that special depth.
Equipment Needed
- Mixing bowls: One large for whipping cream and another medium for folding ingredients.
- Electric hand mixer or stand mixer: Essential for whipping the cream to perfect soft peaks.
- Heavy-bottomed saucepan: For making the caramel, helps prevent burning.
- Wooden spoon or heatproof spatula: To stir the caramel gently.
- Measuring cups and spoons: Accuracy helps with the perfect balance of salty and sweet.
- Freezer-safe loaf pan or container: For freezing your ice cream in a shape that’s easy to slice or scoop.
If you don’t have a stand mixer, a sturdy whisk and a bit of elbow grease work just fine—though it takes a little longer to get those soft peaks. For those on a budget, any basic electric hand mixer will do the job well.
Preparation Method
- Make the salted caramel sauce (about 15 minutes): In a heavy-bottomed saucepan over medium heat, melt 1 cup (200 g) of granulated sugar, stirring constantly. The sugar will clump then melt into a smooth amber liquid—don’t walk away, this happens fast. Once melted and golden, add 6 tablespoons (85 g) of unsalted butter, stirring until fully melted.
- Slowly pour in ½ cup (120 ml) heavy cream: Be careful—it will bubble up vigorously. Stir until smooth. Remove from heat and mix in 1 teaspoon sea salt (or to taste) and 1 teaspoon vanilla extract. Let cool to room temperature.
- Whip the cream: In a large chilled bowl, beat 2 cups (480 ml) heavy whipping cream with an electric mixer on medium-high speed until soft peaks form (about 3-4 minutes). Soft peaks mean the cream holds its shape but the tip folds over when you lift the beaters.
- Combine the base: In another bowl, gently mix the cooled salted caramel sauce with 1 can (14 oz / 396 g) sweetened condensed milk until smooth.
- Fold the whipped cream into the caramel mixture: Use a spatula and gentle folding motions to keep the air in the cream. Avoid overmixing; you want a light, fluffy texture.
- Swirl in extra caramel: For dramatic ribbons, pour an additional ¼ cup (60 ml) of caramel over the ice cream mixture and gently fold a few times, creating those beautiful caramel veins.
- Transfer to a loaf pan: Smooth the top with a spatula. Sprinkle a pinch of flaky sea salt if you like a little crunch on top.
- Freeze: Cover with plastic wrap and freeze for at least 6 hours or overnight. The ice cream will firm up without ice crystals, thanks to the condensed milk.
If your caramel thickens too much while cooling, warm it gently in the microwave for 10 seconds before mixing. The key is patience—rushing the freezing or folding can lead to icy texture or broken swirl patterns.
Cooking Tips & Techniques
One of the trickiest parts is making the caramel sauce. The sugar stage can quickly go from golden to burnt if you’re not watching closely. I learned this the hard way—burnt caramel is bitter and ruins the whole batch. Use a heavy-bottomed pan and low-to-medium heat for gradual melting.
When whipping cream, chill your bowl and beaters for best results. Warm cream just won’t whip up the same way. Stop whipping at soft peaks—overwhipping turns it grainy or buttery.
Folding is an art here. You want to keep the air in whipped cream to maintain fluffiness, so gentle, lifting motions with a spatula are the way to go. If you mix too vigorously, the ice cream will lose volume and become dense.
Freezing time is crucial. I usually let it freeze overnight. Trying to speed things up by freezing it uncovered or stirring too often makes the texture icy. Trust the process and don’t skip the plastic wrap—it prevents freezer burn and off-flavors.
One tip I picked up from perfecting this recipe: swirl in caramel just before freezing, not too early. It keeps those gorgeous ribbons intact instead of blending into a single color.
Variations & Adaptations
This basic recipe is flexible enough to suit different tastes and dietary needs:
- Vegan option: Substitute sweetened condensed coconut milk and use coconut cream for whipping. The caramel can be made with coconut sugar and coconut milk instead of dairy.
- Nutty twist: Fold in toasted pecans or walnuts for texture contrast. I sometimes toast them with a pinch of cinnamon for warmth.
- Spiked salted caramel: Add 1 tablespoon of bourbon or dark rum to the caramel sauce for a boozy kick that’s subtle but memorable.
- Chocolate caramel: Swirl in melted bittersweet chocolate along with caramel for a decadent treat.
- Fruit-infused: Try folding in roasted pears or apples for a fall-inspired version, reminiscent of caramel apple pie.
For a quicker fix, try layering this no-churn caramel ice cream with a crunchy crust like crushed pretzels or graham crackers, similar to the texture play in salted caramel pretzel brownies. It’s a combo that’s impossible to resist.
Serving & Storage Suggestions
Serve this creamy no-churn salted caramel ice cream straight from the freezer, letting it sit at room temperature for 5 minutes before scooping for the perfect creamy texture. A sprinkle of flaky sea salt or a drizzle of extra caramel sauce on top adds a nice finishing touch.
It pairs beautifully with warm desserts like apple crisp or alongside a slice of moist lemon blueberry pound cake. For beverages, try a rich espresso or a sparkling drink like the sparkling strawberry lemonade punch to cut through the richness.
Store in an airtight container in the freezer for up to two weeks. The texture stays creamy thanks to the condensed milk, and flavors actually become a little more melded after a day or two. Reheat caramel sauce gently if you want to drizzle more on top after scooping.
Nutritional Information & Benefits
Per serving (about ½ cup / 120 ml): approximately 280 calories, 18g fat, 28g carbohydrates, 2g protein.
This ice cream is rich, so moderation is key, but it’s made with real ingredients—no artificial stabilizers or additives. The sea salt not only balances sweetness but also provides trace minerals. The caramel contains butter and cream, which contribute fat-soluble vitamins and satisfying richness. If you’re looking for a gluten-free indulgence, this recipe fits the bill perfectly.
From a wellness perspective, homemade means you control what goes in—no preservatives, and you can adjust sweetness to your taste. Plus, it’s a fun way to enjoy dessert without complicated equipment or long ingredient lists.
Conclusion
This creamy no-churn salted caramel ice cream recipe is the kind of homemade dessert that feels like a treat but doesn’t require a culinary degree or fancy machine. It’s simple, luscious, and reliably delicious every time I make it. What I love most is how easy it is to tweak—whether adding nuts, a splash of bourbon, or mixing in chocolate—and still end up with a crowd-pleaser.
If you’re someone who loves classic flavors with a homemade touch, this recipe will quickly become a go-to. And hey, don’t be shy about making it your own. Experiment, share with friends, and enjoy that perfect creamy texture that no-churn ice cream makes effortless. I’m confident you’ll appreciate how stress-free dessert can be.
FAQs About Creamy No-Churn Salted Caramel Ice Cream
Can I use store-bought caramel sauce instead of making my own?
Absolutely! Just choose a high-quality salted caramel sauce and gently fold it in, but homemade caramel gives the best fresh flavor and texture.
How long should I freeze the ice cream before serving?
Freeze for at least 6 hours or overnight for firm, scoopable ice cream. Let it soften at room temperature for 5 minutes before scooping.
Can I make this recipe dairy-free?
Yes! Use coconut cream for whipping and sweetened condensed coconut milk. Make your caramel with coconut sugar and coconut milk instead of dairy.
What if my caramel hardens before I mix it in?
Warm it gently in the microwave for 10 seconds or on low heat until it softens, then stir well before folding into the ice cream base.
How do I prevent ice crystals from forming?
The sweetened condensed milk helps prevent ice crystals, and gentle folding keeps the texture light. Avoid refreezing thawed ice cream to maintain creaminess.
Pin This Recipe!
Creamy No-Churn Salted Caramel Ice Cream
A rich and creamy no-churn salted caramel ice cream recipe that requires no ice cream maker and uses simple pantry ingredients for an indulgent homemade dessert.
- Prep Time: 15 minutes
- Cook Time: 15 minutes
- Total Time: 6 hours 30 minutes
- Yield: 8 servings 1x
- Category: Dessert
- Cuisine: American
Ingredients
- 1 can (14 oz / 396 g) sweetened condensed milk
- 2 cups (480 ml) heavy whipping cream, chilled
- 1 cup (200 g) granulated sugar
- 6 tablespoons (85 g) unsalted butter
- 1 teaspoon sea salt
- 1 teaspoon vanilla extract
- Optional: flaky sea salt for sprinkling on top
- Optional: chopped pecans or toasted almonds
- Optional: 1 tablespoon bourbon or dark rum
Instructions
- Make the salted caramel sauce: In a heavy-bottomed saucepan over medium heat, melt 1 cup (200 g) granulated sugar, stirring constantly until it melts into a smooth amber liquid.
- Add 6 tablespoons (85 g) unsalted butter to the melted sugar and stir until fully melted.
- Slowly pour in ½ cup (120 ml) heavy cream, stirring carefully as it bubbles up. Remove from heat and mix in 1 teaspoon sea salt and 1 teaspoon vanilla extract. Let cool to room temperature.
- Whip 2 cups (480 ml) heavy whipping cream in a large chilled bowl with an electric mixer on medium-high speed until soft peaks form (about 3-4 minutes).
- In another bowl, mix the cooled salted caramel sauce with 1 can (14 oz / 396 g) sweetened condensed milk until smooth.
- Fold the whipped cream gently into the caramel mixture using a spatula, keeping the mixture light and fluffy.
- Swirl in an additional ¼ cup (60 ml) caramel sauce for ribbons by gently folding a few times.
- Transfer the mixture to a freezer-safe loaf pan, smooth the top, and sprinkle flaky sea salt if desired.
- Cover with plastic wrap and freeze for at least 6 hours or overnight until firm.
- Before serving, let sit at room temperature for 5 minutes for easier scooping.
Notes
Use a heavy-bottomed pan and medium heat to avoid burning caramel. Chill bowl and beaters before whipping cream. Fold whipped cream gently to keep air in. Freeze covered to prevent freezer burn. Warm caramel gently if it thickens before mixing. For vegan option, substitute coconut cream and sweetened condensed coconut milk.
Nutrition
- Serving Size: About ½ cup (120 ml)
- Calories: 280
- Fat: 18
- Carbohydrates: 28
- Protein: 2
Keywords: no-churn ice cream, salted caramel, homemade dessert, easy ice cream, no ice cream maker, creamy ice cream, caramel ice cream


