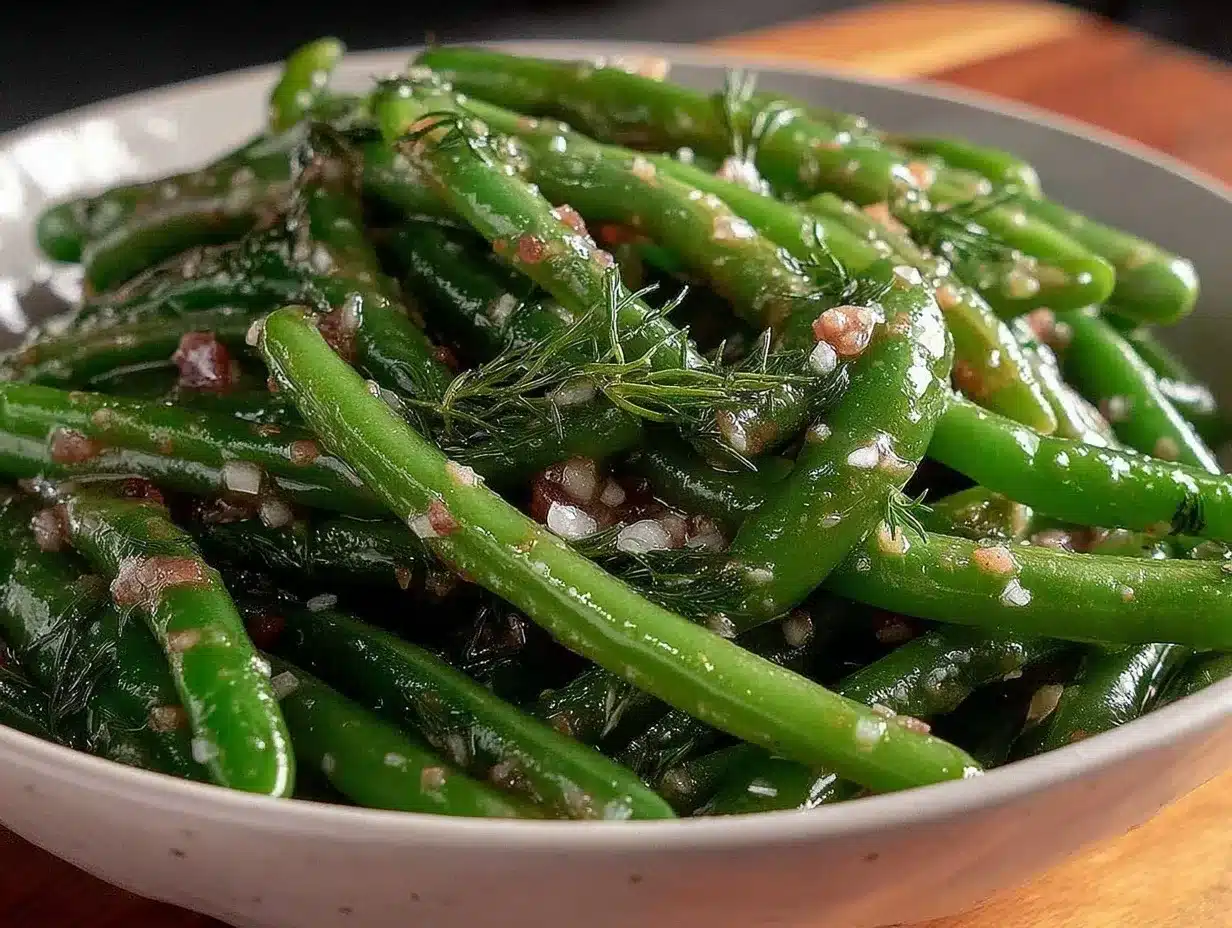
Firm, snappy, and just a little bit glossy—that’s the texture that grabbed me the first time I bit into homemade crisp garlic dilly beans with fresh dill. The beans hold their shape and resistance like a good handshake, not limp or soggy, which is honestly half the thrill of this whole pickling adventure. You know that satisfying crunch that makes you want to keep going? Yep, that’s the whole point here.
I remember standing over the kitchen counter, jars lined up like little soldiers, the fresh dill fronds still fragrant and bright green, the garlic cloves sliced just right so you get bursts of sharpness but not overwhelming bite. The brine bubbles gently, promising that perfect snap once the pickling does its magic. This recipe is about that texture obsession—making sure each bean stays crisp and lively, not mushy or dull. It’s a delicate balance, and after a few attempts (including a couple of jars that went way too soft), I finally nailed it.
The fresh dill adds that unmistakable herbaceous note, weaving through the garlic’s warmth without stealing the show. It’s like a crunchy, garlicky green symphony in a jar, and honestly, it’s stuck with me ever since. These crisp garlic dilly beans aren’t just a snack or a side; they’re a tactile experience that I trust you’ll come to appreciate for the same reasons I do.
Why You’ll Love This Recipe
Making crisp garlic dilly beans with fresh dill has become one of those kitchen wins that I’m pretty proud to share. I’ve tested this recipe multiple times to get the balance just right, and it’s a keeper for several reasons:
- Quick & Easy: You can have these beans pickling in under 20 minutes, making it perfect for those spontaneous cravings or last-minute hosting.
- Simple Ingredients: No hunting for exotic items here—just fresh green beans, garlic, dill, vinegar, and a few pantry staples.
- Perfect for Summer & Beyond: Great for potlucks, BBQs, or just a crunchy snack tucked next to your favorite grilled lemon herb chicken skewers.
- Crowd-Pleaser: Kids love the snap, adults appreciate the garlic-dill punch, and it’s always the first jar to disappear at gatherings.
- Unbelievably Delicious: The texture and flavor combo here feels like the ultimate comfort food that’s both refreshing and satisfying.
What sets this recipe apart is the attention to the beans’ crispness. Unlike some pickled beans that turn soft, these stay fresh and snappy thanks to a few key techniques I’ll share below. Also, the fresh dill isn’t just a garnish—it’s a central flavor that gives the beans a bright, herbal lift. It’s the kind of recipe that makes you close your eyes after the first bite, savoring the crunch and the garlicky tang. Honestly, it’s like comfort food that’s light on the belly but big on soul.
What Ingredients You Will Need
This recipe uses straightforward, wholesome ingredients to deliver bold flavor and that signature crisp texture without any fuss. Most of these are pantry staples or fresh garden finds, making it easy to whip up anytime.
- Fresh green beans: About 1.5 pounds (700 grams), trimmed and washed—choose firm, bright green beans for best results.
- Fresh dill: 4 to 5 sprigs (approximately 10 grams), including some fronds and stems for maximum flavor.
- Garlic cloves: 4 large, peeled and sliced thin to release that pungent bite without overpowering.
- White vinegar: 1 cup (240 ml), the backbone of the brine for acidity and preservation.
- Water: 1 cup (240 ml), to balance the vinegar’s sharpness.
- Pickling salt or kosher salt: 1 tablespoon (about 18 grams), use a non-iodized salt for clear brine and best crunch.
- Granulated sugar: 1 teaspoon (5 grams), to round out the acidity just a touch.
- Red pepper flakes (optional): 1/4 teaspoon, for a gentle kick if you like a bit of heat.
For the freshest results, I recommend using locally sourced green beans if you can find them. When it comes to salt, I prefer Diamond Crystal kosher salt for its clean taste and ability not to cloud the brine. If you’re after a gluten-free and paleo-friendly recipe, this one fits the bill perfectly. For a fun twist, you might swap in purple or yellow beans for a colorful jar — they pickle just as well and look stunning on the table.
Equipment Needed
- Large glass mason jars: Two 1-pint (500 ml) jars with lids and rings work perfectly — glass keeps flavors pure and lets you watch the beans settle in.
- Medium saucepan: To bring the brine to a boil and dissolve the salt and sugar.
- Sharp kitchen knife: For trimming beans and slicing garlic thinly.
- Tongs or a slotted spoon: Helpful for packing beans into jars without bruising.
- Cutting board: A sturdy, clean surface to prep your ingredients.
- Measuring cups and spoons: Precision matters here for the perfect brine balance.
If you don’t have mason jars, small glass storage containers with airtight lids will work for short-term pickling. Just note, the traditional canning jars help maintain the crispness better over time. For those who love experimenting, a vacuum sealer with jar attachments can extend shelf life, but it’s not essential. Keeping your equipment clean and dry before starting helps avoid any off-flavors or cloudiness in the brine.
Preparation Method
- Trim and wash the green beans: Snap or cut off the stem ends of about 1.5 pounds (700 grams) of fresh green beans. Rinse them well under cold water, then pat dry with a clean towel. Dry beans help keep the brine clear and the beans crisp. (Prep time: 10 minutes)
- Prepare jars and aromatics: Place 2 fresh dill sprigs and half the sliced garlic cloves into each sterilized 1-pint (500 ml) mason jar. Add a pinch of red pepper flakes if you want a little heat. This layering helps the flavor infuse evenly as the beans settle in.
- Pack the beans: Stand the beans upright in the jars, packing them tightly but without crushing. The goal is to fit as many as possible while maintaining their shape and snap. Stop when the jar is about 1/2 inch (1.25 cm) from the top.
- Make the brine: In a medium saucepan, combine 1 cup (240 ml) white vinegar, 1 cup (240 ml) water, 1 tablespoon (18 grams) pickling salt, and 1 teaspoon (5 grams) granulated sugar. Bring to a boil over medium-high heat, stirring occasionally until the salt and sugar are fully dissolved. Remove from heat immediately once boiling.
- Pour hot brine over beans: Carefully pour the hot brine into each jar, covering the beans completely. Leave about 1/2 inch (1.25 cm) headspace at the top. Use a clean utensil to release any air bubbles by gently poking around the beans.
- Seal and cool: Wipe the jar rims clean, then place the lids on and screw the rings finger-tight. Let the jars cool to room temperature before refrigerating. This step helps maintain crunch and avoids steam build-up.
- Pickle time: For best flavor and crispness, refrigerate the jars for at least 48 hours before opening. The beans will keep their snap and develop that classic garlic and dill punch. (Pickling time: 2 days minimum)
Pro tip: If you find your beans turning soft, try reducing the brining time slightly or packing the beans a bit looser next time. Freshness is key—older beans tend to lose their crunch. Also, be mindful not to overboil the brine; once it hits a boil, remove it from heat to keep the vinegar’s sharpness intact.
Cooking Tips & Techniques
When making crisp garlic dilly beans, the devil is in the details. Here are some lessons from my own kitchen trials and tips to get that perfect crunch every time:
- Choose fresh, firm beans: The fresher, the better — older beans tend to get limp quickly, no matter what.
- Don’t overcook or blanch: Unlike some pickled veggies, these green beans are not boiled before pickling. That keeps the snap intact.
- Use pickling salt or kosher salt: Table salt can cloud your brine and sometimes add a bitter edge.
- Keep the brine hot but don’t overboil: Just bring it to a boil to dissolve salt and sugar, then remove from heat. Overheating can dull the vinegar’s bite.
- Pack beans tight but gentle: Too tight and they bruise, too loose and they float and soften unevenly.
- Give them time in the fridge: At least two days is ideal for flavor melding and crispness.
- Test jars early: I like to open one jar after 48 hours to check texture and flavor, adjusting pickling time for next batch.
One time, I left a batch out to pickle at room temp and ended up with beans so soft they were almost mushy (lesson learned!). Since then, I always keep mine refrigerated during the pickling process, which really locks in that satisfying crunch.
Variations & Adaptations
This crisp garlic dilly beans recipe is versatile enough to suit different tastes and dietary needs. Here are some ways you can tweak it:
- Spicy Variation: Add more red pepper flakes or a couple of sliced fresh jalapeños to the jars for a fiery kick.
- Low Sodium Option: Reduce the salt by half and extend the pickling time slightly to maintain flavor without overdoing the sodium.
- Herb Swap: Use fresh tarragon or thyme instead of dill for a different herbal note that pairs well with garlic.
- Fermented Pickles: Skip the vinegar and use a saltwater brine for natural fermentation. This takes longer but adds probiotic benefits.
- Cooking Method: For a faster pickle, you can hot-pack and process jars in a boiling water bath for 10 minutes to shelf-stabilize, but this sometimes softens the beans a bit.
Personally, I once tried adding a touch of lemon zest to the jars, which gave a subtle citrus brightness that cut through the garlic and dill in a surprisingly refreshing way. Feel free to experiment and make this recipe truly your own.
Serving & Storage Suggestions
These crisp garlic dilly beans are best served chilled or at cool room temperature, making them a fantastic side for any picnic, BBQ, or casual dinner. They pair wonderfully with smoky meats like the bourbon glazed beef brisket or alongside creamy sides such as the tangy loaded baked potato salad to balance rich flavors.
Store these pickled beans in the refrigerator for up to 4 weeks. The flavor deepens over time, but the crispness is at its peak in the first two weeks. To re-crisp beans that have softened a bit, you can soak them briefly in ice water before serving.
They’re also fantastic chopped and tossed into salads, or chopped finely to top sandwiches for an unexpected garlicky crunch. Serve them straight from the jar as a snack with a cold beer or sparkling water to keep things simple and satisfying.
Nutritional Information & Benefits
This recipe is low in calories and carbs, making it a smart snack or side for those watching their intake. Green beans are rich in fiber, vitamins A and C, and antioxidants, supporting overall health and digestion. Garlic is well-known for its immune-boosting properties and heart health benefits, while dill adds a fresh dose of vitamins and minerals.
The vinegar-based brine is naturally low-calorie and can aid in digestion. This recipe is gluten-free and vegan-friendly, with no added preservatives or artificial ingredients. For those mindful of sodium, adjusting the salt in the brine can tailor it to your needs without sacrificing flavor.
Conclusion
Crisp garlic dilly beans with fresh dill are a simple pleasure that’s stayed with me because of their unbeatable texture and fresh, punchy flavor. They’re easy enough to whip up on a whim but special enough to impress at any gathering. The crunchy snap combined with the garlicky, herb-infused brine makes these beans a standout accompaniment or snack.
Feel free to tailor the heat, herbs, or saltiness to your liking — this recipe welcomes customization. I love how these pickled beans bring a little bit of summer’s garden freshness straight into the fridge, ready whenever you want a burst of crisp, tangy goodness.
If you give this recipe a try, I’d love to hear how you made it your own or what dishes you served it with. Sharing those stories makes this kitchen little community all the richer. Happy pickling!
FAQs About Crisp Garlic Dilly Beans
How long do crisp garlic dilly beans last in the fridge?
They keep well for about 3 to 4 weeks refrigerated. The flavor intensifies over time, but try to enjoy them within two weeks for the best crispness.
Can I use frozen green beans for this recipe?
Fresh green beans work best because frozen ones tend to be softer and may lose their crunch during pickling.
Do I have to sterilize the jars before pickling?
For refrigerator pickles, sterilizing isn’t mandatory but recommended to keep the pickles tasting fresh longer and avoid contamination.
Why are my pickled beans not crisp?
Common causes include overripe beans, overboiling the brine, or packing beans too tightly. Using fresh beans and following the recipe steps carefully helps keep them snappy.
Can I make these beans shelf-stable?
Yes, by processing the jars in a boiling water bath for about 10 minutes, but this can soften the beans slightly. Refrigerator pickles preserve crispness best.
Pin This Recipe!
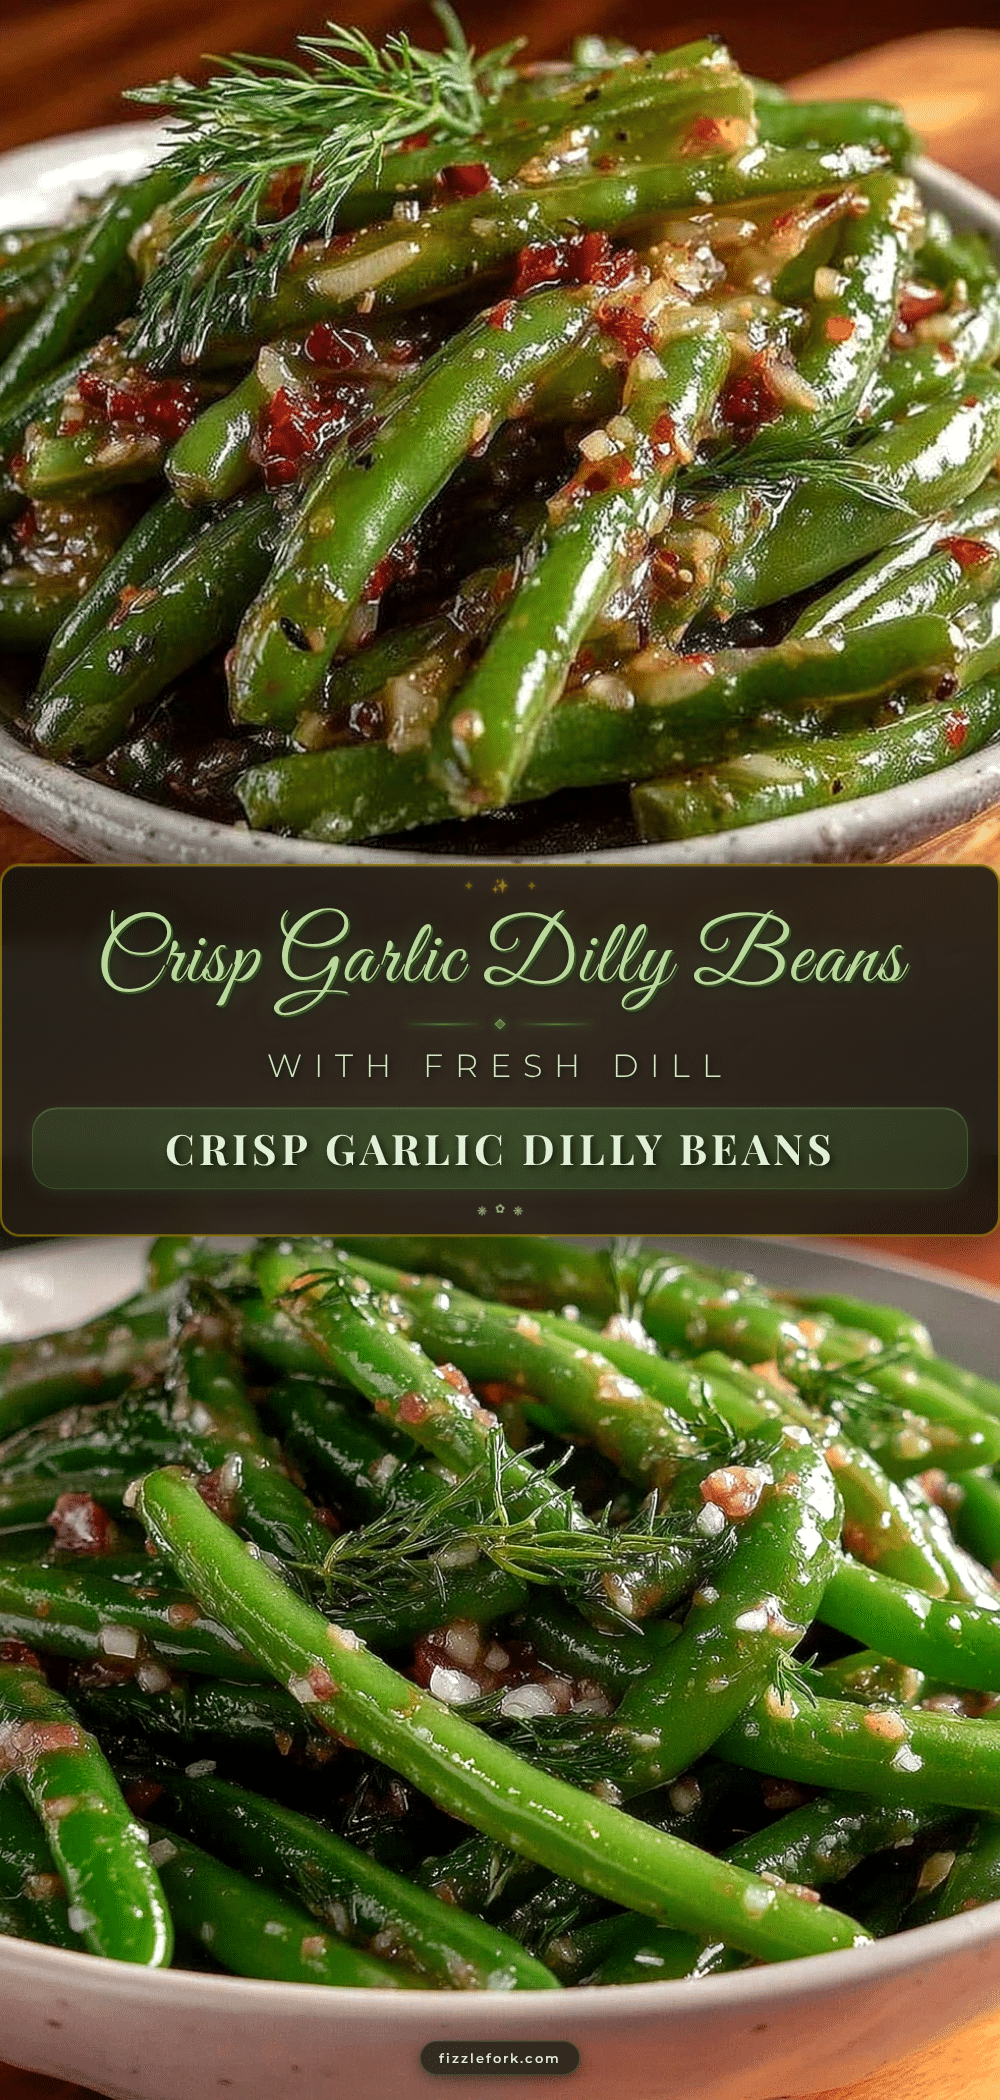
Crisp Garlic Dilly Beans Recipe Easy Pickled Beans with Fresh Dill
Firm, snappy pickled green beans with fresh dill and garlic, delivering a satisfying crunch and bright, herbaceous flavor. Perfect as a snack, side, or addition to salads.
- Prep Time: 10 minutes
- Cook Time: 10 minutes
- Total Time: 2 days 20 minutes
- Yield: 2 pints (about 4 servings) 1x
- Category: Side Dish
- Cuisine: American
Ingredients
- 1.5 pounds fresh green beans, trimmed and washed
- 4 to 5 sprigs fresh dill (about 10 grams), including fronds and stems
- 4 large garlic cloves, peeled and thinly sliced
- 1 cup white vinegar (240 ml)
- 1 cup water (240 ml)
- 1 tablespoon pickling salt or kosher salt (about 18 grams)
- 1 teaspoon granulated sugar (5 grams)
- 1/4 teaspoon red pepper flakes (optional)
Instructions
- Trim and wash the green beans by snapping or cutting off the stem ends. Rinse well under cold water and pat dry with a clean towel. (Prep time: 10 minutes)
- Place 2 fresh dill sprigs and half the sliced garlic cloves into each sterilized 1-pint (500 ml) mason jar. Add a pinch of red pepper flakes if desired.
- Stand the beans upright in the jars, packing them tightly but without crushing. Leave about 1/2 inch (1.25 cm) headspace from the top.
- In a medium saucepan, combine white vinegar, water, pickling salt, and granulated sugar. Bring to a boil over medium-high heat, stirring until salt and sugar dissolve. Remove from heat immediately once boiling.
- Carefully pour the hot brine over the beans in each jar, covering them completely and leaving 1/2 inch headspace. Use a clean utensil to release any air bubbles.
- Wipe jar rims clean, place lids on, and screw rings finger-tight. Let jars cool to room temperature before refrigerating.
- Refrigerate for at least 48 hours before opening to develop flavor and maintain crispness. (Pickling time: minimum 2 days)
Notes
Use fresh, firm green beans for best crispness. Do not overboil the brine; remove from heat once boiling to preserve vinegar sharpness. Pack beans tightly but gently to avoid bruising. Refrigerate during pickling to maintain crunch. For softer beans, reduce brining time or pack looser. To re-crisp softened beans, soak briefly in ice water before serving.
Nutrition
- Serving Size: About 1/2 cup (125 m
- Calories: 15
- Sugar: 1
- Sodium: 600
- Carbohydrates: 3
- Fiber: 1
- Protein: 1
Keywords: pickled green beans, dilly beans, garlic beans, crisp pickles, easy pickled beans, fresh dill, refrigerator pickles


