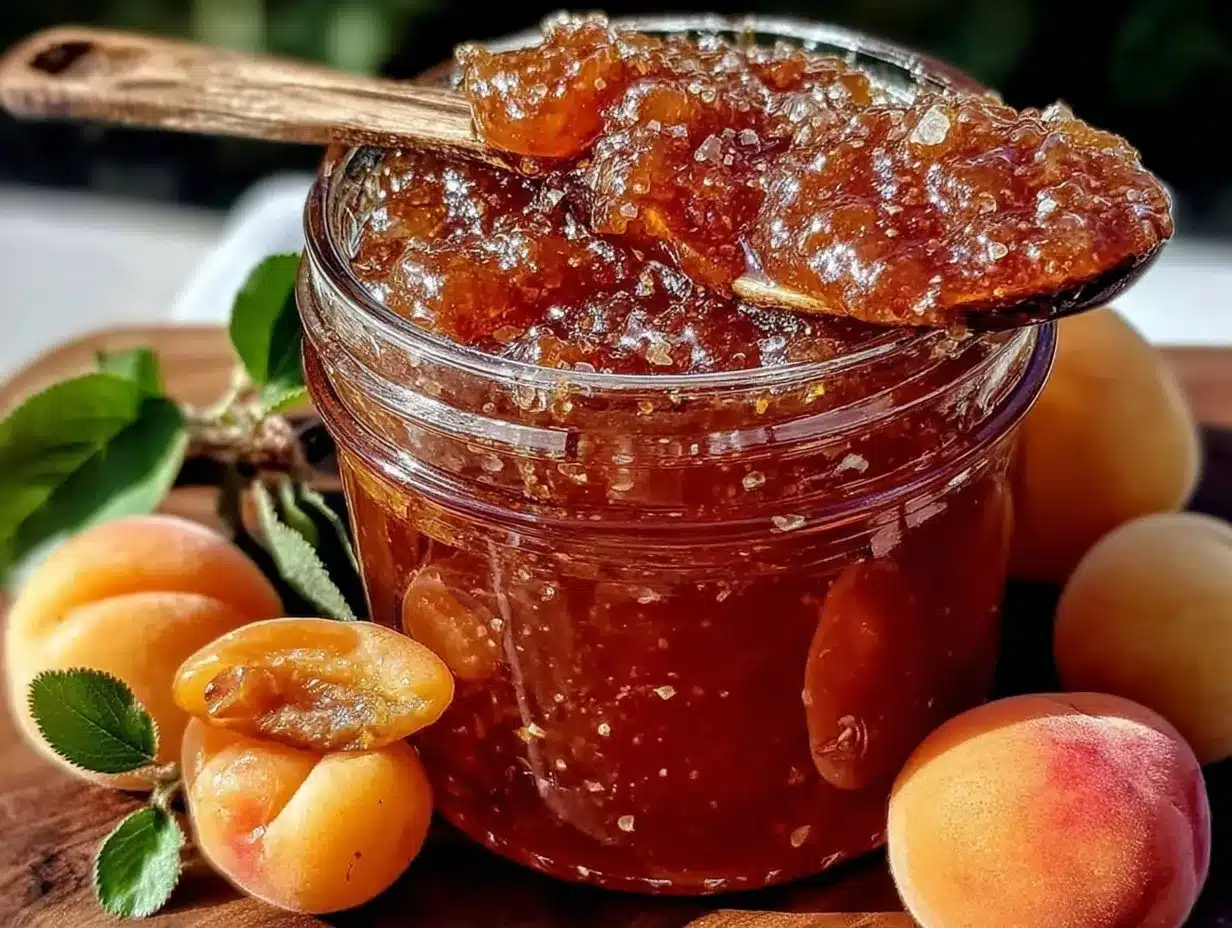
I burned my first batch of apricot jam three times before I realized that rushing the simmer was the culprit. Honestly, I didn’t even like apricot jam much at first—I kept messing up the texture, ending up with a sticky mess rather than that perfect spreadable jam I craved. It wasn’t until I slowed down, paid attention to the fruit’s natural sweetness, and adjusted my small batch recipe that things finally clicked. That moment, watching the golden pot bubble gently on the stove, smelling that fruity aroma fill the kitchen, made me realize homemade jam wasn’t just about preserving fruit—it was about patience, care, and a touch of love.
What sticks with me about this easy homemade apricot jam small batch recipe is its simplicity and how it fits perfectly into life’s little moments—no giant canning pots or intimidating jars required. It’s not about perfection but about savoring that fresh taste right now, in a manageable quantity that won’t overwhelm your pantry or your schedule. The subtle tang of apricots mixed with the gentle sweetness of sugar, just thick enough to spread on toast or dollop onto yogurt, makes it a quiet but satisfying pleasure. This recipe stayed with me because it’s honest, reliable, and a little reminder that some of the best things in life don’t need to be complicated. It’s the kind of recipe that invites you to slow down and enjoy the process as much as the result.
Why You’ll Love This Recipe
After testing several approaches, this small batch apricot jam recipe became my go-to for quick, fuss-free fruit preserves. It’s a beginner-friendly recipe that delivers consistent results every time, which is a relief if you’re like me and have had your fair share of jam-making hiccups.
- Quick & Easy: You can have fresh apricot jam ready in under an hour, making it perfect for spontaneous cooking sessions or last-minute breakfast upgrades.
- Simple Ingredients: This recipe calls for just a handful of pantry staples and fresh apricots—no fancy pectin or additives required.
- Perfect for Small Batches: Makes just enough jam to enjoy without worrying about storage or waste; great if you don’t want to commit to large quantities.
- Crowd-Pleaser: Kids and adults alike love the natural sweetness and slightly tart flavor, which pairs wonderfully with everything from toast to desserts.
- Unbelievably Delicious: The texture is just right—smooth with little bits of fruit—that classic jam feel, but fresh and bright.
What sets this apricot jam apart is the gentle cooking process I refined over time to keep the fruit’s natural brightness intact. Instead of overcooking or adding pectin, I rely on the natural pectin in ripe apricots combined with a careful simmer and a bit of lemon juice for balance. The result is a beautifully vibrant jam that’s not overly sweet or cloying. It’s the kind of spread that makes you close your eyes and savor the moment, whether you’re spooning it onto warm biscuits or swirling it into your morning oatmeal. Plus, it’s a handy companion for dishes like savory smoked pulled pork sliders, where a bit of sweet tang can really shine.
What Ingredients You Will Need
This recipe uses simple, wholesome ingredients to deliver bold flavor and satisfying texture without the fuss. Most of these are probably sitting in your kitchen right now, making this an accessible recipe even for beginners.
- Fresh apricots (about 1 pound / 450 grams, pitted and chopped) – Choose ripe but firm apricots for the best balance of sweetness and acidity.
- Granulated sugar (3/4 cup / 150 grams) – Adjust slightly depending on how sweet your fruit is; I usually stick with this amount for a natural balance.
- Fresh lemon juice (1 tablespoon / 15 ml) – Adds brightness and helps the jam set by activating natural pectin.
- Water (2 tablespoons / 30 ml) – Just enough to help the fruit start breaking down without making the jam runny.
Optional but recommended:
- Vanilla bean or extract (1/2 teaspoon) – For a subtle warm note that complements apricot’s natural flavor.
- Butter (1 teaspoon) – Helps reduce foaming during cooking; you can skip if you prefer.
When picking apricots, I like to look for a brand or source known for consistent quality—local farmers’ markets are great if you can get them, but store-bought works fine if they’re ripe. If apricots are in season, swapping frozen for fresh is okay but expect a slightly different texture. For a twist, you can add a splash of fresh strawberry lemonade punch for a hint of citrusy sweetness in your jam.
Equipment Needed
You don’t need fancy gadgets to make this easy homemade apricot jam small batch recipe. Here’s what I usually pull out:
- Medium-sized heavy-bottomed saucepan – A good-quality pot helps distribute heat evenly, preventing hot spots that can burn the jam.
- Wooden spoon or heat-resistant silicone spatula – For stirring without scratching your cookware.
- Sharp knife and cutting board – To pit and chop the apricots.
- Measuring cups and spoons – Precision helps the jam set properly.
- Clean glass jar or small container – For storing the finished jam; I like to use a sterilized mason jar.
If you don’t have a heavy-bottomed pot, a thick stainless steel one will work fine, but just pay close attention to the heat. A candy thermometer is optional but handy if you want to be precise—the jam thickens around 220°F (104°C). For budget-friendly options, you could use a smaller saucepan and make an even tinier batch to test the recipe.
Preparation Method
- Prepare the apricots: Wash and dry about 1 pound (450 grams) of fresh apricots. Cut them in half, remove the pits, and chop into small chunks. The smaller the pieces, the quicker they’ll break down during cooking. This step should take about 10 minutes.
- Combine ingredients: In your medium saucepan, add the chopped apricots, 3/4 cup (150 grams) granulated sugar, 1 tablespoon (15 ml) fresh lemon juice, and 2 tablespoons (30 ml) water. If using, add 1/2 teaspoon vanilla extract or scrape in seeds from half a vanilla bean. Give everything a gentle stir to mix.
- Cook the mixture: Place the pan over medium heat and bring to a gentle boil, stirring frequently to prevent sticking. Once boiling, reduce the heat to a simmer. The jam should bubble gently but not aggressively. This simmering process takes about 30-40 minutes. Stir every few minutes to encourage even cooking and prevent burning.
- Check for consistency: To test if the jam is ready, place a small spoonful on a cold plate (pop it in the fridge for a minute beforehand). After cooling, push the jam with your finger—if it wrinkles and holds its shape, it’s done. If not, keep simmering and test every 5 minutes.
- Optional: skim foam: If you notice foam forming on top during cooking, gently skim it off with a spoon. Adding a teaspoon of butter early in cooking can reduce foam buildup.
- Cool and store: Once the jam reaches the right consistency, remove the pan from heat and let it cool for 10-15 minutes. Pour the jam into a sterilized glass jar or container and let it cool completely before sealing and refrigerating. The jam will thicken a bit more as it cools.
Pro tip: Don’t rush the simmer or turn the heat too high—you’ll end up with burnt edges and uneven texture. I learned that the hard way, and now I set a timer to keep my attention sharp during that simmering window.
Cooking Tips & Techniques
Making jam can feel intimidating, but this recipe keeps things straightforward. Here are some lessons I learned that might save you a few headaches:
- Use ripe but firm apricots: Overripe fruit can make the jam too runny, and underripe can lack sweetness and natural pectin.
- Keep stirring: Apricots are sticky and can burn quickly; frequent stirring keeps the jam from sticking to the pan bottom.
- Simmer, don’t boil hard: A rolling boil can make the jam tough or scorched. A gentle simmer allows the fruit to break down naturally and develop flavor.
- Test for set: The cold plate test is my go-to. Jam continues to thicken as it cools, so it’s okay if it looks slightly loose when hot.
- Foam control: Foam is normal but can be skimmed off or minimized with a tiny bit of butter early on.
I used to multitask with jam-making, and that’s how I burned multiple batches. Now, I stay focused, put on some music, and treat the simmering as a mini break. You can even prepare a batch of red velvet white chocolate chip cookies while waiting, which pairs wonderfully with a smear of fresh apricot jam.
Variations & Adaptations
This recipe is pretty flexible, so you can tweak it based on what you have or your dietary needs:
- Low-sugar version: Cut the sugar by a third and add a natural sweetener like honey or maple syrup near the end of cooking to taste.
- Spiced apricot jam: Add a cinnamon stick or a few cardamom pods during simmering for a warm, aromatic twist; remove before bottling.
- Mixed fruit jam: Combine apricots with peaches or nectarines for a seasonal blend. Just adjust cooking time to ensure all fruit softens evenly.
- Vegan & allergen-friendly: This recipe is naturally vegan and gluten-free, which is great for most diets.
- Cooking method swap: You can make this jam in a slow cooker on low for 2-3 hours, stirring occasionally, for an easy set-it-and-forget-it option.
One of my favorite variations was adding a splash of balsamic vinegar for a bit of tang that pairs surprisingly well with cheese platters and crackers, perfect alongside a batch of balsamic roasted strawberry goat cheese crostini.
Serving & Storage Suggestions
Serve your apricot jam at room temperature for the best spreadability and flavor. It’s fantastic on warm buttered toast, swirl into plain yogurt, or dolloped over pancakes or waffles. I also love it as a glaze for grilled meats or tossed into salad dressings for a touch of sweetness.
Store the jam in the refrigerator in a clean, airtight jar. It keeps well for up to three weeks. You can also freeze small portions in silicone molds or ice cube trays for longer storage—just thaw in the fridge before use. Over time, the flavors mellow and deepen, so if you wait a few days, you might find the jam tastes even better.
For a full breakfast spread, pair this jam with some flaky croissants or alongside a refreshing beverage like the sparkling strawberry lemonade punch. It’s a simple way to bring bright, fresh flavors to your table without much fuss.
Nutritional Information & Benefits
This small batch apricot jam recipe is a modest source of natural sugars and vitamin C, thanks to the fresh apricots and lemon juice. One tablespoon (about 20 grams) typically contains approximately 50 calories, mostly from sugar, with negligible fat and protein.
Apricots themselves offer antioxidants, fiber, and vitamins A and C, which support skin health and immunity. Making jam at home means you can control the sugar level and avoid preservatives found in many store-bought versions. The simple ingredient list also makes this a good choice for those avoiding artificial additives.
From a wellness perspective, I appreciate how this jam adds natural sweetness without overwhelming processed sugar. It’s a small, thoughtful treat that fits into a balanced diet without guilt.
Conclusion
This easy homemade apricot jam small batch recipe is worth trying because it brings fresh, authentic fruit flavor into your kitchen without requiring a big commitment. Whether you’re a beginner or someone who’s struggled with jam-making before, this recipe’s straightforward steps and modest ingredient list make it approachable and satisfying.
I love this jam because it’s a quiet little joy—simple enough to make on a whim but special enough to turn everyday breakfasts into something memorable. Plus, the flexibility to tweak sweetness or add spices means you can make it truly your own. If you give this recipe a try, I’d love to hear how yours turns out or any creative spins you add. Sharing those moments is what cooking is all about, after all.
FAQs about Easy Homemade Apricot Jam Small Batch Recipe
How long does homemade apricot jam last in the fridge?
When stored properly in a sterilized, airtight jar, homemade apricot jam will last about three weeks in the refrigerator.
Can I use frozen apricots instead of fresh?
Yes, frozen apricots work fine, but the jam may be slightly less chunky and have a softer texture. Thaw and drain excess liquid before cooking.
Do I need to add pectin to this jam?
No, ripe apricots have natural pectin that’s enough to help the jam set, especially when combined with lemon juice.
What’s the best way to test if the jam has set?
Use the cold plate test: place a spoonful of jam on a chilled plate, let it cool for a minute, then push it gently with your finger. If it wrinkles and holds shape, it’s ready.
Can I can this jam for long-term storage?
This recipe is designed for small batches and refrigeration. For canning, follow proper sterilization and water bath canning procedures to ensure safety.
Pin This Recipe!
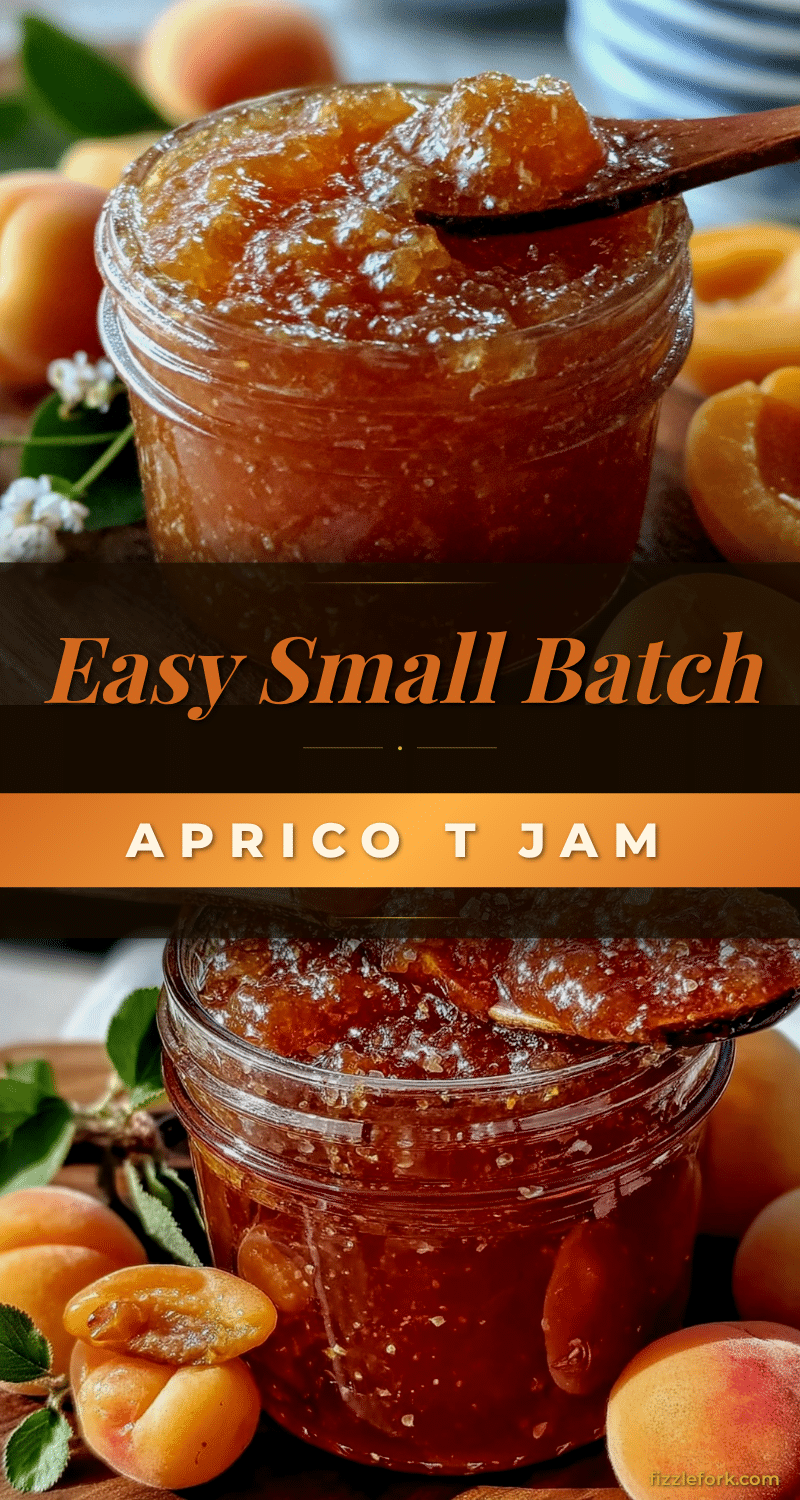
Easy Homemade Apricot Jam Recipe Small Batch Perfect for Beginners

A simple, beginner-friendly small batch apricot jam recipe that delivers fresh, authentic fruit flavor with minimal ingredients and fuss. Perfect for quick homemade preserves without large quantities or special equipment.
- Prep Time: 10 minutes
- Cook Time: 30-40 minutes
- Total Time: 40-50 minutes
- Yield: About 1 cup (8 servings, 1 tablespoon each) 1x
- Category: Preserves
- Cuisine: American
Ingredients
- 1 pound (450 grams) fresh apricots, pitted and chopped
- 3/4 cup (150 grams) granulated sugar
- 1 tablespoon (15 ml) fresh lemon juice
- 2 tablespoons (30 ml) water
- 1/2 teaspoon vanilla bean or extract (optional)
- 1 teaspoon butter (optional, to reduce foaming)
Instructions
- Wash and dry about 1 pound (450 grams) of fresh apricots. Cut in half, remove pits, and chop into small chunks.
- In a medium saucepan, combine chopped apricots, 3/4 cup granulated sugar, 1 tablespoon fresh lemon juice, and 2 tablespoons water. Add vanilla extract or seeds from half a vanilla bean if using. Stir gently to mix.
- Place the pan over medium heat and bring to a gentle boil, stirring frequently to prevent sticking.
- Reduce heat to a simmer and cook for 30-40 minutes, stirring every few minutes to encourage even cooking and prevent burning.
- Test for set by placing a spoonful of jam on a cold plate chilled in the fridge. After cooling, push the jam with your finger; if it wrinkles and holds shape, it is ready. If not, continue simmering and test every 5 minutes.
- Optionally skim off any foam that forms during cooking. Adding butter early can reduce foam.
- Remove from heat and let cool for 10-15 minutes. Pour into a sterilized glass jar or container and let cool completely before sealing and refrigerating.
Notes
Do not rush the simmer or use high heat to avoid burning. Frequent stirring is essential. Use ripe but firm apricots for best texture and natural pectin. The cold plate test is the best way to check jam set. Butter helps reduce foam but is optional. Jam thickens more as it cools. Store refrigerated and consume within three weeks. Frozen apricots can be used but may alter texture.
Nutrition
- Serving Size: 1 tablespoon (about
- Calories: 50
- Sugar: 12
- Carbohydrates: 13
- Fiber: 0.5
Keywords: apricot jam, homemade jam, small batch jam, easy jam recipe, beginner jam recipe, fruit preserves, apricot preserves


