For a while, I just accepted that refrigerator pickles weren’t going to taste like the kind you find at a roadside stand or in a cozy deli — especially the ones that balance sweetness, garlic, dill, and a little spicy kick just right. I remember opening jar after jar of pickles that seemed flat or overly sour, never quite capturing that vibrant snap and punch that made me crave pickles in the first place. The smell of fresh dill mingled with garlic was always promising, but the flavor often fell short.
One afternoon, as I was slicing cucumbers for a simple salad, I thought, why not try making my own refrigerator pickles? Nothing fancy—just straightforward ingredients, but with a twist I had been imagining for months: the perfect blend of sweet, garlicky, dill-infused, and with a touch of heat that wakes up the palate. I tinkered with ratios, letting the cucumbers soak longer, adjusting the sugar to mellow out the vinegar, and sneaking in a little chili kick. The kitchen smelled like a savory herb garden mixed with fresh garlic and zesty spices for days.
It wasn’t a revelation that happened overnight. It took a few tries, some pretty sour batches, and a bit of patience. But when the flavors finally clicked, it was quiet satisfaction rather than fanfare. These pickles became my go-to snack, the tangy crunch I reached for when making quick meals like the quick beef and broccoli stir-fry or the garlic butter shrimp pasta. They bring a little spark to the everyday. That’s why this recipe stuck around—it’s just the kind of pickle that feels like an old friend in the fridge, ready to add a little something special whenever you need it.
Why You’ll Love This Recipe
Honestly, these sweet garlic dill refrigerator pickles with a kick are the kind of recipe you’ll turn to again and again. Here’s why:
- Quick & Easy: They come together in under 15 minutes, and then you let the fridge do the magic — perfect for those days when you want flavor without fuss.
- Simple Ingredients: Nothing exotic here. Most of these are pantry staples or things you can find year-round, so no frantic grocery runs.
- Perfect for Snacking & Meals: Whether you’re jazzing up a sandwich, craving a crunchy snack, or adding a punch to your dinner plate, these pickles fit the bill.
- Crowd-Pleaser: I’ve served these to friends who usually shy away from anything too spicy, and they still keep coming back for more.
- Unbelievably Delicious: The balance between sweet, tart, garlicky, and spicy is just right — not overpowering, but enough to keep your taste buds guessing.
What sets this recipe apart? It’s the little details — for instance, I blend fresh dill with garlic cloves and a pinch of crushed red pepper flakes that give it a distinctive zing. The sugar is just enough to soften the sharpness of the vinegar without drowning the natural crunch of the cucumbers. Plus, I use a quick soak method that lets you enjoy these pickles in a couple of days, not weeks.
It’s not just a pickle recipe—it’s the kind of flavor you close your eyes for and savor, perfect for those moments when you want something simple but satisfying. It’s the kind of recipe that makes you feel quietly confident about your kitchen skills, even if you’re just starting out. These pickles bring a little spark to everyday meals, like the crispy lemon herb chicken sheet pan dinner, and they never disappoint.
What Ingredients You Will Need
This recipe uses straightforward, wholesome ingredients that work together to deliver bold flavor and that satisfying pickle crunch without any fuss. You can find everything easily, and many of these are staples you probably keep stocked.
- Fresh cucumbers (preferably Kirby or pickling cucumbers, about 4-5 medium-sized) – their firm texture is key for crisp pickles.
- Garlic cloves (4-5 large, peeled and slightly crushed) – this gives the recipe its heady, aromatic base.
- Fresh dill sprigs (6-8 sprigs) – look for bright, healthy leaves; they bring that classic dill flavor.
- White vinegar (1 cup / 240 ml) – the acidity balances the sweetness and keeps the pickles crisp.
- Water (1 cup / 240 ml) – helps mellow the vinegar’s bite.
- Granulated sugar (1/4 cup / 50 g) – just enough to add a subtle sweetness.
- Pickling salt (2 tablespoons) – I prefer kosher or canning salt without additives.
- Crushed red pepper flakes (1 teaspoon) – this adds the kick, but you can adjust to taste.
- Black peppercorns (1 teaspoon) – whole peppercorns give a faint warmth and complexity.
- Optional: Mustard seeds (1 teaspoon) – adds a slight tangy depth if you like.
If you want to swap things up, you can use apple cider vinegar instead of white vinegar for a milder tang. Also, if you’re avoiding sugar, a touch of honey or maple syrup works well, but keep in mind it will affect the flavor slightly. For a dairy-free or vegan pantry, all ingredients here are naturally friendly.
Equipment Needed
- Large glass jar or airtight container (at least 1-quart / 1-liter capacity) – glass is best for pickling to avoid any metallic taste.
- Mixing bowl – for combining the brine ingredients before pouring over cucumbers.
- Measuring cups and spoons – accuracy helps keep the balance of flavors spot on.
- Sharp knife – for slicing the cucumbers evenly.
- Cutting board – a clean and sturdy surface is key.
- Small saucepan – optional, if you prefer to warm the brine to dissolve sugar and salt faster.
If you don’t have a glass jar, a food-safe plastic container with a tight lid works, but I find glass keeps flavors cleaner. I’ve tried metal containers, but they sometimes add a tinny note. Also, keeping your equipment spotless prevents any off-flavors or cloudiness in the brine, so a thorough wash and dry before use is a must.
Preparation Method
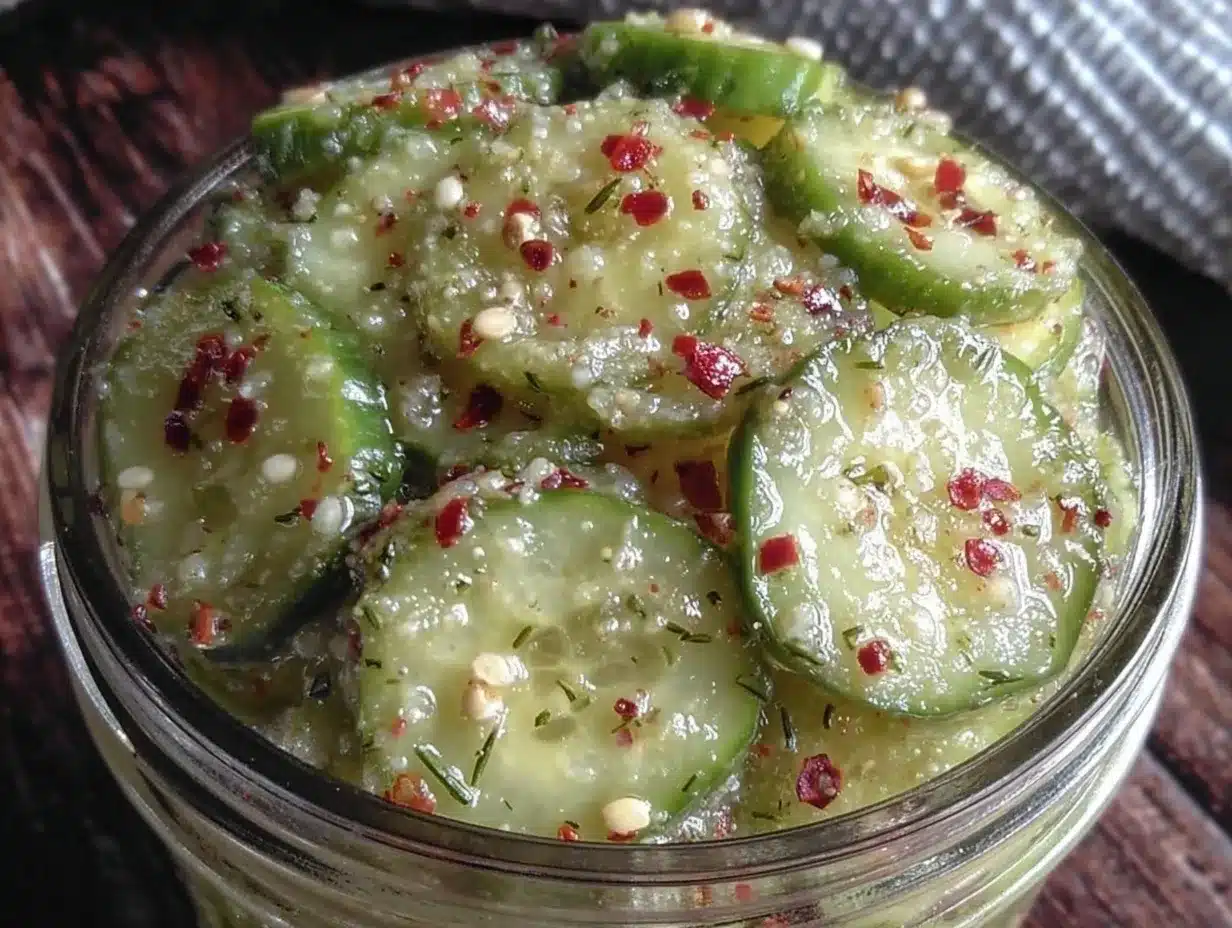
- Wash and slice your cucumbers. Trim the ends, then slice them into 1/4-inch (about 6 mm) thick rounds or spears, depending on your preference. This usually takes about 5-7 minutes.
- Prepare the brine. In a mixing bowl, combine 1 cup (240 ml) white vinegar, 1 cup (240 ml) water, 1/4 cup (50 g) granulated sugar, and 2 tablespoons pickling salt. Whisk until sugar and salt are mostly dissolved. Optionally, warm this mixture in a small saucepan over low heat for 2 minutes to speed dissolution, then cool to room temperature.
- Add aromatics to the jar. Place the garlic cloves, dill sprigs, crushed red pepper flakes, black peppercorns, and optional mustard seeds at the bottom of your glass jar or container.
- Pack the cucumbers. Tightly fill the jar with cucumber slices or spears, leaving about 1 inch (2.5 cm) of headspace at the top to allow for expansion.
- Pour the brine. Slowly pour the brine over the cucumbers and aromatics, making sure everything is fully submerged. If you notice any floating cucumbers, use a small weight or a clean piece of parchment paper to keep them submerged.
- Seal and refrigerate. Close the jar tightly and place it in the refrigerator.
- Wait for flavor development. Let the pickles sit for at least 48 hours before tasting, though they’re best after 3-5 days. The flavors deepen and the cucumbers stay crisp.
- Enjoy and store. Consume within 2-3 weeks for best texture and flavor.
A quick tip: slicing cucumbers uniformly helps them pickle evenly. When pouring the brine, do it slowly to avoid disturbing the aromatics at the bottom too much. If you find your pickles too sour after a day or two, a pinch more sugar in the brine next time can soften the edge.
Cooking Tips & Techniques
When it comes to making pickles, a few tricks make all the difference. First, always use fresh, firm cucumbers. If they’re starting to get soft or watery, the pickles won’t have that satisfying crunch. I’ve learned the hard way that soaking cucumbers in ice water for 30 minutes before slicing can help maintain crispness.
Another thing is salt choice — pickling salt or kosher salt without additives prevents cloudiness and off-flavors. I once used table salt and ended up with a slightly metallic taste, so it’s worth paying attention here. Also, don’t skip the garlic; it’s the backbone of the flavor profile in this recipe.
Don’t be shy with the dill and red pepper flakes. The dill should be fresh and vibrant, not wilted. If you want to dial up the heat, add a pinch more red pepper flakes or a small slice of fresh jalapeño. For less heat, reduce them or omit entirely.
Timing is a balancing act — these pickles get better each day, but I wouldn’t wait longer than two weeks. After that, they start to lose their crunch and can become too sour. Making a fresh batch regularly keeps your fridge stocked and your taste buds happy.
Variations & Adaptations
- Spicy Variation: Add sliced fresh jalapeños or a teaspoon of whole mustard seeds for an extra layer of heat and tang.
- Low-Sugar Option: Reduce the sugar to 2 tablespoons and add a splash of apple cider vinegar for a sharper bite that’s less sweet.
- Herbal Twist: Swap out dill for fresh tarragon or add a few sprigs of fresh thyme to change the flavor profile while keeping that bright, herbal note.
- Different Veggies: Try this brine with sliced carrots, green beans, or even cauliflower florets for an easy, crunchy snack that’s a little different.
- Fermented Version: Skip the vinegar and salt in the brine and ferment the cucumbers naturally for a probiotic-rich pickle, but keep in mind this requires different timing and technique.
One time, I experimented by adding a splash of smoked paprika to the brine, which gave the pickles a subtle smoky undertone that paired surprisingly well with grilled chicken or fish. If you like experimenting, this recipe’s simplicity makes it a great base for your own signature spins.
Serving & Storage Suggestions
These sweet garlic dill refrigerator pickles are best served chilled straight from the fridge. Their crisp texture and balanced flavor complement sandwiches, burgers, and salads—like the fresh heirloom-tomato and burrata salad that’s a perfect light pairing on warm days. They also make a fantastic snack on their own if you’re craving something tangy and crunchy.
Store the pickles in their sealed glass jar in the refrigerator for up to 3 weeks. Always use a clean utensil to remove pickles to avoid contamination. If you find the brine level dropping, you can top it off with a little vinegar and water mixture to keep the cucumbers submerged.
Reheating isn’t necessary here—these are best cold or at room temperature. Over time, the flavors meld and intensify, so you might notice a stronger garlic or dill presence after a few days. That’s not a bad thing; it just adds character.
Nutritional Information & Benefits
This recipe is low in calories and carbs, making it a great snack if you’re watching your intake. Cucumbers are hydrating and provide small amounts of vitamins K and C. Garlic offers known immune-boosting properties, while dill has antioxidants and may aid digestion. The vinegar supports blood sugar regulation and gut health when consumed in moderation.
These pickles are naturally gluten-free, vegan, and dairy-free. The only allergen concern might be garlic for those sensitive to alliums. Overall, they’re a flavorful way to add some veggies and probiotics to your diet without guilt.
Conclusion
This flavorful sweet garlic dill refrigerator pickles recipe with a kick is a quiet keeper in my kitchen. It’s simple enough for beginners but offers enough depth to satisfy even seasoned pickle lovers. I love how it adds a fresh punch to everyday meals or a crunchy snack when I’m grazing in the afternoon.
Feel free to tweak the heat or sweetness to match your mood. The best part is that it’s a recipe that grows on you, quietly becoming a staple that you reach for often. If you enjoy mixing up weeknight dinners, these pickles pair wonderfully with quick dishes like the creamy one-pot Tuscan garlic chicken, making every bite a little more exciting.
Give it a try, and I’d love to hear how you make it your own. Leave a comment or share your favorite pickle twists—you know I’m always up for new ideas!
FAQs
How long do refrigerator pickles take to be ready to eat?
They usually start tasting good after 48 hours but develop their full flavor after 3-5 days in the fridge.
Can I use regular cucumbers instead of pickling cucumbers?
You can, but regular slicing cucumbers have more water and may result in softer pickles. Pickling cucumbers hold up better.
How spicy are these pickles, and can I adjust the heat?
The recipe has a mild to moderate kick from crushed red pepper flakes. You can easily reduce or increase the amount to suit your preference.
Do I need to boil the brine?
Warming the brine helps dissolve sugar and salt faster but isn’t necessary. Just make sure it’s fully cooled before pouring over cucumbers.
Can I store these pickles at room temperature?
Since these are refrigerator pickles (not canned), they should be kept in the fridge to prevent spoilage and maintain crunch.
Pin This Recipe!
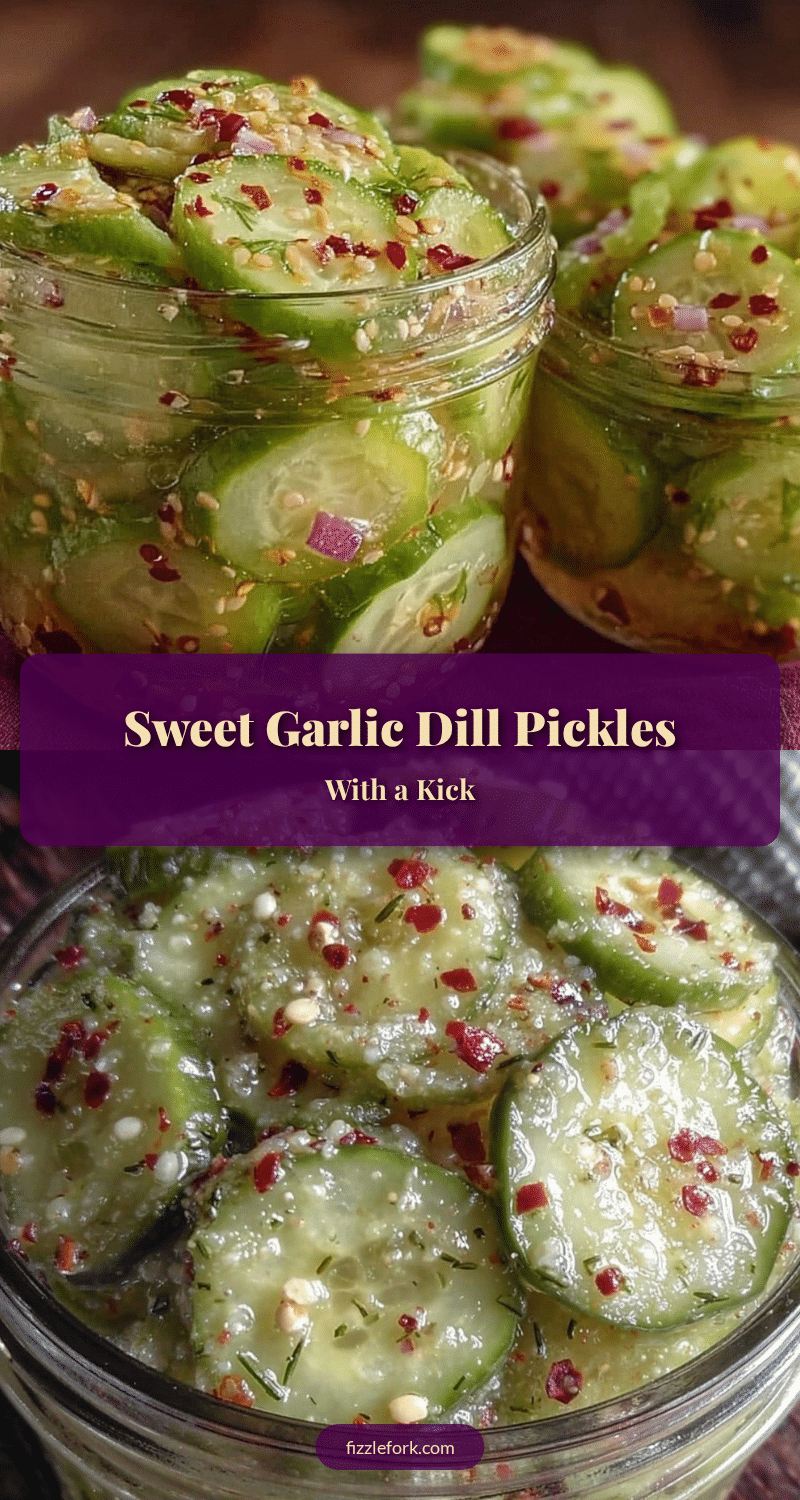
Flavorful Sweet Garlic Dill Refrigerator Pickles Recipe with a Kick Made Easy
These refrigerator pickles balance sweetness, garlic, dill, and a little spicy kick perfectly. Quick to prepare and ready in a few days, they add a crunchy, tangy spark to snacks and meals.
- Prep Time: 10 minutes
- Cook Time: 0 minutes
- Total Time: 2 days (minimum for flavor development)
- Yield: 4-5 cups of pickles 1x
- Category: Condiment
- Cuisine: American
Ingredients
- 4–5 medium fresh cucumbers (preferably Kirby or pickling cucumbers)
- 4–5 large garlic cloves, peeled and slightly crushed
- 6–8 fresh dill sprigs
- 1 cup (240 ml) white vinegar
- 1 cup (240 ml) water
- 1/4 cup (50 g) granulated sugar
- 2 tablespoons pickling salt (kosher or canning salt preferred)
- 1 teaspoon crushed red pepper flakes
- 1 teaspoon black peppercorns
- Optional: 1 teaspoon mustard seeds
Instructions
- Wash and slice cucumbers into 1/4-inch (about 6 mm) thick rounds or spears.
- In a mixing bowl, combine white vinegar, water, sugar, and pickling salt. Whisk until sugar and salt are mostly dissolved. Optionally, warm the mixture in a small saucepan over low heat for 2 minutes, then cool to room temperature.
- Place garlic cloves, dill sprigs, crushed red pepper flakes, black peppercorns, and optional mustard seeds at the bottom of a large glass jar or airtight container.
- Pack the cucumber slices or spears tightly into the jar, leaving about 1 inch (2.5 cm) of headspace at the top.
- Pour the brine slowly over the cucumbers and aromatics, ensuring everything is fully submerged. Use a small weight or parchment paper to keep cucumbers submerged if needed.
- Seal the jar tightly and refrigerate.
- Let the pickles sit for at least 48 hours before tasting; best after 3-5 days for full flavor development.
- Consume within 2-3 weeks for best texture and flavor.
Notes
Use fresh, firm cucumbers for best crunch. Soaking cucumbers in ice water for 30 minutes before slicing can help maintain crispness. Use pickling or kosher salt without additives to avoid off-flavors. Adjust crushed red pepper flakes to control heat. Warm brine to dissolve sugar and salt faster but cool before pouring. Consume pickles within 2-3 weeks for best quality.
Nutrition
- Serving Size: About 1/4 cup (30 g)
- Calories: 15
- Sugar: 3
- Sodium: 700
- Carbohydrates: 4
- Fiber: 0.3
- Protein: 0.3
Keywords: refrigerator pickles, sweet pickles, garlic dill pickles, quick pickles, spicy pickles, easy pickles, homemade pickles


