I was elbow-deep in a sink of suds last Tuesday when my seven-year-old tugged at my shirt. “Mom, remember that ice cream you made? The chocolate one?” I did. Of course I did. But the way he said it—like I’d forgotten something sacred—stopped me mid-scrub. He was talking about a batch I’d thrown together three weeks ago, mostly out of desperation and a half-empty carton of milk. I’d forgotten about it, honestly. But he hadn’t. And standing there with dishwater dripping off my fingers, I got this flash of him at the kitchen table, spoon halfway to his mouth, eyes wide. Not the dramatic kind of wide. Just… quiet surprise. Like he’d stumbled onto something good and couldn’t quite believe it was allowed.
That’s the thing about this Kid-Approved Ninja Creami Chocolate Protein Ice Cream. It doesn’t announce itself with fanfare. It just shows up, does its job, and leaves a kid staring at an empty bowl like he’s solving a puzzle. I mean, let’s be honest—I wasn’t trying to be a hero that day. I was trying to use up some protein powder that tasted like chalk in smoothies. But the Ninja Creami pint container was sitting there, clean and hopeful, and I thought, why not?
So I poured, froze, spun, and watched this creamy, chocolatey thing emerge. It wasn’t icy. It wasn’t grainy. It was—and I don’t say this lightly—actually good. Maybe you’ve been there, standing over a machine you weren’t sure you’d use again, wondering if the hype was real. Well, let me tell you, this recipe is why the hype is real. It’s become our go-to for after-school treats, weekend movie nights, and those moments when a kid just needs something that feels like a win. And honestly? So do I.
Why You’ll Love This Recipe
This isn’t just another protein ice cream that tastes like a compromise. After testing this recipe across four different batches—and yes, one of them was a sad, icy failure—I can tell you this version hits every mark. It’s creamy, chocolatey, and secretly packed with protein that your kids won’t even notice. Here’s why it’s earned a permanent spot in our freezer rotation:
- Quick & Easy: From start to finish, the active prep takes about 5 minutes. The Ninja Creami does the hard work, and you just spin and serve. Perfect for those afternoons when you need a win fast.
- Simple Ingredients: No fancy grocery runs. You probably have everything in your kitchen right now—milk, chocolate protein powder, a little sweetener, and maybe some cocoa powder for extra depth.
- Perfect for Family Treats: Whether it’s a post-dinner dessert or a weekend reward, this ice cream fits right into family life without any guilt or fuss.
- Crowd-Pleaser: I’ve served this to picky eaters, skeptical adults, and kids who usually turn their noses up at anything “healthy.” Every single one asked for seconds.
- Unbelievably Delicious: The texture is what gets you—creamy, scoopable, and nothing like the icy bricks you get from store-bought protein pints.
What makes this recipe different? It’s the ratio. After trial and error, I landed on a milk-to-protein-powder balance that creates a smooth, rich base without any chalky aftertaste. I also add a pinch of salt to deepen the chocolate flavor—a trick I picked up from a pastry chef friend who insisted that salt makes chocolate taste more like itself. She was right. This isn’t just another version of protein ice cream; it’s the one you’ll actually want to eat again and again.
And here’s the emotional truth: this recipe is the kind that makes you feel good about what you’re feeding your family. It’s not a compromise. It’s a small victory—a way to say “yes” to dessert without the sugar crash or the guilt. That matters, especially on days when parenting feels like a long list of negotiations. This ice cream? It’s the easy yes.
What Ingredients You Will Need
This recipe uses simple, everyday ingredients to deliver bold chocolate flavor and a creamy texture that rivals any store-bought pint. No weird additives, no obscure health food store finds—just real ingredients that work together beautifully.
- 1 cup whole milk (or 2%—I’ve tested both, and whole milk gives the creamiest result; use dairy-free milk if needed, but avoid watery options like unsweetened almond milk)
- 2 tablespoons chocolate protein powder (I prefer Orgain Simple or Vega Sport for clean flavor; avoid stevia-sweetened powders as they can turn bitter when frozen)
- 1 tablespoon unsweetened cocoa powder (adds richness and deepens the chocolate flavor; Dutch-process works especially well)
- 1-2 tablespoons maple syrup or honey (adjust based on your protein powder’s sweetness; start with 1 tablespoon and taste the base before freezing)
- 1/4 teaspoon vanilla extract (rounds out the chocolate flavor and adds warmth)
- Pinch of sea salt (this is non-negotiable—it makes the chocolate taste more chocolatey, trust me)
- Optional: 1 tablespoon heavy cream (for extra richness; skip if using whole milk and want a lighter version)
- Optional: 1 tablespoon mini chocolate chips (stir in after spinning for a bit of texture; my kids call these “chocolate surprises”)
A quick note on protein powder: not all powders are created equal when it comes to freezing. Whey-based powders tend to freeze creamier than plant-based ones, but I’ve had good results with both. If your powder is very sweet, cut back on the maple syrup. If it’s unsweetened, lean into the full 2 tablespoons of sweetener. The key is to taste the liquid base before freezing—it should taste slightly sweeter than you want the final ice cream to be, because freezing dulls sweetness.
Equipment Needed
You don’t need much for this recipe, which is part of its charm. Here’s what you’ll need:
- Ninja Creami machine (any model works—I have the original and it’s held up beautifully over two years of weekly use)
- Ninja Creami pint container (the one that comes with your machine; make sure it’s clean and completely dry before use)
- Measuring cups and spoons (standard set; accuracy matters here more than you’d think)
- Whisk or small blender (to mix the ingredients until smooth; a fork works in a pinch but a whisk is better)
- Freezer-safe surface (a flat spot in your freezer that’s level; I use a small baking sheet to keep the pint stable)
- Rubber spatula (for scraping every last bit of the base into the pint container)
If you don’t have a Ninja Creami yet, I’ll be honest—it’s an investment. But we’ve used ours so much that the cost per use is down to pennies. And if you’re on a budget, check Facebook Marketplace or local Buy Nothing groups. I’ve seen them pop up for under $50. The machine does the heavy lifting, so a cheap secondhand one works just as well as a brand new model.
Preparation Method
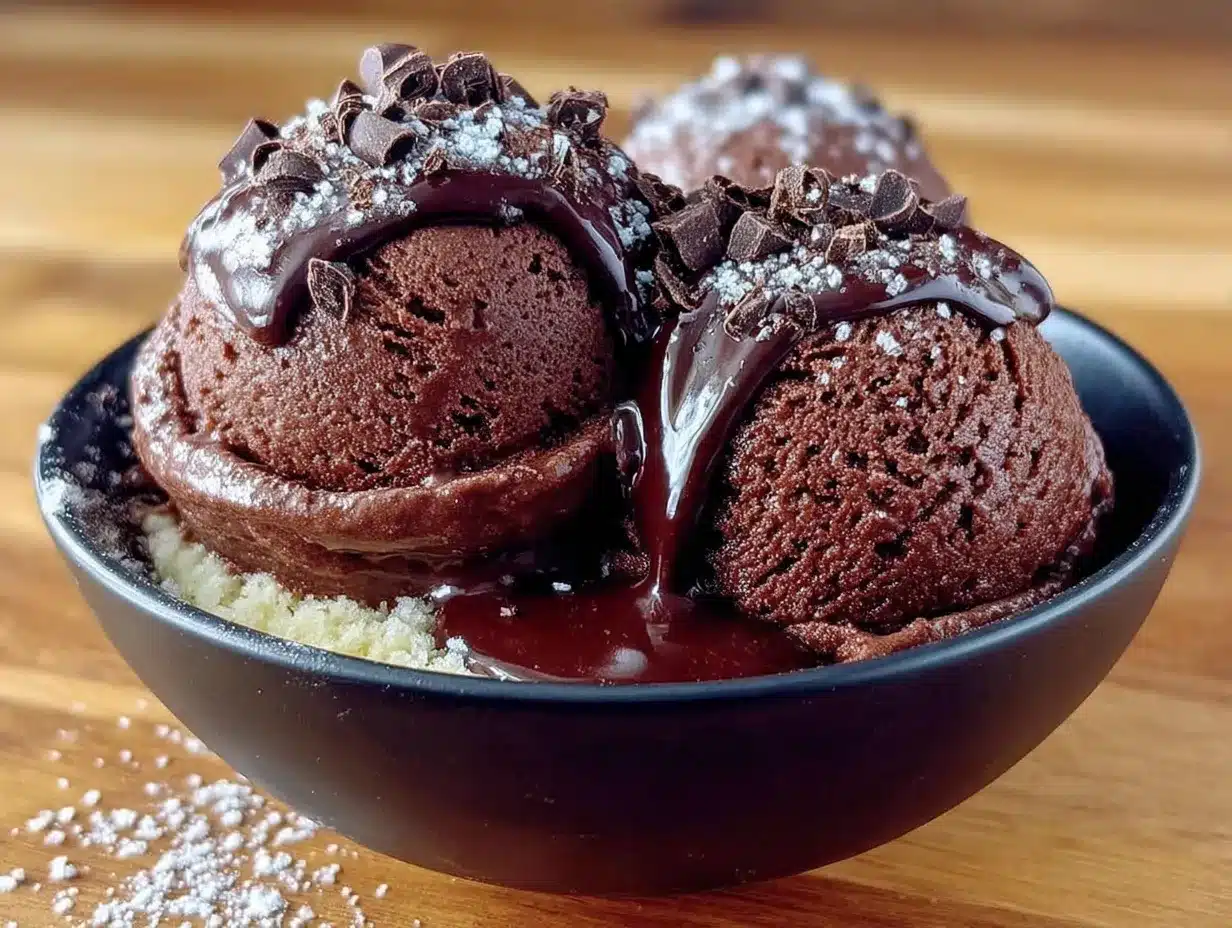
Follow these steps carefully, and you’ll get perfect, creamy ice cream every time. I’ve included timing estimates and sensory cues so you know exactly what to look for at each stage.
- Mix the base (5 minutes). In a small bowl or liquid measuring cup, whisk together the milk, chocolate protein powder, cocoa powder, maple syrup, vanilla extract, and salt. Whisk vigorously until the protein powder is fully dissolved—no lumps allowed. The mixture should be smooth, dark brown, and smell deeply chocolatey. If you see flecks of powder, keep whisking. Taste it here: it should be sweet but not cloying, with a rich chocolate flavor. If it tastes flat, add another pinch of salt.
- Pour into the pint container. Carefully pour the mixture into your clean, dry Ninja Creami pint container. Leave about 1/2 inch of headspace at the top—the mixture will expand slightly as it freezes. If you’re adding heavy cream, stir it in now. Wipe the rim of the container clean with a damp paper towel to ensure a good seal.
- Freeze for 24 hours (minimum). Place the lid on the pint container and set it on a level surface in your freezer. Do not disturb it for at least 24 hours. I know, I know—it’s tempting to check it after 12 hours. Don’t. The base needs to be completely frozen solid for the Ninja Creami to work properly. After 24 hours, the mixture should be rock hard, with no give when you press on the lid. If it’s still soft in the center, give it more time.
- Spin the ice cream (2 minutes). Remove the pint from the freezer and take off the lid. Place it into the outer bowl of your Ninja Creami machine, ensuring it’s locked in place. Select the “Ice Cream” setting and let the machine do its thing. You’ll hear it spin and scrape—this is normal. When it’s done, the ice cream should look soft and creamy, like soft-serve. If it looks powdery or crumbly, don’t panic. That’s called a “dry pint,” and it’s fixable.
- Fix a dry pint (if needed). If your ice cream came out dry or crumbly, add 1 tablespoon of milk to the pint, re-lock it in the machine, and run the “Re-spin” function. This adds just enough moisture to bring everything together. I’ve had to do this maybe three times out of dozens of batches, so don’t worry if it happens to you. It’s not a failure—it’s just the machine telling you your base was a touch too thick.
- Add mix-ins (optional). If you’re adding mini chocolate chips or any other mix-ins, stir them in by hand after spinning. Use a spoon to fold them gently into the ice cream. Don’t use the “Mix-in” function for tiny add-ins like chocolate chips—it tends to pulverize them. For larger mix-ins like cookie pieces, the Mix-in setting works great.
- Serve immediately or firm up. The ice cream will be soft right after spinning, like soft-serve. If you prefer a firmer texture, scoop it into a freezer-safe container and freeze for 30-60 minutes before serving. I usually serve it straight from the machine because my kids can’t wait, and honestly, the soft texture is part of the appeal.
Cooking Tips & Techniques
After making this recipe more times than I can count—including some batches that ended up in the sink—I’ve learned a few things that make all the difference. Here are my best tips for Ninja Creami success:
Temperature matters more than you think. The base needs to be frozen solid—no shortcuts. I once tried to spin a pint that had only been in the freezer for 18 hours, and the machine struggled and left chunks. Set a timer for 24 hours and walk away. Your patience will be rewarded with silky, scoopable ice cream.
Don’t skip the salt. I know a pinch of salt seems like a small thing, but it’s the difference between flat chocolate and deep, satisfying chocolate. Salt doesn’t make it salty—it makes the chocolate taste more like itself. Trust me on this one.
Protein powder placement. If you’re using a plant-based protein powder, whisk it into the milk first before adding cocoa powder. Plant-based powders can be clumpier, and getting them smooth early saves you from lumpy ice cream later. I learned this the hard way after a batch came out with mysterious chalky pockets.
The re-spin is your friend. If your ice cream comes out dry or crumbly, don’t panic. Add a splash of milk—just one tablespoon—and run the re-spin function. I’ve saved countless pints this way. It’s not a mistake; it’s just the machine telling you your base needed a little more liquid.
Batch prep for busy weeks. I often make two or three pint containers at once and keep them in the freezer, ready to spin. That way, when the after-school cravings hit, I can spin a pint in two minutes flat. It’s like having a secret weapon in your freezer.
Variations & Adaptations
One of the best things about this recipe is how easy it is to change up. Here are some variations we’ve tried and loved:
- Peanut Butter Chocolate: Add 1 tablespoon of peanut butter to the base before freezing. Whisk it in thoroughly—it won’t fully dissolve, but that’s okay. The little peanut butter ribbons that form during spinning are a happy accident. My oldest says this tastes like a Reese’s cup in ice cream form.
- Mint Chocolate Chip: Swap the vanilla extract for 1/4 teaspoon peppermint extract. Stir in mini chocolate chips after spinning. It’s refreshing and feels fancy, even though it’s just a simple swap.
- Dairy-Free Version: Use full-fat oat milk or canned coconut milk (the kind in a carton, not the can). Oat milk gives the creamiest dairy-free result. Avoid watery options like unsweetened almond milk—they lead to icy, sad ice cream. Trust me, I’ve been there.
- Extra Protein Boost: Add 1 tablespoon of collagen peptides along with the protein powder. It dissolves easily and adds an extra 10 grams of protein without changing the flavor. I do this on days when my kids have sports practice and need a protein hit after school.
- Cookies and Cream: Crush 2-3 chocolate sandwich cookies and stir them in after spinning. The cookie pieces soften slightly in the ice cream, creating a texture that’s pure nostalgia. This is my husband’s favorite version.
Each of these variations takes less than a minute to adapt, and they keep the recipe feeling fresh. We rotate through them based on what we have in the pantry and what mood strikes. That’s the beauty of a simple base recipe—it’s a canvas, not a cage.
Serving & Storage Suggestions
This ice cream is best served fresh from the machine, when it’s soft and creamy like soft-serve. But it’s also delicious after a brief stint in the freezer. Here’s how I handle both:
For immediate serving: Scoop into bowls and top with a sprinkle of sea salt, a few chocolate shavings, or a dollop of whipped cream. My kids love it with fresh strawberries on the side—the tartness cuts through the richness perfectly.
For firmer texture: After spinning, transfer the ice cream to a freezer-safe container with a lid. Press a piece of parchment paper directly onto the surface to prevent ice crystals, then freeze for 30-60 minutes. This gives you a scoopable, traditional ice cream texture.
Storage: Leftover ice cream can be stored in the freezer for up to 2 weeks. But here’s the thing—after freezing, the texture will become very hard. To bring it back to life, let it sit at room temperature for 10-15 minutes before scooping. Or, even better, run it through the Ninja Creami’s re-spin function with a splash of milk. That’s the beauty of this machine: leftover ice cream doesn’t have to be sad and icy.
Reheating tip: If the ice cream is too hard to scoop straight from the freezer, microwave it for 10-15 seconds. That’s usually enough to soften the edges without melting the whole pint. I do this when I’m making a single serving for myself after the kids are in bed.
Flavor development: Interestingly, the chocolate flavor deepens after a day or two in the freezer. The cocoa and protein powder have time to meld, creating a more complex taste. So if you can resist eating it all at once, the leftovers might actually be better.
Nutritional Information & Benefits
Here’s a rough nutritional breakdown for one serving (about 1/2 cup, based on the base recipe without mix-ins):
- Calories: ~120-150
- Protein: 12-15 grams
- Carbohydrates: 12-15 grams
- Fat: 4-6 grams
- Sugar: 8-10 grams (naturally occurring from milk and maple syrup)
The protein content is the real star here. With 12-15 grams per serving, this ice cream works as a post-workout snack, an after-school refuel, or a dessert that doesn’t spike blood sugar. The cocoa powder adds antioxidants and a touch of magnesium, while the milk provides calcium and vitamin D.
If you’re watching sugar intake, you can reduce the maple syrup to 1 tablespoon or use a monk fruit sweetener instead. Just be aware that some sugar alcohols can cause digestive upset in sensitive kids, so test in small amounts first. For most families, though, this recipe hits a sweet spot—literally and figuratively—between indulgence and nutrition.
One note on allergens: this recipe contains dairy and may contain traces of soy or gluten depending on your protein powder. For a dairy-free version, use full-fat oat milk and a plant-based protein powder. Always check labels if you’re serving someone with food allergies.
Conclusion
This Kid-Approved Ninja Creami Chocolate Protein Ice Cream has become more than just a recipe in our house. It’s a small ritual—a way to end a long day on a sweet note, a tool for sneaking protein into picky eaters, a reason to gather around the kitchen counter with spoons at the ready. It’s not fancy, and it doesn’t try to be. It just works.
I hope you’ll try it, tweak it, and make it your own. Maybe you’ll add a swirl of peanut butter, or a handful of crushed cookies, or just a generous sprinkle of sea salt. However you make it, I think you’ll find what we did: that sometimes the simplest recipes are the ones that stick. The ones that make a seven-year-old tug at your shirt and ask, “Can we make that again?”
If you give this recipe a try, I’d love to hear how it goes. Drop a comment below and let me know your favorite variation, or tag me in your photos—I’m always looking for new ideas. And if your kids love it as much as mine do, well, that’s the best compliment of all. Happy spinning, friends.
Frequently Asked Questions
Can I use any brand of protein powder?
Yes, but results vary. Whey-based powders tend to freeze creamier than plant-based ones. If your powder is very sweet, reduce the maple syrup. If it’s unsweetened, add the full 2 tablespoons. I recommend avoiding stevia-sweetened powders, as they can develop a bitter aftertaste when frozen.
Why is my ice cream dry and crumbly?
This is called a “dry pint,” and it’s fixable. Add 1 tablespoon of milk to the pint, re-lock it in the machine, and run the “Re-spin” function. This adds just enough moisture to bring everything together. It’s not a mistake—it’s just the machine telling you your base was a touch too thick.
Can I make this dairy-free?
Absolutely. Use full-fat oat milk or canned coconut milk (the kind in a carton, not the can) for the creamiest result. Avoid watery options like unsweetened almond milk, as they lead to icy ice cream. Pair with a plant-based protein powder for a completely dairy-free treat.
How long does the base need to freeze?
At least 24 hours. The mixture needs to be completely frozen solid for the Ninja Creami to work properly. I know it’s tempting to check it early, but patience pays off. If the base isn’t fully frozen, the machine will struggle and leave chunks.
Can I double this recipe?
Yes, but make each pint separately. The Ninja Creami processes one pint at a time, so you can prep multiple pint containers and freeze them. I often make two or three at once, so I have them ready to spin whenever cravings hit. Just don’t try to blend a double batch in one container—it won’t work.
Pin This Recipe!
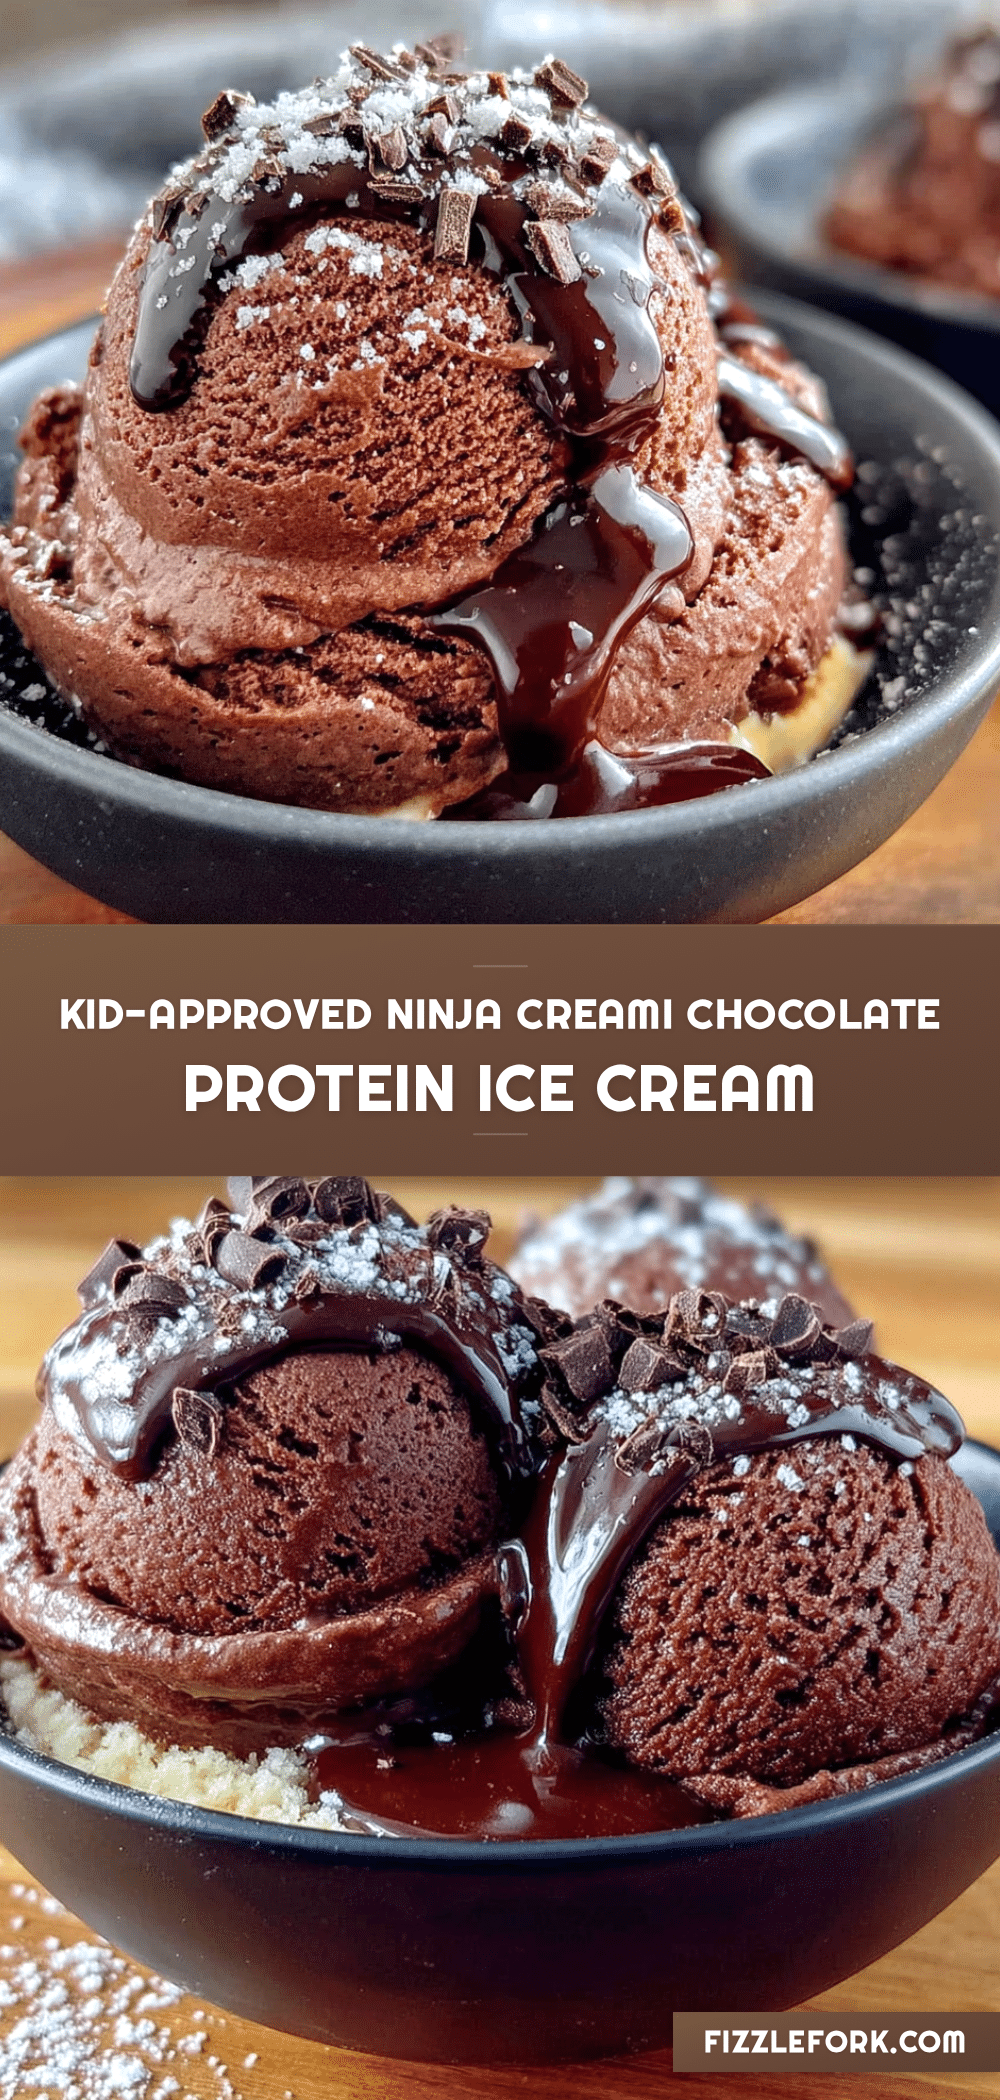
Kid-Approved Ninja Creami: Best Easy Protein Ice Cream

This creamy, chocolatey protein ice cream is a kid-approved treat that’s quick to make with simple ingredients. It’s the perfect after-school snack or dessert that feels like a win without the guilt.
- Prep Time: 5 minutes
- Cook Time: 2 minutes
- Total Time: 24 hours 7 minutes
- Yield: 4 servings 1x
- Category: Dessert
- Cuisine: American
Ingredients
- 1 cup whole milk (or 2%)
- 2 tablespoons chocolate protein powder (e.g., Orgain Simple or Vega Sport)
- 1 tablespoon unsweetened cocoa powder (Dutch-process preferred)
- 1–2 tablespoons maple syrup or honey
- 1/4 teaspoon vanilla extract
- Pinch of sea salt
- Optional: 1 tablespoon heavy cream
- Optional: 1 tablespoon mini chocolate chips
Instructions
- Mix the base (5 minutes): In a small bowl or liquid measuring cup, whisk together the milk, chocolate protein powder, cocoa powder, maple syrup, vanilla extract, and salt. Whisk vigorously until the protein powder is fully dissolved—no lumps allowed. The mixture should be smooth, dark brown, and smell deeply chocolatey. Taste it here: it should be sweet but not cloying, with a rich chocolate flavor.
- Pour into the pint container: Carefully pour the mixture into your clean, dry Ninja Creami pint container. Leave about 1/2 inch of headspace at the top. If you’re adding heavy cream, stir it in now. Wipe the rim of the container clean with a damp paper towel to ensure a good seal.
- Freeze for 24 hours (minimum): Place the lid on the pint container and set it on a level surface in your freezer. Do not disturb it for at least 24 hours. The base needs to be completely frozen solid for the Ninja Creami to work properly.
- Spin the ice cream (2 minutes): Remove the pint from the freezer and take off the lid. Place it into the outer bowl of your Ninja Creami machine, ensuring it’s locked in place. Select the ‘Ice Cream’ setting and let the machine do its thing. When it’s done, the ice cream should look soft and creamy, like soft-serve.
- Fix a dry pint (if needed): If your ice cream came out dry or crumbly, add 1 tablespoon of milk to the pint, re-lock it in the machine, and run the ‘Re-spin’ function.
- Add mix-ins (optional): If you’re adding mini chocolate chips or any other mix-ins, stir them in by hand after spinning. Use a spoon to fold them gently into the ice cream.
- Serve immediately or firm up: The ice cream will be soft right after spinning, like soft-serve. If you prefer a firmer texture, scoop it into a freezer-safe container and freeze for 30-60 minutes before serving.
Notes
For best results, use whole milk and avoid stevia-sweetened protein powders. The base must freeze for at least 24 hours. If the ice cream comes out dry, add 1 tablespoon of milk and re-spin. The chocolate flavor deepens after a day or two in the freezer.
Nutrition
- Serving Size: 1/2 cup
- Calories: 120150
- Sugar: 810
- Sodium: 100150
- Fat: 46
- Saturated Fat: 23
- Carbohydrates: 1215
- Fiber: 12
- Protein: 1215
Keywords: protein ice cream, Ninja Creami, chocolate ice cream, kid-friendly, healthy dessert, high protein, easy ice cream