“You know what would make this even better? A layer of cheesecake.” My sister said that while we were standing in her kitchen, both of us staring at a freshly baked pumpkin pie that had just come out of the oven. I remember looking at her like she had just suggested putting hot sauce on ice cream. But then I thought about it. And thought about it some more. And by the time we were scraping the last bits of pie filling from the dish, I was already planning a test batch.
That conversation happened three autumns ago, and honestly, I haven’t made a plain pumpkin pie since. These Creamy Pumpkin Cheesecake Bars with Graham Cracker Crust are what came out of that moment—a recipe that doesn’t ask you to choose between creamy cheesecake and spiced pumpkin filling. You get both, stacked up on a buttery graham cracker crust that holds everything together without getting soggy.
The texture is what gets people. The pumpkin layer is light and almost mousse-like, while the cheesecake stays dense and velvety. Together, they create this thing that feels fancy but is actually pretty forgiving to make. I’ve brought these bars to Friendsgiving dinners, holiday parties, and even just regular Tuesdays when I needed something sweet. Every time, someone asks for the recipe. Every single time.
So here it is. The bars that started with a throwaway comment and ended up becoming my most-requested fall dessert.
Why You’ll Love This Recipe
Let me tell you why these bars have earned a permanent spot in my fall baking rotation. I’ve tested this recipe at least a dozen times—tweaking the pumpkin-to-cheesecake ratio, adjusting the spice blend, figuring out the perfect bake time. And I can say with confidence that this version is the one.
- No Water Bath Required – Traditional cheesecake can be fussy with that water bath situation. These bars bake up perfectly without one, which means less stress and no risk of a soggy crust.
- Make-Ahead Friendly – These actually taste better after a night in the fridge. The flavors meld together, and the texture firms up beautifully. Perfect for holiday prep.
- Simple Pantry Ingredients – Nothing weird here. Cream cheese, pumpkin puree, graham crackers, butter, sugar, eggs, and basic spices. You probably have most of this already.
- Foolproof Layers – The pumpkin layer sits right on top of the cheesecake, and they bake together into this beautiful marbled effect. No complicated swirling required unless you want it.
- Crowd-Pleasing Size – A 9×13 pan makes plenty of bars. Enough for a gathering, or for you to have leftovers for a few days. No judgment here.
What makes these different from other pumpkin cheesecake recipes? It’s the texture balance. The cheesecake layer is intentionally made with less sugar so the tanginess comes through, while the pumpkin layer gets a warm spice blend that tastes like fall in every bite. I use a mix of cinnamon, ginger, nutmeg, and a tiny pinch of cloves—not enough to be overwhelming, but enough that you notice something special happening.
These bars are the kind of dessert that makes people close their eyes after the first bite. I’ve seen it happen. They take a bite, pause, and then go quiet for a second. That’s the sign you’ve made something good.
What Ingredients You Will Need
This recipe uses straightforward ingredients, but a few details make a real difference in the final result. Let me walk you through what you need and why each one matters.
For the Graham Cracker Crust
- 2 cups graham cracker crumbs (about 14-16 full sheets, crushed finely) – I use Honey Maid brand, but any brand works. You can crush them in a food processor or put them in a zip-top bag and go at it with a rolling pin. Just make sure the crumbs are fine and uniform.
- 1/2 cup unsalted butter, melted – Salted butter works too, just reduce the added salt slightly. The butter binds the crumbs together and adds richness.
- 1/4 cup granulated sugar – Just enough to sweeten the crust without making it candy-like.
- 1/4 teaspoon salt – Balances the sweetness and enhances the buttery flavor.
For the Cheesecake Layer
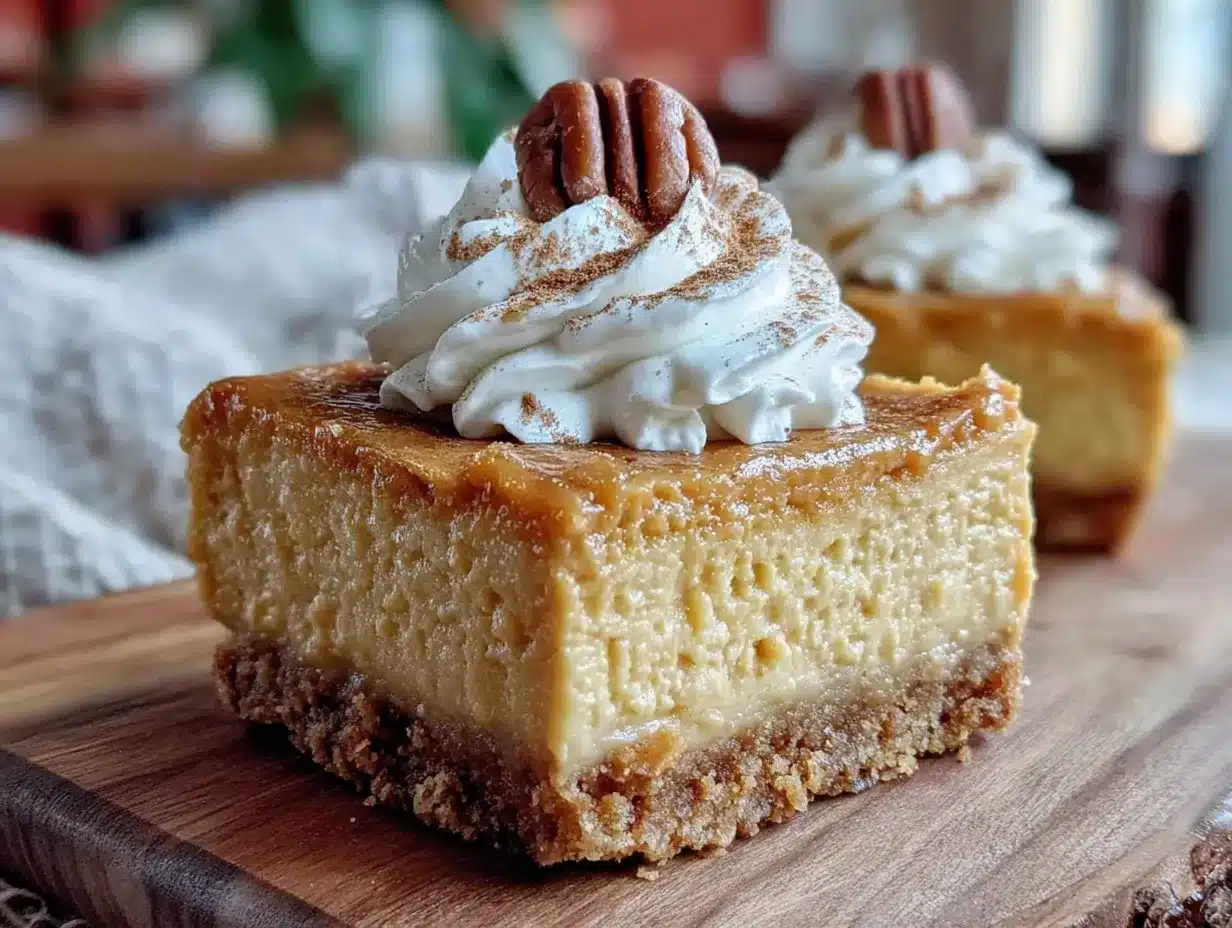
- 16 ounces cream cheese, softened to room temperature – This is non-negotiable. Cold cream cheese creates lumps that won’t smooth out. Let it sit on the counter for at least an hour. I prefer Philadelphia brand for consistent results.
- 1/2 cup granulated sugar – Keeps the cheesecake layer subtly sweet so it contrasts nicely with the pumpkin layer.
- 2 large eggs, room temperature – Room temperature eggs incorporate more smoothly into the batter. If you forget to take them out ahead of time, place them in a bowl of warm water for 5 minutes.
- 1 teaspoon vanilla extract – Pure vanilla extract adds depth. Avoid imitation vanilla here if you can.
- 1/4 cup sour cream, room temperature – Adds tanginess and helps create that silky cheesecake texture. Full-fat works best.
For the Pumpkin Layer
- 1 can (15 ounces) pumpkin puree – Not pumpkin pie filling. Look for 100% pure pumpkin. Libby’s is my go-to brand because it’s consistently thick and not watery.
- 1/2 cup granulated sugar
- 1/4 cup packed brown sugar – Adds a subtle molasses flavor that pairs beautifully with pumpkin.
- 2 large eggs, room temperature
- 1/2 cup evaporated milk – This gives the pumpkin layer a rich, creamy texture without being too heavy. You can substitute with heavy cream or half-and-half if needed.
- 2 teaspoons pumpkin pie spice – Or make your own blend: 1 teaspoon cinnamon, 1/2 teaspoon ginger, 1/4 teaspoon nutmeg, 1/4 teaspoon allspice, and a pinch of cloves.
- 1/2 teaspoon salt – Don’t skip this. Salt makes the spices pop and balances the sweetness.
One thing I learned the hard way—don’t use low-fat cream cheese or Neufchâtel. The texture won’t be as creamy, and the bars might not set properly. Full-fat everything gives the best results here.
Equipment Needed
You don’t need a professional bakery setup for these bars. Here’s what I use:
- 9×13-inch baking pan – Glass or metal both work. If using metal, line with parchment paper for easy removal.
- Parchment paper – Makes lifting the bars out of the pan so much easier. Let some overhang on the long sides.
- Electric hand mixer or stand mixer – You can mix by hand, but an electric mixer gives you that smooth, lump-free texture faster.
- Large mixing bowls – At least two. One for the cheesecake layer, one for the pumpkin layer.
- Food processor or zip-top bag and rolling pin – For crushing graham crackers. I’ve used both methods and honestly, the bag-and-rolling-pin approach works fine and means less cleanup.
- Medium saucepan or microwave-safe bowl – For melting butter.
- Rubber spatula – For scraping every bit of batter from the bowls. Also for smoothing the layers.
- Measuring cups and spoons – Standard set.
- Sharp knife – For clean cuts after the bars have chilled. A chef’s knife works better than a butter knife here.
If you don’t have a 9×13 pan, you can use two 8×8 square pans. Just reduce the bake time by about 5-7 minutes and check for doneness earlier. The bars will be thicker, which is honestly not a bad thing.
Preparation Method
Let me walk you through this step by step. I’ve included time estimates and visual cues so you know exactly what to look for.
Step 1: Make the Crust (10 minutes active time)
Preheat your oven to 350°F. Line your 9×13 baking pan with parchment paper, leaving about 2 inches of overhang on the two long sides. This creates handles for lifting the bars out later.
In a medium bowl, combine the graham cracker crumbs, sugar, and salt. Pour the melted butter over the mixture and stir with a fork until all the crumbs are evenly moistened. The texture should resemble wet sand—when you press a handful together, it should hold its shape.
Transfer the mixture to your prepared pan. Press it down firmly and evenly into the bottom. I use the bottom of a measuring cup to really pack it in. This step matters—a loosely packed crust will crumble when you cut the bars. Bake for 10 minutes, then set aside to cool slightly while you make the fillings.
Step 2: Make the Cheesecake Layer (15 minutes)
In a large mixing bowl, beat the softened cream cheese with an electric mixer on medium speed until smooth and creamy—about 2 minutes. Scrape down the sides and bottom of the bowl with a rubber spatula. Add the sugar and beat for another 2 minutes until light and fluffy.
Add the eggs one at a time, beating on low speed after each addition just until incorporated. Overmixing at this stage can incorporate too much air, which might cause cracks. Add the vanilla and sour cream, then mix on low until just combined. The batter should be smooth and silky, with no lumps.
Pour the cheesecake mixture over the warm crust and spread it into an even layer with your spatula. Set aside while you make the pumpkin layer.
Step 3: Make the Pumpkin Layer (10 minutes)
In another large bowl, whisk together the pumpkin puree, granulated sugar, and brown sugar until smooth. Add the eggs one at a time, whisking gently after each addition. Pour in the evaporated milk, pumpkin pie spice, and salt. Whisk until everything is fully combined and the mixture looks glossy.
The pumpkin batter will be thinner than the cheesecake batter—that’s normal. Don’t worry if it seems runny. It will set up beautifully as it bakes.
Step 4: Layer and Bake (45-50 minutes)
Gently pour the pumpkin mixture over the cheesecake layer. Use your spatula to spread it evenly, being careful not to disturb the cheesecake layer too much. If you want a marbled effect, take a butter knife and gently swirl it through both layers in a figure-eight pattern. I usually leave mine as distinct layers because I like the visual contrast.
Bake at 350°F for 45-50 minutes. The edges should look set, and the center should jiggle slightly when you gently shake the pan. That slight jiggle is good—it means the bars will be creamy, not dry. If the center looks liquidy and moves like a wave, give it another 5 minutes.
Let the bars cool completely on a wire rack. This takes about 1-2 hours. Then transfer the pan to the refrigerator and chill for at least 4 hours, but overnight is better. I know it’s hard to wait, but this step is crucial for clean slices and the best texture.
Step 5: Cut and Serve (10 minutes)
Once fully chilled, use the parchment paper handles to lift the entire block of bars out of the pan. Place it on a cutting board. Use a sharp knife to cut into squares—I usually do 6 rows by 4 rows for 24 bars. Wipe the knife clean between cuts for the neatest edges.
Serve cold or at room temperature. I like them straight from the fridge with a dollop of whipped cream and a sprinkle of cinnamon.
Cooking Tips & Techniques
I’ve made these bars enough times to know where things can go wrong. Here are the lessons I learned the hard way so you don’t have to.
Room temperature ingredients matter more than you think. The first time I made these, I was impatient and used cold cream cheese. The cheesecake layer came out lumpy—not the end of the world, but not as smooth as it could have been. Cream cheese, eggs, and sour cream all need to be at room temperature for the batter to come together smoothly. Set everything out an hour before you start.
Don’t overmix the cheesecake batter. I know it’s tempting to keep beating until everything looks perfectly smooth, but overmixing incorporates too much air. Those air bubbles expand during baking and create cracks on the surface. Mix just until each ingredient is incorporated, then stop.
Press the crust firmly. This was my biggest early mistake. I would gently pat the crust into the pan, and then wonder why it fell apart when I tried to cut the bars. You want to really pack it down. Use the bottom of a measuring cup or a flat-bottomed glass and apply pressure. The crust should feel solid, not crumbly.
Watch for the jiggle. The center of the bars should have a slight wobble when you take them out of the oven—like Jell-O, not like liquid. If the center still looks wet and moves freely, it needs more time. If the whole pan is firm and doesn’t jiggle at all, you’ve overbaked them. That sweet spot of a gentle jiggle in the center is what you’re aiming for.
Be patient with chilling. I know, I know. But seriously, don’t rush this. Cutting into warm or barely chilled bars will give you a messy, gooey situation. The bars need at least 4 hours in the fridge to set properly. Overnight is ideal. The flavors actually deepen and meld together as they chill, so the bars taste better the next day anyway.
Use a hot knife for the cleanest cuts. Run your knife under hot water, dry it off, then make your cut. Wipe the blade clean between each cut. This gives you those beautiful, bakery-style edges.
Variations & Adaptations
One of the best things about this recipe is how adaptable it is. Here are some variations I’ve tried and loved.
Gluten-Free Version – Swap the graham cracker crust for gluten-free graham crackers or use crushed gluten-free shortbread cookies. The rest of the ingredients are naturally gluten-free, just double-check your pumpkin pie spice blend.
Spiced Pecan Crust – Add 1/2 cup finely chopped pecans to the graham cracker crust mixture and increase the butter to 2/3 cup. The nuts add a wonderful crunch and toasty flavor that pairs beautifully with the pumpkin.
Chocolate Swirl Pumpkin Cheesecake Bars – Melt 1/2 cup semi-sweet chocolate chips and drizzle it over the cheesecake layer before adding the pumpkin layer. Use a knife to swirl the chocolate through both layers for a marbled effect. I made this version for a party last year and it disappeared in minutes.
Maple Pumpkin Version – Replace the granulated sugar in the pumpkin layer with 1/2 cup pure maple syrup. Reduce the evaporated milk to 1/3 cup since the maple syrup adds liquid. The maple flavor adds a cozy, woodsy sweetness that’s perfect for fall.
Vegan Adaptation – Use vegan cream cheese (I like Miyoko’s or Violife), vegan butter, and a flax egg (1 tablespoon ground flaxseed mixed with 3 tablespoons water per egg, let sit for 5 minutes). Use full-fat coconut cream instead of evaporated milk. The texture will be slightly different but still delicious.
Mini Cheesecake Bites – Press the crust into a greased mini muffin tin, then add a small spoonful of cheesecake batter followed by pumpkin batter. Bake for 15-18 minutes. These are perfect for parties or portion control—if you have better willpower than I do.
Serving & Storage Suggestions
These bars are versatile when it comes to serving. Here’s how I like to do it.
Serving Temperature – I prefer these bars cold, straight from the fridge. The texture is firmer and cleaner. But they’re also lovely at room temperature if you let them sit out for about 15-20 minutes. The flavors become a bit more pronounced as they warm up slightly.
Toppings – A dollop of lightly sweetened whipped cream is my go-to. Sometimes I add a sprinkle of cinnamon or a drizzle of caramel sauce. For a more decadent presentation, add a scoop of vanilla ice cream and a dusting of nutmeg.
What to Serve With – These bars pair beautifully with a warm drink. I love serving them alongside a creamy pumpkin chai spice latte for the ultimate fall treat. The spiced chai notes complement the pumpkin and cheesecake flavors perfectly.
Storage – Keep the bars in an airtight container in the refrigerator for up to 5 days. Layer them with parchment paper between the bars so they don’t stick together. The texture actually improves after a day or two as the flavors continue to meld.
Freezing – These freeze beautifully. Wrap individual bars tightly in plastic wrap, then place them in a freezer-safe bag or container. They’ll keep for up to 3 months. To thaw, transfer to the refrigerator overnight or let sit at room temperature for about 30 minutes.
Reheating – I don’t recommend reheating these bars. They’re meant to be served cold or at room temperature. If you want a warm dessert, try the cozy skillet peach cobbler instead—it’s designed for warm serving and has that same comforting vibe.
Nutritional Information & Benefits
Here’s the approximate nutritional breakdown for one bar (based on 24 servings):
- Calories: 245
- Total Fat: 15g
- Saturated Fat: 9g
- Cholesterol: 75mg
- Sodium: 210mg
- Total Carbohydrates: 24g
- Dietary Fiber: 1g
- Sugars: 17g
- Protein: 5g
These numbers are estimates and will vary based on specific brands and any substitutions you make.
Health Benefits – Pumpkin is packed with vitamin A (over 200% of your daily needs per serving), which supports eye health and immune function. It’s also a good source of fiber and antioxidants. Cream cheese provides calcium and protein, though it’s higher in saturated fat, so these are definitely a treat rather than an everyday snack.
Dietary Considerations – This recipe contains gluten (from the graham crackers), dairy (cream cheese, butter, sour cream, evaporated milk), and eggs. For a gluten-free version, use gluten-free graham crackers. For a dairy-free version, use vegan alternatives as mentioned in the variations section.
If you’re looking for a lighter option, you could check out the healthy high-protein strawberry cheesecake overnight oats for a breakfast that captures some of the same creamy cheesecake flavor without the indulgence.
Conclusion
These Creamy Pumpkin Cheesecake Bars with Graham Cracker Crust have become my signature fall dessert for a reason. They’re impressive enough for holiday gatherings but simple enough for a random Tuesday when you just need something sweet. The layers work together in a way that feels special without being complicated.
I love that this recipe lets you have your pumpkin pie and your cheesecake too—no choosing required. The graham cracker crust adds that nostalgic buttery crunch, the cheesecake layer brings the tangy creaminess, and the pumpkin layer delivers all those warm, spiced flavors that make fall feel like fall.
If you make these bars, I’d love to hear about it. Leave a comment below and let me know how they turned out, what variations you tried, or if you served them at a gathering. Did you add a swirl? Try a different crust? I’m always looking for new ideas to test out in my kitchen.
Go ahead and preheat that oven. Your kitchen is about to smell incredible, and your friends and family are about to be very, very happy.
Frequently Asked Questions
Can I use a different crust instead of graham crackers?
Absolutely. Crushed shortbread cookies, vanilla wafers, or even ginger snaps work beautifully. If using ginger snaps, you might want to reduce the sugar in the crust since they’re already sweet and spiced. The bake time stays the same.
Why did my cheesecake layer crack?
This usually happens from overmixing the batter or overbaking. Mix just until ingredients are combined, and take the bars out when the center still has a slight jiggle. Overmixing incorporates too much air, which expands and creates cracks. Overbaking dries out the cheesecake, causing it to crack as it cools.
Can I make these bars ahead of time for a party?
Yes, and I actually recommend it. These bars taste better after a day in the fridge. You can make them up to 3 days in advance. Just keep them covered in the refrigerator and add any toppings right before serving. This makes them perfect for holiday entertaining when you’re already juggling a dozen other dishes.
Can I use fresh pumpkin instead of canned?
You can, but you’ll need to cook and puree the pumpkin first, then strain it to remove excess moisture. Fresh pumpkin tends to be more watery than canned, which can make the pumpkin layer too loose. If using fresh, roast the pumpkin until tender, puree it, then let it drain in a cheesecloth-lined strainer for about an hour before using. Canned pumpkin is actually more consistent for baking, which is why I stick with it.
How do I get clean, neat slices?
Chill the bars thoroughly—at least 4 hours, preferably overnight. Use a sharp knife and wipe it clean between each cut. For the cleanest edges, run the knife under hot water, dry it off, then make your cut. Repeat this process for each slice. This little extra effort makes a big difference in presentation.
Pin This Recipe!
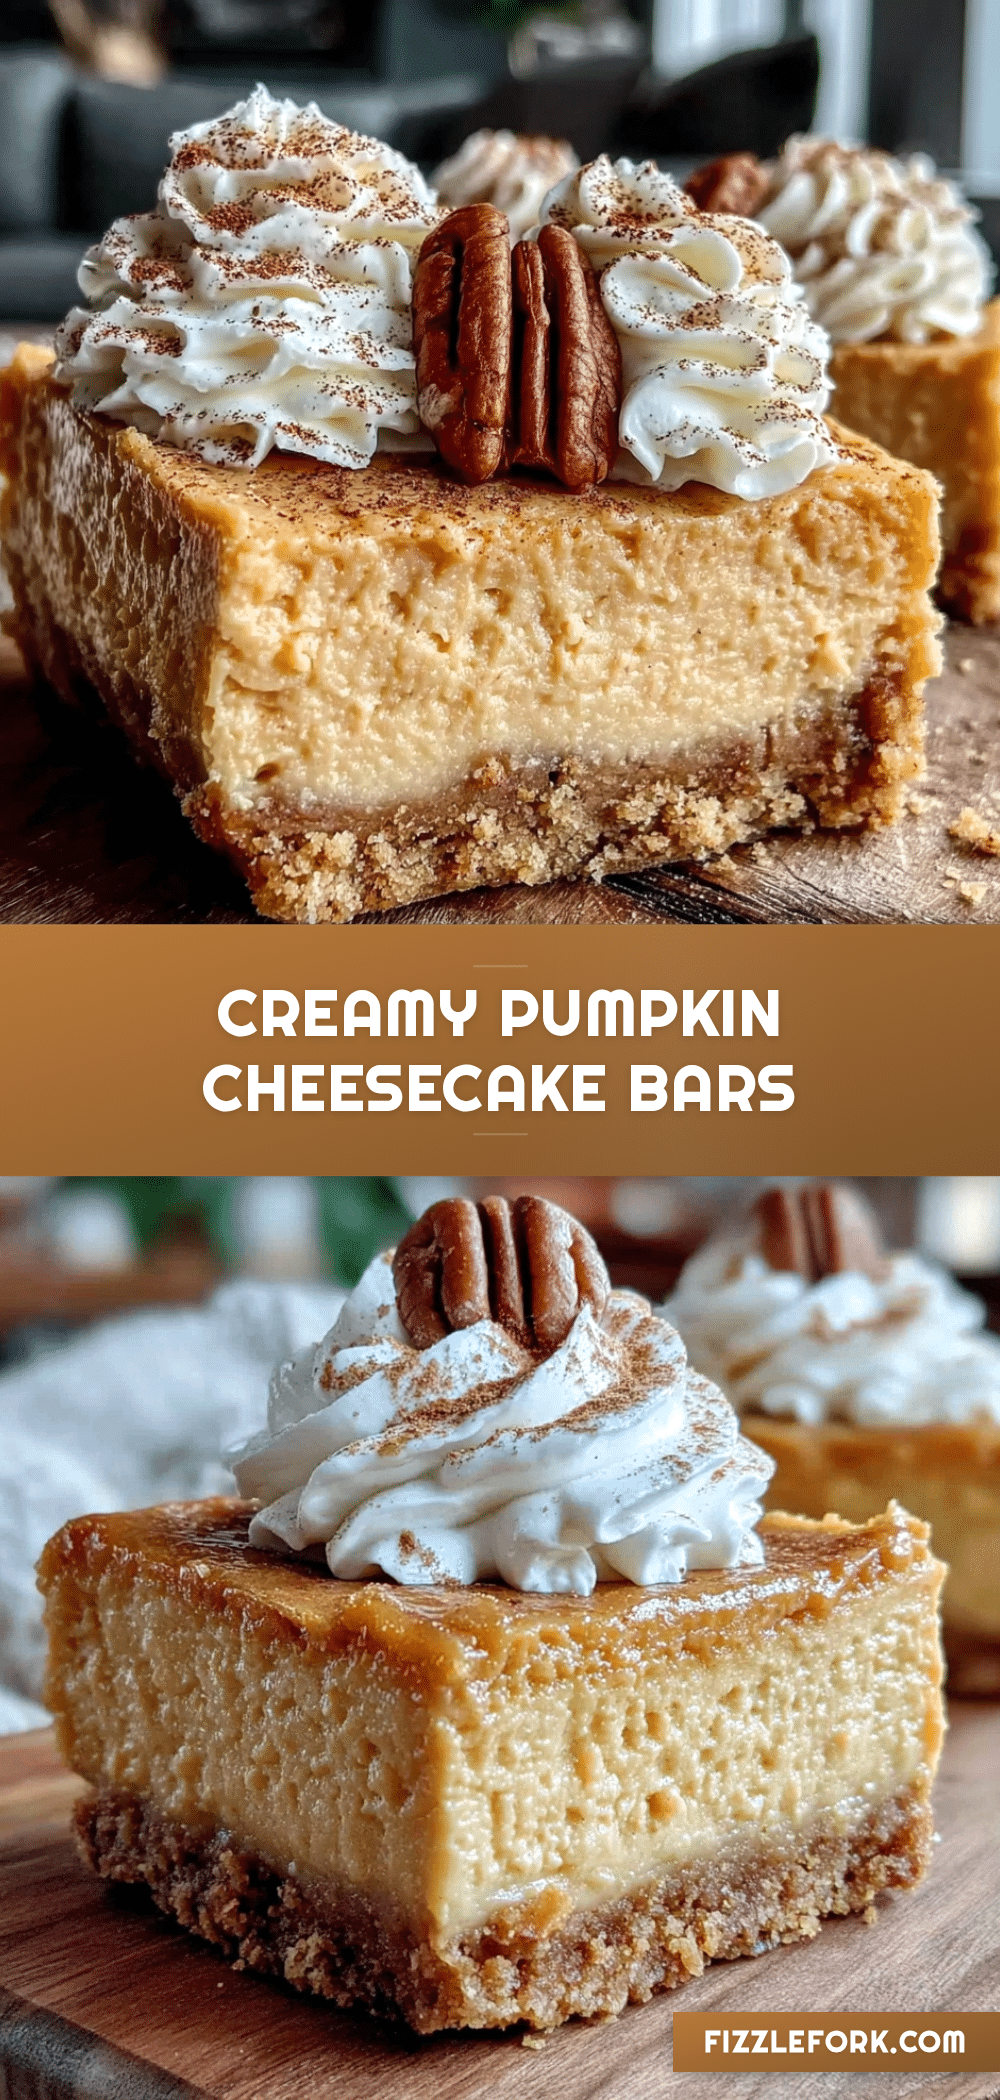
Creamy Pumpkin Cheesecake Bars with Easy Graham Cracker Crust
These Creamy Pumpkin Cheesecake Bars with Graham Cracker Crust combine a tangy cheesecake layer with a spiced pumpkin layer on a buttery crust. They’re a crowd-pleasing fall dessert that’s make-ahead friendly and requires no water bath.
- Prep Time: 35 minutes
- Cook Time: 50 minutes
- Total Time: 5 hours 25 minutes (includes chilling)
- Yield: 24 bars 1x
- Category: Dessert
- Cuisine: American
Ingredients
- 2 cups graham cracker crumbs (about 14–16 full sheets, crushed finely)
- 1/2 cup unsalted butter, melted
- 1/4 cup granulated sugar
- 1/4 teaspoon salt
- 16 ounces cream cheese, softened to room temperature
- 1/2 cup granulated sugar
- 2 large eggs, room temperature
- 1 teaspoon vanilla extract
- 1/4 cup sour cream, room temperature
- 1 can (15 ounces) pumpkin puree
- 1/2 cup granulated sugar
- 1/4 cup packed brown sugar
- 2 large eggs, room temperature
- 1/2 cup evaporated milk
- 2 teaspoons pumpkin pie spice
- 1/2 teaspoon salt
Instructions
- Preheat oven to 350°F. Line a 9×13-inch baking pan with parchment paper, leaving about 2 inches of overhang on the two long sides.
- Make the crust: In a medium bowl, combine graham cracker crumbs, 1/4 cup sugar, and 1/4 teaspoon salt. Pour melted butter over the mixture and stir with a fork until all crumbs are evenly moistened. Press firmly into the bottom of the prepared pan. Bake for 10 minutes, then set aside to cool slightly.
- Make the cheesecake layer: In a large mixing bowl, beat softened cream cheese with an electric mixer on medium speed until smooth and creamy, about 2 minutes. Add 1/2 cup sugar and beat for another 2 minutes until light and fluffy. Add eggs one at a time, beating on low speed after each addition just until incorporated. Add vanilla and sour cream, then mix on low until just combined. Pour over the warm crust and spread evenly.
- Make the pumpkin layer: In another large bowl, whisk together pumpkin puree, 1/2 cup granulated sugar, and brown sugar until smooth. Add eggs one at a time, whisking gently after each addition. Pour in evaporated milk, pumpkin pie spice, and 1/2 teaspoon salt. Whisk until fully combined and glossy.
- Gently pour the pumpkin mixture over the cheesecake layer and spread evenly. For a marbled effect, gently swirl with a butter knife.
- Bake at 350°F for 45-50 minutes, until edges are set and center jiggles slightly. Cool completely on a wire rack (1-2 hours), then refrigerate for at least 4 hours or overnight.
- Once fully chilled, use parchment paper handles to lift the bars out of the pan. Cut into squares (6 rows by 4 rows for 24 bars) using a sharp knife, wiping clean between cuts. Serve cold or at room temperature.
Notes
Room temperature ingredients are crucial for a smooth texture. Don’t overmix the cheesecake batter to avoid cracks. Press the crust firmly. The center should jiggle slightly when done. Chill for at least 4 hours, preferably overnight, for clean slices and best flavor. Use a hot knife for cleanest cuts.
Nutrition
- Serving Size: 1 bar
- Calories: 245
- Sugar: 17
- Sodium: 210
- Fat: 15
- Saturated Fat: 9
- Carbohydrates: 24
- Fiber: 1
- Protein: 5
Keywords: pumpkin cheesecake bars, graham cracker crust, fall dessert, pumpkin dessert, cheesecake bars, Thanksgiving dessert


