There used to be a tiny, neon-lit diner tucked between a laundromat and a pawn shop on the south side of town that made the most incredible no-bean chili. When they closed their doors two winters ago—a “For Lease” sign taped to the greasy window—I honestly felt a little lost. That deep, beefy, smoky bowl of comfort had gotten me through countless freezing nights, and I knew I had to figure out how to make it myself.
After eight tries—some too watery, one that tasted like a spaghetti sauce identity crisis—I finally got it. This cozy 30-minute no-bean beef chili is the exact bowl I’d been chasing. It’s thick, rich, and packed with so much flavor you won’t believe it came together on a busy Tuesday night. Let me tell you, the secret is in the technique, not the clock.
The first time I nailed it, I actually texted my friend Maria a photo with the caption “WE’RE BACK.” She knew exactly what I meant. Maybe you’ve been there—that one dish from a place that felt like yours, and then it’s just… gone. This recipe is my way of bringing that feeling back, and I’m pretty sure it’ll become your go-to for those nights when only a bowl of something hearty and warming will do.
Why You’ll Love This Recipe
This isn’t just another chili recipe you’ll scroll past. I’ve tested this one in my own kitchen more times than I care to admit, tweaking every little detail until it was just right. Here’s why it’s earned a permanent spot in my dinner rotation:
- Quick & Easy: Comes together in exactly 30 minutes, perfect for those evenings when you’re hungry now, not in two hours.
- Simple Ingredients: No fancy grocery trips needed. You likely have most of these pantry staples already.
- Perfect for Chilly Nights: This is the ultimate cold-weather comfort food. It’s thick, it’s hearty, and it warms you from the inside out.
- Crowd-Pleaser: Even my friend who claims he “doesn’t like chili” asked for seconds. The no-bean thing is a big hit with picky eaters.
- Unbelievably Delicious: The texture is perfectly thick, and the flavor is deep and smoky. It’s next-level comfort food that tastes like it simmered all day.
What makes this recipe different from the rest is the technique. Most quick chilis are watery and bland. But by browning the beef in a specific way and using a secret combination of spices, we’re packing in layers of flavor that usually take hours to develop. I mean, honestly, the depth you get in 30 minutes is almost magic.
This recipe is the kind that makes you close your eyes after the first bite. It’s comfort food reimagined—faster, yes, but with the same soul-soothing satisfaction you crave on a cold night. Perfect for impressing guests without stress, or turning a simple weeknight meal into something memorable.
What Ingredients You Will Need
This cozy no-bean chili uses simple, wholesome ingredients to deliver bold flavor and satisfying texture without the fuss. Most of these are pantry staples, which makes this recipe perfect for those nights when you don’t want to run to the store.
For the Chili Base
- 2 tablespoons olive oil (I prefer extra virgin for richer flavor, but any neutral oil works)
- 2 pounds ground beef (80/20 is ideal—the fat adds flavor and keeps the meat tender. I use 85/15 if I’m feeling a bit healthier)
- 1 large yellow onion, diced (about 1 ½ cups, adds sweetness and depth)
- 4 cloves garlic, minced (fresh is best here, don’t skip it)
- 1 medium green bell pepper, diced (adds texture and a slight bitterness that balances the richness)
- 1 jalapeño, seeded and minced (optional, for heat—leave seeds in if you like it spicy)
For the Spice Blend
- 3 tablespoons chili powder (I recommend Gebhardt or Badia for a deep, smoky flavor)
- 1 tablespoon ground cumin (toasty and warm, essential for that chili taste)
- 1 teaspoon smoked paprika (this is the secret weapon—adds incredible smokiness)
- 1 teaspoon dried oregano (Mexican oregano if you have it, but regular works fine)
- ½ teaspoon cayenne pepper (adjust to your heat preference)
- 1 teaspoon salt (plus more to taste)
- ½ teaspoon black pepper
For the Liquid & Finish
- 1 can (14.5 ounces) fire-roasted diced tomatoes (I love Muir Glen for the best smoky flavor)
- 1 can (8 ounces) tomato sauce (adds body without being too acidic)
- 1 cup beef broth (low-sodium, so you control the salt. Use Better Than Bouillon for extra depth)
- 1 tablespoon tomato paste (concentrates the tomato flavor beautifully)
- 1 tablespoon Worcestershire sauce (adds umami and a little tang)
- 1 teaspoon brown sugar (balances the acidity, don’t skip it)
For Serving (Optional but Recommended)
- Shredded cheddar cheese
- Sour cream or Greek yogurt
- Fresh cilantro, chopped
- Diced red onion
- Hot sauce (I use Cholula or Valentina)
Substitution Guidance: If you’re watching your red meat intake, ground turkey or chicken works well here—just add an extra tablespoon of olive oil to keep it moist. For a gluten-free version, ensure your Worcestershire sauce is certified gluten-free (like Lea & Perrins). And if you don’t have fire-roasted tomatoes, regular diced tomatoes plus ½ teaspoon of liquid smoke will get you close.
Equipment Needed
You don’t need a fancy kitchen to make this chili. Here’s what I use:
- Large heavy-bottomed pot or Dutch oven (a 5- to 6-quart Lodge or Le Creuset is perfect—it holds heat evenly and prevents scorching)
- Sharp chef’s knife and cutting board (for all that dicing)
- Wooden spoon or spatula (for breaking up the beef)
- Measuring spoons (I have a magnetic set that sticks to my fridge—super handy)
- Can opener (don’t laugh, I once spent 10 minutes trying to open a can with a butter knife)
- Garlic press (optional, but I use mine all the time—it’s a Zyliss and it’s never let me down)
If you don’t have a Dutch oven, a thick-bottomed stockpot will work. Just keep an eye on the heat to prevent burning. And honestly, if you’re in a pinch, a large non-stick skillet can get the job done for browning, then transfer everything to a pot to simmer.
Preparation Method
Let’s get cooking! This comes together fast, so I like to have everything prepped before I turn on the heat. It makes the whole process so much smoother.
- Prep your ingredients: Dice the onion, bell pepper, and jalapeño. Mince the garlic. Measure out all your spices into a small bowl. Open your cans. This takes about 5 minutes and saves you from scrambling later.
- Heat the oil: Place your Dutch oven over medium-high heat and add the olive oil. Let it shimmer for about 30 seconds—you want it hot but not smoking.
- Brown the beef: Add the ground beef to the pot. Don’t touch it for a full 3 minutes. I know it’s tempting to stir, but letting it sit creates that beautiful brown crust. After 3 minutes, break it up with your wooden spoon and continue cooking for another 3-4 minutes, until no pink remains. The sizzle should be loud and steady—that’s the sound of flavor developing.
- Drain excess fat (if needed): If you used 80/20 beef, you’ll probably have a lot of fat. Spoon out all but about 1 tablespoon. Leave a little—it carries flavor.
- Sauté the aromatics: Add the diced onion, bell pepper, and jalapeño to the pot with the beef. Cook for 4-5 minutes, stirring occasionally, until the vegetables have softened and the onion is translucent. Your kitchen should smell incredible at this point.
- Add garlic and spices: Stir in the minced garlic and your pre-measured spice blend (chili powder, cumin, smoked paprika, oregano, cayenne, salt, and pepper). Cook for 1 minute, stirring constantly. This “blooming” step wakes up the spices and makes them more fragrant. If the mixture looks dry, add a splash of beef broth.
- Incorporate the tomato paste: Add the tomato paste and stir it in, cooking for another minute. This caramelizes the paste slightly and deepens the tomato flavor.
- Add liquids: Pour in the fire-roasted diced tomatoes (with their juices), tomato sauce, beef broth, Worcestershire sauce, and brown sugar. Stir everything together, scraping the bottom of the pot to release any browned bits—that’s pure flavor gold.
- Simmer: Bring the chili to a boil, then reduce the heat to low. Let it simmer uncovered for 15-20 minutes, stirring occasionally. You’ll see it thicken and darken as it cooks. The smell at this point is absolutely intoxicating—smoky, beefy, and a little spicy.
- Taste and adjust: After 15 minutes, taste your chili. Does it need more salt? A pinch more cumin? Another dash of hot sauce? This is your moment to make it perfect. I usually add a little more smoked paprika here because I’m obsessed with that smoky flavor.
- Rest and serve: Remove the pot from the heat and let it sit for 5 minutes. This allows the flavors to meld even more. Ladle into bowls and top with your favorite fixings.
Pro tip: The chili will continue to thicken as it cools, so don’t worry if it looks a bit loose at the 15-minute mark. If you want it thicker, just simmer it a little longer. If it gets too thick, add a splash of broth.
Cooking Tips & Techniques
After making this chili more times than I can count (and messing it up plenty along the way), here are my best tips for success:
Don’t rush the browning. I once tried to speed this up by stirring the beef constantly, and the result was gray, sad meat with zero flavor. Letting it sit undisturbed is non-negotiable. That brown crust is where all the deep, beefy flavor comes from. Trust the process.
Toast your spices. That 1-minute bloom time after adding the spices isn’t just for show. Heat activates the essential oils in the spices, making them more aromatic and flavorful. I learned this the hard way after making a batch that tasted flat and dusty.
Use fire-roasted tomatoes. Regular diced tomatoes work in a pinch, but fire-roasted adds this incredible smoky sweetness that makes the chili taste like it’s been simmering all day. It’s a small swap with a huge payoff.
Layer your salt. Don’t add all the salt at once. I add half with the spices, then taste and adjust at the end. Different brands of broth and canned tomatoes have varying salt levels, so this prevents an overly salty chili.
Let it rest. I know it’s hard to wait when you’re hungry, but that 5-minute rest off the heat is crucial. It allows the flavors to settle and the chili to reach its final consistency. Plus, it cools down to a safe eating temperature—no burnt tongues here.
One mistake I still make: Adding too much cayenne because I’m feeling brave, then spending dinner with a glass of milk nearby. Start with ½ teaspoon and build up. You can always add more heat, but you can’t take it out.
Variations & Adaptations
This chili is a fantastic base recipe that you can tweak in so many ways. Here are some of my favorites:
Make it spicier: Add an extra jalapeño (keep the seeds this time) or stir in 1 tablespoon of chipotle peppers in adobo sauce. The smoky heat is incredible. I did this once when I wanted a real kick, and it was amazing—just have a cold beer ready.
Go vegetarian: Swap the ground beef for 2 cans of drained and rinsed black beans or 1 ½ cups of cooked lentils. Use vegetable broth instead of beef broth. The texture is different, but the flavor is still fantastic. My friend Sarah makes it this way and swears by it.
Add more veggies: Diced zucchini, corn, or even chopped mushrooms blend right in and add extra nutrition. I sometimes add a grated carrot—it melts into the chili and adds natural sweetness.
Slow cooker version: Brown the beef and sauté the veggies on the stovetop first (don’t skip this step!), then transfer everything to a slow cooker. Cook on low for 6-8 hours or high for 3-4 hours. The flavor is even deeper this way.
Top it differently: Try crushed tortilla chips, sliced avocado, pickled jalapeños, or a dollop of guacamole. My personal favorite is a handful of Fritos and a generous sprinkle of sharp cheddar—it’s like a Frito pie in a bowl.
Serving & Storage Suggestions
This chili is best served piping hot in deep bowls. I love to set up a little topping bar so everyone can customize their own. The contrast of hot chili with cool sour cream and crunchy onions is just perfect.
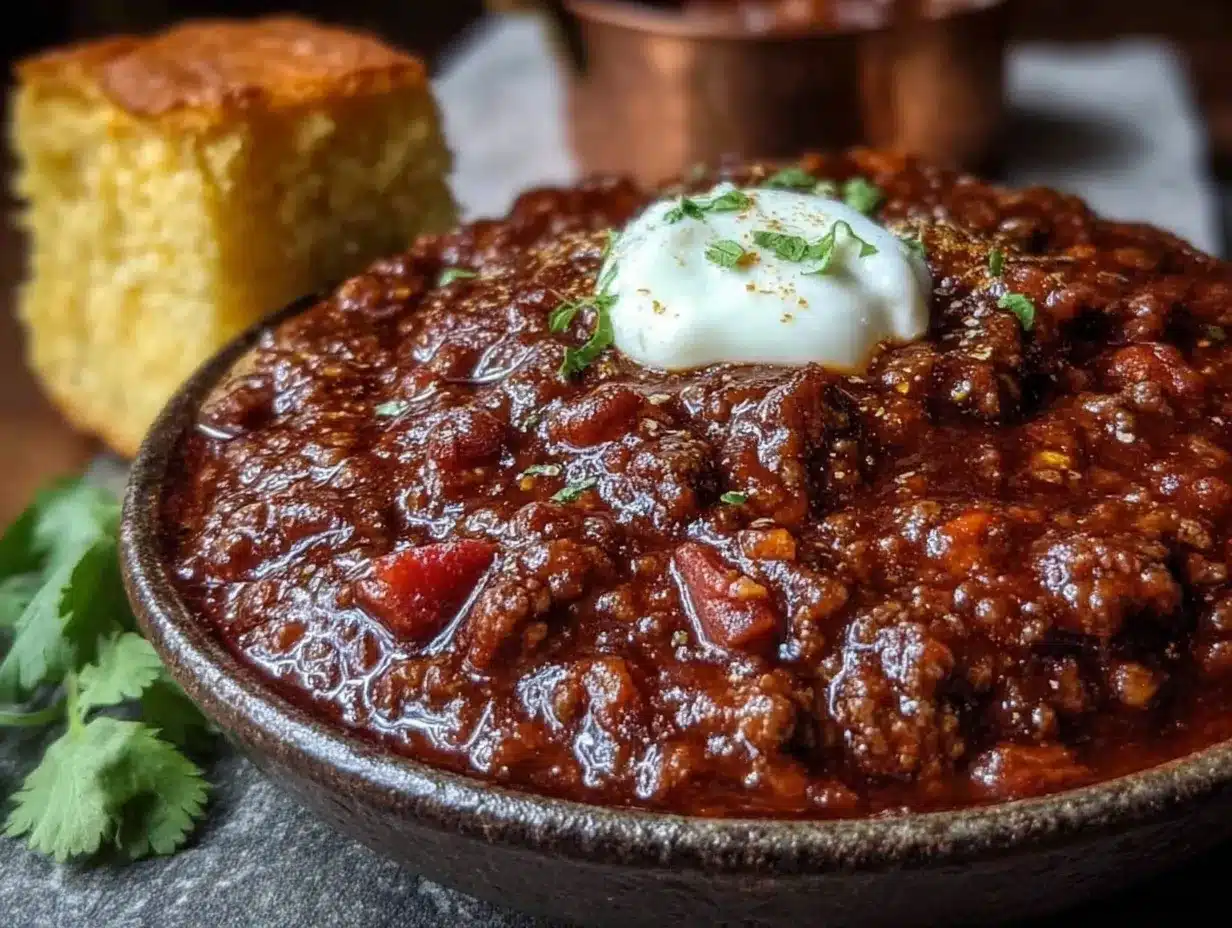
What to serve with it: A side of crusty bread or cornbread is ideal for sopping up every last drop. A simple green salad with a tangy vinaigrette cuts through the richness beautifully. And honestly, nothing beats a cold beer on the side—a lager or a pale ale is my go-to.
Storage: This chili keeps beautifully in the refrigerator for up to 5 days. Store it in an airtight container. The flavors actually get better after a day or two as they meld together. I often make a double batch just for the leftovers.
Freezing: This chili freezes like a dream. Let it cool completely, then transfer to freezer-safe bags or containers. It will keep for up to 3 months. Thaw overnight in the refrigerator before reheating.
Reheating: The best way to reheat is on the stovetop over medium-low heat, stirring occasionally. Add a splash of broth or water if it’s too thick. You can also microwave individual portions in 30-second bursts, stirring between each. The flavor stays fantastic either way.
Nutritional Information & Benefits
Here’s an estimated nutritional breakdown per serving (based on 6 servings, without toppings):
- Calories: 385
- Protein: 32g
- Fat: 22g
- Carbohydrates: 14g
- Fiber: 4g
- Sugar: 7g
- Sodium: 780mg
This chili is packed with protein from the beef, which keeps you full and satisfied. The tomatoes are a great source of lycopene, an antioxidant that supports heart health. The spices—especially cumin and chili powder—have anti-inflammatory properties. And because there are no beans, it’s lower in carbs and easier on digestion for some people.
Dietary considerations: This recipe is naturally gluten-free (check your Worcestershire sauce) and low-carb. For a dairy-free version, simply skip the cheese and sour cream toppings. It’s also Whole30-compliant if you use a compliant Worcestershire sauce.
I love that this chili feels indulgent but is actually pretty balanced. It’s the kind of meal that nourishes you on a cold night without weighing you down.
Conclusion
This cozy 30-minute no-bean beef chili is everything I wanted it to be and more. It’s quick enough for a busy weeknight, but it tastes like something you’d order at that little diner you miss. The deep, smoky flavor, the perfectly thick texture, the warmth that spreads through you with every spoonful—it’s pure comfort in a bowl.
I hope you give this recipe a try and make it your own. Maybe you’ll add extra jalapeño, or top it with crushed Fritos, or serve it over a baked potato. That’s the beauty of chili—it’s endlessly adaptable and always forgiving. Don’t be afraid to experiment and find your perfect version.
I’d love to hear how it turns out for you! Drop a comment below and let me know what toppings you used, or tag me in your photos if you share them online. And if you have a chili story of your own—a restaurant you miss, a memory tied to a bowl—I’d love to hear that too. Until next time, stay warm and keep cooking.
Frequently Asked Questions
Can I use ground turkey instead of beef?
Absolutely! Ground turkey works great. Just add an extra tablespoon of olive oil when browning, since turkey is leaner and can dry out. The cooking time stays the same.
How do I make this chili thicker?
Simmer it uncovered for an additional 5-10 minutes. The liquid will evaporate and the chili will naturally thicken. You can also mash some of the cooked beef against the side of the pot to release starches that help thicken it.
Can I make this in an Instant Pot?
Yes! Use the sauté function to brown the beef and cook the vegetables. Then add the remaining ingredients, close the lid, and cook on high pressure for 10 minutes. Let the pressure release naturally for 5 minutes before quick releasing the rest.
Is this chili freezer-friendly?
Definitely! Let it cool completely, then transfer to freezer-safe containers. It will keep for up to 3 months. Thaw in the refrigerator overnight and reheat on the stovetop or in the microwave.
What if I don’t have fire-roasted tomatoes?
No problem! Use regular diced tomatoes and add ½ teaspoon of liquid smoke or an extra ½ teaspoon of smoked paprika. It won’t be exactly the same, but it’ll still be delicious.
Pin This Recipe!
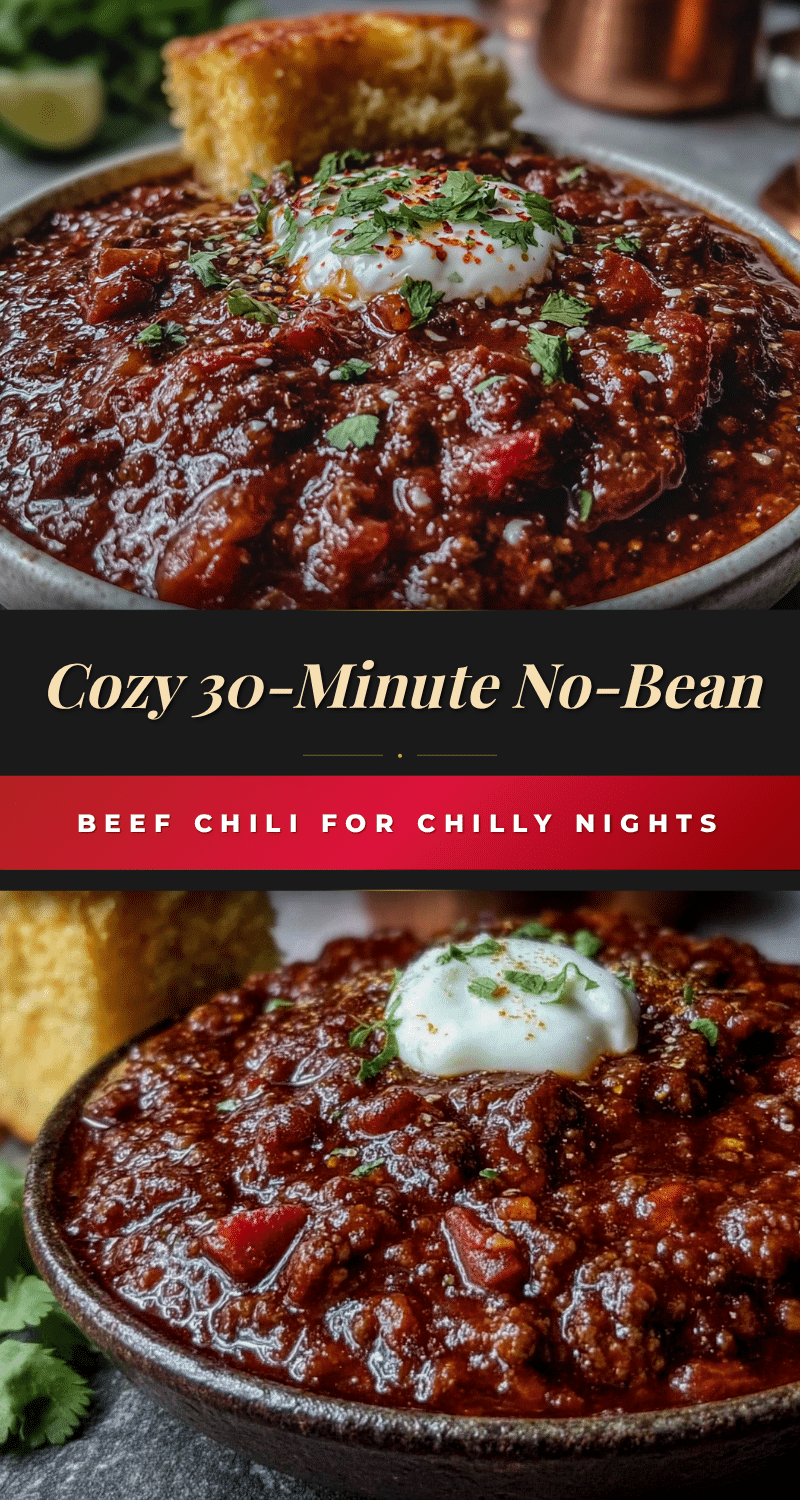
Cozy 30-Minute No-Bean Beef Chili for Chilly Nights

A thick, rich, and smoky no-bean beef chili that comes together in just 30 minutes. Perfect for busy weeknights when you crave hearty comfort food without the long simmer.
- Prep Time: 10 minutes
- Cook Time: 20 minutes
- Total Time: 30 minutes
- Yield: 6 servings 1x
- Category: Main Course
- Cuisine: American
Ingredients
- 2 tablespoons olive oil
- 2 pounds ground beef (80/20)
- 1 large yellow onion, diced
- 4 cloves garlic, minced
- 1 medium green bell pepper, diced
- 1 jalapeño, seeded and minced (optional)
- 3 tablespoons chili powder
- 1 tablespoon ground cumin
- 1 teaspoon smoked paprika
- 1 teaspoon dried oregano
- ½ teaspoon cayenne pepper
- 1 teaspoon salt
- ½ teaspoon black pepper
- 1 can (14.5 ounces) fire-roasted diced tomatoes
- 1 can (8 ounces) tomato sauce
- 1 cup beef broth (low-sodium)
- 1 tablespoon tomato paste
- 1 tablespoon Worcestershire sauce
- 1 teaspoon brown sugar
- Shredded cheddar cheese (for serving)
- Sour cream or Greek yogurt (for serving)
- Fresh cilantro, chopped (for serving)
- Diced red onion (for serving)
- Hot sauce (for serving)
Instructions
- Prep your ingredients: Dice the onion, bell pepper, and jalapeño. Mince the garlic. Measure out all your spices into a small bowl. Open your cans.
- Heat the oil: Place your Dutch oven over medium-high heat and add the olive oil. Let it shimmer for about 30 seconds.
- Brown the beef: Add the ground beef to the pot. Don’t touch it for a full 3 minutes. After 3 minutes, break it up with your wooden spoon and continue cooking for another 3-4 minutes, until no pink remains.
- Drain excess fat (if needed): If you used 80/20 beef, spoon out all but about 1 tablespoon of fat.
- Sauté the aromatics: Add the diced onion, bell pepper, and jalapeño to the pot with the beef. Cook for 4-5 minutes, stirring occasionally, until the vegetables have softened and the onion is translucent.
- Add garlic and spices: Stir in the minced garlic and your pre-measured spice blend (chili powder, cumin, smoked paprika, oregano, cayenne, salt, and pepper). Cook for 1 minute, stirring constantly.
- Incorporate the tomato paste: Add the tomato paste and stir it in, cooking for another minute.
- Add liquids: Pour in the fire-roasted diced tomatoes (with their juices), tomato sauce, beef broth, Worcestershire sauce, and brown sugar. Stir everything together, scraping the bottom of the pot to release any browned bits.
- Simmer: Bring the chili to a boil, then reduce the heat to low. Let it simmer uncovered for 15-20 minutes, stirring occasionally.
- Taste and adjust: After 15 minutes, taste your chili and adjust seasoning as needed.
- Rest and serve: Remove the pot from the heat and let it sit for 5 minutes. Ladle into bowls and top with your favorite fixings.
Notes
For a thicker chili, simmer uncovered for an additional 5-10 minutes. The chili will continue to thicken as it cools. If it gets too thick, add a splash of broth. Letting the chili rest for 5 minutes off the heat allows flavors to meld. For a spicier version, keep the seeds in the jalapeño or add chipotle peppers in adobo sauce.
Nutrition
- Serving Size: 1 bowl (about 1.5 cu
- Calories: 385
- Sugar: 7
- Sodium: 780
- Fat: 22
- Saturated Fat: 8
- Carbohydrates: 14
- Fiber: 4
- Protein: 32
Keywords: no-bean chili, beef chili, 30-minute chili, easy chili, comfort food, winter recipe, gluten-free chili, low-carb chili