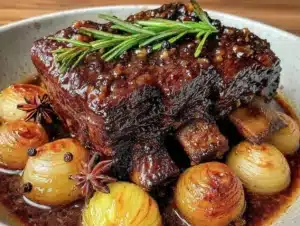
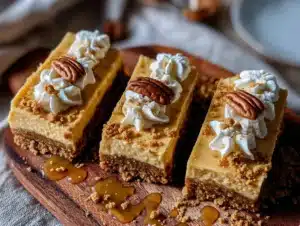
Kelly wasn’t trying to impress anyone. I’d stopped by her place to borrow a cake pan—mine had mysteriously vanished after a neighbor’s bake sale—and this buttery, golden smell hit me before I even got past her screen door. She was standing at her island in a faded t-shirt, pulling these adorable little pie tins out of the oven like it was nothing. “Oh, just testing something for Friendsgiving,” she shrugged when I practically drooled on her counter. “Trying to make it a little less heavy this year.”
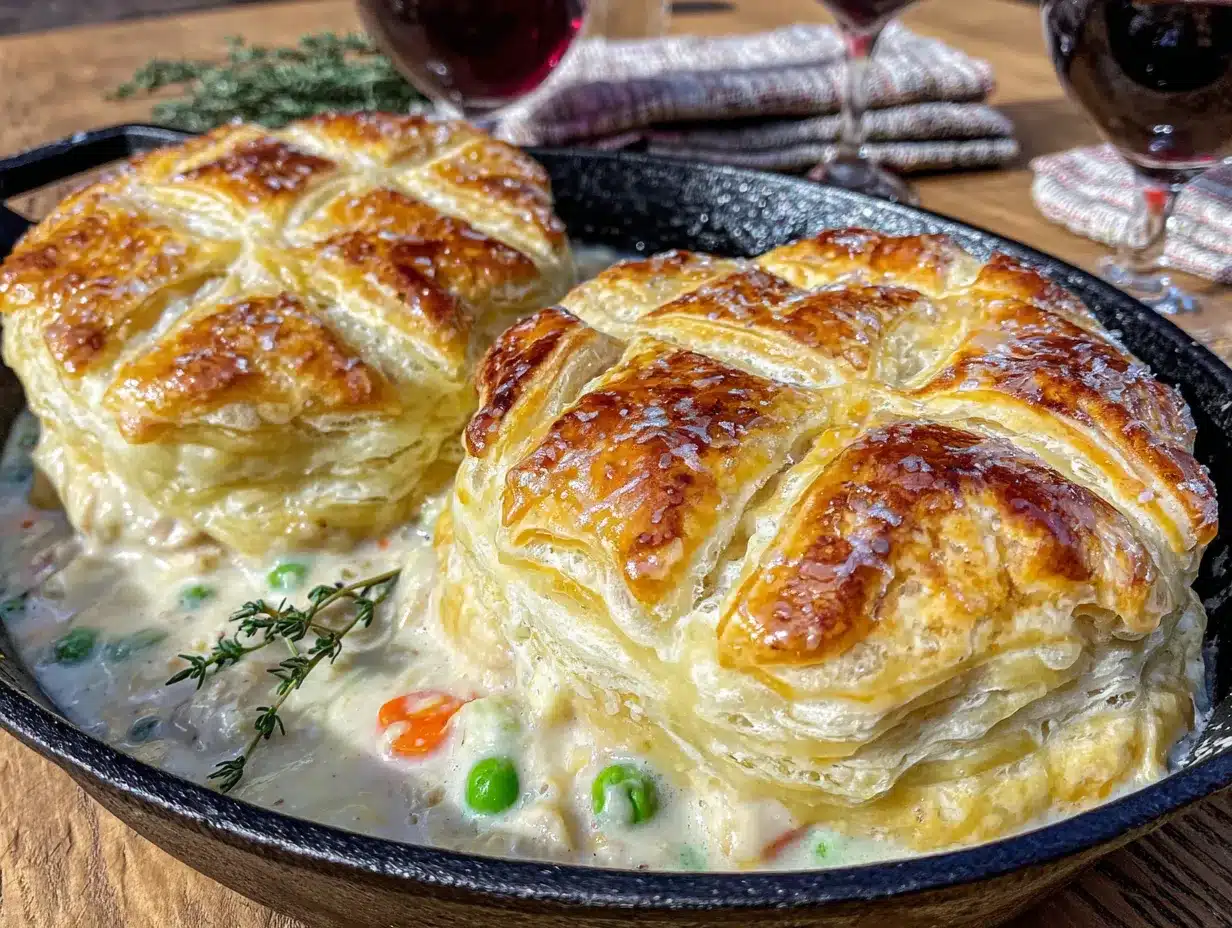
Honestly, I almost forgot why I was there. The sight of those perfectly browned, puffed-up little pies cooling on her wire rack stopped me cold. Each one was its own perfect little package—comfort food but somehow… manageable. Not a giant casserole dish of guilt staring you down. She handed me one still-warm, and I swear I closed my eyes for a second. The filling was creamy but not gluey, the veggies still had a little bite, and the top was flaky in that way that makes you forget your own name. She had used a store-bought puff pastry too—no shame, just smart. “Friendsgiving should be fun,” she said, “not a stress-fest.”
Maybe you’ve been there—trying to host a holiday meal but feeling like you need a nap before anyone even sits down. That’s the magic of these. They’re lighter, they’re individual (no fighting over the corner piece), and they feel special without requiring a culinary degree. I’ve made them for my own Friendsgiving every year since, and honestly, they’re the first thing to disappear every single time. Kelly’s casual genius stuck with me, and now I’m passing it on to you.
Why You’ll Love This Recipe
Let me tell you why these little pies have earned a permanent spot in my rotation. I’ve tested this recipe more times than I care to admit—some batches were soggy disasters, others were dry and sad. But this version? It’s the one. Here’s what makes it stand out:
- Quick & Easy: From start to table in about 45 minutes. The puff pastry does all the heavy lifting, so you’re not wrestling with homemade dough.
- Simple Ingredients: No weird specialty items. You probably have most of this in your fridge and pantry right now.
- Perfect for Friendsgiving: Individual portions mean everyone gets their own golden, bubbly pie. No scooping, no awkward serving spoons.
- Lighter but Satisfying: We’re using lean chicken breast, low-fat milk, and loads of vegetables. You get the creamy comfort without the post-dinner slump.
- Crowd-Pleaser: I’ve served these to picky eaters, health-conscious friends, and traditional pot pie lovers. They disappear equally fast with all of them.
- Unbelievably Delicious: The secret is in the technique—we’re building flavor with a proper roux and letting the vegetables shine instead of drowning them in heavy cream.
This isn’t just another pot pie recipe. It’s the one where you actually feel good after eating it. No guilt, no regret—just that warm, happy feeling of a meal shared with people you love. The first time I made these for my Friendsgiving crew, my friend Dave (who swears he “doesn’t do healthy food”) asked for seconds before he even finished his first one. That’s when I knew I had something special.
What Ingredients You Will Need
This recipe uses simple, wholesome ingredients to deliver that classic pot pie comfort without the heaviness. Most of these are pantry staples, which makes this perfect for those “I need to bring something” moments.
For the Filling
- 2 tablespoons unsalted butter (adds richness without going overboard)
- 1 medium yellow onion, diced (about 1 cup)
- 2 medium carrots, peeled and diced (about 1 cup)
- 2 celery stalks, diced (about 1/2 cup)
- 8 ounces cremini mushrooms, sliced (optional but adds amazing umami)
- 3 cloves garlic, minced
- 1/3 cup all-purpose flour (for thickening the sauce)
- 2 cups low-sodium chicken broth
- 1 cup low-fat milk (2% works great; whole milk for extra creaminess)
- 3 cups cooked chicken breast, shredded or diced (rotisserie chicken is a lifesaver here)
- 1 cup frozen peas (no need to thaw)
- 1 tablespoon fresh thyme leaves (or 1 teaspoon dried)
- 1 teaspoon kosher salt
- 1/2 teaspoon black pepper
- 1/4 teaspoon smoked paprika (my little secret for depth)
For the Topping
- 1 sheet frozen puff pastry, thawed (I recommend Pepperidge Farm for consistent results)
- 1 large egg, beaten (for that golden, glossy finish)
- 1 tablespoon water
I personally prefer using chicken breast over thighs here—it keeps things lighter and lets the vegetables really shine. If you’re using rotisserie chicken (which I do half the time), look for one that’s not too salty. And for the puff pastry, make sure it’s completely thawed but still cold. Warm pastry is a sticky nightmare to work with, trust me on that one.
For a dairy-free version, swap the butter for olive oil and use unsweetened oat milk instead of cow’s milk. It won’t be quite as creamy, but it still hits the spot. You can also use a gluten-free all-purpose flour blend if needed—just whisk it into the broth a little longer to avoid lumps.
Equipment Needed
You don’t need a fancy kitchen to pull these off. Here’s what I use:
- 4 (10-ounce) oven-safe ramekins or small baking dishes (I got mine at a thrift store for $2 each)
- Large skillet or sauté pan (12-inch works best for even cooking)
- Medium saucepan (for making the sauce, though you can do it all in one pan)
- Whisk (a silicone one won’t scratch your pans)
- Sharp knife and cutting board
- Rolling pin (a wine bottle works in a pinch—I’ve done it)
- Pastry brush (or just use a paper towel for the egg wash)
- Baking sheet (place ramekins on it to catch any bubbly overflow)
If you don’t have ramekins, you can use a standard muffin tin for even smaller individual pies—just adjust the baking time down by about 5 minutes. I’ve also made this as one big 9-inch pie plate, which works beautifully for a family-style dinner.
Preparation Method
-
Preheat your oven to 400°F (200°C). Place a baking sheet on the middle rack to heat up—this helps the bottoms of your pies get nice and crispy instead of soggy.
-
Start the filling base. Melt the butter in your large skillet over medium heat. Add the diced onion, carrots, and celery. Cook for about 5-7 minutes, stirring occasionally, until the onions turn translucent and the carrots start to soften. You should smell that sweet, savory aroma filling your kitchen—that’s the good stuff.
-
Add the mushrooms and garlic. If using mushrooms, toss them in now. Cook for another 3-4 minutes until they release their liquid and start to brown. Add the minced garlic and cook for just 30 seconds until fragrant. Don’t let the garlic burn—it turns bitter fast.
-
Make the roux. Sprinkle the flour over the vegetables and stir constantly for about 1 minute. This cooks out the raw flour taste and gives your sauce that silky texture. It’ll look a little pasty at first—that’s normal.
-
Add the liquids slowly. Pour in the chicken broth while whisking continuously to prevent lumps. Then add the milk the same way. Keep whisking until the sauce thickens, about 3-4 minutes. It should coat the back of a spoon—not too thin, not too thick. If it seems too thick, add a splash more broth.
-
Finish the filling. Stir in the shredded chicken, frozen peas, thyme, salt, pepper, and smoked paprika. Let it simmer for 2 minutes to heat everything through. Taste and adjust seasoning—you want it slightly saltier than you think because the pastry will balance it out. Remove from heat.
-
Prepare the pastry. On a lightly floured surface, unfold your thawed puff pastry sheet. Use a rolling pin to gently roll it out just a bit—about 1/8-inch thick. Cut it into 4 squares slightly larger than your ramekins (about 1 inch overhang on each side).
-
Assemble the pies. Divide the filling evenly among the 4 ramekins. Place a pastry square on top of each, letting the edges hang over. Press the edges gently against the rim of the ramekin to seal. Cut 3 small slits in the top of each pastry to let steam escape—otherwise, you’ll have a puffed-up mess that collapses.
-
Apply the egg wash. Whisk the egg with 1 tablespoon of water. Brush this mixture generously over each pastry top. This is what gives you that gorgeous golden-brown finish that makes everyone think you’re a pastry chef.
-
Bake. Place the ramekins on the preheated baking sheet. Bake for 20-25 minutes until the pastry is puffed and deep golden brown, and the filling is bubbling up through the slits. Let them cool on a wire rack for 5 minutes before serving—the filling is lava-hot straight out of the oven.
Pro tip: If the edges of your pastry are browning too fast, tent the ramekins loosely with foil for the last 5 minutes. I learned this the hard way after a batch of blackened crusts that still tasted good but looked tragic.
Cooking Tips & Techniques
I’ve screwed up this recipe more times than I’ve gotten it right, so let me save you the trouble. Here’s what I’ve learned:
Don’t skip the roux. I know it’s tempting to just dump flour into the broth and hope for the best, but that gives you lumpy, pasty sauce. Cooking the flour with the butter first is non-negotiable for that silky texture. You only need one minute of constant stirring—set a timer if you’re distracted like me.
Keep your pastry cold. Warm puff pastry is a sticky, stretchy nightmare. If your kitchen is warm, pop the cut pastry squares in the fridge for 10 minutes while you finish the filling. Cold pastry puffs better and holds its shape. I once tried to rush this step and ended up with flat, dense tops that looked more like crackers than pastry.
Watch your liquid ratio. The filling should be thick but still saucy. If it’s too thin, it’ll make the bottom crust soggy. If it’s too thick, the pies will be dry. Aim for a consistency like thick gravy. If you accidentally go too thick, stir in a little more broth. Too thin? Let it simmer an extra minute or two.
Multitask like a pro. While the filling simmers, roll out your pastry and cut the squares. While the pies bake, clean up your mess. This recipe moves fast, so having everything prepped and ready makes the process smooth and actually enjoyable.
My biggest failure: I once forgot to cut steam vents in the pastry. The tops puffed up into giant bubbles, then collapsed into a sticky, doughy mess when I opened the oven. It still tasted fine, but it looked like a sad science experiment. Cut those slits—your pies will thank you.
Variations & Adaptations
This recipe is endlessly flexible. Here are some ways I’ve tweaked it over the years:
Vegetarian Version: Skip the chicken and double the mushrooms. Add a can of drained and rinsed chickpeas for protein. The texture is different but still hearty and satisfying. I made this for my vegetarian friend Rachel, and she asked for the recipe before she finished her first bite.
Gluten-Free: Use a gluten-free all-purpose flour blend for the roux (I like Bob’s Red Mill 1-to-1). Skip the puff pastry and top with a gluten-free biscuit dough instead. It’s not quite as flaky, but the flavor is still there.
Dairy-Free: Swap the butter for olive oil or vegan butter. Use unsweetened oat milk or cashew milk instead of cow’s milk. The sauce won’t be quite as rich, but it’s still creamy and delicious.
Seasonal Veggie Swap: In the fall, add diced sweet potato and swap peas for chopped kale. In spring, use asparagus tips and leeks instead of carrots and celery. The base recipe is forgiving—just keep the total veggie volume about the same.
Spicy Kick: Add 1/2 teaspoon red pepper flakes with the garlic, or stir in a diced jalapeño. My friend Marco loves this version—he says it “wakes up” the comfort food.
I once tried a version with curry powder and coconut milk instead of the traditional broth and milk. It was… interesting. Not bad, but not pot pie anymore. Sometimes the classic is classic for a reason.
Serving & Storage Suggestions
These pies are best served warm, straight from the oven. Let them rest for 5 minutes first—the filling is seriously hot and will burn your mouth if you dive in too fast. I speak from painful experience.
What to serve with them: A simple green salad with a lemon vinaigrette cuts through the richness perfectly. I also love serving these with roasted Brussels sprouts or steamed green beans. For a full Friendsgiving spread, they pair beautifully with cranberry orange sauce and a light kale salad.
Storage: Leftover pies keep in the fridge for up to 3 days. The pastry will soften a bit, but the flavor is still fantastic. To reheat, pop them in a 350°F oven for 10-15 minutes until warmed through. The microwave works in a pinch, but the pastry gets soggy—not ideal.
Freezing: Assemble the pies completely but don’t bake them. Wrap each ramekin tightly in plastic wrap and then foil. Freeze for up to 3 months. To bake from frozen, add about 10 minutes to the baking time and cover with foil for the first 15 minutes to prevent over-browning. I do this for Friendsgiving prep—make them a week ahead and just pop them in the oven when guests arrive.
The flavors actually meld together beautifully overnight. If you can stand the wait, making the filling a day ahead and assembling just before baking gives you an even deeper, more developed taste.
Nutritional Information & Benefits
These mini pies are lighter than traditional pot pie, but they don’t skimp on satisfaction. Here’s the estimated breakdown per serving (1 mini pie):
| Nutrient | Amount |
|---|---|
| Calories | 385 |
| Protein | 28g |
| Carbohydrates | 32g |
| Fiber | 4g |
| Fat | 16g |
| Saturated Fat | 6g |
| Sodium | 680mg |
The chicken provides lean protein that keeps you full and satisfied. Carrots and celery offer vitamin A and fiber, while mushrooms add immune-supporting beta-glucans. Using low-fat milk and broth instead of heavy cream cuts the fat significantly without sacrificing creaminess. And the puff pastry—while not exactly health food—gives you that indulgent, flaky top that makes the whole dish feel like a treat.
If you’re watching your sodium, use unsalted broth and reduce the added salt. The smoked paprika and thyme add so much flavor that you honestly won’t miss it.
Conclusion
These lighter mini chicken pot pies are everything I want in a Friendsgiving dish—comforting, beautiful, and just a little bit healthier without feeling like a compromise. They’re the kind of food that makes people close their eyes after the first bite, and that’s exactly what the holiday season should be about.
I love how customizable they are, how they make everyone feel special with their own little pie, and how they let me enjoy the meal without that heavy, sluggish feeling afterward. Kelly’s casual genius in her kitchen that afternoon changed how I think about holiday cooking—it doesn’t have to be a production. It just has to be good.
So go ahead—make these for your Friendsgiving, your family dinner, or even just a Tuesday night. Play with the veggies, swap the protein, make them your own. And when you do, come back and tell me about it. Leave a comment below, share a photo, or tell me how you made them yours. I genuinely love hearing about your kitchen adventures.
Here’s to good food, good friends, and pies that make you feel as good as they taste. Happy cooking!
Frequently Asked Questions
Can I use pre-cooked rotisserie chicken for this recipe?
Absolutely! In fact, I do it all the time. Rotisserie chicken saves you a step and adds great flavor. Just shred or dice about 3 cups of meat, and you’re good to go. Remove the skin first to keep things lighter.
Can I make these pot pies in a muffin tin instead of ramekins?
Yes, you can! Use a standard 12-cup muffin tin and line each cup with a circle of puff pastry. Fill with the chicken mixture, top with another pastry round, and bake for about 15-18 minutes. They’ll be bite-sized and perfect for parties.
How do I prevent the bottom crust from getting soggy?
Preheating your baking sheet in the oven before placing the ramekins on it makes a huge difference. The direct heat helps the bottom pastry crisp up. Also, make sure your filling isn’t too thin—it should be thick enough to coat a spoon.
Can I use pie crust instead of puff pastry?
Definitely. A traditional pie crust will give you a more classic pot pie experience. Just roll it out, cut it to size, and bake as directed. You might need to add a minute or two to the baking time since pie crust is denser.
How far in advance can I assemble these pies?
You can assemble them up to 24 hours ahead. Just cover and refrigerate the unbaked pies. When you’re ready to bake, add about 5 minutes to the baking time since you’re starting from cold. They’re also freezer-friendly for up to 3 months.
Pin This Recipe!
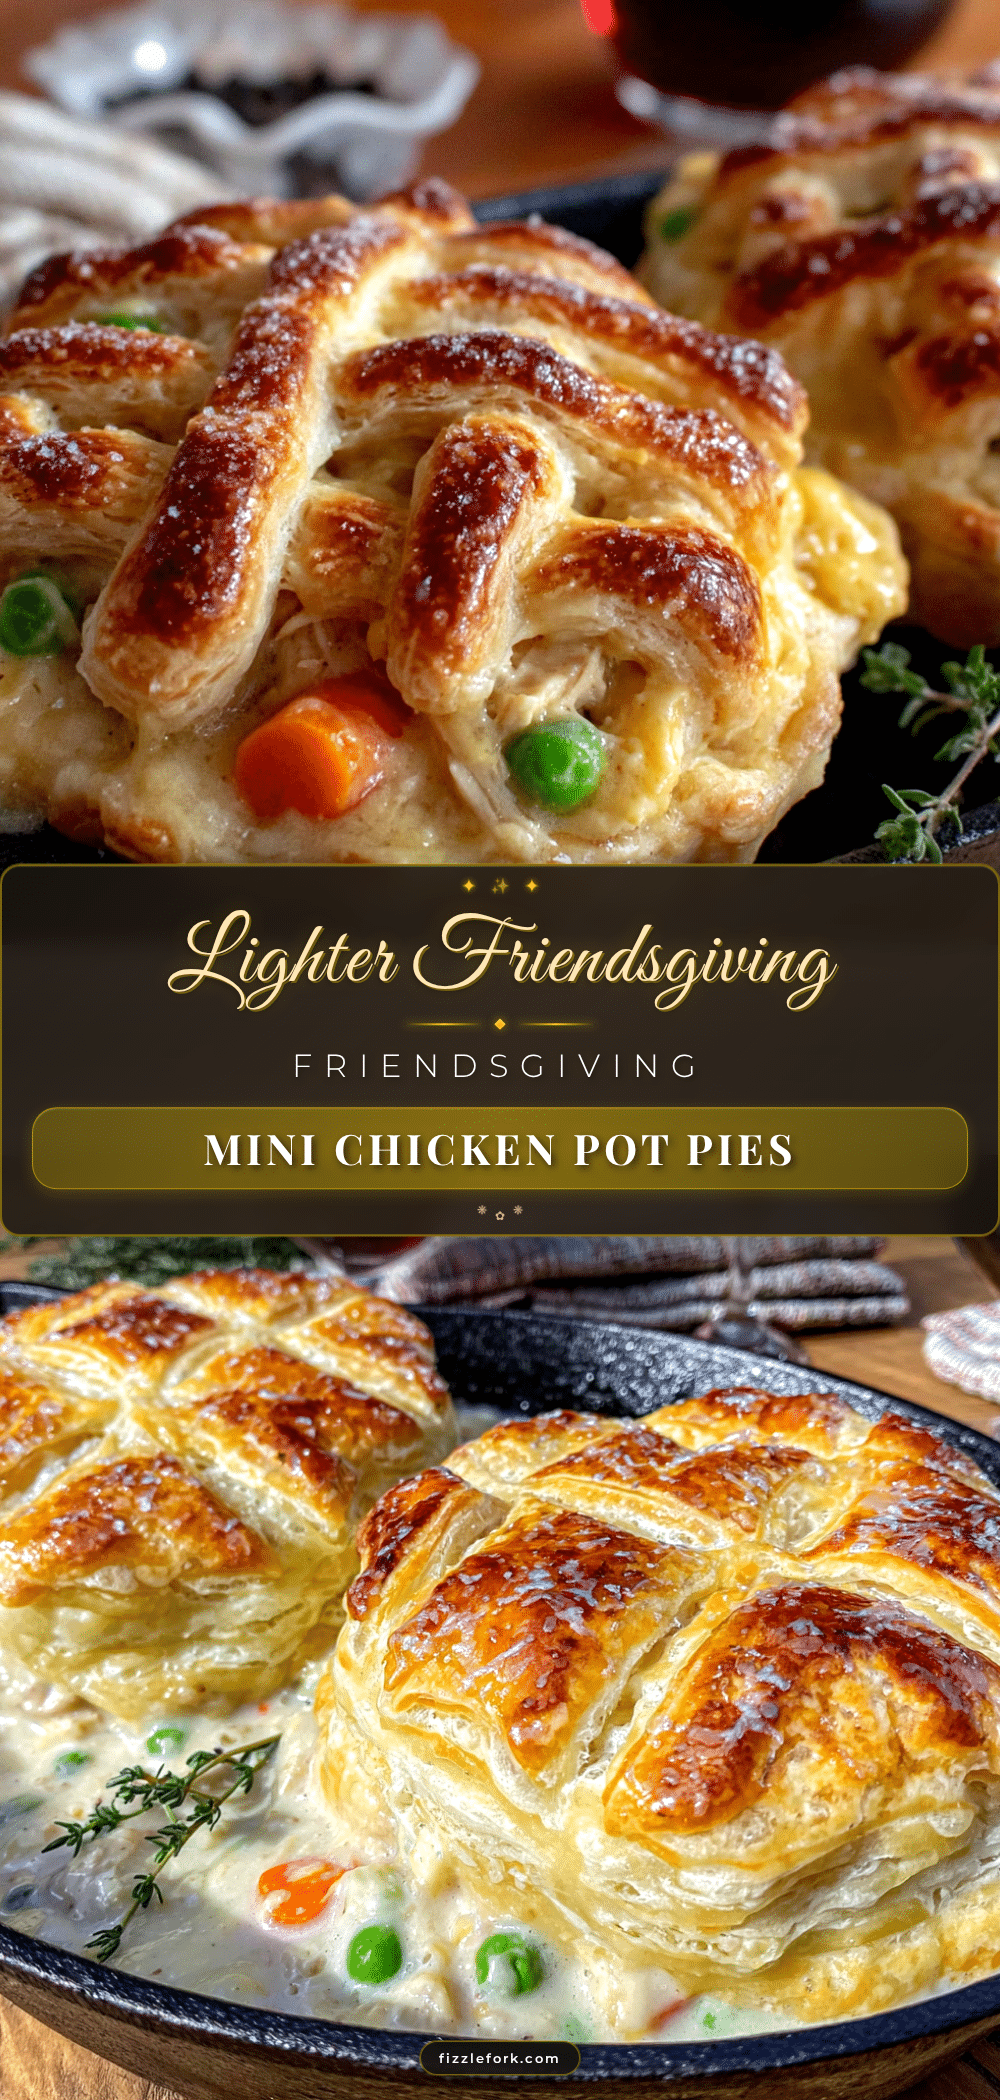
Lighter Mini Chicken Pot Pies for Friendsgiving

These lighter mini chicken pot pies are perfect for Friendsgiving—individual portions with a creamy, veggie-packed filling and flaky puff pastry top. They’re comforting, beautiful, and just a little bit healthier without feeling like a compromise.
- Prep Time: 15 minutes
- Cook Time: 30 minutes
- Total Time: 45 minutes
- Yield: 4 servings 1x
- Category: Main Course
- Cuisine: American
Ingredients
- 2 tablespoons unsalted butter
- 1 medium yellow onion, diced (about 1 cup)
- 2 medium carrots, peeled and diced (about 1 cup)
- 2 celery stalks, diced (about 1/2 cup)
- 8 ounces cremini mushrooms, sliced (optional)
- 3 cloves garlic, minced
- 1/3 cup all-purpose flour
- 2 cups low-sodium chicken broth
- 1 cup low-fat milk (2% works great)
- 3 cups cooked chicken breast, shredded or diced
- 1 cup frozen peas
- 1 tablespoon fresh thyme leaves (or 1 teaspoon dried)
- 1 teaspoon kosher salt
- 1/2 teaspoon black pepper
- 1/4 teaspoon smoked paprika
- 1 sheet frozen puff pastry, thawed
- 1 large egg, beaten
- 1 tablespoon water
Instructions
- Preheat your oven to 400°F (200°C). Place a baking sheet on the middle rack to heat up.
- Melt the butter in a large skillet over medium heat. Add the diced onion, carrots, and celery. Cook for 5-7 minutes, stirring occasionally, until the onions are translucent and the carrots start to soften.
- Add the mushrooms (if using) and cook for 3-4 minutes until they release their liquid and start to brown. Add the minced garlic and cook for 30 seconds until fragrant.
- Sprinkle the flour over the vegetables and stir constantly for about 1 minute to make a roux.
- Slowly pour in the chicken broth while whisking continuously to prevent lumps. Then add the milk the same way. Keep whisking until the sauce thickens, about 3-4 minutes.
- Stir in the shredded chicken, frozen peas, thyme, salt, pepper, and smoked paprika. Let it simmer for 2 minutes to heat through. Remove from heat.
- On a lightly floured surface, unfold the thawed puff pastry sheet. Roll it out to about 1/8-inch thick. Cut into 4 squares slightly larger than your ramekins (about 1 inch overhang on each side).
- Divide the filling evenly among 4 (10-ounce) ramekins. Place a pastry square on top of each, letting the edges hang over. Press the edges gently against the rim to seal. Cut 3 small slits in the top of each pastry to let steam escape.
- Whisk the egg with 1 tablespoon of water. Brush this egg wash generously over each pastry top.
- Place the ramekins on the preheated baking sheet. Bake for 20-25 minutes until the pastry is puffed and deep golden brown, and the filling is bubbling. Let cool on a wire rack for 5 minutes before serving.
Notes
If the edges of your pastry are browning too fast, tent the ramekins loosely with foil for the last 5 minutes. Keep the pastry cold for best puffing results. The filling should be thick but still saucy—aim for a consistency like thick gravy.
Nutrition
- Serving Size: 1 mini pie
- Calories: 385
- Sodium: 680
- Fat: 16
- Saturated Fat: 6
- Carbohydrates: 32
- Fiber: 4
- Protein: 28
Keywords: mini chicken pot pie, Friendsgiving, lighter pot pie, individual pot pie, chicken pot pie, puff pastry pot pie