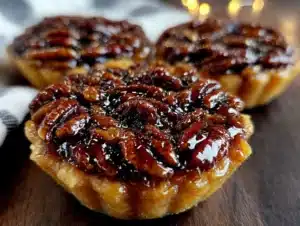
My neighbor swore she didn’t like pecan pie. For years. She’d make that little face people make when they’re trying to be polite about a dessert they secretly dread. Then last Thanksgiving, I made these mini muffin tin versions just for myself—because I wasn’t about to go without—and I caught her standing at the counter, reaching for a fourth one. “These aren’t really pecan pie,” she said with crumbs on her chin. And honestly? She wasn’t wrong. These are better.
Let me tell you, these cozy maple pecan pie bites changed everything for me. I mean, I love a good slice of the real deal, but there’s always that moment of regret—too much filling, too much syrup, that weird gelatinous layer. These little guys skip all that drama. They’re all crunch, all flavor, no soggy bottoms. The first time I made them, I accidentally overfilled a few and the maple syrup bubbled over onto the pan. The smell? Pure caramelized heaven. I stood there in my messy kitchen, spatula in hand, thinking, “Why has nobody been making pecan pie this way?”
Maybe you’ve been there too—wanting that deep, nutty, buttery flavor of pecan pie without committing to a whole pie. Or maybe you need something portable for a cookie swap that still feels special. These bites fit right in your palm. They’re the kind of treat you grab on your way to the couch with a mug of tea. And honestly, they’re easier than rolling out a single pie crust. No rolling pin required. No pie weights. No stress.
I keep coming back to this recipe because it’s the rare dessert that feels both indulgent and straightforward. The maple syrup does the heavy lifting—it brings this warm, woodsy sweetness that regular corn syrup just can’t touch. And the pecans? They toast right in the oven as the bites bake, getting all fragrant and golden. It’s the kind of thing you make for a rough Tuesday and suddenly the whole week feels better.
So here’s my confession: I used to think pecan pie was overrated. Then I made these mini bites and proved myself wrong in the best possible way. And if you think you don’t like pecan pie? Well, I’d just say try these first. Then we’ll talk.
Why You’ll Love These Cozy Maple Pecan Pie Bites
These aren’t just another mini dessert recipe. I’ve tested this one about six times now—each batch teaching me something new. The first batch came out too sticky. The second, too dry. But by the third, I had that moment where you take a bite and just stop moving. You know the one. Here’s why these bites are different from everything else out there:
- Quick & Easy : Comes together in under 30 minutes, start to finish. No chilling dough. No waiting for butter to soften. Just mix, fill, bake, and try not to burn your tongue on the first one.
- Simple Ingredients : You likely already have butter, eggs, and maple syrup in your kitchen. The only special item is pecans, and those are easy to find year-round now.
- Perfect for Cozy Evenings : Cold weather, a rough day, or just one of those nights where you need something warm and sweet. These bites deliver that comfort without making you feel heavy afterward.
- Crowd-Pleaser : I brought these to a potluck and watched a grown man argue with his wife over the last one. Kids love them because they’re bite-sized. Adults love them because they taste sophisticated without trying too hard.
- Unbelievably Delicious : The texture is what gets you. A buttery, flaky crust that stays crisp. A filling that’s more caramel than goo. And pecans that toast to perfection right in the middle. It’s next-level comfort food in a tiny package.
What makes this recipe different from the rest is the technique. Instead of a traditional pie filling that can get gloopy, I use a slightly higher ratio of pecans to syrup. The result? Each bite is crunchy, nutty, and just sweet enough. Plus, the mini muffin tin creates the perfect crust-to-filling ratio. No sad bites of just crust. Every single one delivers.
This recipe is the kind that makes you close your eyes after the first bite. It’s comfort food reimagined—faster, simpler, but with the same soul-soothing satisfaction as the full-size pie. Perfect for impressing guests without stress, or turning a simple Tuesday evening into something memorable.
What Ingredients You Will Need
This recipe uses simple, wholesome ingredients to deliver bold flavor and satisfying texture without the fuss. Most of these are pantry staples, which means you can whip these up on a whim without a special grocery trip.
For the Crust
- 1 ½ cups all-purpose flour (spooned and leveled—don’t scoop straight from the bag or you’ll get too much)
- ½ cup cold unsalted butter, cut into small cubes (I prefer Kerrygold for the richness, but any good quality butter works)
- 2-3 tablespoons ice water (you might need the full 3 tablespoons depending on your flour and humidity)
- ¼ teaspoon salt (use fine sea salt, not table salt—it dissolves better)
- 1 tablespoon granulated sugar (just a touch to sweeten the crust)
For the Filling
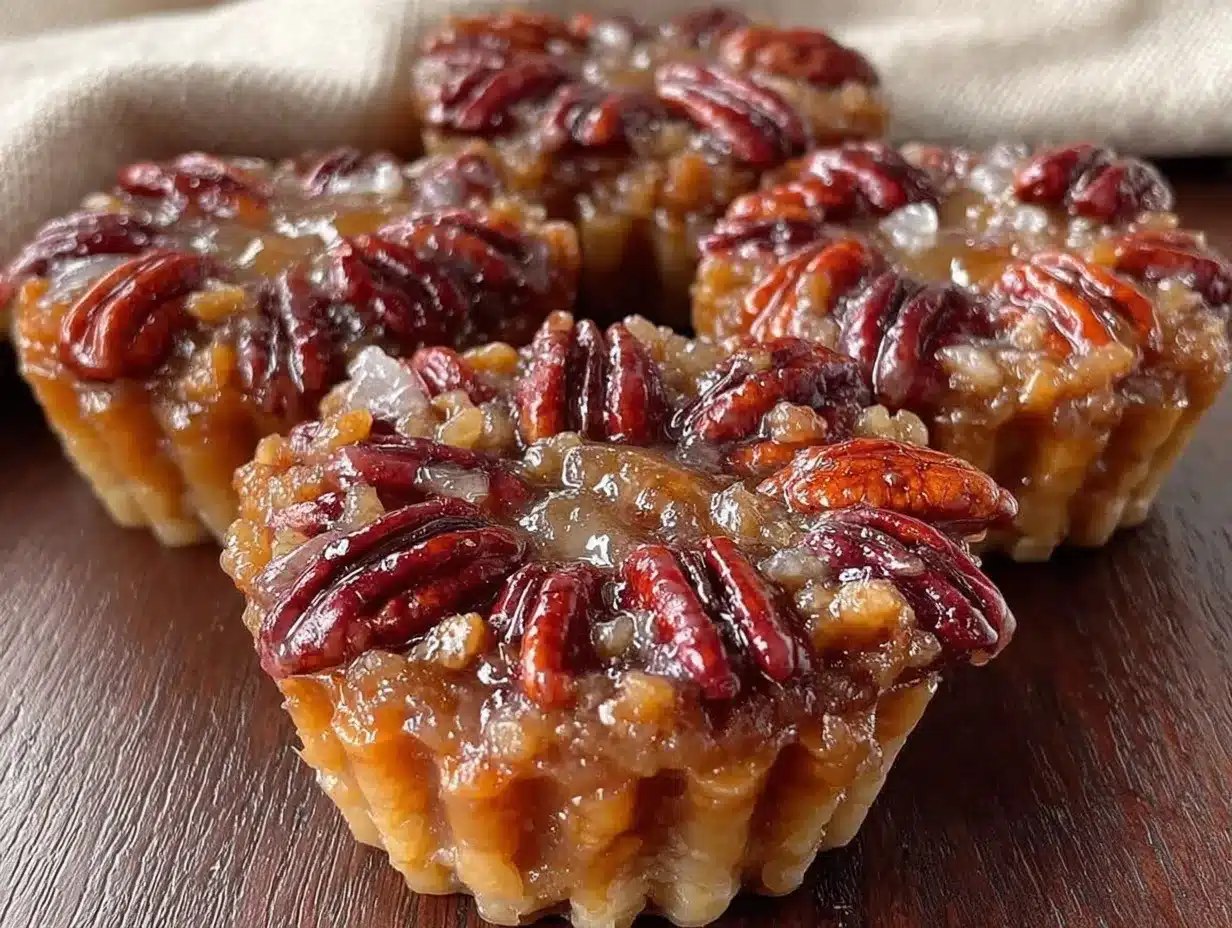
- ¾ cup pure maple syrup (not pancake syrup—real maple syrup makes all the difference here. I use Grade A Dark Amber for that deep, almost caramel-like flavor)
- 1 large egg, room temperature (cold egg can seize the mixture)
- 2 tablespoons unsalted butter, melted (adds richness and helps the filling set properly)
- 1 teaspoon vanilla extract (pure, not imitation—trust me on this)
- ¼ teaspoon salt (balances the sweetness)
- 1 ½ cups pecan halves (roughly chopped—leave some bigger pieces for texture)
Ingredient Selection Tips
For the pecans, I recommend buying raw pecan halves and chopping them yourself. Pre-chopped pecans are often smaller and can burn faster in the oven. Look for pecans that are plump and uniform in color—avoid any that look shriveled or have dark spots. I get mine from the bulk section at my local co-op, and they’re always fresher than the bagged ones.
For the maple syrup, this is not the place to skimp. I’ve tried this recipe with the cheap stuff, and honestly, it’s not the same. The fake syrup has a thinner consistency and an artificial aftertaste that just doesn’t work here. Spend the extra few dollars on real maple syrup—your taste buds will thank you.
If you need a substitution, you can use honey instead of maple syrup, but note that honey is sweeter and has a different flavor profile. The bites will still be delicious, just less “maple-y.” For a gluten-free version, swap the all-purpose flour with a 1:1 gluten-free baking flour blend. I’ve used Bob’s Red Mill with good results.
Equipment Needed
You don’t need a fancy kitchen to make these bites, but a few specific tools will make your life easier. Here’s what you’ll need:
- Mini muffin tin (standard size with 24 cups—I use a non-stick one from Wilton and it works great)
- Pastry cutter or two forks (for cutting butter into flour. If you don’t have a pastry cutter, your hands work too—just work quickly so the butter doesn’t warm up)
- Rolling pin (optional—you can also press the dough into the muffin cups with your fingers)
- Small cookie scoop or teaspoon (for portioning the filling evenly)
- Mixing bowls (one medium, one small)
- Measuring cups and spoons
- Parchment paper (optional, but helps with cleanup if syrup bubbles over)
If you don’t have a mini muffin tin, you can use a regular muffin tin—just increase the baking time by about 5-7 minutes and expect fewer bites (about 12 instead of 24). I’ve also made these in a mini tart pan with removable bottoms for a fancier presentation, but honestly, the muffin tin is easier and less fussy.
One tip: if your muffin tin is older or scratched, give it a light spray of non-stick cooking spray even if it says “non-stick.” I learned this the hard way after losing a beautiful batch to a stuck crust. Not my finest moment.
Preparation Method
Let’s walk through this step by step. I’ve included time estimates and sensory cues so you know exactly what to look for at each stage.
Step 1: Make the Crust (10 minutes)
In a medium mixing bowl, whisk together the flour, salt, and sugar. Add the cold butter cubes. Using a pastry cutter or two forks, cut the butter into the flour until the mixture looks like coarse meal with some pea-sized butter pieces remaining. You want visible bits of butter—this creates flakiness.
Drizzle 2 tablespoons of ice water over the mixture and stir with a fork. The dough should start coming together when you squeeze it. If it seems dry, add the remaining tablespoon of water, one teaspoon at a time. Don’t overwork it—you want shaggy dough, not a smooth ball.
Flatten the dough into a disc, wrap in plastic wrap, and refrigerate for 15 minutes. This short chill helps the butter firm up again, which means flakier crusts. I know it’s tempting to skip this, but don’t. Trust me.
Step 2: Prepare the Filling (5 minutes)
While the dough chills, make the filling. In a small bowl, whisk together the maple syrup, egg, melted butter, vanilla extract, and salt until smooth. The mixture should be a uniform golden brown color. Set aside.
Roughly chop the pecans. I like to leave some pieces about the size of a pea and some a bit larger—this gives the bites nice texture variation. You should have about 1 ½ cups of chopped pecans.
Step 3: Assemble the Bites (10 minutes)
Preheat your oven to 375°F (190°C). Lightly grease your mini muffin tin with butter or non-stick spray.
Remove the dough from the refrigerator. Pinch off small pieces (about a tablespoon each) and press them evenly into the bottom and up the sides of each muffin cup. Don’t worry if the edges look a bit ragged—that’s part of the charm. You want a thin, even layer of dough. Aim for about 1/8 inch thick.
Divide the chopped pecans evenly among the 24 muffin cups. Pour the maple syrup mixture over the pecans, filling each cup about ¾ full. The filling will puff up slightly as it bakes, so don’t overfill or it will bubble over and make a sticky mess.
Step 4: Bake (12-15 minutes)
Bake the bites for 12-15 minutes, or until the crust is golden brown and the filling is set but still slightly jiggly in the center. You’ll know they’re done when the edges of the crust look dry and the filling has darkened slightly. The smell at this point is incredible—like caramel and toasted nuts filling your whole kitchen.
Let the bites cool in the pan for 5 minutes. This is crucial—the filling needs this time to set properly. If you try to remove them too soon, they’ll fall apart. After 5 minutes, carefully run a knife around the edges to loosen them, then transfer to a wire rack to cool completely.
Step 5: Cool and Serve (20 minutes)
Let the bites cool completely on the wire rack—about 20 minutes. They’ll firm up as they cool. If you can resist eating one immediately, you’ll be rewarded with a cleaner bite and a better texture. I usually eat one “test” bite while it’s still warm, then wait for the rest. Quality control, you know?
Cooking Tips & Techniques
After making these bites about six times, I’ve collected a few hard-earned lessons. Here’s what I wish someone had told me:
Keep Everything Cold
The secret to a flaky crust is cold butter. If your kitchen is warm, pop the butter and even the flour in the freezer for 10 minutes before starting. Handle the dough as little as possible—warm hands are the enemy of flaky pastry. I once made these on a hot summer day without air conditioning, and the dough turned into a sticky mess. I had to chill it twice. Learn from my mistakes.
Don’t Overfill
I know it’s tempting to pile in extra filling, but trust the measurements. The filling expands as it bakes, and overfilled cups lead to sticky overflow that’s a pain to clean. If you do get some overflow (it happens), let the pan cool completely, then soak it in hot water. The sugar dissolves easily.
Toast the Pecans First (Optional)
For an even deeper flavor, toast the chopped pecans in a dry skillet over medium heat for 2-3 minutes before adding them to the cups. Watch them carefully—they burn fast. Toasted pecans add a nuttiness that takes these bites from good to unforgettable. I do this when I’m making them for company.
Check for Doneness
The filling should be set around the edges but still slightly wobbly in the center when you pull them out. They’ll continue to set as they cool. Overbaking leads to a tough, rubbery filling. Underbaking means a runny mess. That 12-15 minute window is your sweet spot.
Multitasking Strategy
While the dough chills, make the filling. While the bites bake, clean up your workspace. This recipe moves fast, so having a clean kitchen when they come out of the oven is a small joy. Plus, you’ll have less to do later when you’re eating them straight off the cooling rack.
Variations & Adaptations
One of the best things about this recipe is how adaptable it is. Here are a few variations I’ve tried and loved:
Chocolate Maple Pecan Bites
Add ¼ cup of mini chocolate chips to the pecan mixture before pouring in the syrup. The chocolate melts into the filling and creates these little pockets of richness. I made this version for Valentine’s Day and my husband said they were the best thing I’d ever baked. High praise from a man who usually just says “they’re good.”
Bourbon Maple Version
Replace 1 tablespoon of the maple syrup with bourbon. The alcohol cooks off, leaving behind a warm, smoky depth that pairs beautifully with the pecans. This is my go-to for holiday gatherings. Just don’t tell the kids.
Gluten-Free Adaptation
Use a 1:1 gluten-free flour blend in place of all-purpose flour. I’ve tried this with Bob’s Red Mill and King Arthur Measure for Measure, and both worked well. The crust will be slightly more crumbly, but the flavor is still spot on.
Vegan Version
Replace the butter in the crust with cold coconut oil (use the solid part, not the liquid). For the filling, use a flax egg (1 tablespoon ground flaxseed mixed with 3 tablespoons water, let sit for 5 minutes). The texture will be slightly different—more tender, less flaky—but still delicious.
Spiced Maple Pecan Bites
Add ½ teaspoon of cinnamon and ¼ teaspoon of nutmeg to the filling. The warm spices complement the maple syrup and make these taste even more cozy. I make this version in the fall when the weather turns cool and all I want is something that smells like comfort.
Serving & Storage Suggestions
These bites are versatile when it comes to serving. Here’s how I like to enjoy them:
Serving Temperature
They’re best at room temperature, but honestly, I love them straight from the fridge too. The filling gets firmer and the crust stays crisp. If you want to serve them warm, pop them in a 300°F oven for 3-4 minutes. Don’t microwave them—the crust gets soggy.
Presentation Ideas
Arrange them on a wooden board with fresh rosemary sprigs for a rustic look. Dust with a little powdered sugar if you’re feeling fancy. For holiday parties, I nestle them in mini paper liners—they look adorable and make serving easy.
Perfect Pairings
A scoop of vanilla ice cream on the side is never wrong. For drinks, these bites pair beautifully with black coffee, chai tea, or a glass of cold milk. If you’re serving them for dessert after a big meal, a small pour of bourbon or dark rum on the side is a lovely touch.
Storage Instructions
Store the bites in an airtight container at room temperature for up to 3 days. If you stack them, place a piece of parchment paper between layers to prevent sticking. For longer storage, refrigerate them for up to a week—the flavor actually deepens after a day or two.
Freezing Tips
These freeze beautifully. Place the cooled bites on a baking sheet in a single layer and freeze until solid (about 1 hour). Transfer to a freezer-safe bag or container. They’ll keep for up to 3 months. To thaw, leave them at room temperature for about 30 minutes. You can also reheat frozen bites in a 300°F oven for 5-7 minutes.
One thing I’ve noticed: the flavors meld and deepen after a day in the fridge. So if you can stand to wait, these are actually better on day two. I know, I was surprised too.
Nutritional Information & Benefits
While these are definitely a treat, they do offer some nutritional perks. Here’s the breakdown per bite (based on 24 servings):
| Nutrient | Amount Per Bite |
|---|---|
| Calories | 145 |
| Total Fat | 9g |
| Saturated Fat | 3.5g |
| Carbohydrates | 15g |
| Sugar | 9g |
| Protein | 2g |
| Fiber | 1g |
Pecans are a good source of healthy fats, particularly monounsaturated fats that support heart health. They also contain magnesium, which helps with muscle function and sleep quality. Maple syrup provides manganese and zinc, though in small amounts. The butter and flour are mostly for texture and flavor, so these are definitely an “in moderation” kind of treat.
If you’re watching your sugar intake, you can reduce the maple syrup to ½ cup and add an extra tablespoon of melted butter to maintain moisture. The bites will be less sweet but still delicious.
Frequently Asked Questions
Can I use a regular muffin tin instead of a mini one?
Yes, you can. You’ll get about 12 regular-sized bites instead of 24 mini ones. Increase the baking time to 18-22 minutes, and check for doneness with the same jiggle test. The crust-to-filling ratio will be different—more crust per bite—but they’ll still be delicious.
Why did my crust turn out soggy?
This usually happens if the dough wasn’t chilled enough before baking, or if the filling sat in the crust too long before going into the oven. Make sure your butter is cold, chill the dough for at least 15 minutes, and get the assembled bites into the oven quickly. Also, don’t overfill—too much liquid can seep into the crust.
Can I make these ahead for a party?
Absolutely. These are actually better made a day ahead. Bake them, cool completely, and store in an airtight container at room temperature. The flavors meld overnight and the crust stays crisp. Just don’t refrigerate them if you’re serving the next day—room temperature is fine for 2-3 days.
My filling bubbled over. What did I do wrong?
Two possible reasons: you overfilled the cups, or your oven temperature was too high. Fill each cup only ¾ full, and use an oven thermometer to check your actual oven temperature. Some ovens run hot, and the filling can boil over if the temperature spikes.
Can I use honey instead of maple syrup?
Yes, but the flavor will be different. Honey is sweeter and has a more floral taste. If you substitute, use the same amount (¾ cup) and expect a slightly darker color. The texture will be similar, but you’ll lose that distinct maple flavor that makes these bites special. I’d only recommend this if you’re out of maple syrup and really craving these bites.
Conclusion
These cozy maple pecan pie bites are proof that sometimes the best things come in small packages. They’ve got everything you love about pecan pie—the buttery crust, the nutty filling, that warm maple sweetness—without the fuss of a full-size pie. And honestly? They might be even better than the original.
I’ve made these for potlucks, holiday parties, lazy Sunday afternoons, and random Tuesday nights when I needed something sweet. Every single time, they disappear fast. There’s something about the bite-size format that makes people feel like they can have just one more. And one more after that.
What I love most about this recipe is how forgiving it is. The crust doesn’t need to be perfect. The filling doesn’t need to be precise. You can press the dough in with your fingers, eyeball the measurements, and still end up with something that makes people close their eyes when they take that first bite. That’s the kind of recipe worth keeping.
So go ahead—preheat that oven, grab your mini muffin tin, and make these bites. Customize them with chocolate or bourbon or extra spices. Make them for yourself on a quiet evening. Make them for friends who need a little comfort. And when someone says they don’t like pecan pie? Just smile and hand them one of these. Watch what happens.
I’d love to hear how yours turn out! Drop a comment below and let me know if you tried any variations, or tag me in your photos if you share them online. Happy baking, friend.
Pin This Recipe!
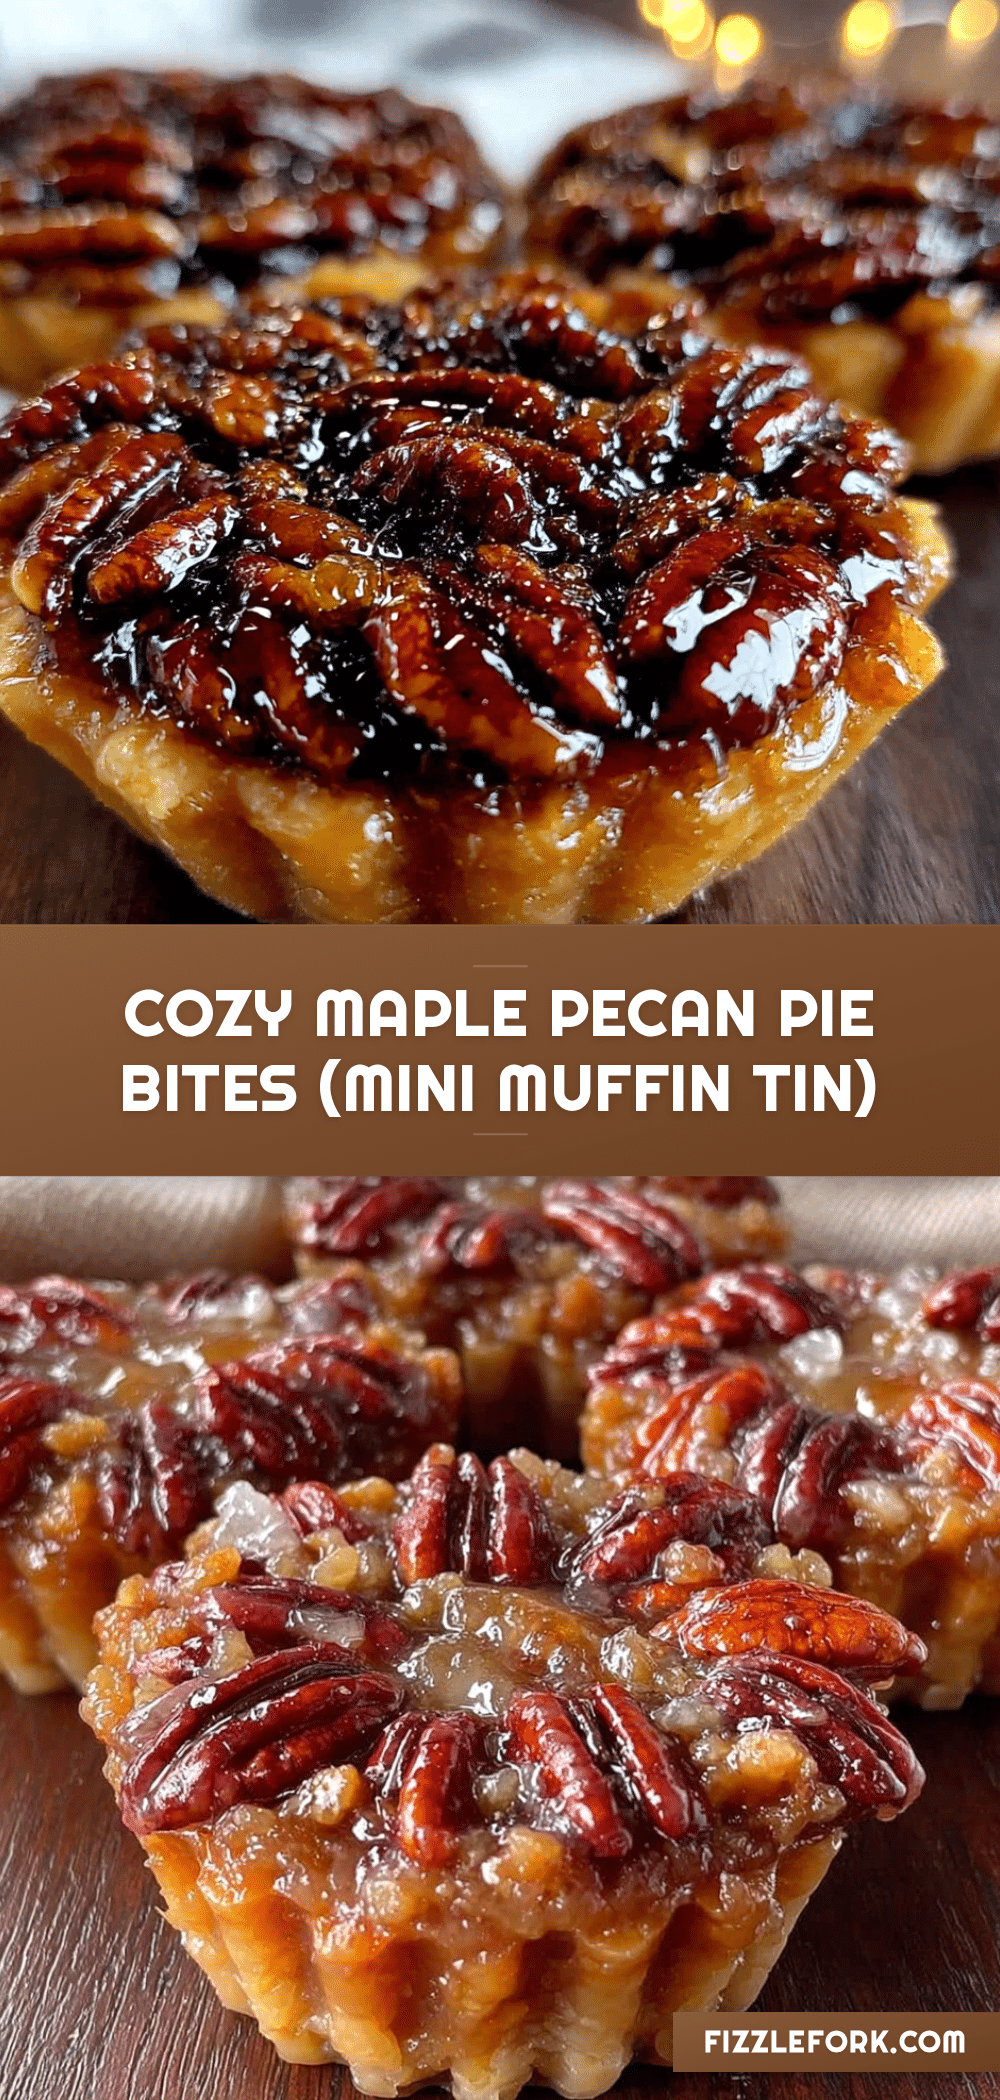
Cozy Maple Pecan Pie Bites: Easy Mini Muffin Tin Recipe

These mini maple pecan pie bites are a quick and easy twist on the classic dessert, featuring a buttery, flaky crust and a crunchy, nutty filling with warm maple sweetness. Perfect for cozy evenings, potlucks, or holiday gatherings, they come together in under 30 minutes.
- Prep Time: 15 minutes
- Cook Time: 15 minutes
- Total Time: 30 minutes
- Yield: 24 servings 1x
- Category: Dessert
- Cuisine: American
Ingredients
- 1 ½ cups all-purpose flour (spooned and leveled)
- ½ cup cold unsalted butter, cut into small cubes
- 2–3 tablespoons ice water
- ¼ teaspoon fine sea salt
- 1 tablespoon granulated sugar
- ¾ cup pure maple syrup (Grade A Dark Amber recommended)
- 1 large egg, room temperature
- 2 tablespoons unsalted butter, melted
- 1 teaspoon pure vanilla extract
- ¼ teaspoon salt
- 1 ½ cups pecan halves, roughly chopped
Instructions
- Make the crust: In a medium bowl, whisk together flour, salt, and sugar. Add cold butter cubes. Using a pastry cutter or two forks, cut butter into flour until mixture resembles coarse meal with some pea-sized butter pieces. Drizzle 2 tablespoons ice water over mixture and stir with a fork. Add remaining water if needed, one teaspoon at a time, until dough comes together when squeezed. Flatten into a disc, wrap in plastic wrap, and refrigerate for 15 minutes.
- Prepare the filling: In a small bowl, whisk together maple syrup, egg, melted butter, vanilla extract, and salt until smooth. Roughly chop pecans, leaving some larger pieces for texture.
- Assemble the bites: Preheat oven to 375°F (190°C). Lightly grease a 24-cup mini muffin tin. Pinch off tablespoon-sized pieces of dough and press evenly into bottom and up sides of each muffin cup, about 1/8 inch thick. Divide chopped pecans evenly among cups. Pour maple syrup mixture over pecans, filling each cup about ¾ full.
- Bake: Bake for 12-15 minutes, until crust is golden brown and filling is set but slightly jiggly in center. Cool in pan for 5 minutes, then run a knife around edges to loosen. Transfer to a wire rack to cool completely, about 20 minutes.
- Cool and serve: Let bites cool completely on wire rack. Serve at room temperature or warm. Store in an airtight container at room temperature for up to 3 days, or refrigerate for up to a week.
Notes
Keep butter and dough cold for flaky crust. Do not overfill cups to prevent overflow. For deeper flavor, toast pecans in a dry skillet for 2-3 minutes before adding. Bites are best at room temperature but can be reheated in a 300°F oven for 3-4 minutes. Freeze for up to 3 months.
Nutrition
- Serving Size: 1 bite
- Calories: 145
- Sugar: 9
- Sodium: 85
- Fat: 9
- Saturated Fat: 3.5
- Carbohydrates: 15
- Fiber: 1
- Protein: 2
Keywords: mini pecan pie bites, maple pecan pie, mini muffin tin recipe, easy pecan pie, bite-sized dessert, Thanksgiving dessert, holiday baking