I was standing in the frozen foods aisle of a grocery store I don’t normally go to last Tuesday when the cold air hit my face and the fluorescent lights buzzed overhead—and suddenly I was seven years old in my Aunt Joan’s tiny kitchen in St. Paul, watching her pull a glass dish from the refrigerator. The way the light caught the pink swirls and the white peaks through the condensation on the glass. I hadn’t thought about that dish in probably twenty years. But there I was, holding a bag of frozen cherries, completely transported.
My Aunt Joan wasn’t much of a baker. She was more of a “dump and stir” kind of cook, the type who measured vanilla by the glug and butter by the pat. But she made this one dessert that felt like magic to me as a kid. She called it Cherries in the Snow, and honestly, I don’t know where she got the recipe. Probably off a box or a can, knowing her. But the name stuck in my head like a song you can’t shake. The funny thing is, I never asked her for the recipe before she moved to Florida. So for years, I’ve been trying to recreate that cold, creamy, slightly tart dessert from memory alone.
Let me tell you—I messed up a lot of bowls of cream cheese and whipped topping before I got it right. The first attempt was a soupy disaster. The second was too sweet, like eating frosting with cherries stirred in. But the third? That was the one. That was the version that made me close my eyes and feel the Minnesota winter sun through Aunt Joan’s kitchen window again. Maybe you’ve been there, chasing a taste from childhood that you can almost but not quite remember. This is that recipe. And I promise, it’s worth the chase.
Why You’ll Love This Recipe
This Light & Creamy Cherries in the Snow dessert is the kind of recipe that earns a permanent spot in your rotation. I’ve tested it six times over the past two months—once for a book club, once for a potluck, and four times just because I wanted a bowl of something cold and satisfying after dinner. It passed every single test with flying colors.
- Quick & Easy : Comes together in about 15 minutes of active prep time. No oven required. No complicated techniques. Just mixing, folding, and chilling.
- Simple Ingredients : Cream cheese, whipped topping, powdered sugar, vanilla, and canned cherries. You probably have most of these in your kitchen right now.
- Perfect for Entertaining : This dish looks impressive with its pink and white layers, but it’s secretly one of the easiest desserts you’ll ever make. Great for holidays, birthdays, and summer cookouts.
- Crowd-Pleaser : I’ve served this to kids, grandparents, and picky eaters. Everyone goes back for seconds. The texture is so light and airy that people don’t realize how rich it actually tastes.
- Unbelievably Delicious : The contrast between the tangy cream cheese base and the sweet-tart cherry topping is pure comfort. It’s like a cloud with fruit on top.
What makes this version different from the old-school recipes you might remember? I lightened it up without sacrificing any of the creamy, dreamy texture. Instead of using heavy cream or extra sugar, I rely on a careful balance of full-fat cream cheese and light whipped topping. The result is a dessert that feels indulgent but doesn’t leave you feeling weighed down. It’s comfort food reimagined—lighter, fresher, but with the same soul-soothing satisfaction that makes you close your eyes after the first bite.
What Ingredients You Will Need
This recipe uses simple, wholesome ingredients that work together to create something truly special. Most of these are pantry staples, and the ones that aren’t are easy to find at any grocery store.
- 8 ounces cream cheese, softened to room temperature (I recommend Philadelphia full-fat for the creamiest texture—low-fat can work but the filling won’t be as lush)
- 1/2 cup powdered sugar (confectioners’ sugar, sifted if it’s lumpy—trust me, nobody wants lumpy cream cheese filling)
- 1 teaspoon vanilla extract (pure vanilla makes a difference here; imitation works but the flavor won’t be as warm and round)
- 1 1/2 cups whipped topping, thawed (Cool Whip or a store brand works fine; if you want to use homemade whipped cream, stabilize it with a tablespoon of powdered sugar and a pinch of gelatin)
- 1 can (21 ounces) cherry pie filling (I prefer Lucky Leaf or Comstock—look for one that lists cherries first and doesn’t have high fructose corn syrup if that matters to you)
- 1 tablespoon lemon juice, freshly squeezed (optional but recommended—it brightens the cherry topping and cuts through the richness)
- 1/4 teaspoon almond extract (optional but amazing—it makes the cherries taste even more cherry-ish, if that makes sense)
A note on the cherries: You can absolutely use homemade cherry pie filling if you have fresh or frozen cherries on hand. Just cook them down with a little sugar, cornstarch, and lemon juice until they thicken. But honestly? Canned cherry pie filling is what makes this recipe so effortless. It’s a shortcut worth taking. For a seasonal twist, swap in blueberry or strawberry pie filling in the summer months. I’ve done it with both, and they’re equally delicious.
For the whipped topping, let it thaw in the refrigerator overnight, not on the counter. Room temperature whipped topping deflates faster and won’t hold its structure when you fold it into the cream cheese mixture. I learned this the hard way after one particularly sad, flat batch.
Equipment Needed
You don’t need fancy equipment for this recipe, which is part of its charm. Here’s what you’ll need:
- Large mixing bowl (glass or stainless steel works best—plastic can hold onto odors and grease)
- Hand mixer or stand mixer (you can do this by hand with a whisk, but your arm will thank you for using a mixer; cream cheese needs to be really smooth)
- Rubber spatula (for folding the whipped topping and scraping every last bit of filling into the dish)
- 8×8 inch glass baking dish or a similar 2-quart serving dish (a clear glass dish lets you see the pretty layers)
- Measuring cups and spoons
- Small bowl (for mixing the cherry topping if you’re adding lemon juice or almond extract)
- Plastic wrap or lid (for covering the dish while it chills)
If you don’t have an 8×8 dish, a 9-inch pie plate or even a trifle bowl works beautifully. I’ve made this in a round glass casserole dish before, and it looked charmingly rustic. The key is having a dish that allows for even layers. A metal pan can work in a pinch, but glass is better for even chilling and presentation.
Budget-friendly tip: You don’t need an expensive mixer. A $20 hand mixer from the drugstore will whip cream cheese just as well as a fancy KitchenAid. I used a hand-me-down Hamilton Beach for years, and it never let me down.
Preparation Method
- Soften the cream cheese. Take the cream cheese out of the refrigerator about 30 minutes before you start. It should be room temperature—soft enough that you can press your finger into it and leave an indent. Cold cream cheese will leave lumps in your filling, and nobody wants that. If you’re short on time, unwrap the cream cheese, cut it into small cubes, and let it sit for 15 minutes. That usually does the trick.
- Beat the cream cheese until smooth. Place the softened cream cheese in your large mixing bowl. Beat with a hand mixer on medium speed for about 2 minutes, scraping down the sides halfway through. It should look glossy and completely smooth, with no lumps. This step matters more than you think—lumpy cream cheese means a lumpy final texture.
- Add the powdered sugar and vanilla. With the mixer on low speed, gradually add the powdered sugar, about a quarter cup at a time. Mix until fully incorporated, then add the vanilla extract. Beat for another 30 seconds until everything is combined and smooth. The mixture will be thick and slightly stiff at this point—that’s exactly right.
- Fold in the whipped topping. Switch to your rubber spatula for this step. Add the thawed whipped topping to the cream cheese mixture. Gently fold it in using a cutting motion—down through the middle, across the bottom, and up the side. Turn the bowl as you go. Fold just until no white streaks remain. Overmixing will deflate the whipped topping and make the filling dense instead of light and airy. You want it to look like a soft, pillowy cloud.
- Prepare the cherry topping. In a small bowl, stir together the cherry pie filling, lemon juice, and almond extract if you’re using them. Taste it. The lemon juice should brighten the flavor without making it sour. If your cherry pie filling is very sweet, a little extra lemon juice helps balance it out. Set aside.
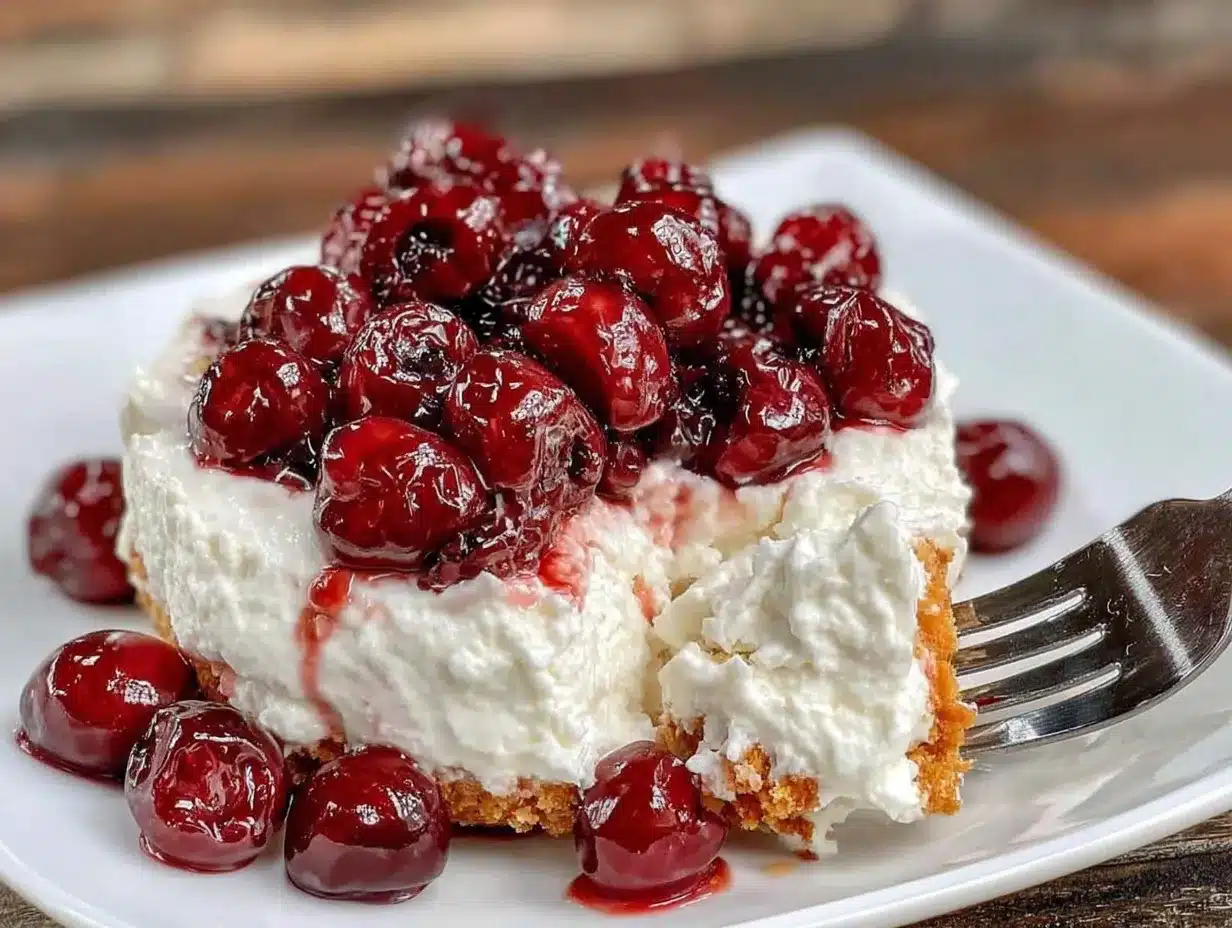
- Layer the dessert. Spread the cream cheese mixture evenly into your 8×8 dish. Use the spatula to smooth the top. Then spoon the cherry mixture over the top, spreading it gently to cover the cream cheese layer completely. Don’t press it in—let it sit on top like a blanket. Some of the cherry syrup will seep down into the cream cheese layer as it chills, which creates those beautiful pink swirls.
- Chill for at least 4 hours. Cover the dish with plastic wrap or a lid and refrigerate for at least 4 hours, but overnight is even better. The chilling time allows the flavors to meld and the texture to set properly. I know it’s tempting to dig in right away, but trust me—the wait is worth it. The dessert firms up and becomes sliceable after a good chill.
- Serve cold. Spoon into bowls or onto plates straight from the refrigerator. The dessert should be cold, creamy, and slightly firm but still soft enough to scoop easily. Garnish with a fresh mint leaf or a few extra cherries on top if you’re feeling fancy.
A quick note on timing: The active prep time is only about 15 minutes, but don’t skip the chilling step. I once served this after only 2 hours in the fridge, and it was more like a soup than a snow. The texture was still good, but it didn’t hold its shape at all. Give it the full 4 hours minimum.
Cooking Tips & Techniques
After making this dessert more times than I care to count, I’ve picked up a few tricks that make the process smoother and the results more consistent.
Room temperature ingredients are non-negotiable. I know I’ve said this already, but it’s worth repeating. Cold cream cheese creates lumps that no amount of beating can fully remove. And cold whipped topping doesn’t fold in evenly. Set everything out on the counter 30 minutes before you start. Your future self will thank you.
Don’t overmix the whipped topping. This was my biggest mistake in the early days. I’d fold and fold, trying to get the mixture perfectly uniform, and end up with a dense, almost gluey texture. Whipped topping is delicate. Fold it gently, stop as soon as the streaks disappear, and accept a few tiny white specks if they remain. They’ll disappear as the dessert chills.
Taste as you go. Before you spread the cream cheese mixture into the dish, taste it. Is it sweet enough? Does it need a pinch of salt to balance the richness? I add a tiny pinch of salt about half the time—it makes the vanilla flavor pop. You can also add an extra splash of vanilla if you want a more pronounced flavor.
Make it the day before. This dessert actually improves overnight. The cherry syrup seeps into the cream cheese layer, creating those gorgeous pink swirls, and the flavors meld together beautifully. I always make this a day ahead when I’m serving it for company. It’s one less thing to worry about on the day of the event.
If the cherry layer looks too liquidy. Some brands of cherry pie filling are runnier than others. If your filling seems thin, spoon it into the dish and leave a little of the syrup behind in the can. You want the cherries to be coated but not swimming. Too much liquid will make the cream cheese layer watery.
One failure I’ll never forget: I once tried to speed up the chilling process by putting the dish in the freezer for an hour. The edges froze solid while the middle stayed soft, and the texture was completely ruined—icy on the outside, soupy in the middle. Not my finest moment. Patience is a virtue with this recipe.
Variations & Adaptations
This recipe is incredibly forgiving and adaptable. Here are some variations I’ve tried and loved:
Berry Bliss Version: Swap the cherry pie filling for a mixed berry pie filling or a homemade berry compote. I made this with a blueberry-lime compote last summer, and it was incredible. The tartness of the berries cuts through the cream cheese richness perfectly. Use 2 cups of fresh or frozen berries cooked down with 1/4 cup sugar, 1 tablespoon cornstarch, and the juice of half a lemon.
Chocolate Cherry Dream: Add 2 tablespoons of unsweetened cocoa powder to the cream cheese mixture before folding in the whipped topping. The chocolate-cherry combination is classic for a reason. I’d recommend using a high-quality cocoa like Valrhona or Droste for the best flavor. This version feels almost like a no-bake cheesecake.
Key Lime Twist: Replace the vanilla extract with 2 tablespoons of fresh key lime juice and add 1 teaspoon of lime zest to the cream cheese mixture. Use a key lime pie filling or a lime-infused cherry topping. The bright citrus flavor lightens the dessert even more and makes it feel tropical. I served this version at a summer barbecue, and it disappeared in minutes.
Dairy-Free Adaptation: Use dairy-free cream cheese (I like Kite Hill or Miyoko’s) and a coconut-based whipped topping. The texture will be slightly different—a bit less firm—but the flavor is still delicious. Make sure the dairy-free cream cheese is softened just like the regular version. This adaptation works best when the dessert is served within 24 hours, as it can get softer over time.
Individual Parfaits: Instead of making one large dish, layer the cream cheese mixture and cherry topping in small glasses or mason jars. This is perfect for parties or portion control. Plus, the layers look stunning through the glass. I did this for a bridal shower, and everyone thought I’d spent hours on them. Little did they know it took about 10 minutes.
Serving & Storage Suggestions
This dessert is meant to be served cold, straight from the refrigerator. The ideal serving temperature is around 40°F—cold enough to be refreshing but not so cold that the flavors are muted. If you’ve chilled it overnight, let it sit at room temperature for about 5 minutes before serving to take the chill off slightly.
Presentation ideas: Spoon the dessert into clear glass bowls or stemware to show off the layers. A dollop of extra whipped cream on top and a single cherry with a stem makes it look restaurant-quality. Fresh mint leaves add a pop of green that contrasts beautifully with the pink and white. For a holiday touch, sprinkle a little cinnamon or nutmeg over the top.
What to serve with it: This dessert is rich enough to stand alone, but it pairs beautifully with a cup of coffee or a glass of cold milk. For a dessert spread, serve it alongside a simple pound cake or shortbread cookies. The buttery crunch of the cookies contrasts nicely with the creamy texture. A crisp white wine like a Riesling or a Moscato d’Asti also works well for adult gatherings.
Storage instructions: Cover the dish tightly with plastic wrap or a lid and store in the refrigerator for up to 4 days. The texture is best within the first 2 days, but it’s still good on day 3 or 4. Do not freeze this dessert—the cream cheese mixture will become grainy and watery when thawed. I learned this one the hard way after trying to make it ahead for a party that got postponed.
Reheating? Don’t. This is a cold dessert. If you’ve stored it and it seems too firm, let it sit at room temperature for 10 minutes before serving. The texture will soften naturally.
Flavor development: The cherry flavor seeps into the cream cheese layer more and more over time. Some people prefer the dessert on day one when the layers are more distinct. Others love it on day three when everything has melded together. Try it both ways and see which you prefer.
Nutritional Information & Benefits
Here’s the approximate nutritional breakdown for one serving (based on 9 servings per recipe):
- Calories: 245
- Fat: 14g (9g saturated)
- Carbohydrates: 28g (22g sugar)
- Protein: 3g
- Fiber: 1g
- Sodium: 135mg
This dessert is lighter than traditional cheesecake or heavy cream-based desserts, thanks to the whipped topping replacing some of the fat. The cream cheese provides a good amount of calcium and protein, while the cherries offer antioxidants like anthocyanins, which have anti-inflammatory properties. If you use a light whipped topping, you can reduce the calories and fat even further without sacrificing much texture.
Dietary considerations: This recipe is vegetarian and can be made gluten-free easily (all ingredients listed are naturally gluten-free, but check labels on whipped topping and pie filling to be sure). For a lower-sugar version, use a sugar-free whipped topping and a reduced-sugar cherry pie filling. The texture will be slightly less lush, but the flavor is still satisfying.
From a wellness perspective, I love that this dessert feels indulgent without being heavy. It’s the kind of treat you can enjoy after a balanced meal without feeling like you’ve derailed your day. Portion control is easy, too—one serving is genuinely satisfying because the texture is so rich and creamy.
Conclusion
This Light & Creamy Cherries in the Snow dessert is more than just a recipe—it’s a little piece of nostalgia that you can make in your own kitchen, anytime you need it. It’s the dessert that reminds me of Aunt Joan’s kitchen, of winter afternoons in Minnesota, of the way a simple dish can hold so much memory. And now it can be that for you, too.
Whether you’re making it for a holiday gathering, a summer potluck, or just because you want something cold and creamy after dinner, this recipe delivers every single time. It’s forgiving enough for beginner cooks and impressive enough for experienced ones. And the best part? You can tweak it to make it your own—swap the fruit, add some chocolate, turn it into parfaits. The possibilities are endless.
I’d love to hear how yours turns out. Did you try a variation? Did it remind you of someone’s kitchen from your childhood? Drop a comment below and let me know. And if you loved it, share it with a friend who needs a little sweetness in their life. Happy cooking, friends—go make some snow.
Frequently Asked Questions
Can I use homemade whipped cream instead of Cool Whip?
Yes, you can! Use 1 1/2 cups of heavy whipping cream whipped to stiff peaks with 2 tablespoons of powdered sugar. However, homemade whipped cream is less stable than store-bought whipped topping, so the dessert may be slightly softer and should be served within 24 hours for the best texture.
Why did my cream cheese mixture turn out lumpy?
Lumpy cream cheese usually means it wasn’t softened enough before mixing. Make sure your cream cheese sits at room temperature for at least 30 minutes. If you’re in a hurry, cut it into small cubes and let it sit for 15 minutes. Beating it on medium-high speed for a full 2 minutes also helps smooth it out.
Can I make this dessert sugar-free?
Absolutely. Use a sugar-free whipped topping, sugar-free cherry pie filling, and a powdered sugar substitute like Swerve or monk fruit sweetener. The texture will be slightly different—a bit less creamy—but the flavor is still delicious. Just be sure to taste and adjust sweetness as you go.
How long does this dessert keep in the refrigerator?
Covered tightly, this dessert keeps for up to 4 days in the refrigerator. The texture is best within the first 2 days, but it’s still good on day 3 or 4. The cherry syrup will continue to seep into the cream cheese layer, creating more pink swirls over time.
Can I use fresh cherries instead of canned pie filling?
Yes! To make homemade cherry topping, combine 2 cups of pitted fresh or frozen cherries with 1/4 cup sugar, 1 tablespoon cornstarch, and 1 tablespoon lemon juice in a saucepan. Cook over medium heat, stirring frequently, until the mixture thickens, about 8-10 minutes. Let it cool completely before layering over the cream cheese mixture.
Pin This Recipe!
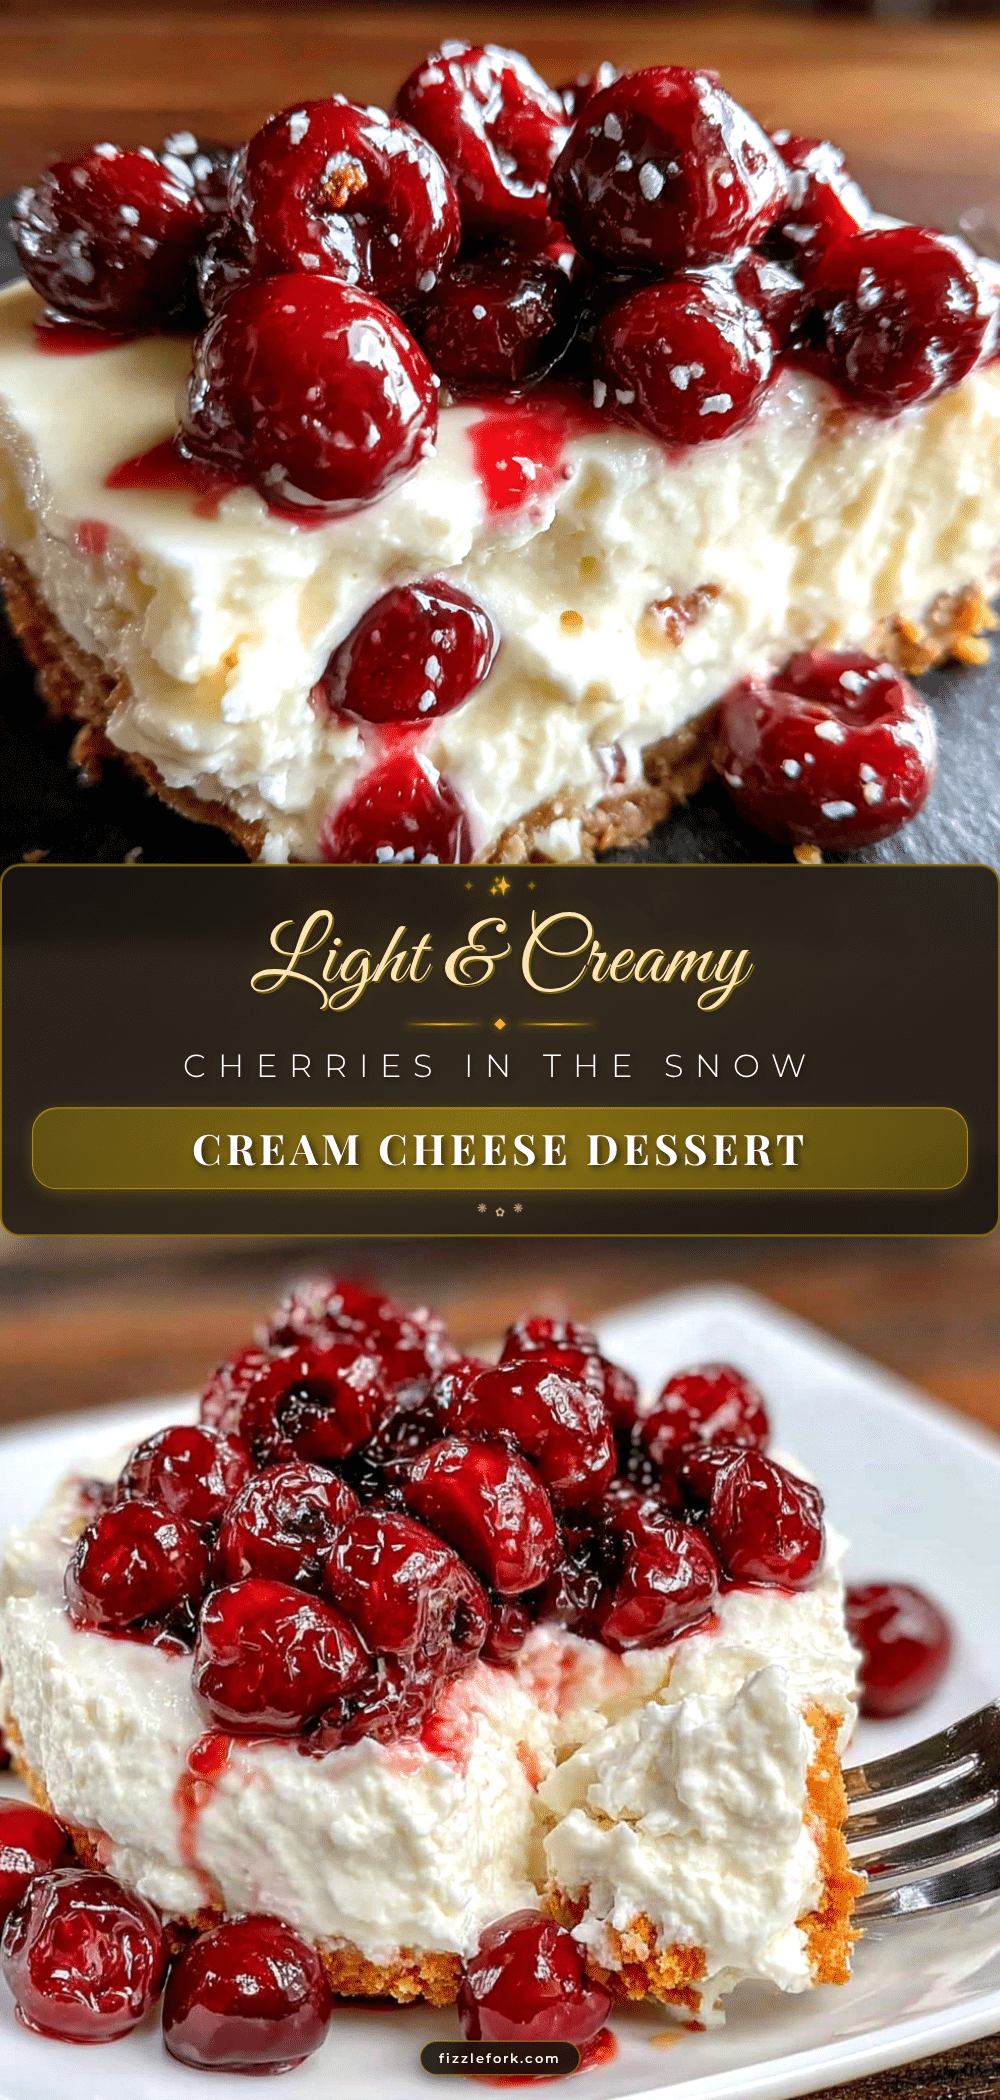
Light & Creamy Cherries in the Snow: Best Easy Dessert Recipe

A light and creamy no-bake dessert featuring a tangy cream cheese filling topped with sweet cherry pie filling. This nostalgic treat comes together in just 15 minutes of active prep and is perfect for holidays, potlucks, or any time you crave a cold, satisfying dessert.
- Prep Time: 15 minutes
- Cook Time: 0 minutes
- Total Time: 4 hours 15 minutes (includes chilling)
- Yield: 9 servings 1x
- Category: Dessert
- Cuisine: American
Ingredients
- 8 ounces cream cheese, softened to room temperature
- 1/2 cup powdered sugar (confectioners’ sugar), sifted if lumpy
- 1 teaspoon vanilla extract (pure vanilla recommended)
- 1 1/2 cups whipped topping, thawed (e.g., Cool Whip)
- 1 can (21 ounces) cherry pie filling (e.g., Lucky Leaf or Comstock)
- 1 tablespoon lemon juice, freshly squeezed (optional)
- 1/4 teaspoon almond extract (optional)
Instructions
- Soften the cream cheese: Take the cream cheese out of the refrigerator about 30 minutes before starting. It should be room temperature—soft enough that you can press your finger into it and leave an indent.
- Beat the cream cheese until smooth: Place the softened cream cheese in a large mixing bowl. Beat with a hand mixer on medium speed for about 2 minutes, scraping down the sides halfway through, until glossy and completely smooth.
- Add the powdered sugar and vanilla: With the mixer on low speed, gradually add the powdered sugar, about a quarter cup at a time. Mix until fully incorporated, then add the vanilla extract. Beat for another 30 seconds until combined and smooth. The mixture will be thick and slightly stiff.
- Fold in the whipped topping: Switch to a rubber spatula. Add the thawed whipped topping to the cream cheese mixture. Gently fold it in using a cutting motion—down through the middle, across the bottom, and up the side. Turn the bowl as you go. Fold just until no white streaks remain. Do not overmix.
- Prepare the cherry topping: In a small bowl, stir together the cherry pie filling, lemon juice, and almond extract if using. Taste and adjust if needed.
- Layer the dessert: Spread the cream cheese mixture evenly into an 8×8 inch glass baking dish (or similar 2-quart dish). Smooth the top with the spatula. Spoon the cherry mixture over the top, spreading it gently to cover the cream cheese layer completely. Do not press it in.
- Chill for at least 4 hours: Cover the dish with plastic wrap or a lid and refrigerate for at least 4 hours, preferably overnight. This allows the flavors to meld and the texture to set properly.
- Serve cold: Spoon into bowls or onto plates straight from the refrigerator. Garnish with fresh mint leaves or extra cherries if desired.
Notes
Room temperature ingredients are essential for a smooth texture. Do not overmix the whipped topping to keep the filling light and airy. The dessert improves overnight as the cherry syrup seeps into the cream cheese layer. Do not freeze. For best results, chill for at least 4 hours, but overnight is ideal.
Nutrition
- Serving Size: 1 serving (based on
- Calories: 245
- Sugar: 22
- Sodium: 135
- Fat: 14
- Saturated Fat: 9
- Carbohydrates: 28
- Fiber: 1
- Protein: 3
Keywords: cherries in the snow, no-bake dessert, cream cheese dessert, cherry dessert, easy dessert, light dessert, potluck dessert, holiday dessert


