This was supposed to be a batch of soft molasses crinkle cookies. The kind that puff up tall and crackle across the top like a frozen pond in winter. I had the butter softening on the counter, the molasses measured, and a very specific vision in my head. But somewhere between answering a text from my sister about her kid’s science project and realizing I was out of all-purpose flour, the plan fell apart. I grabbed the bag of gluten-free flour blend I use for pancakes and figured I’d just make it work. The oven was already preheated, the kitchen was a mess, and honestly, I was too tired to run to the store.
What came out of the oven was nothing like the plan. They didn’t puff up. They didn’t crinkle. They lay there, flat and unassuming, looking like they had given up before they even started. I almost tossed the whole tray in the trash. But I didn’t. I let them cool, grabbed one out of sheer stubbornness, and took a bite. That first bite had this unexpected, deep chew — like a proper gingerbread cookie that had been doing squats. The edges were slightly crisp, the center was dense and soft, and the molasses flavor was so rich it felt like a hug. I stood there at the counter, eating three more before I even put the kettle on.
Maybe you’ve been there — you try something new, it flops, and you’re ready to call it a night. But these cookies taught me that sometimes the best recipes come from the moments when everything goes wrong. I’ve made them a dozen times since that first accident, tweaking the flour ratio, testing different blends, and now they’re the only gingerbread cookies I make. They’re quick, they’re forgiving, and they don’t need any fancy equipment or a trip to a specialty store. Let me tell you, that first failed batch was the best thing that ever happened to my cookie jar.
Why You’ll Love This Recipe
These cookies aren’t just good for gluten-free cookies — they’re genuinely good cookies, period. I’ve served them to friends who have no dietary restrictions, and they always ask for the recipe. Here’s what makes them stand out:
- Quick & Easy: From start to finish, these are on the table in under 30 minutes. No chilling the dough, no complicated steps — just mix, scoop, and bake.
- Simple Ingredients: You probably already have everything in your pantry. Molasses, butter, sugar, eggs, and a good gluten-free flour blend. That’s it.
- Perfect for Weeknights: When you need a quick dessert or a little something sweet after dinner, these cookies deliver without the fuss.
- Crowd-Pleaser: Kids love them. Adults love them. They’re the kind of cookie that disappears from the plate before you’ve had your coffee.
- Unbelievably Chewy: The texture is what sets these apart — soft, dense, and satisfyingly chewy, with a slight crisp at the edges.
What makes this recipe different from the rest? It’s the ratio of molasses to butter and the specific gluten-free flour blend I use. After testing with five different blends, I found that one with xanthan gum already included gives the best structure. This isn’t just another gluten-free cookie that crumbles apart — it holds together beautifully and has that perfect gingerbread chew. Honestly, it’s the kind of cookie that makes you close your eyes after the first bite and forget you’re eating gluten-free at all.
What Ingredients You Will Need
This recipe uses simple, wholesome ingredients that come together fast. Most of these are pantry staples, so you won’t need a special trip to the store. Here’s what you’ll need and why each ingredient matters:
For the Cookies
- Unsalted butter, softened (½ cup / 113g) — Adds richness and helps create that tender crumb. I prefer unsalted so I can control the salt level.
- Granulated sugar (½ cup / 100g) — Provides sweetness and helps with spreading. You can use coconut sugar for a deeper flavor, but the texture will be slightly different.
- Light brown sugar, packed (¼ cup / 50g) — Adds moisture and a hint of molasses flavor. Dark brown sugar works too, but it will make the cookies darker and more intense.
- Large egg (1, at room temperature) — Binds everything together. If your egg is cold, place it in a bowl of warm water for 5 minutes.
- Unsulphured molasses (¼ cup / 85g) — The star of the show. Use unsulphured molasses for the best flavor — it’s smoother and less bitter. I recommend Grandma’s or Brer Rabbit brands.
- Vanilla extract (1 teaspoon) — Enhances the warmth of the spices. Pure vanilla is best, but imitation works in a pinch.
- Gluten-free all-purpose flour blend (2 cups / 280g) — The foundation of the cookie. I use Bob’s Red Mill 1-to-1 Baking Flour (blue bag) because it already contains xanthan gum, which gives the cookies structure. If your blend doesn’t have xanthan gum, add ½ teaspoon.
- Baking soda (1 teaspoon) — Helps the cookies spread slightly and gives them a soft texture. Don’t skip this — it reacts with the molasses for the right rise.
- Ground ginger (1½ teaspoons) — The warmth and slight heat come from this spice. Fresh ginger won’t work here — stick with ground.
- Ground cinnamon (1 teaspoon) — Adds classic holiday warmth. You can use Vietnamese cinnamon for a stronger flavor.
- Ground cloves (¼ teaspoon) — A tiny amount goes a long way. It adds depth without overpowering.
- Salt (¼ teaspoon) — Balances the sweetness and enhances the spices. I use fine sea salt.
For Rolling (Optional)
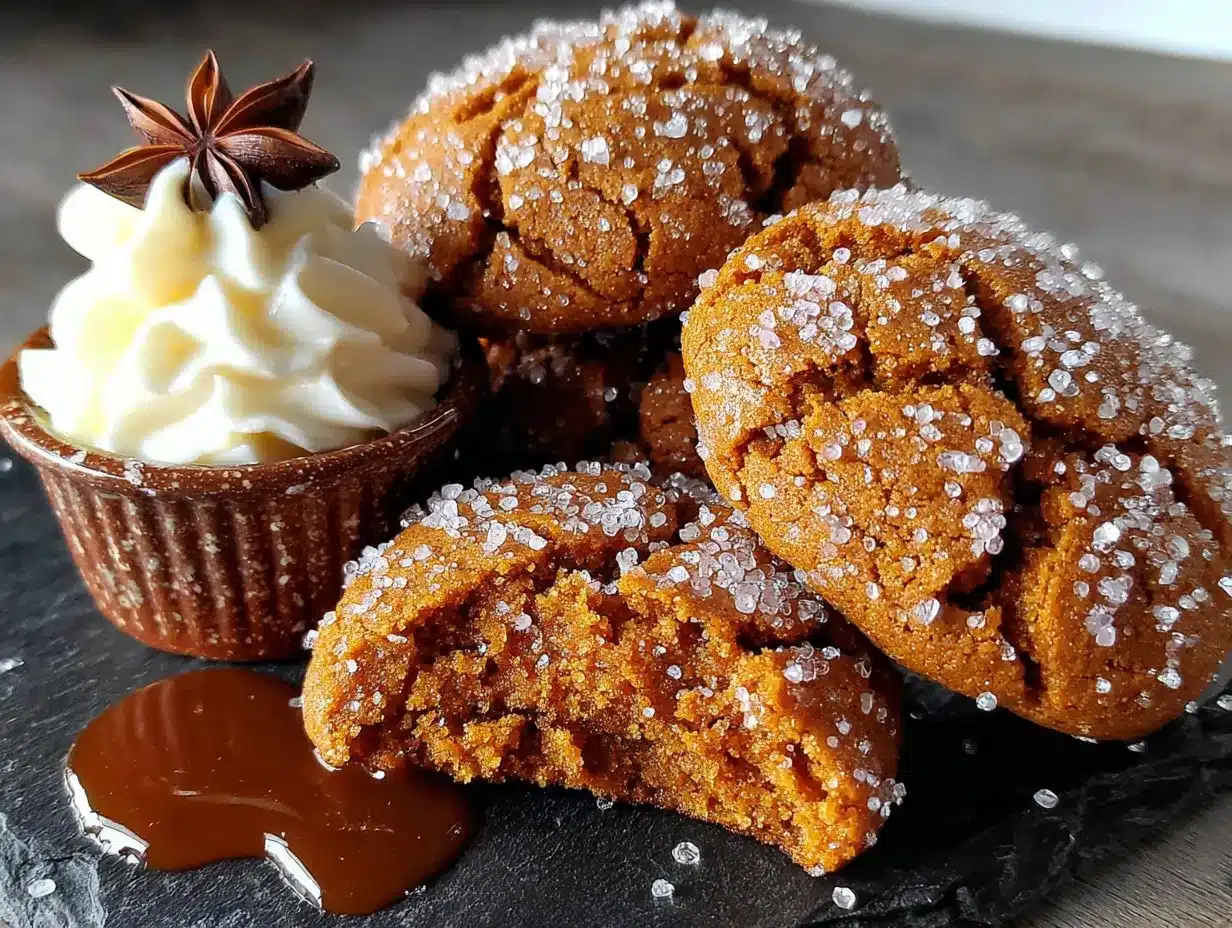
- Granulated sugar (¼ cup / 50g) — For rolling the dough balls before baking. This gives the cookies a slightly sparkly, crunchy exterior. You can skip it if you want a softer top.
Equipment Needed
You don’t need a fancy kitchen to make these cookies. Here’s what I use:
- Mixing bowls — One medium bowl for wet ingredients, one small bowl for dry. I like glass or stainless steel because they don’t hold odors.
- Electric hand mixer or stand mixer — A hand mixer works perfectly. You can also use a wooden spoon and some elbow grease, but the butter needs to be well-creamed.
- Baking sheet — A standard half-sheet pan (18×13 inches) works great. Line it with parchment paper or a silicone baking mat for easy cleanup.
- Cookie scoop — A 1½-tablespoon scoop ensures even-sized cookies. If you don’t have one, use two spoons to drop the dough.
- Cooling rack — Lets the cookies cool evenly without getting soggy bottoms. A simple wire rack is fine.
- Measuring cups and spoons — Accurate measurements matter in gluten-free baking. I use dry measuring cups for flour and sugar, and liquid measuring cups for molasses.
If you don’t have a cookie scoop, no worries — just roll the dough into balls with your hands. The dough is slightly sticky, so lightly wet your hands to make it easier.
Preparation Method
Let’s get baking. This whole process takes about 25 minutes from start to finish, so preheat your oven first.
- Preheat your oven to 350°F (175°C). Line a baking sheet with parchment paper or a silicone mat. This prevents sticking and makes cleanup a breeze.
- Cream the butter and sugars. In a medium bowl, beat the softened butter, granulated sugar, and brown sugar together until light and fluffy — about 2-3 minutes with a hand mixer on medium speed. You want it to look pale and airy. Scrape down the sides of the bowl once.
- Add the wet ingredients. Beat in the egg, molasses, and vanilla extract until fully combined. The mixture will look a bit separated at first — that’s normal. Keep mixing until it comes together into a smooth, dark brown batter. It should smell incredible already.
- Mix the dry ingredients. In a separate small bowl, whisk together the gluten-free flour, baking soda, ginger, cinnamon, cloves, and salt. Whisking ensures the spices are evenly distributed so you don’t get a pocket of ginger in one cookie.
- Combine wet and dry. Gradually add the dry ingredients to the wet mixture, mixing on low speed or stirring with a spatula until just combined. Don’t overmix — gluten-free flour can get gummy if you beat it too much. The dough will be thick, slightly sticky, and very fragrant.
- Scoop and roll. Using a 1½-tablespoon cookie scoop, portion out the dough. Roll each portion into a smooth ball between your palms. If the dough is too sticky, lightly dampen your hands. Roll each ball in the extra granulated sugar (if using) to coat evenly.
- Place on the baking sheet. Arrange the dough balls about 2 inches apart on the prepared sheet. They will spread slightly, but not too much — these cookies hold their shape well. I usually fit 9 cookies per sheet.
- Bake. Bake for 9-11 minutes, or until the edges are set and the tops look slightly cracked. The centers will still look soft and puffy — that’s perfect. For chewier cookies, bake on the shorter side. For slightly crisper edges, go longer. My sweet spot is 10 minutes.
- Cool on the sheet. Let the cookies rest on the baking sheet for 5 minutes. This is crucial — they need time to set up. If you try to move them immediately, they’ll fall apart. After 5 minutes, transfer them to a wire rack to cool completely.
- Repeat. If doing multiple batches, let the baking sheet cool completely between batches. A hot pan will cause the dough to spread too much before it sets.
One thing I learned the hard way: don’t skip the resting time on the sheet. The first time I made these, I was impatient and tried to move them after 2 minutes. Big mistake. They crumbled everywhere. Five minutes is non-negotiable.
Cooking Tips & Techniques
After making these cookies more times than I can count, here are the tricks I’ve picked up:
- Use room temperature ingredients. Cold butter won’t cream properly, and a cold egg can seize the batter. Set everything out 30 minutes before you start.
- Measure your flour correctly. Spoon the flour into your measuring cup and level it off with a knife. Scooping directly from the bag packs the flour and gives you too much, which leads to dry cookies.
- Don’t overmix the dough. Gluten-free flour doesn’t develop gluten like wheat flour, but overmixing can still make the cookies tough. Mix until the flour just disappears.
- Chill if you have time. While this recipe doesn’t require chilling, 30 minutes in the fridge will deepen the molasses flavor and make the cookies even chewier. I’ve done it both ways, and both work.
- Watch the bake time. Ovens vary wildly. Start checking at 9 minutes. The cookies should look slightly underdone in the center — they continue baking on the hot sheet after you pull them out.
- Use a light-colored baking sheet. Dark sheets absorb more heat and can cause the bottoms to burn. If you only have dark pans, reduce the oven temperature by 25°F.
- One of my biggest failures: I once substituted blackstrap molasses because it was all I had. The cookies came out bitter and dense. Stick with unsulphured molasses — it’s milder and sweeter. Learn from my mistake.
Variations & Adaptations
These cookies are incredibly adaptable. Here are some ways to make them your own:
- Vegan Version: Replace the butter with vegan butter (I like Earth Balance) and use a flax egg (1 tablespoon ground flaxseed mixed with 3 tablespoons water, let sit for 5 minutes). The texture will be slightly softer, but still delicious.
- Spice It Up: Add ¼ teaspoon of ground nutmeg or cardamom for a different warmth. I’ve also added a pinch of black pepper — it sounds weird, but it enhances the ginger.
- Add Mix-Ins: Fold in ½ cup of chocolate chips, chopped crystallized ginger, or toasted pecans after mixing the dough. White chocolate chips are amazing with the molasses.
- Make Them Sandwich Cookies: Bake as directed, then sandwich two cookies with a cream cheese frosting or a simple vanilla buttercream. It’s a showstopper.
- Low-Sugar Option: Reduce the granulated sugar to ¼ cup and use a sugar substitute like monk fruit sweetener. The texture will be slightly less tender, but the flavor still shines.
- Air Fryer Method: Preheat your air fryer to 325°F (163°C). Place dough balls in the basket, leaving space between them. Cook for 5-6 minutes, checking halfway. They won’t spread as much, but they’ll be extra chewy.
I once tried adding a tablespoon of cocoa powder to the dough — it turned into a chocolate-gingerbread hybrid that my kids devoured. Not every experiment works, but that one was a happy accident.
Serving & Storage Suggestions
These cookies are best served slightly warm, when the centers are still soft and the molasses flavor is at its peak. Let them cool on the rack for about 10 minutes after baking, then serve with a cold glass of milk or a hot cup of chai. They’re also fantastic crumbled over vanilla ice cream or layered into a trifle.
For storage, keep them in an airtight container at room temperature for up to 5 days. I place a slice of bread in the container to keep them soft — the bread absorbs excess air and releases moisture. Replace the bread every other day. If you prefer crispier cookies, leave the lid slightly cracked.
These cookies freeze beautifully. Arrange them in a single layer in a freezer-safe bag or container, with parchment paper between layers. They’ll keep for up to 3 months. To thaw, let them sit at room temperature for 15 minutes, or pop them in a 300°F oven for 3-4 minutes. The flavor actually deepens after freezing — something about the molasses settling in.
One thing I love: the cookies taste even better the next day. The spices meld together overnight, and the texture becomes more uniform. So if you can resist eating them all on day one, you’re in for a treat.
Nutritional Information & Benefits
Per cookie (based on 18 cookies): approximately 140 calories, 6g fat, 22g carbohydrates, 1g fiber, 12g sugar, 2g protein. These are estimates and will vary based on your specific ingredients.
Molasses is the unsung hero here — it’s rich in iron, calcium, and magnesium. A tablespoon of molasses contains about 3.5mg of iron, which is 20% of the daily recommended intake. It also has a lower glycemic index than refined sugar, so it provides steady energy without the crash. Ginger is known for its anti-inflammatory properties and can help with digestion. So while these are still a treat, they have a few hidden benefits.
For those with dietary restrictions, this recipe is naturally gluten-free (with the right flour blend) and can be made vegan or dairy-free with simple swaps. It contains eggs and dairy in the standard version, but the alternatives work beautifully. Always check your labels if you’re cooking for someone with celiac disease — some flour blends are processed in facilities that also handle wheat.
I’m not a nutritionist, but I like knowing that my cookies aren’t completely empty calories. A little iron in my dessert? I’ll take it.
Conclusion
These quick gluten-free chewy molasses gingerbread cookies are proof that the best recipes often come from the most unexpected places. They’re fast enough for a Tuesday night, forgiving enough for beginner bakers, and delicious enough to convert even the most skeptical gluten-free critics. The deep molasses flavor, the warm spices, and that perfectly chewy texture — it’s everything you want in a gingerbread cookie, minus the gluten and the fuss.
I encourage you to play with the recipe. Add your favorite spices, throw in some chocolate chips, or leave them plain and simple. Make them your own. And if your first batch doesn’t turn out exactly like the pictures, don’t panic — that’s how I discovered these in the first place. Some of the best things in life come from happy accidents.
I’d love to hear how yours turn out. Drop a comment below and let me know what variations you tried, or share a photo on Pinterest with your favorite modifications. Happy baking, friends — may your cookies be chewy and your molasses be unsulphured.
Frequently Asked Questions
Can I use a different gluten-free flour blend?
Yes, but the results will vary. Blends with xanthan gum (like Bob’s Red Mill 1-to-1 or King Arthur Measure for Measure) work best. If your blend doesn’t have xanthan gum, add ½ teaspoon to prevent the cookies from crumbling.
Why did my cookies spread too much?
This usually happens if the butter was too soft or melted, or if the baking sheet was still hot from a previous batch. Make sure your butter is just softened, not greasy, and let the pan cool completely between batches.
Can I make the dough ahead of time?
Absolutely. You can refrigerate the dough for up to 3 days or freeze it for up to 3 months. If baking from frozen, add 1-2 minutes to the bake time. No need to thaw first.
Can I substitute honey or maple syrup for the molasses?
You can, but it will change the flavor and texture significantly. Molasses gives these cookies their signature deep, rich taste and chewy texture. Honey will make them sweeter and softer, while maple syrup will make them thinner and less structured.
How do I make these cookies crispier?
Bake them for 11-12 minutes and let them cool completely on the baking sheet before moving. You can also flatten the dough balls slightly before baking for a thinner, crisper cookie.
Pin This Recipe!
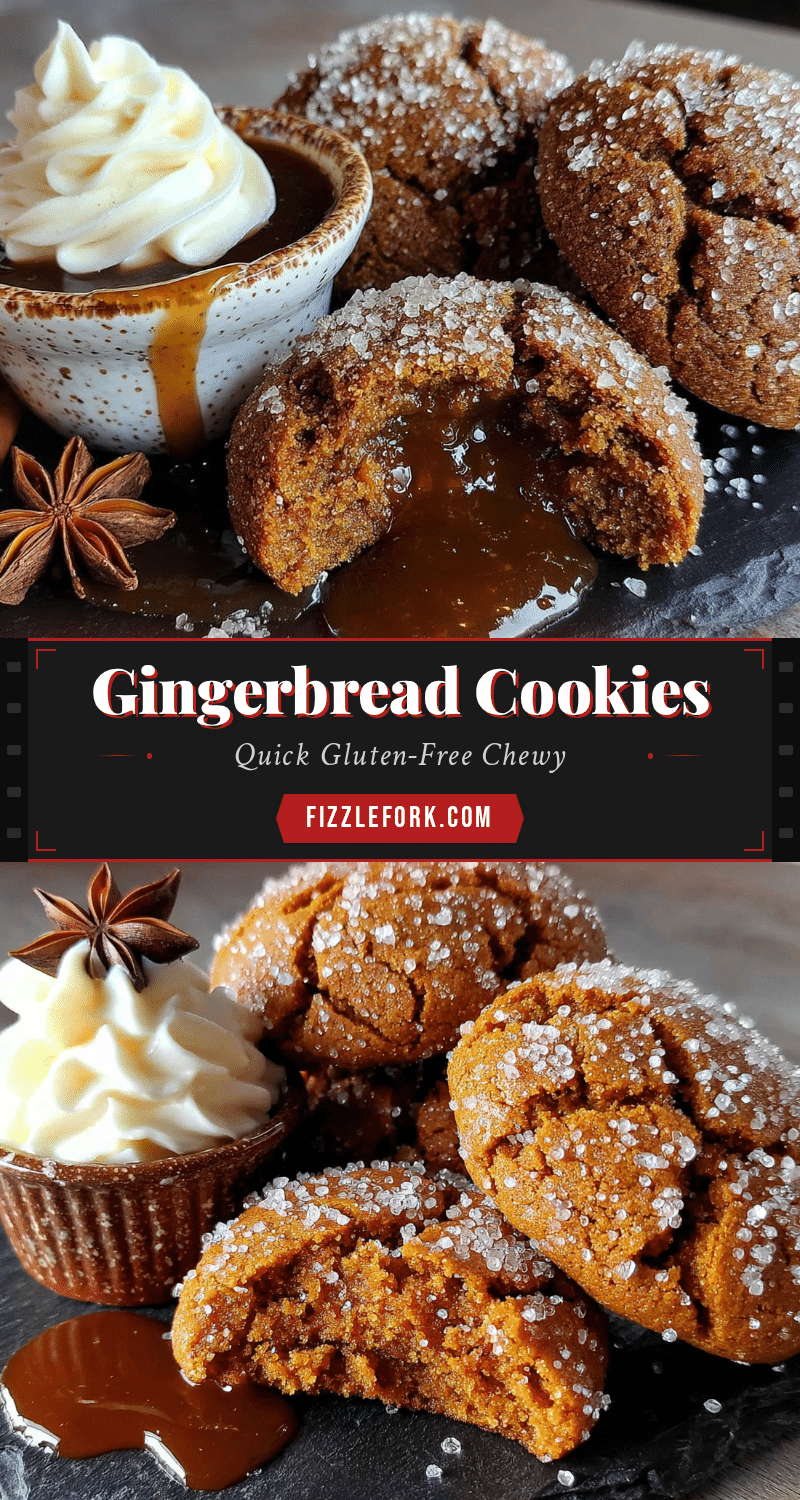
Quick Gluten-Free Chewy Gingerbread Cookies
These quick gluten-free chewy molasses gingerbread cookies are proof that the best recipes often come from the most unexpected places. They’re fast enough for a Tuesday night, forgiving enough for beginner bakers, and delicious enough to convert even the most skeptical gluten-free critics.
- Prep Time: 10 minutes
- Cook Time: 10 minutes
- Total Time: 25 minutes
- Yield: 18 cookies 1x
- Category: Dessert
- Cuisine: American
Ingredients
- ½ cup (113g) unsalted butter, softened
- ½ cup (100g) granulated sugar
- ¼ cup (50g) light brown sugar, packed
- 1 large egg, at room temperature
- ¼ cup (85g) unsulphured molasses
- 1 teaspoon vanilla extract
- 2 cups (280g) gluten-free all-purpose flour blend (with xanthan gum)
- 1 teaspoon baking soda
- 1½ teaspoons ground ginger
- 1 teaspoon ground cinnamon
- ¼ teaspoon ground cloves
- ¼ teaspoon salt
- ¼ cup (50g) granulated sugar (for rolling, optional)
Instructions
- Preheat your oven to 350°F (175°C). Line a baking sheet with parchment paper or a silicone mat.
- In a medium bowl, beat the softened butter, granulated sugar, and brown sugar together until light and fluffy — about 2-3 minutes with a hand mixer on medium speed. Scrape down the sides of the bowl once.
- Beat in the egg, molasses, and vanilla extract until fully combined. The mixture will look a bit separated at first; keep mixing until it comes together into a smooth, dark brown batter.
- In a separate small bowl, whisk together the gluten-free flour, baking soda, ginger, cinnamon, cloves, and salt.
- Gradually add the dry ingredients to the wet mixture, mixing on low speed or stirring with a spatula until just combined. Do not overmix. The dough will be thick, slightly sticky, and very fragrant.
- Using a 1½-tablespoon cookie scoop, portion out the dough. Roll each portion into a smooth ball between your palms. If the dough is too sticky, lightly dampen your hands. Roll each ball in the extra granulated sugar (if using) to coat evenly.
- Arrange the dough balls about 2 inches apart on the prepared baking sheet. I usually fit 9 cookies per sheet.
- Bake for 9-11 minutes, or until the edges are set and the tops look slightly cracked. The centers will still look soft and puffy — that’s perfect. For chewier cookies, bake on the shorter side. For slightly crisper edges, go longer. My sweet spot is 10 minutes.
- Let the cookies rest on the baking sheet for 5 minutes. This is crucial — they need time to set up. After 5 minutes, transfer them to a wire rack to cool completely.
- If doing multiple batches, let the baking sheet cool completely between batches.
Notes
Use room temperature ingredients. Measure flour correctly by spooning into the cup and leveling off. Don’t overmix the dough. Chilling the dough for 30 minutes deepens the molasses flavor. Watch the bake time; start checking at 9 minutes. Use a light-colored baking sheet to prevent burning. Do not substitute blackstrap molasses; use unsulphured molasses. Let cookies rest on the sheet for 5 minutes before moving.
Nutrition
- Serving Size: 1 cookie
- Calories: 140
- Sugar: 12
- Sodium: 120
- Fat: 6
- Saturated Fat: 3.5
- Carbohydrates: 22
- Fiber: 1
- Protein: 2
Keywords: gluten-free, gingerbread, cookies, chewy, molasses, quick, easy, dairy-free option, vegan option


