It was 11:47 PM on a rainy Tuesday, and I had a very specific craving for something warm, savory, and deeply comforting. The kind of meal that feels like a hug in a bowl. I didn’t have the energy for a complicated recipe, and honestly, I didn’t have much in the fridge either. What I did have was a pack of chicken thighs I’d grabbed on sale, a half-empty bag of rice, and some basic pantry staples. The idea that arrived was simple: just throw it all in one dish and let the oven do the work. I mean, could it really be that easy?
I wasn’t trying to create a masterpiece. I was just trying to feed myself without making a huge mess at midnight. But when I pulled that baking dish out of the oven, the smell alone had me pacing the kitchen like a kid waiting for cookies. The rice was fluffy, the chicken was fall-apart tender, and the whole thing had this golden, slightly crispy top that I honestly hadn’t expected. I stood there at the counter, eating straight from the dish with a fork, thinking, “Why have I never done this before?”
That night, I scribbled the basic proportions on a scrap of paper. A few days later, I made it again for my family, and you know that feeling when everyone at the table goes quiet because they’re actually enjoying the food? That happened. My picky eater asked for seconds. My husband asked if we could have it every week. And when I did the math on the grocery receipt, I realized this whole meal cost about ten bucks. Ten dollars for a dinner that makes everyone happy and leaves you with leftovers for lunch? That’s the kind of recipe that stays with you.
Why You’ll Love This Recipe
Let’s be honest—feeding a family on a budget can feel like a constant juggling act. You want meals that are filling, delicious, and don’t require a second mortgage to make. This Budget Chicken and Rice Bake checks every single box, and then some.
- Quick & Easy: With just 15 minutes of prep time, this is the definition of a hands-off dinner. Pop it in the oven and go fold laundry, help with homework, or just sit down for five minutes. The oven does the heavy lifting.
- Simple Ingredients: You likely have most of these items in your kitchen right now. Chicken, rice, a can of soup, some spices. No fancy grocery trips or obscure ingredients required. This is real food for real people.
- Perfect for Busy Weeknights: This is the meal you make on a Wednesday when you’re running on fumes. It’s forgiving, flexible, and always delivers. Great for Sunday meal prep too.
- Crowd-Pleaser: I’ve served this to kids, in-laws, and neighbors, and it gets rave reviews every single time. The creamy rice and tender chicken are universally loved. Even the pickiest eaters at my table clean their plates.
- Unbelievably Delicious: Don’t let the simple ingredient list fool you. The slow baking melds everything together into pure comfort food magic. The rice soaks up all the chicken juices and savory broth, becoming incredibly flavorful and satisfying.
What makes this recipe different from the rest is the technique. By baking the rice directly in the seasoned broth with the chicken on top, the rice cooks perfectly and absorbs all that wonderful flavor. It’s not just another casserole—it’s my best version of a no-fuss, one-dish dinner that tastes like you spent hours in the kitchen. Honestly, it’s the kind of meal that makes you close your eyes after the first bite. It’s comfort food reimagined—simpler, cheaper, but with the same soul-soothing satisfaction.
What Ingredients You Will Need
This recipe uses simple, wholesome ingredients to deliver big flavor and a satisfying texture without the fuss. Most of these are pantry staples you probably already have on hand.
- Chicken Thighs (1.5 lbs / about 680g): I strongly prefer bone-in, skin-on thighs for this dish. They stay incredibly moist during the long bake and add so much flavor to the rice. (Boneless, skinless breasts can be used, but reduce the cooking time by about 15 minutes and watch them closely so they don’t dry out.) Look for family packs on sale—they’re often the best value.
- Long-Grain White Rice (1 cup / 200g): This is your best bet for fluffy, separate grains. I use standard white rice here. Do not use instant or quick-cooking rice, as the texture will be mushy. Basmati or jasmine work beautifully too.
- Condensed Cream of Mushroom Soup (1 can / 10.5 oz / 298g): This is the secret weapon for creamy, flavorful rice without any extra work. I know some folks are skeptical, but trust me on this one. It creates the most luscious base. You can use cream of chicken or celery as a substitute.
- Chicken Broth (1 ½ cups / 355 ml): Low-sodium is best so you can control the salt level. The broth provides the liquid the rice needs to cook and adds another layer of savory flavor.
- Onion (1 medium, chopped): A classic aromatic that adds depth and sweetness. Yellow or white onions work great.
- Garlic (3 cloves, minced): Fresh garlic is non-negotiable here for the best flavor. It perfumes the entire dish.
- Dried Thyme (1 teaspoon): This herb pairs beautifully with chicken and adds a subtle, earthy warmth. You can substitute with dried rosemary or oregano.
- Paprika (1 teaspoon): Adds a lovely color and a mild, sweet smokiness. Smoked paprika would be amazing here too.
- Salt and Black Pepper (to taste): Essential for bringing all the flavors together. Start with ½ teaspoon of salt and ¼ teaspoon of pepper, then adjust at the end.
- Olive Oil (2 tablespoons): For searing the chicken and sautéing the aromatics. Any neutral cooking oil will do.
- Optional Garnish: Fresh Parsley (chopped): A sprinkle of green at the end makes it look restaurant-worthy and adds a fresh pop of flavor.
Equipment Needed
You don’t need a professional kitchen to make this happen. Just a few basic tools you probably already own.
- 9×13-inch Baking Dish (or similar 3-quart casserole dish): This is the perfect size for this recipe. A glass or ceramic dish works best for even heat distribution. I’ve used my trusty Pyrex for years and it’s never let me down.
- Large Skillet or Dutch Oven: You’ll need this to sear the chicken and sauté the onions and garlic. A cast-iron skillet is fantastic for getting a good brown crust on the chicken.
- Measuring Cups and Spoons: For accurate ingredient amounts. This is important for the rice-to-liquid ratio.
- Cutting Board and Sharp Knife: For chopping the onion and mincing the garlic. A good knife makes prep work so much faster.
- Wooden Spoon or Spatula: For stirring the rice and broth mixture.
- Aluminum Foil: Essential for covering the dish for the first part of baking, which helps the rice cook perfectly.
If you don’t have a 9×13 dish, a large oven-safe skillet or Dutch oven can work for the entire process. That’s my favorite lazy-day method—less dishes to wash!
Preparation Method
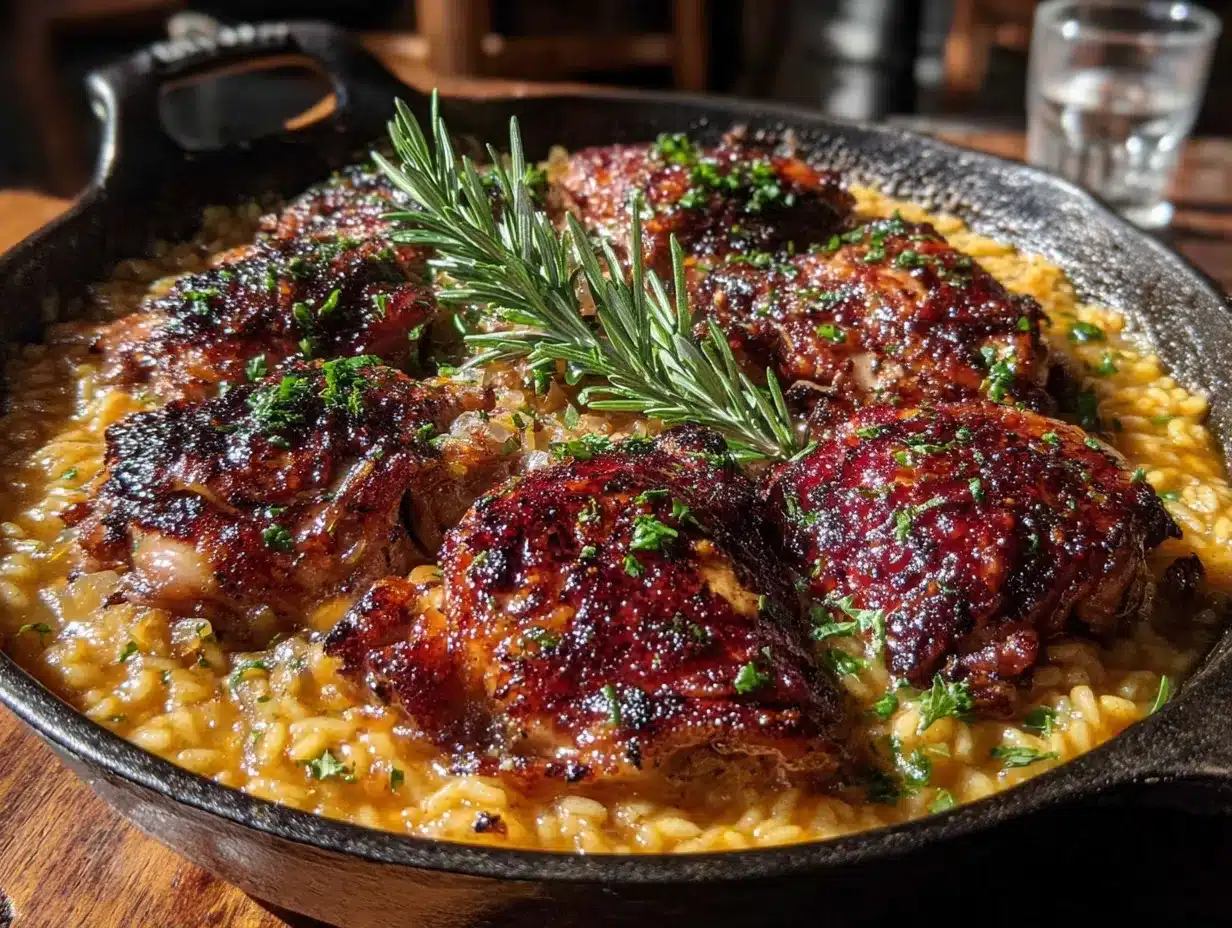
- Preheat and Prep: Preheat your oven to 375°F (190°C). While it’s heating, pat the chicken thighs dry with paper towels. This is a crucial step for getting a good sear. Season them generously on both sides with salt, pepper, and ½ teaspoon of the paprika.
- Sear the Chicken: Heat the olive oil in your large skillet over medium-high heat. Once it’s shimmering, carefully place the chicken thighs skin-side down. Let them cook undisturbed for 5-7 minutes, until the skin is golden brown and crispy. Flip and cook for another 3 minutes. Don’t crowd the pan—work in batches if needed. The chicken doesn’t need to be cooked through at this point; you’re just building flavor. Transfer the seared chicken to a plate and set aside.
- Sauté the Aromatics: Reduce the heat to medium. In the same skillet with the rendered chicken fat and oil, add the chopped onion. Sauté for 3-4 minutes, scraping up any browned bits from the bottom of the pan, until the onion is softened and translucent. Add the minced garlic and cook for another minute until fragrant. Be careful not to burn the garlic.
- Build the Rice Base: Add the uncooked rice to the skillet with the onions and garlic. Stir it around for about a minute, coating the grains in the flavorful oil. This toasts the rice slightly and helps keep it from getting mushy. Pour in the chicken broth and the can of cream of mushroom soup. Add the dried thyme and the remaining ½ teaspoon of paprika. Stir everything together until the soup is fully dissolved and the mixture is smooth. Bring it to a gentle simmer.
- Assemble the Bake: Carefully pour the rice mixture into your 9×13 baking dish and spread it into an even layer. Nestle the seared chicken thighs, skin-side up, into the rice. The rice should be mostly covered by the liquid.
- Bake (Covered): Cover the baking dish tightly with aluminum foil. Bake for 45 minutes. The steam created inside the dish is what cooks the rice perfectly. Don’t peek! Lifting the foil lets the steam escape.
- Bake (Uncovered): After 45 minutes, carefully remove the foil. The rice should be tender and most of the liquid should be absorbed. Return the dish to the oven, uncovered, and bake for another 15-20 minutes. This allows the chicken skin to re-crisp and the top of the rice to get slightly golden and delicious.
- Rest and Serve: Once the chicken is cooked through (internal temp of 165°F / 74°C) and the rice is tender, remove the dish from the oven. Let it rest for 5-10 minutes before serving. This allows the rice to absorb any remaining steam and makes it easier to serve. Garnish with fresh chopped parsley if you’re feeling fancy.
Pro-tip I learned the hard way: if your rice still seems a little hard after the covered baking time, add ¼ cup more warm broth, re-cover, and bake for another 10 minutes. Oven temperatures can vary!
Cooking Tips & Techniques
I’ve made this Budget Chicken and Rice Bake more times than I can count, and I’ve definitely made my share of mistakes. Here’s what I’ve learned so you can nail it on the first try.
Don’t skip the sear. I know it’s an extra step and an extra pan to wash, but it makes a world of difference. That golden-brown skin adds incredible flavor to both the chicken and the rice. It also renders out some fat that you use to sauté the onions. It’s a beautiful, efficient system.
Use the right rice. This is probably the most common pitfall. Long-grain white rice is your friend here. Brown rice takes much longer to cook and will need more liquid. Instant rice will turn into mush. Trust me, I’ve tried both, and the results were not pretty. Stick with standard long-grain.
Resist the urge to peek. The first 45 minutes are crucial for the rice to cook. Every time you lift that foil, you let out precious steam, which can lead to undercooked rice. Set a timer and walk away. I usually use this time to clean up the kitchen or help my youngest with his spelling words.
Season generously. The chicken needs salt and pepper, but so does the rice mixture. Don’t be shy. Taste the broth mixture before you pour it in, if you can. It should be well-seasoned. Remember, the rice will absorb all that flavor.
Let it rest. I know it’s hard to wait when your kitchen smells this good, but letting the dish sit for 5-10 minutes after it comes out of the oven is non-negotiable. The rice will finish absorbing the liquid, making it perfectly fluffy and not soupy. Plus, it gives you time to set the table.
Variations & Adaptations
This recipe is a fantastic base that you can adapt to what you have on hand or what your family loves. Don’t be afraid to play around with it!
Veggie-Packed Version: This is my go-to when I want to sneak in some extra nutrients. Add a cup of frozen peas and carrots, or chopped broccoli florets, to the rice mixture before baking. You might need an extra ¼ cup of broth to account for the extra volume. My kids don’t even notice the carrots.
Cheesy Chicken and Rice Bake: Because everything is better with cheese, right? After the dish comes out of the oven for the last time, sprinkle 1 cup of shredded cheddar or Monterey Jack cheese over the top. Return it to the oven for 5 more minutes, until the cheese is melted and bubbly. It’s pure indulgence.
Spicy Kick: If your family likes a little heat, add ½ teaspoon of cayenne pepper or red pepper flakes to the rice mixture. You can also use a can of Rotel (diced tomatoes with green chilies) in place of half the broth for a tangy, spicy twist. I did this on a whim one night and my husband declared it his new favorite.
Herb and Lemon: For a brighter, fresher flavor, add the zest of one lemon and 2 tablespoons of fresh lemon juice to the broth mixture. Swap the dried thyme for a teaspoon of dried dill or oregano. This version is fantastic in the spring.
Make it Dairy-Free: Swap the cream of mushroom soup for a “cream of” style soup that is dairy-free, or make a simple roux-based sauce using olive oil, flour, and a dairy-free milk like oat milk. The texture will be slightly different, but still delicious.
Serving & Storage Suggestions
This dish is a complete meal on its own, but a few simple sides can round it out beautifully.
Serving: Serve this Budget Chicken and Rice Bake hot, straight from the baking dish. The chicken should be tender enough to fall off the bone. A simple side of steamed green beans, a crisp garden salad with a tangy vinaigrette, or some roasted broccoli would be perfect. The creamy rice pairs wonderfully with something bright and acidic to cut through the richness.
Storage: Leftovers are a gift! Allow the dish to cool completely before storing. Transfer leftovers to an airtight container and refrigerate for up to 4 days. The flavors actually meld and get even better overnight. This is one of those recipes that tastes just as good, if not better, the next day.
Freezing: This dish freezes wonderfully. Portion it into freezer-safe containers or zip-top bags. It will keep for up to 3 months. Thaw overnight in the refrigerator before reheating.
Reheating: The best way to reheat is in the oven at 350°F (175°C) for about 15-20 minutes, or until heated through. You can add a splash of chicken broth if the rice seems a little dry. The microwave works in a pinch, but the oven does a better job of reviving the texture of the rice and chicken skin.
Nutritional Information & Benefits
This recipe is not just budget-friendly; it also provides a balanced and satisfying meal. Here is an approximate nutritional breakdown per serving (based on 6 servings):
- Calories: ~450-500
- Protein: ~30g
- Fat: ~20g
- Carbohydrates: ~40g
- Fiber: ~1g
Key Benefits: Chicken thighs are a great source of high-quality protein, iron, and B vitamins, which are essential for energy. Rice provides easily digestible carbohydrates for fuel. By using bone-in, skin-on chicken, you get more flavor and nutrients from the bones and skin during cooking. This is a hearty, satisfying meal that will keep you and your family full and energized. It’s a balanced dinner that doesn’t break the bank or your health goals.
Dietary Considerations: This recipe is naturally nut-free and egg-free. To make it gluten-free, ensure your cream of mushroom soup is certified gluten-free, as some brands contain wheat flour. Always check labels if you have specific allergies.
Conclusion
This Budget Chicken and Rice Bake has become a true workhorse in my kitchen. It’s the recipe I turn to when I’m tired, when the grocery budget is tight, and when I just need a guaranteed win at the dinner table. It proves that you don’t need expensive ingredients or hours of free time to create a meal that your family will genuinely love. It’s simple, it’s smart, and it’s deeply satisfying.
I really hope you give this one a try. Don’t be afraid to customize it based on what your family likes—that’s the beauty of a good base recipe. Add your favorite vegetables, swap in different herbs, or pile on the cheese. Make it your own.
When you make it, I’d love to hear how it turned out! Drop a comment below and let me know if your family loved it as much as mine does. And if you have a favorite budget-friendly dinner trick, please share it—we’re all in this together. Happy cooking, friends!
Frequently Asked Questions
Can I use boneless, skinless chicken breasts instead of thighs?
Yes, you can. However, chicken breasts are leaner and can dry out more easily. Reduce the uncovered baking time by about 10-15 minutes, and start checking the internal temperature at 155°F (68°C) to avoid overcooking. The thighs are more forgiving and add more flavor to the rice.
My rice turned out mushy. What went wrong?
This usually happens for one of two reasons: you used the wrong type of rice (like short-grain or instant), or you added too much liquid. Stick with long-grain white rice and measure your broth carefully. Also, make sure you don’t peek during the covered baking time, as losing steam can affect the cooking process.
Can I make this in a slow cooker or Instant Pot?
This recipe is designed for the oven to get that crispy chicken skin and perfectly baked rice texture. I haven’t tested it in a slow cooker, but the rice would likely become very mushy. For an Instant Pot, you would need to adjust the liquid ratio significantly. I recommend sticking with the oven method for the best results.
How do I know when the chicken is fully cooked?
The safest way is to use an instant-read meat thermometer. Insert it into the thickest part of a thigh, avoiding the bone. The internal temperature should reach 165°F (74°C). If you don’t have a thermometer, the juices should run clear when you pierce the thickest part with a knife.
Can I double this recipe for a larger family or crowd?
Absolutely! This recipe doubles beautifully. Use a larger baking dish (like a 10×15-inch roasting pan) or use two 9×13 dishes. You may need to increase the covered baking time by 10-15 minutes since there’s more mass in the oven. The internal temperature of the chicken is your best guide.
Pin This Recipe!
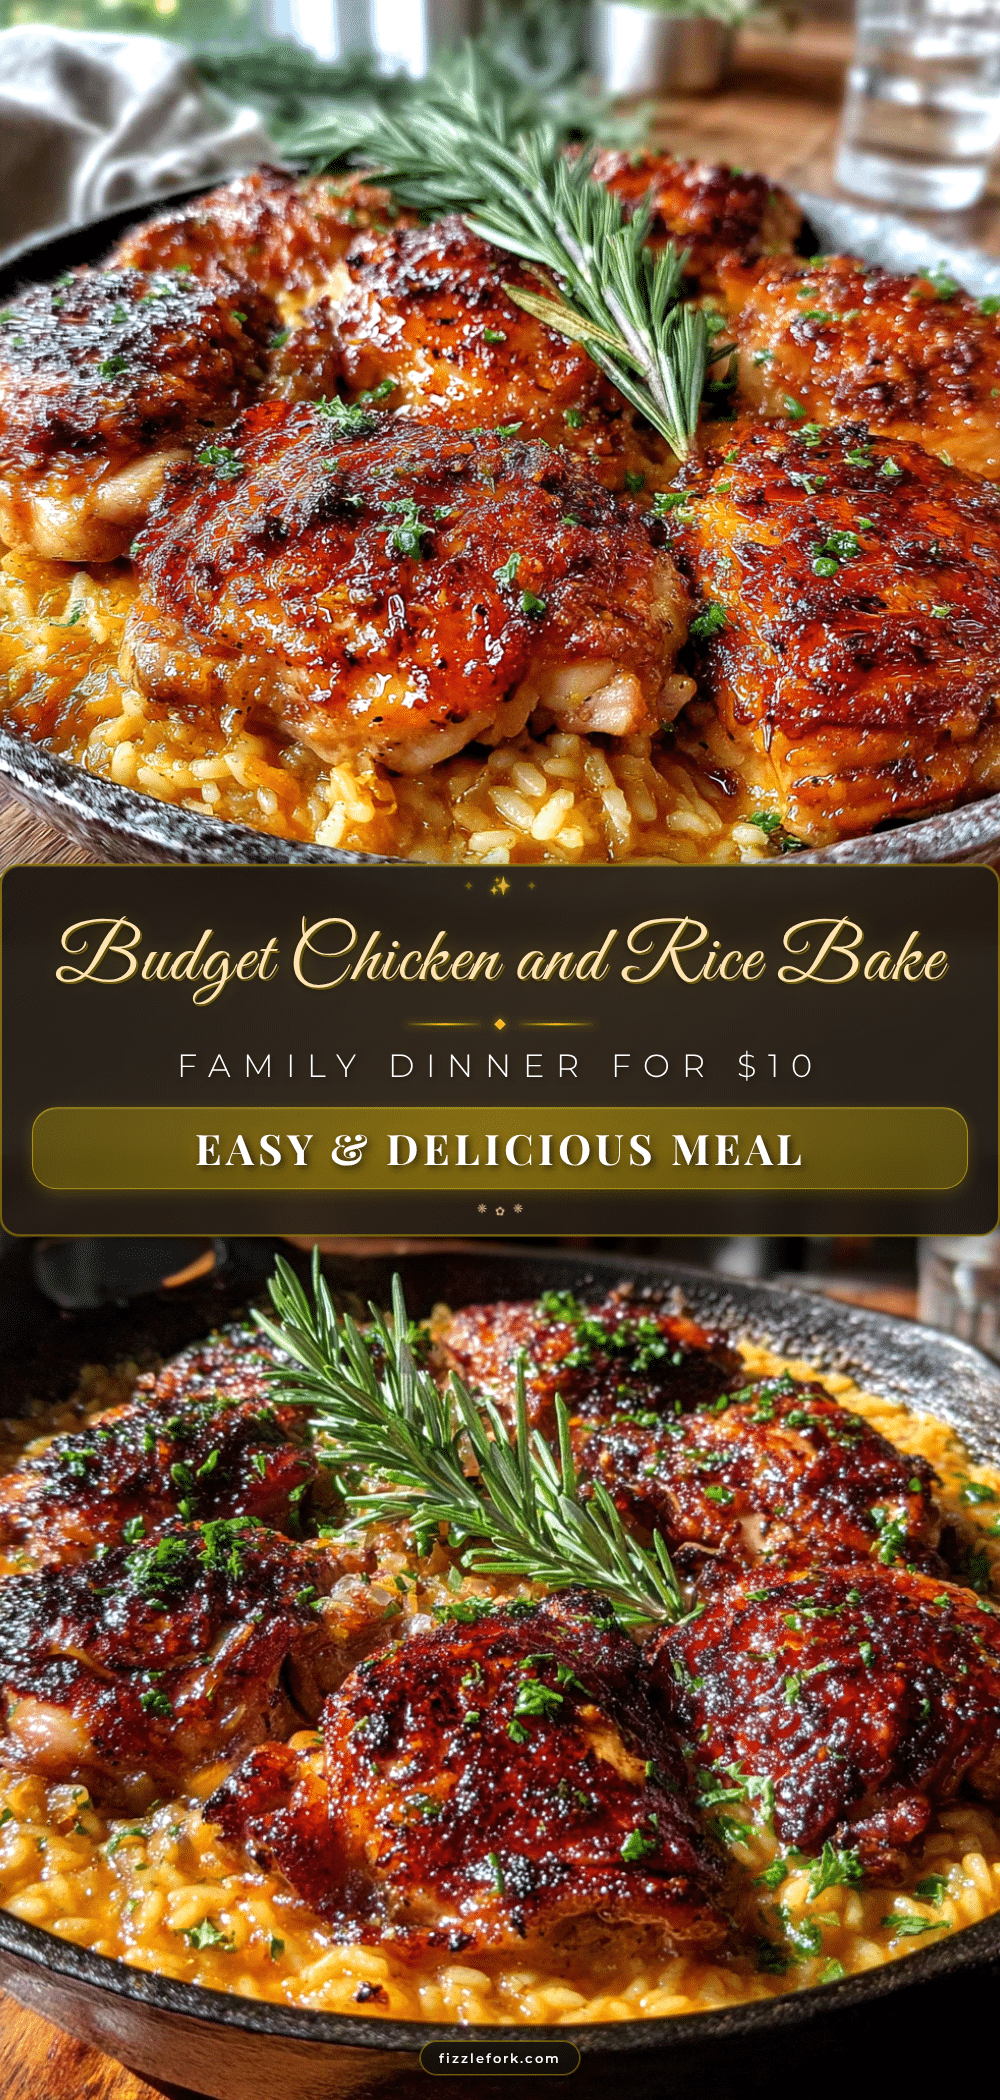
Budget Chicken and Rice Bake: Easy $10 Family Dinner

This Budget Chicken and Rice Bake is a simple, one-dish dinner that’s perfect for busy weeknights. With just 15 minutes of prep, you get tender chicken and creamy, flavorful rice that the whole family will love, all for about $10.
- Prep Time: 15 minutes
- Cook Time: 1 hour 5 minutes
- Total Time: 1 hour 20 minutes
- Yield: 6 servings 1x
- Category: Main Course
- Cuisine: American
Ingredients
- 1.5 lbs (about 680g) bone-in, skin-on chicken thighs
- 1 cup (200g) long-grain white rice
- 1 can (10.5 oz / 298g) condensed cream of mushroom soup
- 1 ½ cups (355 ml) low-sodium chicken broth
- 1 medium onion, chopped
- 3 cloves garlic, minced
- 1 teaspoon dried thyme
- 1 teaspoon paprika
- Salt and black pepper to taste
- 2 tablespoons olive oil
- Optional: fresh parsley, chopped for garnish
Instructions
- Preheat oven to 375°F (190°C). Pat chicken thighs dry with paper towels and season generously with salt, pepper, and ½ teaspoon paprika.
- Heat olive oil in a large skillet over medium-high heat. Sear chicken thighs skin-side down for 5-7 minutes until golden brown, then flip and cook for 3 more minutes. Transfer to a plate.
- Reduce heat to medium. In the same skillet, sauté chopped onion for 3-4 minutes until softened. Add minced garlic and cook for 1 minute until fragrant.
- Add uncooked rice to the skillet and stir for 1 minute to toast. Pour in chicken broth and cream of mushroom soup. Add dried thyme and remaining ½ teaspoon paprika. Stir until smooth and bring to a gentle simmer.
- Pour rice mixture into a 9×13-inch baking dish and spread evenly. Nestle seared chicken thighs skin-side up into the rice.
- Cover tightly with aluminum foil and bake for 45 minutes.
- Remove foil and bake for another 15-20 minutes until chicken is cooked through (internal temp 165°F / 74°C) and rice is tender.
- Let rest for 5-10 minutes before serving. Garnish with fresh parsley if desired.
Notes
Don’t skip searing the chicken—it adds flavor. Use long-grain white rice, not instant or brown rice. Resist peeking during the covered baking time. Let the dish rest before serving. If rice is still hard after covered baking, add ¼ cup warm broth, re-cover, and bake 10 more minutes.
Nutrition
- Serving Size: 1 serving (about 1/6
- Calories: 475
- Sugar: 2
- Sodium: 650
- Fat: 20
- Saturated Fat: 5
- Carbohydrates: 40
- Fiber: 1
- Protein: 30
Keywords: budget chicken and rice bake, easy family dinner, one-dish chicken and rice, creamy chicken and rice, $10 dinner