My husband took a bite of this chicken, stopped chewing, and just stared at the plate for a second. I thought something was wrong — maybe it was dry, maybe I’d oversalted it. Then he said, “This is the best chicken you’ve ever made,” and went back to eating without another word. That was it. No dramatic pause, no buildup. Just a quiet, matter-of-fact statement that hit harder than any over-the-top compliment ever could. And honestly? I kind of agreed with him.
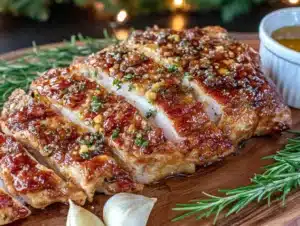
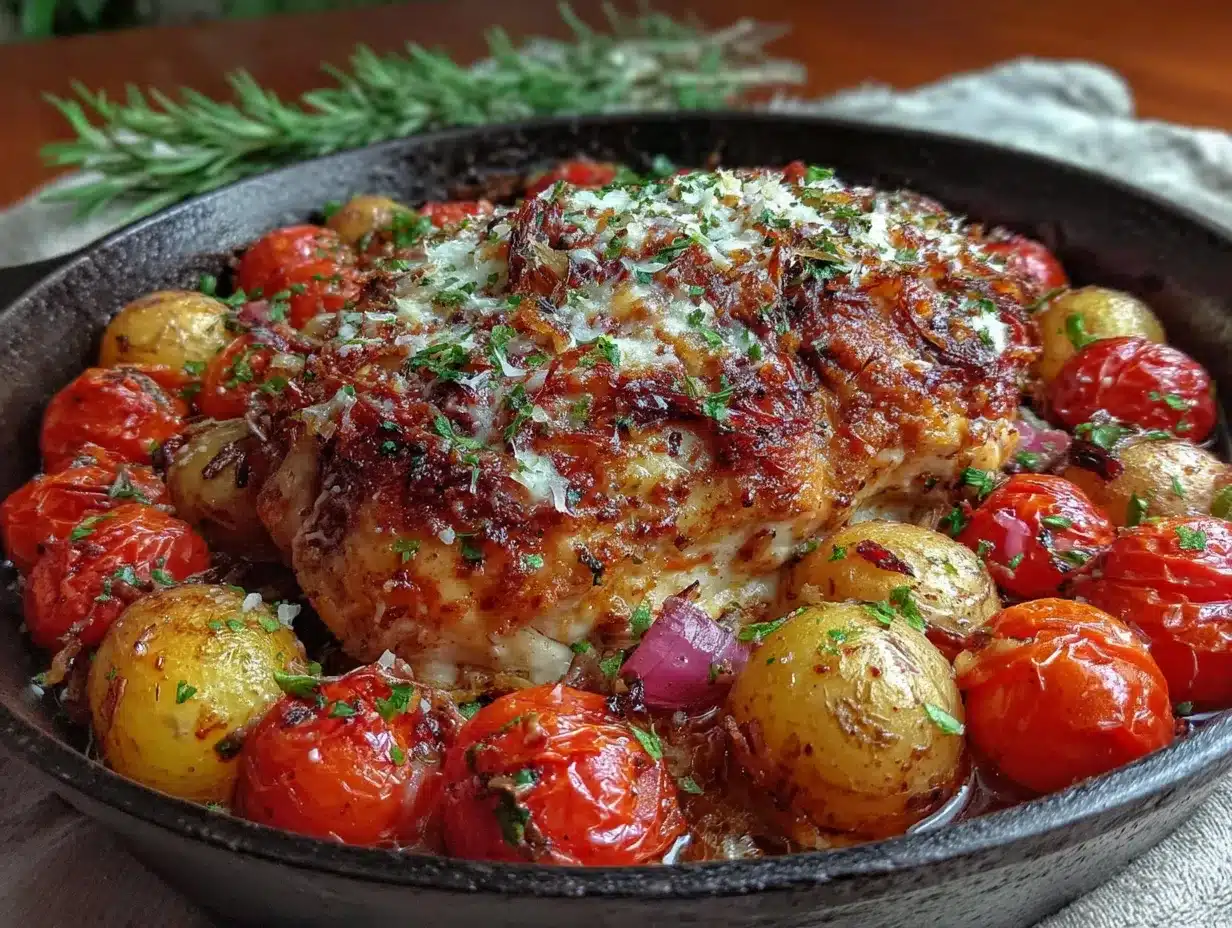
This crispy garlic parmesan baked chicken breast wasn’t supposed to be anything special. I was just trying to use up some leftover parmesan and a few garlic cloves before they went bad. I tossed everything onto a sheet pan — because let’s face it, I wasn’t in the mood for a sink full of dishes — and hoped for the best. What came out of the oven was something else entirely. The top was golden and crunchy in a way baked chicken rarely is, and the inside stayed so juicy it practically begged for another forkful.
I’ve made it four times since then. Each time, it gets a little better. And each time, someone asks for the recipe before they’ve even finished eating. That’s the kind of dinner you want in your back pocket.
Why You’ll Love This Recipe
This isn’t just another baked chicken breast recipe that promises crispy and delivers sad, soggy disappointment. This one actually works. Here’s why:
- One Pan Wonder : Everything cooks on a single sheet pan. No flipping, no fussing, and barely any cleanup. Weeknight dinner just got a serious upgrade.
- Actually Crispy : The secret is in the coating. A mix of panko breadcrumbs, freshly grated parmesan, and a little olive oil creates a crust that gets genuinely crunchy in the oven — no deep frying required.
- Simple Ingredients : You probably already have most of these in your kitchen. Garlic, parmesan, breadcrumbs, chicken, and a few pantry staples. That’s it.
- Family Approved : My kids devour this. Even the one who claims to “not really like chicken” asked for seconds. It’s got that crowd-pleasing combo of garlicky, cheesy, and satisfying.
- Meal Prep Friendly : Make a batch on Sunday and use it throughout the week for salads, wraps, or quick lunches. It reheats beautifully — just don’t microwave it (more on that later).
What makes this recipe different from all the other baked chicken breast recipes out there? It’s the texture. Most baked chicken ends up either dry on the inside or soggy on the outside. This one nails both — juicy meat with a crust that actually crunches. I’ve tested this more times than I care to admit, tweaking temperatures, coating ratios, and cooking times until it was just right. This is the version I’d serve to guests without a second thought.
What Ingredients You Will Need
This recipe uses simple, everyday ingredients to create something that tastes way more complicated than it actually is. Here’s what you’ll need:
For the Chicken
- 4 boneless, skinless chicken breasts — Look for breasts that are similar in size so they cook evenly. If they’re super thick, butterfly them or pound them to about 1-inch thickness.
- 1/2 cup mayonnaise — I know it sounds weird, but trust me on this. Mayo keeps the chicken incredibly moist and helps the coating stick. You won’t taste it, I promise. I prefer Hellmann’s or Duke’s for the best flavor.
- 2 cloves garlic, minced — Fresh garlic makes a huge difference here. Don’t use the jarred stuff if you can help it — it’s not as pungent and won’t give you that same punch.
- 1 teaspoon salt — I use fine sea salt. Adjust based on your preference and the saltiness of your parmesan.
- 1/2 teaspoon black pepper — Freshly ground is always better, but pre-ground works in a pinch.
- 1 teaspoon paprika — Adds color and a subtle smoky sweetness. Regular or smoked both work great.
For the Crispy Coating
- 1 cup panko breadcrumbs — Panko is key here. Regular breadcrumbs will work, but they won’t get nearly as crispy. Panko has a lighter, flakier texture that crisps up beautifully in the oven.
- 1/2 cup freshly grated parmesan cheese — Please, for the love of all things crispy, grate your own. The pre-shredded stuff has anti-caking agents that prevent it from melting and sticking properly. A microplane or the small holes on a box grater work perfectly.
- 2 tablespoons olive oil — Helps the coating brown and get crunchy. Don’t skip it or substitute with a lower-fat option — the oil is essential for that golden crust.
- 1 teaspoon garlic powder — Adds extra garlic flavor throughout the coating. Not the same as fresh garlic, but a good companion to it.
- 1/2 teaspoon dried oregano — Optional, but adds a lovely Italian-inspired note that pairs beautifully with the parmesan.
- 1/4 teaspoon red pepper flakes (optional) — For a tiny kick of heat. I add it about half the time, depending on my mood.
For Garnish (Optional but Recommended)
- Fresh parsley, chopped — Adds a pop of color and freshness.
- Extra grated parmesan — Because more cheese is never a bad thing.
- Lemon wedges — A squeeze of lemon right before serving brightens up all the flavors.
Equipment Needed
You don’t need much for this recipe, which is part of why I love it so much. Here’s what you’ll need:
- Sheet pan — A standard 13×18-inch rimmed baking sheet works perfectly. Line it with parchment paper or aluminum foil for even easier cleanup. I’ve used both cheap and expensive pans, and honestly, as long as it’s rimmed (so nothing slides off), you’re good.
- Mixing bowls — Two medium bowls. One for the mayo mixture, one for the coating. Nothing fancy needed.
- Microplane or box grater — For grating the parmesan cheese. A microplane is my go-to because it gives you that fine, fluffy texture that sticks to the chicken perfectly. If you don’t have one, the small holes on a box grater work fine.
- Garlic press or knife — For mincing the garlic. I use a press when I’m feeling lazy (which is often), but a knife and a little elbow grease work just as well.
- Tongs — For handling the chicken without making a mess. You can use your hands too, but tongs keep things cleaner.
- Meat thermometer — This is non-negotiable if you want perfectly cooked chicken. An instant-read thermometer takes the guesswork out and ensures you never serve dry, overcooked meat again. They’re cheap and worth every penny.
Budget Tip: If you don’t have a meat thermometer, you can check doneness by cutting into the thickest part of the chicken. The juices should run clear and there should be no pink inside. But seriously, just get a thermometer — it’ll change your chicken game forever.
Preparation Method
Let’s get cooking. This comes together faster than you’d think, and the results are worth every minute.
Step 1: Preheat and Prep
Preheat your oven to 425°F (220°C). Line a rimmed baking sheet with parchment paper or aluminum foil for easy cleanup. Set it aside for now.
Step 2: Prep the Chicken
If your chicken breasts are uneven in thickness, place them between two sheets of plastic wrap and gently pound them to about 1-inch thickness using a rolling pin or the bottom of a heavy skillet. This ensures they cook evenly — nobody wants a dry thin end and a raw thick middle. Pat the chicken dry with paper towels. This helps the coating stick better.
Step 3: Make the Mayo Mixture
In a medium bowl, combine 1/2 cup mayonnaise, 2 minced garlic cloves, 1 teaspoon salt, 1/2 teaspoon black pepper, and 1 teaspoon paprika. Stir until smooth. This mixture is going to keep your chicken ridiculously moist while also acting as glue for the crispy coating. Don’t skip it — it’s the secret weapon here.
Step 4: Make the Crispy Coating
In another medium bowl, combine 1 cup panko breadcrumbs, 1/2 cup freshly grated parmesan, 2 tablespoons olive oil, 1 teaspoon garlic powder, 1/2 teaspoon dried oregano, and 1/4 teaspoon red pepper flakes (if using). Mix well with a fork until the oil is evenly distributed and the breadcrumbs look slightly clumpy. This clumpy texture is what creates those beautiful crunchy bits on the chicken.
Step 5: Coat the Chicken
Take one chicken breast and coat it completely with the mayo mixture using a brush, spoon, or your hands (I use my hands — it’s faster and more thorough). Then press it firmly into the panko-parmesan mixture, making sure every surface is covered. Don’t be gentle here — really press that coating on so it sticks. Place the coated chicken on the prepared baking sheet. Repeat with the remaining chicken breasts.
Pro Tip: Use one hand for the wet mixture and one hand for the dry coating. It keeps the mess contained and your fingers from getting too sticky.
Step 6: Bake
Bake the chicken for 20-25 minutes, or until the internal temperature reaches 165°F (74°C) when measured at the thickest part. The coating should be golden brown and crispy. If you want it extra crunchy, you can switch the oven to broil for the last 1-2 minutes — but watch it closely, because it can go from golden to burnt in seconds.
Step 7: Rest and Serve
Remove the chicken from the oven and let it rest on the baking sheet for 5 minutes. This is crucial — it lets the juices redistribute so every bite is moist and tender. Don’t skip this step, no matter how tempting it is to dig in right away. After resting, transfer to a cutting board, slice if desired, and garnish with fresh parsley, extra parmesan, and a squeeze of lemon.
Cooking Tips & Techniques
I’ve made this recipe more times than I can count, and I’ve learned a few things along the way. Here are the tips that make the biggest difference:
- Don’t overcrowd the pan. Leave at least an inch of space between each chicken breast. If they’re too close together, they’ll steam instead of bake, and you’ll lose that crispy crust. If you’re making a double batch, use two sheet pans.
- Use a wire rack if you have one. Placing the chicken on a wire rack set inside the baking sheet allows hot air to circulate underneath, giving you an even crispier bottom. It’s not necessary, but it takes the texture to the next level.
- Freshly grate your parmesan. I’ve said it before, but it bears repeating. Pre-shredded cheese has cellulose and anti-caking agents that prevent it from melting and browning properly. Freshly grated parmesan melts into the panko and creates those gorgeous golden-brown bits.
- Watch the oven temperature. Every oven runs a little differently. If yours runs hot, check the chicken at 18 minutes. If it runs cool, it might need 25-27 minutes. Trust your thermometer over the timer.
- My biggest failure: The first time I made this, I used low-fat mayo because I thought it would be healthier. The coating slid right off the chicken in one sad, greasy sheet. Full-fat mayo is non-negotiable here — it’s what creates that sticky base that holds everything together.
Variations & Adaptations
This recipe is forgiving and flexible. Here are some ways to make it your own:
- Gluten-Free Version : Swap the panko breadcrumbs for gluten-free panko or crushed pork rinds. The pork rinds add an extra-crispy texture and are surprisingly delicious. I tested this for a gluten-sensitive friend and honestly couldn’t tell the difference.
- Spicy Kick : Add 1/2 teaspoon cayenne pepper to the mayo mixture and double the red pepper flakes in the coating. Serve with a cooling ranch or blue cheese dip for contrast.
- Herb & Lemon : Add 1 tablespoon fresh lemon zest and 2 tablespoons chopped fresh herbs (parsley, thyme, rosemary) to the coating mixture. The lemon brightens everything up, and the herbs add an earthy freshness that’s perfect for spring.
- Air Fryer Adaptation : If you have an air fryer, this recipe works beautifully in it. Cook at 375°F (190°C) for 12-15 minutes, flipping halfway through. The crust gets even crispier than the oven version. For more air fryer chicken inspiration, check out these crispy garlic parmesan air fryer chicken thighs — they use a similar coating and are equally addictive.
- Cheese Swap : Try using pecorino romano instead of parmesan for a saltier, more pungent flavor. Or mix in some asiago for a nuttier taste. Each cheese brings something different to the table.
Serving & Storage Suggestions
This chicken is versatile enough to star in a weeknight dinner or elevate a fancy meal. Here’s how to serve and store it:
- Serving Temperature: Serve hot, right after resting. The crust is at its crispiest straight from the oven. If you’re serving it later, reheat in the oven or air fryer — never the microwave (it turns the crust into sad, soggy mush).
- What to Serve With: This chicken pairs beautifully with a simple side salad, roasted vegetables, or mashed potatoes. For a complete meal, I love serving it alongside this sheet pan sausage, apple, and butternut squash roast for a fall-inspired dinner. Or keep it light with this fresh harvest apple walnut kale salad for a satisfying lunch.
- Storage: Store leftover chicken in an airtight container in the refrigerator for up to 4 days. The coating will soften slightly, but it’ll still be delicious.
- Freezing: You can freeze the cooked chicken for up to 3 months. Wrap each breast individually in plastic wrap, then place in a freezer-safe bag. To reheat, thaw in the refrigerator overnight, then reheat in a 375°F oven for 10-15 minutes.
- Meal Prep Idea: Slice the chicken and use it in salads, wraps, or grain bowls throughout the week. It’s also amazing on top of a Sunday meal prep chicken bowl with roasted veggies for healthy, grab-and-go lunches.
Nutritional Information & Benefits
Here’s the estimated nutritional breakdown per serving (1 chicken breast, assuming 4 servings):
- Calories: ~420
- Protein: 42g
- Fat: 24g
- Carbohydrates: 12g
- Fiber: 1g
- Sugar: 1g
Health Benefits: Chicken breast is a fantastic source of lean protein, which supports muscle repair and keeps you feeling full. Parmesan cheese adds calcium and protein, while garlic provides allicin — a compound linked to immune support and heart health. This recipe is also naturally low-carb and can easily be made gluten-free with a simple swap.
Dietary Considerations: This recipe contains dairy (parmesan) and eggs (mayonnaise). For a dairy-free version, use nutritional yeast instead of parmesan and a vegan mayo. For a lower-fat option, you can reduce the olive oil in the coating, but the crust won’t be quite as crispy.
Conclusion
This crispy garlic parmesan baked chicken breast has become a staple in my kitchen for all the right reasons. It’s easy enough for a busy Tuesday night, but impressive enough for company. The crust gets genuinely crunchy, the inside stays juicy, and the flavor is that perfect combination of garlicky, cheesy, and savory that everyone loves.
What I love most about this recipe is how adaptable it is. You can tweak the seasonings, swap the cheese, or throw it in the air fryer — and it always delivers. It’s the kind of recipe you’ll make once, then immediately want to make again with a few twists of your own.
I’d love to hear how yours turns out! Leave a comment below and let me know what variations you tried. Did you add extra spice? Swap the herbs? Serve it with something unexpected? Share your version — I’m always looking for new ideas. And if you loved it, don’t forget to pin it for later or share it with a friend who needs a reliable weeknight dinner in their life.
Happy cooking, friends. You’ve got this.
Frequently Asked Questions
Can I use chicken thighs instead of chicken breasts?
Absolutely! Boneless, skinless chicken thighs work great with this recipe. They might need a few extra minutes in the oven since they’re a bit thicker. Just cook until they reach 175°F (80°C) internally — thighs are more forgiving than breasts and stay juicy even at higher temperatures.
Why is my coating falling off the chicken?
This usually happens for one of two reasons: either the chicken wasn’t patted dry enough before applying the mayo mixture, or you didn’t press the coating on firmly enough. Make sure your chicken is dry before you start, and really press that panko mixture into the mayo — don’t just sprinkle it on.
Can I make this ahead of time?
You can prep the coating mixture and the mayo mixture separately up to 24 hours in advance. Store them in the refrigerator. When you’re ready to cook, coat the chicken and bake as directed. I wouldn’t recommend coating the chicken ahead of time, as the breadcrumbs can get soggy.
How do I reheat leftovers without losing the crunch?
The best way is in the oven or air fryer. For the oven, reheat at 375°F (190°C) for 8-10 minutes. For the air fryer, reheat at 350°F (175°C) for 4-5 minutes. Avoid the microwave at all costs — it’ll turn your beautiful crispy crust into a sad, steamy mess.
Can I use this recipe for meal prep?
Definitely! This chicken is perfect for meal prep. Cook a batch on Sunday, let it cool completely, and store it in the refrigerator. Use it throughout the week in salads, wraps, grain bowls, or just reheated with a side of veggies. It’s also great sliced cold over a green salad for lunch.
Pin This Recipe!
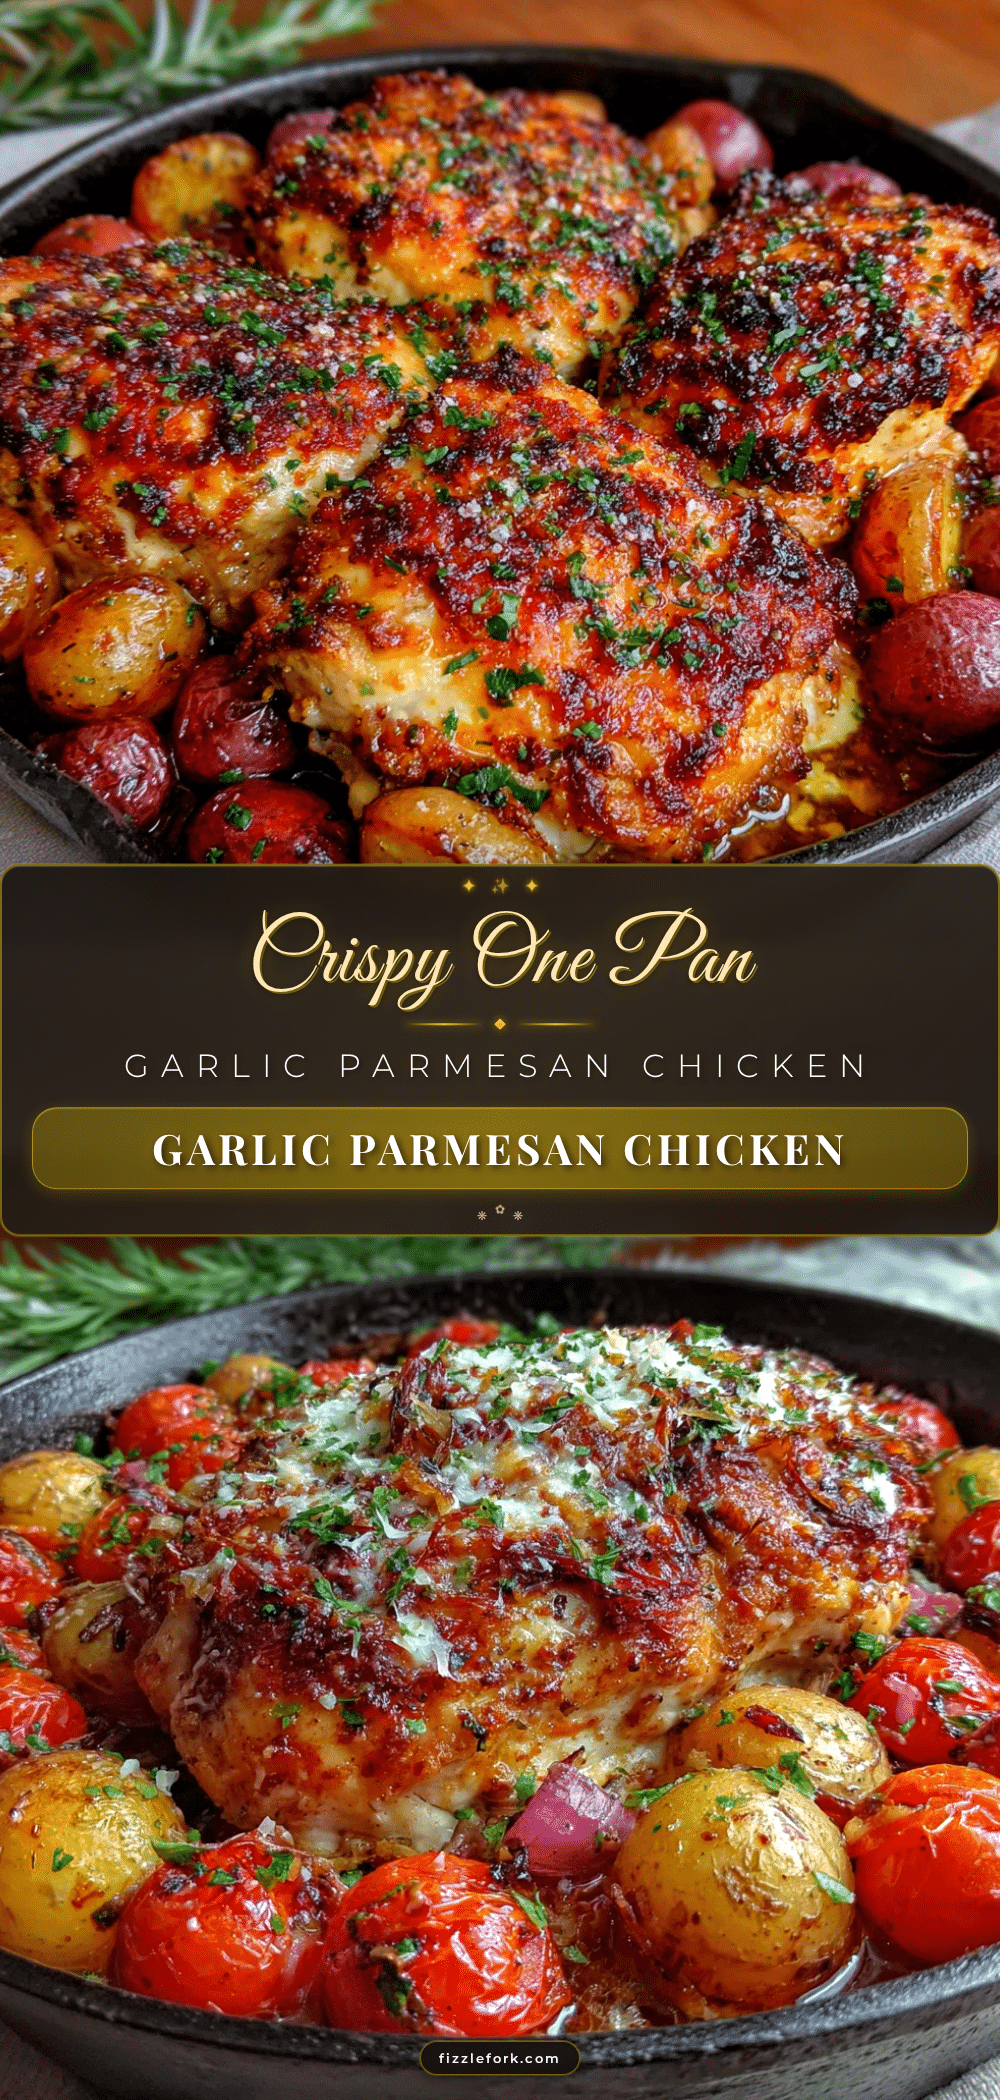
Crispy Garlic Parmesan Baked Chicken Breast (Easy One Pan Meal)

This crispy garlic parmesan baked chicken breast is a one-pan wonder that delivers a genuinely crunchy crust and juicy meat. Made with simple ingredients like panko breadcrumbs, freshly grated parmesan, and a secret mayo base, it’s an easy weeknight dinner that’s family-approved and perfect for meal prep.
- Prep Time: 15 minutes
- Cook Time: 25 minutes
- Total Time: 45 minutes
- Yield: 4 servings 1x
- Category: Main Course
- Cuisine: American
Ingredients
- 4 boneless, skinless chicken breasts
- 1/2 cup mayonnaise (Hellmann’s or Duke’s preferred)
- 2 cloves garlic, minced
- 1 teaspoon fine sea salt
- 1/2 teaspoon black pepper, freshly ground
- 1 teaspoon paprika (regular or smoked)
- 1 cup panko breadcrumbs
- 1/2 cup freshly grated parmesan cheese
- 2 tablespoons olive oil
- 1 teaspoon garlic powder
- 1/2 teaspoon dried oregano
- 1/4 teaspoon red pepper flakes (optional)
- Fresh parsley, chopped (for garnish, optional)
- Extra grated parmesan (for garnish, optional)
- Lemon wedges (for serving, optional)
Instructions
- Preheat your oven to 425°F (220°C). Line a rimmed baking sheet with parchment paper or aluminum foil.
- If chicken breasts are uneven in thickness, place them between two sheets of plastic wrap and gently pound to about 1-inch thickness. Pat the chicken dry with paper towels.
- In a medium bowl, combine 1/2 cup mayonnaise, 2 minced garlic cloves, 1 teaspoon salt, 1/2 teaspoon black pepper, and 1 teaspoon paprika. Stir until smooth.
- In another medium bowl, combine 1 cup panko breadcrumbs, 1/2 cup freshly grated parmesan, 2 tablespoons olive oil, 1 teaspoon garlic powder, 1/2 teaspoon dried oregano, and 1/4 teaspoon red pepper flakes (if using). Mix with a fork until the oil is evenly distributed and the breadcrumbs look slightly clumpy.
- Take one chicken breast and coat it completely with the mayo mixture. Then press it firmly into the panko-parmesan mixture, ensuring every surface is covered. Place on the prepared baking sheet. Repeat with remaining chicken breasts.
- Bake for 20-25 minutes, or until the internal temperature reaches 165°F (74°C) at the thickest part. For extra crunch, broil for the last 1-2 minutes, watching closely.
- Remove from the oven and let rest on the baking sheet for 5 minutes. Transfer to a cutting board, slice if desired, and garnish with fresh parsley, extra parmesan, and a squeeze of lemon.
Notes
For the crispiest results, use full-fat mayonnaise and freshly grated parmesan. Avoid overcrowding the pan; leave at least an inch of space between chicken breasts. For gluten-free version, swap panko for gluten-free panko or crushed pork rinds. Reheat leftovers in the oven or air fryer, not the microwave.
Nutrition
- Serving Size: 1 chicken breast
- Calories: 420
- Sugar: 1
- Sodium: 800
- Fat: 24
- Saturated Fat: 6
- Carbohydrates: 12
- Fiber: 1
- Protein: 42
Keywords: crispy garlic parmesan chicken, baked chicken breast, one pan meal, easy chicken recipe, weeknight dinner, meal prep chicken