My nephew took one bite, paused, and then very seriously asked if the mummy was going to unwrap itself. He was five, and for a solid minute, I watched him poke at the crescent dough bandages on his hot dog, waiting for something spooky to happen. That moment—where silly food and pure childhood imagination collided—is exactly why these Easy Mummy Crescent Hot Dogs have become our non-negotiable Halloween tradition. They are ridiculous in the best way, and honestly, that is the whole point.
I first made these on a whim five years ago when I realized I had a can of crescent rolls, some hot dogs, and absolutely zero time for elaborate Halloween treats. The kids were bouncing off the walls, the doorbell was about to start ringing, and I needed something fast. I wrapped those little hot dogs up like tiny bandaged bodies, threw on some mustard eyes, and handed them out before the first trick-or-treater even arrived. They disappeared in minutes.
These mummy dogs are not gourmet, and they are not pretending to be. They are the kind of thing you make when you want the kids to actually eat dinner before the sugar rush hits, or when you need a party snack that looks like you tried harder than you did. The crescent dough gets perfectly golden and flaky, the hot dog stays juicy inside, and those little mustard eyes? They make everyone smile. It is simple food with a sense of humor, and that is exactly what Halloween needs.
Why You’ll Love This Recipe
Let me tell you why these little guys have earned a permanent spot in our Halloween rotation. I have tested this recipe at multiple parties, with picky kids, and even at a grown-up gathering where everyone pretended they were too cool for mummy dogs—until they ate three each.
- Ready in 20 Minutes: From opening the can to pulling them out of the oven, you are looking at about 20 minutes total. That is faster than most delivery, and definitely faster than carving a pumpkin.
- Only 3 Ingredients: Crescent rolls, hot dogs, and mustard. That is it. No weird specialty items, no last-minute grocery store panic. You probably have everything right now.
- Perfect for Halloween Parties: Whether you are hosting a spooky gathering or just need something fun before trick-or-treating, these fit right in. They pair beautifully with our spider web charcuterie board for a full spread.
- Kid-Approved and Adult-Friendly: Kids love the silly look, and adults appreciate that they are actually satisfying. I have seen grown men argue over the last mummy dog.
- Customizable for Any Diet: Swap in turkey dogs, plant-based sausages, or even cheese-filled hot dogs. The crescent dough works with pretty much anything you wrap it around.
What makes this recipe different from the other versions floating around the internet? It is the little details. I cut my dough strips slightly thinner so the bandages look more realistic. I leave a tiny gap between the wraps so the hot dog peeks through. And I always, always use yellow mustard for the eyes because the color pops against the golden dough. These small tweaks turn a basic snack into something that actually looks like a tiny mummy—and that is the whole fun of it.
This is the kind of recipe that makes you feel like a Halloween hero without breaking a sweat. The kids think you are a kitchen wizard, the guests are impressed, and you get to enjoy the party instead of being stuck in the kitchen.
What Ingredients You Will Need
This recipe keeps things incredibly simple. You only need three main ingredients, plus a couple of optional extras if you want to get fancy. The beauty is in the simplicity—no complicated shopping lists, no obscure spices.
- Hot Dogs: Standard beef or pork hot dogs work best. I personally prefer Ball Park or Hebrew National because they have a good snap and hold up well during baking. You can use turkey dogs or plant-based sausages if you prefer, just make sure they are fully cooked since we are only warming them through in the oven.
- Crescent Rolls: One 8-ounce can of Pillsbury Crescent Rolls (the original kind, not the seamless sheet) gives you exactly 8 dough triangles. You will cut each triangle lengthwise into 3-4 thin strips. If you want extra mummies, grab two cans. I have also used the store-brand version with good results, but Pillsbury consistently gives the flakiest texture.
- Yellow Mustard: This is for the eyes. Yellow mustard is ideal because it is bright, has a nice tang, and creates perfect little dots. You can use a squeeze bottle or just dip a toothpick and dab it on. Dijon works in a pinch, but the color is less dramatic.
- Optional – Cooking Spray: A light spray on your baking sheet prevents sticking. I use a non-stick aluminum foil liner instead, which also makes cleanup effortless.
- Optional – Ketchup or Sriracha: Some people like to add a little red color for blood effects. A tiny dot of ketchup near the mustard eyes adds a fun creepy touch. Sriracha works for a spicier version.
- Optional – Sesame Seeds or Poppy Seeds: Sprinkle a few on the dough before baking for extra texture. It makes the mummies look like they have little crusty bandages, which is oddly fitting.
That is genuinely everything. No eggs for washing, no cheese for melting, no complicated sauces. The magic happens when the crescent dough bakes up golden and flaky, wrapping around the hot dog like a perfectly toasted mummy wrap. I have made these so many times that I now keep a can of crescent rolls in the fridge all October, just in case we need a last-minute Halloween snack.
Equipment Needed
You do not need a fancy kitchen for these mummy dogs. I have made them in a cramped apartment oven and a spacious kitchen, and they turn out great either way.
- Baking Sheet: A standard half-sheet pan works perfectly. I recommend lining it with parchment paper or non-stick aluminum foil for easy cleanup.
- Sharp Knife or Pizza Cutter: You need to cut the crescent dough triangles into thin strips. A pizza cutter gives you clean, even lines. A sharp knife works just as well.
- Cutting Board: For slicing the hot dogs if you want mini mummies, or just for cutting the dough.
- Pastry Brush (Optional): If you decide to brush the dough with butter or egg wash, a pastry brush helps. But honestly, I skip this step most of the time.
- Toothpicks: Useful for dabbing on the mustard eyes with precision. I keep a few handy.
- Cooling Rack: Not essential, but it helps the mummies stay crispy on the bottom instead of getting soggy on the baking sheet.
I have made these with just a butter knife and a fork before, so do not stress about equipment. The only thing I would recommend splurging on is good parchment paper—the kind that does not curl up at the edges. It makes a difference when you are trying to line up those little dough strips.
Preparation Method
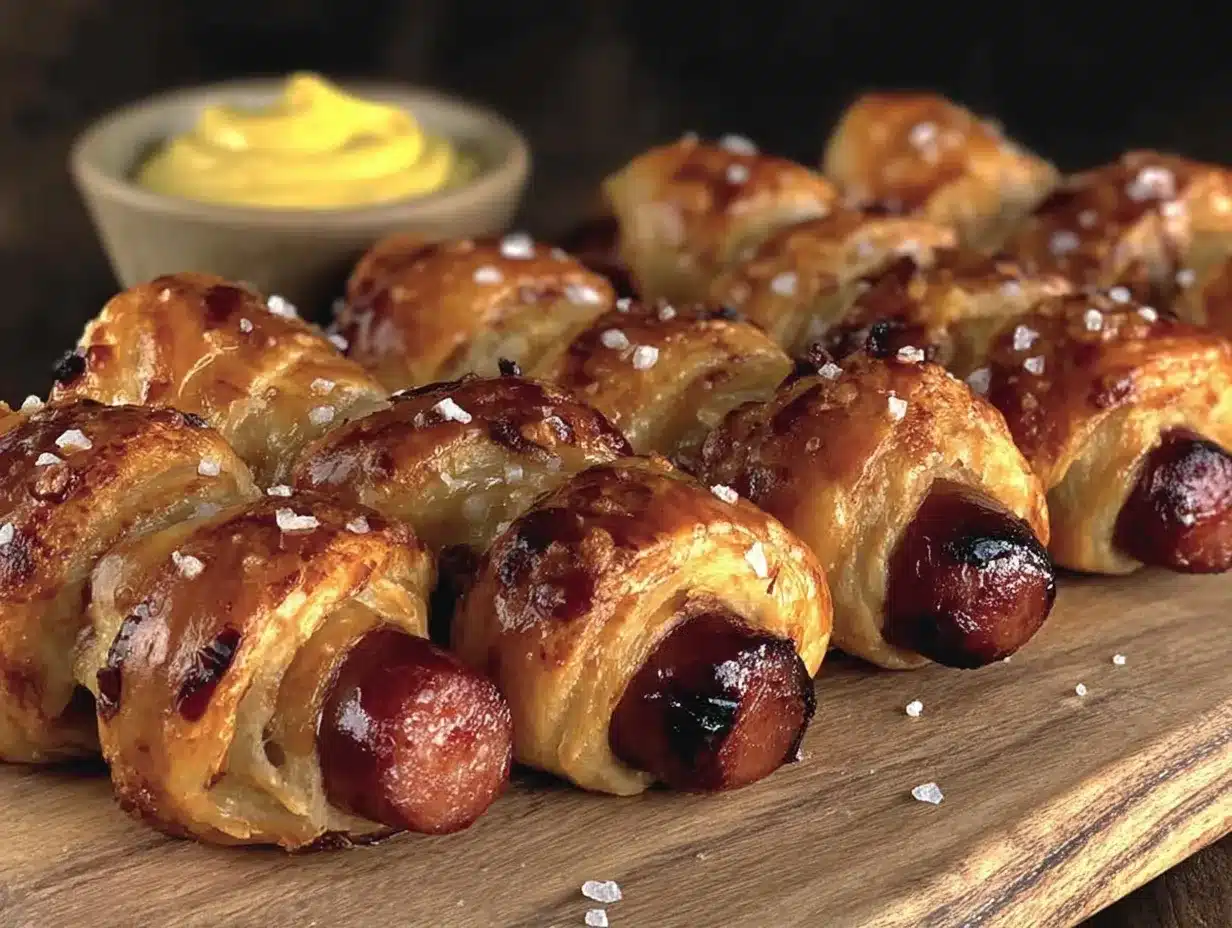
Let me walk you through this step by step. I have made these so many times that I have the process memorized, but I will slow it down so you get perfect mummies every time.
- Preheat Your Oven to 375°F (190°C). Place your oven rack in the middle position. Line a baking sheet with parchment paper or non-stick foil. Do not skip the lining—crescent dough has a tendency to stick, and nobody wants to peel a mummy off a hot pan.
- Open the Crescent Rolls. Pop open that can—carefully, because it always makes that startling pop sound. Unroll the dough and separate it into the 8 pre-perforated triangles along the perforated lines. Lay them flat on your cutting board.
- Cut the Triangles into Strips. Using a sharp knife or pizza cutter, slice each triangle lengthwise into 3-4 thin strips. The strips should be about 1/2 inch wide. Do not cut them too thin or they will break when you wrap. I usually get 3 strips per triangle, but if you want more bandage-like coverage, go for 4 thinner strips. The strips should be long and tapering, just like the triangle shape.
- Prepare the Hot Dogs. Pat the hot dogs dry with a paper towel. This helps the dough stick better. If you want mini mummies, cut the hot dogs in half crosswise. For full-size mummies, leave them whole. I prefer whole because they look more dramatic, but mini ones are perfect for kids’ portions.
- Wrap the Hot Dogs. Take one strip of crescent dough and start wrapping it around the hot dog at a slight angle, just like you are bandaging a tiny arm. Leave a small gap about 1 inch from the top—this will be the face area where the eyes go. Overlap the dough slightly as you wrap, but leave tiny spaces between the wraps so you can see the hot dog peeking through. This makes it look like actual bandages. Tuck the end of the dough strip under the hot dog to secure it.
- Continue with More Strips. Use 2-3 strips per hot dog, depending on how much coverage you want. I typically use 2 strips for a looser mummy look and 3 for a more wrapped-up appearance. Make sure you leave that face gap at the top. The last strip should end at the bottom of the hot dog, tucked underneath.
- Place on Baking Sheet. Arrange the wrapped mummies on your prepared baking sheet, leaving about 1 inch of space between each one. They will puff up slightly as they bake, so give them room.
- Bake for 12-15 Minutes. Bake until the crescent dough is golden brown and flaky. The hot dogs will be heated through. Keep an eye on them after 12 minutes—ovens vary, and you want golden, not burnt. The dough should look puffed and lightly browned on the edges.
- Cool Slightly. Let the mummies rest on the baking sheet for 2-3 minutes. This allows the dough to set so it does not fall apart when you move them. Transfer to a cooling rack if you have one.
- Add the Eyes. Once the mummies are cool enough to handle (but still warm), use a toothpick or the tip of a squeeze bottle to dab two small dots of yellow mustard on the exposed hot dog face area. Make them close together for a cute look, or slightly uneven for a more creepy vibe. I have found that doing the eyes while the mummies are still warm helps the mustard adhere better.
- Serve Immediately. These are best eaten warm, right after baking. The dough is crispy on the outside and soft inside, and the hot dog is perfectly juicy. Arrange them on a platter and watch them disappear.
One thing I learned the hard way: do not over-wrap the hot dogs. If you use too many strips, the dough gets thick and doughy in the center, and you lose that nice bandage effect. Two to three strips per mummy is the sweet spot. Also, if the dough strips feel too sticky, lightly dust your hands with flour. But usually, they are manageable straight from the can.
Cooking Tips & Techniques
After making these mummy dogs for five Halloweens straight, I have collected a few tricks that make a real difference. Some of these came from happy accidents, others from frustrating failures.
Keep the Dough Cold. Crescent roll dough works best when it is cold. If your kitchen is warm, pop the wrapped mummies in the fridge for 10 minutes before baking. This helps the dough hold its shape and prevents it from spreading out into a flat mess. I learned this after my first batch turned into blobs instead of bandages.
Do Not Overlap Too Much. When wrapping, leave tiny gaps between the dough strips. This is what gives the mummy effect. If you overlap too heavily, it just looks like a hot dog wrapped in a thick blanket. The gaps let the hot dog brown slightly and create that authentic bandage look.
Use the Right Hot Dog Size. Standard-size hot dogs work best. Jumbo hot dogs require more dough strips and can end up undercooked in the center. Cocktail sausages are fun for mini mummies but need thinner strips. Stick with regular size for the best ratio.
Watch the Baking Time. Every oven runs differently. Start checking at 12 minutes. The dough should be golden brown, not pale. If the bottoms are browning faster than the tops, move the baking sheet to a higher rack. I have had batches where the tops looked perfect but the bottoms were burnt—learn from my mistakes.
Make Ahead for Parties. You can wrap the mummies up to 4 hours ahead and keep them in the fridge on the baking sheet. Just add 2-3 minutes to the baking time since they are starting cold. This is a lifesaver when you are hosting a party and need to prep ahead.
Double the Batch. These go fast. I always make at least 16 mummies (two cans of crescent rolls) because the first tray disappears before the second one is even out of the oven. Trust me on this one.
Variations & Adaptations
One of the best things about this recipe is how easy it is to change up. I have tried several variations over the years, and some have become new favorites.
Cheesy Mummies: Before wrapping, slice the hot dog lengthwise almost all the way through and stuff a thin strip of cheddar or mozzarella cheese inside. Wrap as usual. The cheese melts out slightly during baking, creating a gooey, delicious surprise. These are dangerously good.
Spicy Mummies: Use spicy Italian sausages or jalapeño cheddar hot dogs instead of regular. Add a tiny dot of sriracha next to the mustard eyes for a bloody effect. These are perfect for adults who want a little kick.
Veggie Mummies: Swap the hot dog for a plant-based sausage or even a cooked carrot (peeled and parboiled for tenderness). Brush the carrot with a little olive oil and season with smoked paprika before wrapping. My vegetarian friend requested these, and they actually turned out great.
Breakfast Mummies: Use breakfast sausages instead of hot dogs and wrap with crescent dough. Bake as directed, then serve with maple syrup for dipping. I made these for a Halloween morning breakfast, and the kids went crazy.
Gluten-Free Option: Use gluten-free crescent roll dough if you can find it. The texture is slightly different—a bit more crumbly—but the mummy effect still works. Check the baking time, as gluten-free dough often bakes faster.
Mini Mummy Bites: Cut hot dogs into 1-inch pieces and wrap each piece with a small strip of dough. Bake for 10-12 minutes. These are perfect for appetizer platters or kids who want bite-sized snacks. I served these alongside our pepperoni pizza sliders for a Halloween party, and they were a hit.
My personal favorite variation is the cheesy mummy. I love the combination of melted cheese, salty hot dog, and flaky crescent dough. It takes the recipe from fun snack to something I genuinely crave, even outside of Halloween season.
Serving & Storage Suggestions
These mummy dogs are best served warm, right out of the oven. The contrast between the crispy dough and the juicy hot dog is at its peak within the first 15 minutes. Arrange them on a platter with the mustard eyes facing up so everyone can see the faces. I like to serve them with a few dipping options on the side.
Dipping Sauces: Ketchup, mustard, ranch dressing, or even spicy mayo all work well. For Halloween, I sometimes serve a “blood” dip (ketchup mixed with a little sriracha) and a “slime” dip (ranch with green food coloring). The kids love the theme, and the adults appreciate the flavor variety.
Pairing Suggestions: These mummy dogs pair beautifully with other party snacks. They are great alongside our spider web charcuterie board for a full Halloween spread. I also like to serve them with a bowl of candy corn popcorn bars for dessert—the sweet and salty combo is perfect.
Storage: Leftover mummy dogs can be stored in an airtight container in the refrigerator for up to 3 days. The dough will lose its crispness, but they still taste good. To reheat, place them on a baking sheet in a 350°F oven for 5-7 minutes. Avoid the microwave—it makes the dough soggy and the hot dog rubbery.
Freezing: You can freeze the unbaked wrapped mummies. Arrange them on a baking sheet and freeze until solid, then transfer to a freezer bag. Bake directly from frozen, adding 3-5 minutes to the baking time. This is perfect for prepping ahead for Halloween parties. I usually make a double batch and freeze half for later in the month.
One thing I have noticed: the flavors actually develop a little if you let them sit for a few hours. The mustard soaks into the hot dog slightly, and the dough absorbs some of the savory juices. They are not as crispy, but the flavor is deeper. So if you have leftovers, do not toss them—they make a great next-day lunch.
Nutritional Information & Benefits
Let me be honest—these are not health food. They are a fun Halloween treat, and that is okay. But I have broken down the approximate nutritional values so you can plan accordingly.
Per Serving (1 mummy dog): Approximately 220-260 calories, 14g fat, 20g carbohydrates, 8g protein, 2g sugar, 600mg sodium. These numbers vary based on the hot dog brand and crescent roll type you use.
Health Considerations: If you are watching your sodium, look for low-sodium hot dogs. Turkey dogs cut the fat and calories by about half. For a lower-carb option, use low-carb tortillas cut into strips instead of crescent dough—though the texture is different, the mummy effect still works.
Potential Allergens: Crescent rolls contain wheat, milk, and soy. Hot dogs often contain soy and may have traces of other allergens. Always check labels if you are serving guests with food allergies. For a dairy-free version, use dairy-free crescent roll dough (some brands offer this) and check your hot dog ingredients.
Ingredient Benefits: On the positive side, hot dogs do provide protein and iron. Crescent rolls offer carbohydrates for quick energy—useful before a night of trick-or-treating. And mustard is low in calories and contains turmeric, which has anti-inflammatory properties. So there are small silver linings, even in a treat like this.
My personal philosophy: Halloween is one night a year. I do not stress about nutrition on this particular evening. The joy of making something silly and delicious with my kids is worth more than the calorie count. Balance comes from the other 364 days.
Conclusion
These Easy Mummy Crescent Hot Dogs have become my secret weapon for Halloween. They are fast, fun, and foolproof—everything a busy parent or party host needs. I have made them for costume parties, classroom celebrations, and quiet family nights, and they never fail to bring smiles. There is something about food that looks like a little person that just makes everyone happy, regardless of age.
I love that this recipe lets me be creative without being stressed. The kids can help with the wrapping (messy, but memorable), and the result is always satisfying. It is the kind of food that does not take itself too seriously, and honestly, that is what Halloween should be about.
I encourage you to make these your own. Try the cheesy version, experiment with different sausages, or get the kids involved in decorating the faces. The beauty of this recipe is its flexibility. And if you come up with a variation I have not tried, please share it in the comments. I am always looking for new ideas—I have been making these for five years, and I am still discovering new twists.
So grab a can of crescent rolls, some hot dogs, and a squeeze bottle of mustard. In twenty minutes, you will have a platter of the cutest, tastiest mummies on the block. Happy Halloween, and happy cooking!
Frequently Asked Questions
Can I make these mummy dogs ahead of time?
Absolutely. You can wrap the mummies up to 4 hours ahead and keep them in the fridge. Bake them just before serving for the best texture. You can also freeze the unbaked mummies for up to a month.
What kind of hot dogs work best?
Standard beef or pork hot dogs are ideal. Turkey dogs and plant-based sausages also work well. Avoid jumbo hot dogs, as they require too much dough and may not cook through evenly.
Can I use something other than crescent rolls?
Yes. Puff pastry sheets cut into strips work beautifully, though they are richer. You can also use refrigerated pizza dough or even low-carb tortillas cut into strips. The baking time may vary slightly.
How do I keep the dough from unraveling during baking?
Tuck the end of each dough strip securely under the hot dog. You can also press the end gently against the previous wrap—the dough will stick to itself as it bakes. Chilling the wrapped mummies for 10 minutes before baking also helps.
Can I make these in an air fryer?
Yes. Air fry at 350°F for 8-10 minutes, checking halfway through. The dough gets extra crispy in the air fryer. You may need to work in batches depending on the size of your air fryer basket.
Pin This Recipe!
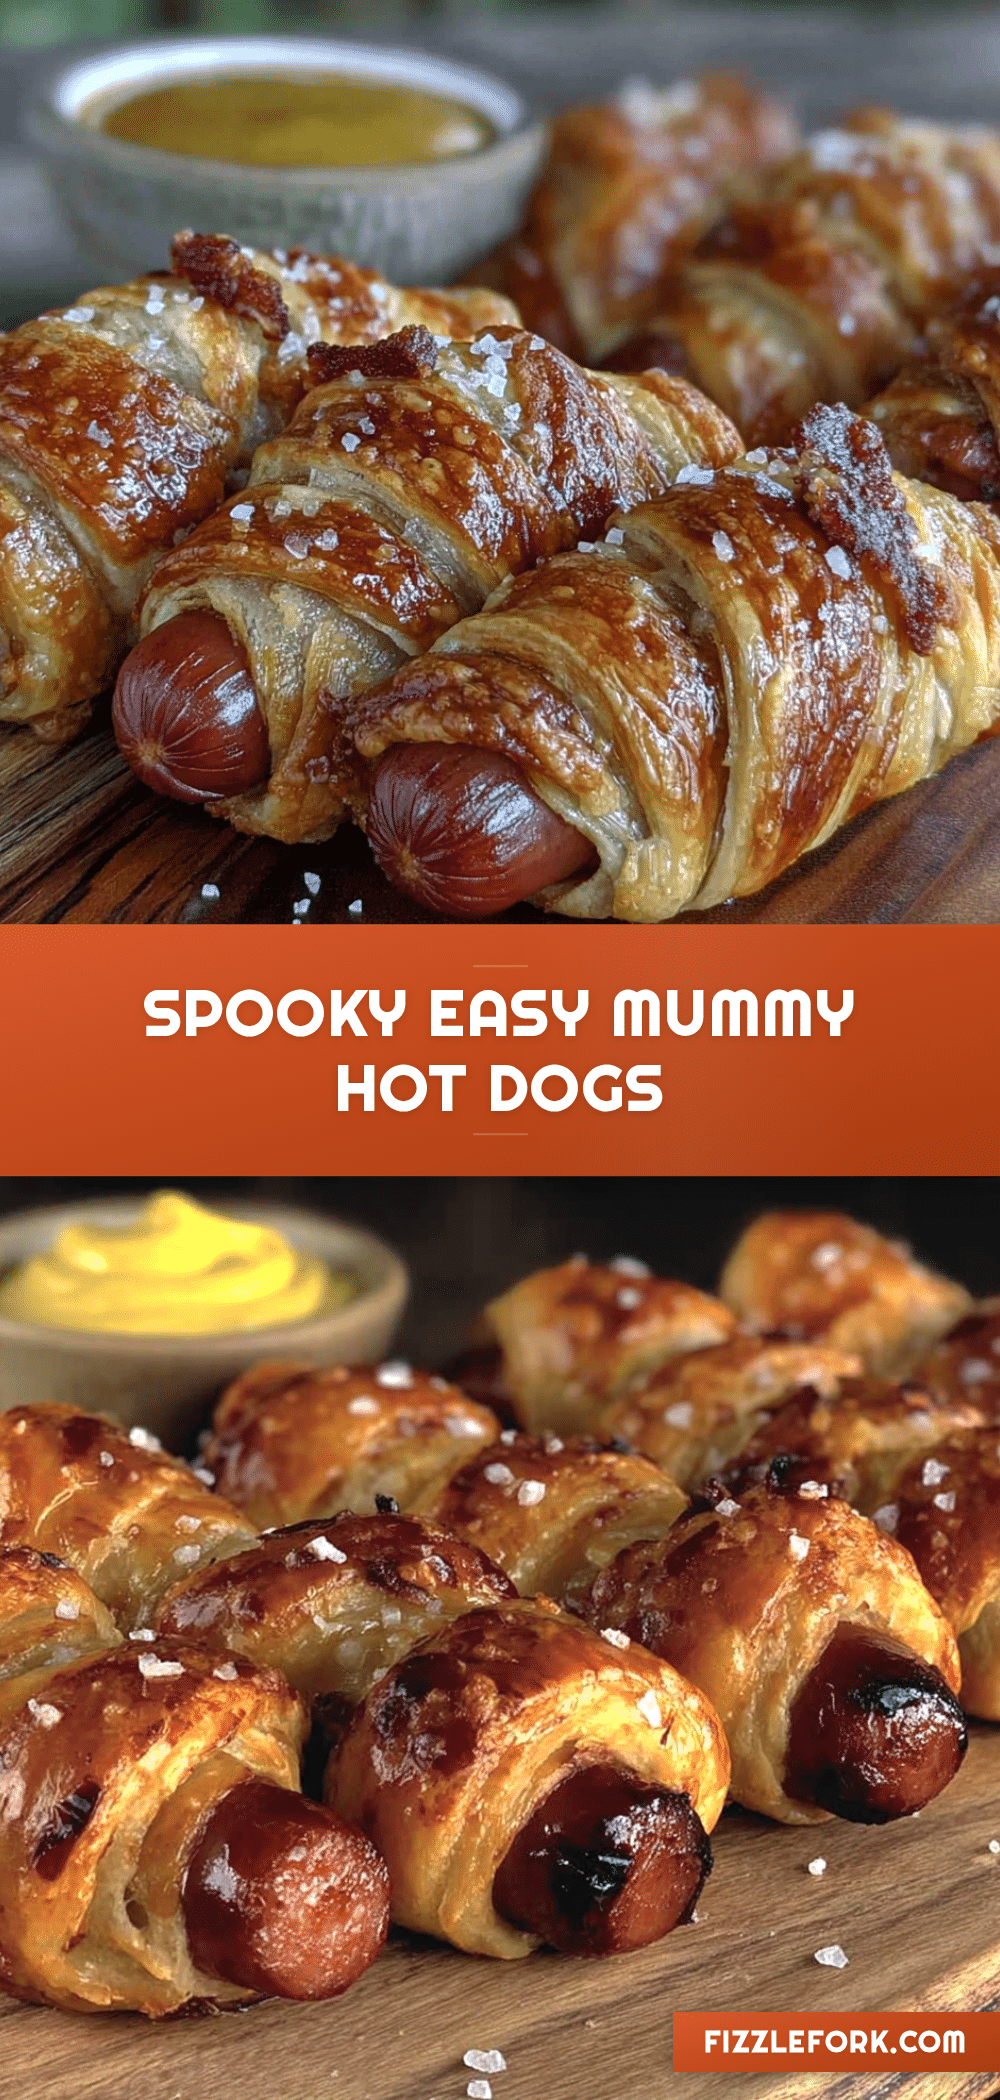
Easy Mummy Crescent Hot Dogs: Perfect Halloween Recipe
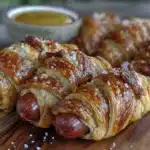
These Easy Mummy Crescent Hot Dogs are a fun, fast, and foolproof Halloween treat made with just three ingredients. Ready in 20 minutes, they are perfect for parties, trick-or-treat night, or a silly family dinner.
- Prep Time: 10 minutes
- Cook Time: 15 minutes
- Total Time: 25 minutes
- Yield: 8 servings 1x
- Category: Appetizer
- Cuisine: American
Ingredients
- 8 hot dogs (standard beef or pork, such as Ball Park or Hebrew National)
- 1 can (8 oz) Pillsbury Crescent Rolls (original, not seamless sheet)
- Yellow mustard (for eyes)
- Cooking spray (optional, for baking sheet)
- Ketchup or sriracha (optional, for blood effects)
- Sesame seeds or poppy seeds (optional, for texture)
Instructions
- Preheat oven to 375°F (190°C). Line a baking sheet with parchment paper or non-stick foil.
- Open the crescent rolls and separate into 8 triangles along the perforated lines.
- Using a sharp knife or pizza cutter, cut each triangle lengthwise into 3-4 thin strips (about 1/2 inch wide).
- Pat hot dogs dry with a paper towel. Leave whole for full-size mummies or cut in half crosswise for mini mummies.
- Take one dough strip and wrap it around a hot dog at a slight angle, starting about 1 inch from the top (leave this gap for the face). Overlap slightly but leave small gaps so the hot dog peeks through. Tuck the end under the hot dog.
- Use 2-3 strips per hot dog, depending on desired coverage. Leave the face gap clear. Tuck the last strip under the bottom.
- Place wrapped mummies on the prepared baking sheet, about 1 inch apart.
- Bake for 12-15 minutes, until the dough is golden brown and flaky. Check at 12 minutes to avoid burning.
- Let mummies rest on the baking sheet for 2-3 minutes, then transfer to a cooling rack if desired.
- While still warm, use a toothpick or squeeze bottle to dab two small dots of yellow mustard on the exposed hot dog face area for eyes.
- Serve immediately.
Notes
Keep dough cold for best results. Do not over-wrap; 2-3 strips per mummy is ideal. For make-ahead, wrap up to 4 hours ahead and refrigerate, then add 2-3 minutes to baking time. Leftovers can be stored in an airtight container in the fridge for up to 3 days; reheat in a 350°F oven for 5-7 minutes. Freeze unbaked wrapped mummies for up to a month; bake from frozen, adding 3-5 minutes.
Nutrition
- Serving Size: 1 mummy dog
- Calories: 240
- Sugar: 2
- Sodium: 600
- Fat: 14
- Saturated Fat: 5
- Carbohydrates: 20
- Protein: 8
Keywords: Halloween, mummy hot dogs, crescent rolls, easy appetizer, kid-friendly, party snack, spooky food