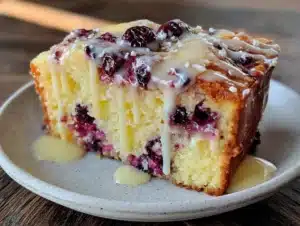
There used to be a tiny bakery two blocks from my daughter’s elementary school that made the most incredible no-bake treats. When they closed their doors last spring—just a handwritten sign taped to the window saying “Thank you for the sweet years”—I honestly felt a little pang of panic. My kids had been begging for those white chocolate avalanche cookies every single week, and I knew I had to figure them out myself. After seven tries—some were too crumbly, one was a sticky mess that wouldn’t set—I finally got it.
The secret was in the ratio of white chocolate to peanut butter, and the way you let the mixture cool just enough before folding in the marshmallows and rice cereal. I mean, the first batch I made looked like a science experiment gone wrong. But now? These are better than the bakery version, and my kids agree. Maybe you’ve been there—chasing a recipe that feels impossible to recreate, only to discover you can actually make it even better at home.
These no-bake avalanche cookies are the kind of treat that makes you feel like a kitchen hero without breaking a sweat. They come together in about 15 minutes of active time, use simple pantry ingredients, and have that perfect combination of creamy white chocolate, crunchy cereal, and soft marshmallows. Honestly, they’re dangerous to have around—I caught my husband sneaking one before breakfast last Saturday.
Why You’ll Love This Recipe
Let me tell you why these avalanche cookies have become a staple in our house. First off, they’re completely no-bake, which means no heating up the kitchen and no complicated techniques. I’ve tested this recipe with my own kids—ages 6 and 9—and they can help with almost every step. That’s a win in my book.
- Quick & Easy : From start to finish, you’re looking at about 20 minutes of hands-on time. The hardest part is waiting for them to set in the fridge.
- Simple Ingredients : You probably have most of these in your pantry right now. White chocolate chips, peanut butter, rice cereal, and mini marshmallows—that’s it.
- Perfect for Busy Families : These are great for after-school snacks, lunchbox surprises, or last-minute bake sale contributions. No oven required.
- Crowd-Pleaser : Every time I bring these to a playdate or family gathering, they disappear within minutes. Kids and adults both go crazy for them.
- Unbelievably Delicious : The texture is what gets everyone—crunchy from the cereal, creamy from the white chocolate, and chewy from the marshmallows. It’s a perfect bite every time.
What makes this recipe different from the avalanche cookies you might have tried before? It’s the way the white chocolate and peanut butter work together. I use a specific ratio that keeps the cookies from being too sweet or too dense. Plus, I add a pinch of salt to balance everything out—trust me on this one. This isn’t just another no-bake cookie recipe; it’s the one you’ll come back to again and again.
These cookies are the kind that make you close your eyes after the first bite. They’re comfort food at its simplest—no fancy techniques, no expensive ingredients, just pure, satisfying goodness. Perfect for when you need a quick treat that feels special without the stress.
What Ingredients You Will Need
This recipe uses simple, wholesome ingredients that you can find at any grocery store. The beauty of these avalanche cookies is that they don’t require anything fancy—just a few pantry staples that come together in a magical way.
- White chocolate chips (12 ounces or about 2 cups) – I recommend Ghirardelli or Guittard for the best melting quality. Avoid white chocolate morsels that contain vegetable oil, as they don’t set as firmly.
- Creamy peanut butter (1/2 cup) – Use a standard brand like Jif or Skippy for consistent results. Natural peanut butter that separates can make the mixture too oily.
- Unsalted butter (2 tablespoons) – This helps the white chocolate melt smoothly and adds richness. If you only have salted butter, just skip the added salt later.
- Mini marshmallows (3 cups) – The mini ones work best because they distribute evenly. Jet-Puffed is my go-to brand. For a fun twist, use colored marshmallows for holidays.
- Crispy rice cereal (3 cups) – Rice Krispies are classic, but any generic brand works fine. Make sure they’re fresh and crunchy—stale cereal will make the cookies less crisp.
- Vanilla extract (1 teaspoon) – Pure vanilla adds depth, but imitation works in a pinch. I always use pure because the flavor is noticeably better.
- Salt (1/4 teaspoon) – This is optional but highly recommended. It balances the sweetness and makes the flavors pop. Don’t skip it.
A few ingredient tips from my kitchen to yours: If you want to make these dairy-free, use dairy-free white chocolate chips and a plant-based butter substitute. For a nut-free version, swap the peanut butter with sunflower seed butter—just know the flavor will be slightly different. I’ve also tried using crunchy peanut butter for extra texture, and it works beautifully if that’s what you have on hand.
One thing I learned the hard way: don’t use white chocolate bars chopped into chunks unless you’re comfortable with tempering chocolate. Chips are formulated to melt smoothly and set properly, which is exactly what we need here. Stick with chips for the best results.
Equipment Needed
You don’t need any fancy equipment for these avalanche cookies, which is part of their charm. Here’s what you’ll need:
- Large microwave-safe bowl – For melting the white chocolate and peanut butter together. Glass or ceramic works best.
- Silicone spatula – For stirring everything together. A wooden spoon works too, but a spatula gets into the corners better.
- Baking sheet – Line it with parchment paper or a silicone baking mat for easy cleanup. I use a standard half-sheet pan.
- Cookie scoop or spoon – For portioning the mixture. A 1.5-tablespoon scoop gives you perfectly uniform cookies.
- Measuring cups and spoons – Accuracy matters here, especially with the peanut butter and cereal.
- Parchment paper – Essential for preventing sticking. Wax paper works in a pinch, but parchment is more reliable.
If you don’t have a microwave, you can melt the white chocolate and peanut butter on the stovetop using a double boiler. Just be careful not to overheat the chocolate—it can seize up if it gets too hot. I’ve also used a cheap cookie scoop from the dollar store for years, and it’s still going strong. You really don’t need expensive tools for this recipe.
Preparation Method
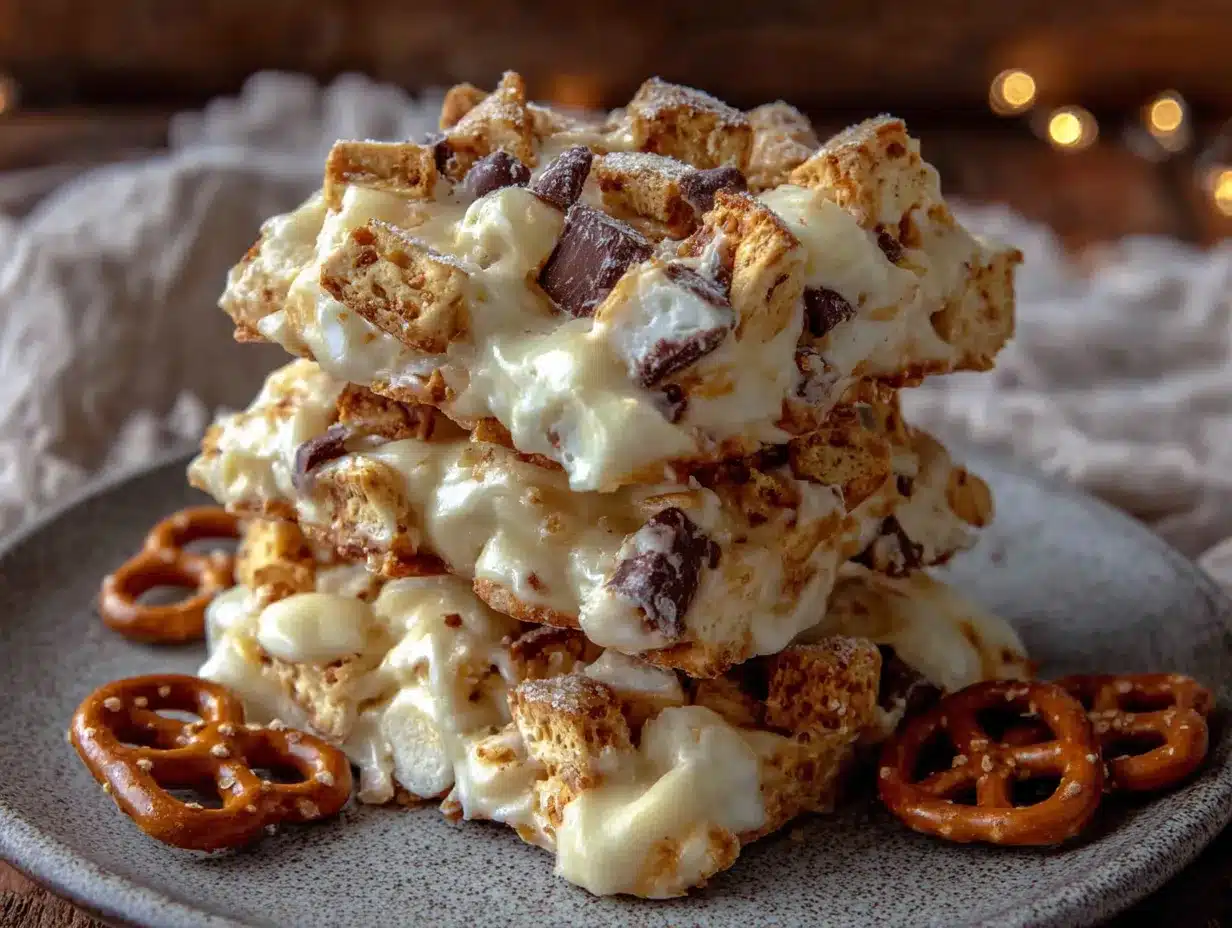
Let me walk you through this step by step. I’ve made these avalanche cookies more times than I can count, so I’ll share all the little tricks I’ve picked up along the way.
Step 1: Prepare your workspace. Line a large baking sheet with parchment paper. Set it aside where it will fit in your refrigerator. You want everything ready because the mixture sets quickly once it’s combined.
Step 2: Melt the white chocolate mixture. In a large microwave-safe bowl, combine 12 ounces of white chocolate chips, 1/2 cup creamy peanut butter, and 2 tablespoons unsalted butter. Microwave in 30-second intervals, stirring well after each interval. It usually takes about 1.5 to 2 minutes total. The mixture should be smooth and fully melted—no lumps. Be careful not to overheat, or the white chocolate can become grainy.
Step 3: Add the flavorings. Stir in 1 teaspoon vanilla extract and 1/4 teaspoon salt (if using). The salt is optional, but I really think it makes a difference. It cuts through the sweetness and makes the cookies more addictive. Give it a good stir until everything is incorporated.
Step 4: Let it cool slightly. This is the trickiest part. You want the mixture to cool for about 3-5 minutes at room temperature. If it’s too hot, the marshmallows will start to melt and you’ll end up with a sticky mess. If it’s too cool, the mixture will be hard to stir. You’re looking for a warm but not hot consistency—think the temperature of a warm bath.
Step 5: Fold in the dry ingredients. Add 3 cups crispy rice cereal and 3 cups mini marshmallows to the melted white chocolate mixture. Use a silicone spatula to fold everything together gently. You want to coat the cereal and marshmallows evenly without crushing them. This takes about 1-2 minutes of gentle folding. Don’t rush this step.
Step 6: Portion the cookies. Working quickly, use a cookie scoop or spoon to drop rounded tablespoons of the mixture onto the prepared baking sheet. Space them about 2 inches apart—they don’t spread, but you want room to work. If the mixture starts to get too stiff, you can pop the bowl in the microwave for 10 seconds to soften it.
Step 7: Shape the cookies. Gently press each cookie into a round shape with your fingers. The mixture will be slightly sticky, so lightly wet your fingers with water if needed. Don’t press too hard—you want to keep that chunky texture with visible marshmallows and cereal pieces.
Step 8: Chill until set. Place the baking sheet in the refrigerator for at least 30 minutes, or until the cookies are firm to the touch. They’ll be ready to eat after this, but they get even better after an hour or two. The white chocolate needs time to fully set and develop that perfect snap.
Step 9: Optional drizzle. If you want to make them extra pretty, melt a few extra white chocolate chips and drizzle it over the tops. This is totally optional but makes them look bakery-worthy. I do this when I’m bringing them to a party or giving them as gifts.
Step 10: Enjoy! Once set, these avalanche cookies are ready to devour. Store any leftovers in an airtight container in the refrigerator for up to a week—if they last that long.
Cooking Tips & Techniques
I’ve made plenty of mistakes with these cookies so you don’t have to. Here are the most important things I’ve learned:
Don’t overheat the white chocolate. This is the number one mistake. White chocolate burns easily and becomes grainy when overheated. Always use 30-second intervals and stir between each one. If it looks almost melted but still has a few lumps, keep stirring—the residual heat will finish the job.
Let the mixture cool before adding marshmallows. I learned this the hard way when I ended up with melted marshmallow goo instead of distinct white puffs. The mixture should be warm but not hot. Test it by touching a small amount to your wrist—it should be comfortably warm, not burning hot.
Work quickly once everything is combined. The mixture starts to set as it cools, so you want to portion the cookies within 5-10 minutes. Have your baking sheet ready and your scoop handy. If the mixture becomes too stiff, a quick 10-second zap in the microwave will soften it right up.
Use fresh cereal. Stale rice cereal will result in soggy cookies. Check the expiration date and listen for that satisfying crunch when you open the box. If your cereal has been open for more than a few weeks, buy a fresh box for the best texture.
Press the cookies gently. You want them to hold together without being dense. Think of it like making snowballs—you want them to be compact but still have texture. If you press too hard, you’ll crush the cereal and lose that wonderful crunch.
Multitasking tip: While the cookies are chilling in the fridge, clean up your workspace. The white chocolate mixture can be sticky, so soak your bowl and spatula in hot soapy water right away. Trust me, it’s much easier than scrubbing later.
Variations & Adaptations
These avalanche cookies are incredibly versatile. Here are some of my favorite ways to switch them up:
Chocolate Avalanche Cookies: Swap the white chocolate chips for semi-sweet or milk chocolate chips. The process is exactly the same, and you get a completely different cookie. My son actually prefers these—he says they taste like chocolate-covered marshmallows.
Peppermint Holiday Version: Add 1/2 teaspoon peppermint extract along with the vanilla, and use crushed candy canes instead of some of the marshmallows. The red and white look so festive on a Christmas cookie platter. I’ve been making these for our annual cookie exchange for years.
Nut-Free Option: Substitute the peanut butter with sunflower seed butter or WowButter. The texture stays the same, but the flavor is slightly different. My daughter’s school is nut-free, so this is our go-to version for classroom parties.
Gluten-Free Adaptation: These cookies are naturally gluten-free as long as you use certified gluten-free rice cereal. I’ve tested this with both name-brand and store-brand gluten-free cereals, and they all work perfectly.
Birthday Cake Version: Use white chocolate chips and add 1/4 cup rainbow sprinkles along with the cereal and marshmallows. The sprinkles add a fun pop of color and a slight crunch. My kids request these for every birthday party.
Double Peanut Butter: Use crunchy peanut butter instead of creamy, and add 1/2 cup chopped peanuts. The extra crunch is amazing, and peanut butter lovers go wild for this version. I made this for a Super Bowl party once, and they were gone before halftime.
Serving & Storage Suggestions
These avalanche cookies are best served cold right from the refrigerator. The white chocolate needs to be firm to get that perfect snap, and the marshmallows stay nice and chewy. If you leave them at room temperature for too long, they can get a bit soft—still delicious, but not as texturally perfect.
For presentation, I like to arrange them on a white platter or in a decorative tin lined with parchment paper. If you’re giving them as gifts, stack them in a mason jar with a ribbon tied around the top. They look so pretty with the white chocolate and marshmallow chunks visible through the glass.
These cookies pair beautifully with a cold glass of milk, a hot cup of coffee, or even a scoop of vanilla ice cream for an indulgent dessert. My husband likes to crumble them over yogurt for a sweet breakfast treat—not that I recommend eating cookies for breakfast, but hey, no judgment here.
Storage instructions: Keep the cookies in an airtight container in the refrigerator for up to 1 week. They actually get better after a day or two as the flavors meld together. You can also freeze them for up to 3 months—just layer them between sheets of parchment paper in a freezer-safe container.
To thaw frozen cookies: Transfer them to the refrigerator overnight, or let them sit at room temperature for about 15 minutes. They’ll be just as good as fresh. I often make a double batch and freeze half for busy weeks when I need a quick treat.
One thing to note: these cookies don’t travel well in warm weather. The white chocolate can soften and the cookies might lose their shape. If you’re bringing them to a summer picnic, keep them in a cooler until serving time.
Nutritional Information & Benefits
Let’s be real—these are cookies, so they’re not health food. But I do love that they use real ingredients without any artificial preservatives or weird additives. Here’s the approximate nutritional breakdown per cookie (based on 24 cookies):
- Calories: 180
- Total Fat: 10g
- Saturated Fat: 5g
- Carbohydrates: 22g
- Sugar: 16g
- Protein: 3g
- Sodium: 85mg
The peanut butter does add a small amount of protein and healthy fats, which helps balance out the sugar a bit. The rice cereal provides some iron and B vitamins, though honestly, we’re eating these for the joy factor, not the nutritional value.
Dietary considerations: These cookies are naturally gluten-free if you use certified gluten-free cereal. For a dairy-free version, use dairy-free white chocolate chips and a plant-based butter substitute. They’re also vegetarian-friendly and can be made vegan with the right ingredient swaps.
Potential allergens: This recipe contains dairy (white chocolate, butter) and peanuts (peanut butter). The cereal may also contain gluten depending on the brand. Always check labels if you’re serving to someone with allergies.
From a wellness perspective, I believe in balance. These cookies are a treat—something to enjoy in moderation alongside a healthy diet. I make them for special occasions, after-school surprises, and holidays. They bring so much joy to my family that I think they’re worth every calorie.
Conclusion
These no-bake avalanche cookies have become a beloved staple in our home, and I’m so excited to share them with you. They’re the perfect solution when you need a quick, delicious treat that doesn’t require turning on the oven or spending hours in the kitchen. The combination of creamy white chocolate, crunchy cereal, and soft marshmallows is simply irresistible.
I love that this recipe is so forgiving and versatile—you can tweak it to suit your family’s tastes, use whatever ingredients you have on hand, and still end up with something wonderful. Whether you’re making them for a bake sale, a holiday party, or just a Tuesday afternoon snack, these cookies never disappoint.
Now I want to hear from you! Have you tried making avalanche cookies before? What variations did you come up with? Drop a comment below and let me know how these turned out for your family. And if you have a picky eater at home, I’d love to hear if these passed the kid test. Happy baking—or should I say, happy no-baking!
Frequently Asked Questions
Can I use milk chocolate instead of white chocolate?
Absolutely! Milk chocolate or semi-sweet chocolate chips work perfectly in this recipe. The flavor will be richer and less sweet, which some people prefer. Just follow the same melting instructions and you’ll have a completely different (but equally delicious) cookie.
Why did my avalanche cookies turn out too hard?
This usually happens if you overcook the white chocolate mixture or if you used too much cereal. Make sure you’re measuring accurately and not overheating the chocolate. Also, press the cookies gently—firm but not compacted. If they’re already made and too hard, try letting them sit at room temperature for a few minutes before eating.
Can I make these without peanut butter?
Yes, you can substitute the peanut butter with any other nut or seed butter. Sunflower seed butter, almond butter, or cashew butter all work well. Just keep in mind that the flavor and texture will change slightly. For a completely nut-free version, WowButter is my top recommendation.
How long do these cookies last?
Stored in an airtight container in the refrigerator, these cookies stay fresh for up to 1 week. You can also freeze them for up to 3 months. Just make sure they’re well-sealed to prevent freezer burn. I’ve never had a batch last longer than a week in our house, though!
Can I add mix-ins like chocolate chips or nuts?
Definitely! This recipe is very adaptable. You can add up to 1/2 cup of additional mix-ins like mini chocolate chips, chopped nuts, dried fruit, or toffee bits. Just fold them in along with the cereal and marshmallows. My personal favorite is adding 1/4 cup of mini chocolate chips for a double-chocolate effect.
Pin This Recipe!
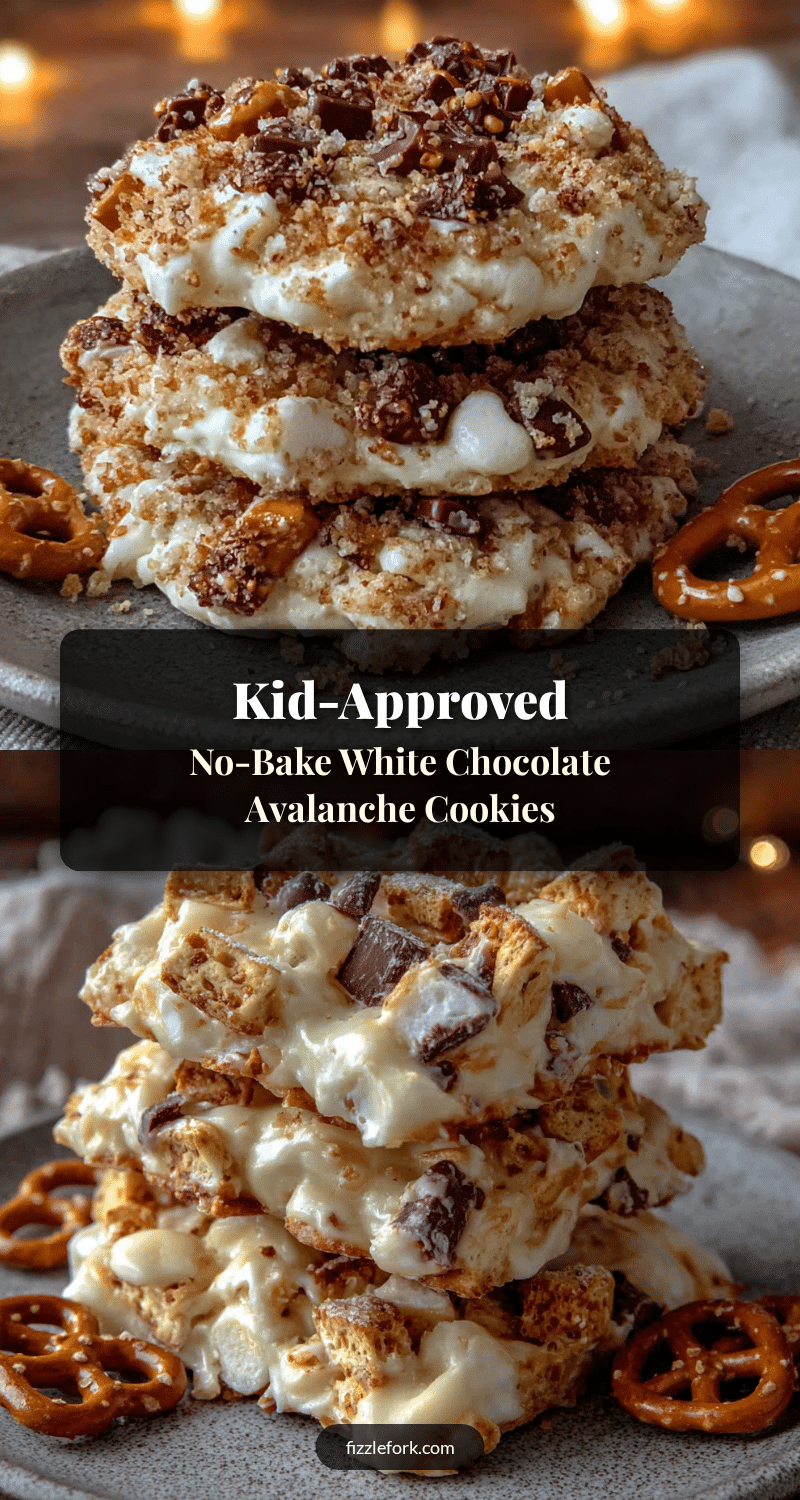
Easy No-Bake Avalanche Cookies Kids Love

These no-bake avalanche cookies are the perfect quick treat with creamy white chocolate, crunchy rice cereal, and soft marshmallows. Ready in just 20 minutes of hands-on time, they’re a crowd-pleaser that kids and adults both love.
- Prep Time: 15 minutes
- Cook Time: 2 minutes
- Total Time: 47 minutes
- Yield: 24 cookies 1x
- Category: Dessert
- Cuisine: American
Ingredients
- 12 ounces (about 2 cups) white chocolate chips
- 1/2 cup creamy peanut butter
- 2 tablespoons unsalted butter
- 3 cups mini marshmallows
- 3 cups crispy rice cereal
- 1 teaspoon vanilla extract
- 1/4 teaspoon salt (optional)
Instructions
- Line a large baking sheet with parchment paper and set aside.
- In a large microwave-safe bowl, combine white chocolate chips, peanut butter, and butter. Microwave in 30-second intervals, stirring well after each, until smooth and fully melted (about 1.5 to 2 minutes total).
- Stir in vanilla extract and salt (if using) until incorporated.
- Let the mixture cool for 3-5 minutes at room temperature until warm but not hot.
- Fold in crispy rice cereal and mini marshmallows gently with a silicone spatula until evenly coated, about 1-2 minutes.
- Working quickly, drop rounded tablespoons of the mixture onto the prepared baking sheet, spacing them about 2 inches apart.
- Gently press each cookie into a round shape with lightly wet fingers. Do not press too hard.
- Refrigerate for at least 30 minutes until firm.
- Optional: Drizzle melted white chocolate over tops for decoration.
- Serve cold or store in an airtight container in the refrigerator.
Notes
Don’t overheat the white chocolate—use 30-second intervals. Let mixture cool before adding marshmallows to prevent melting. Work quickly once combined as mixture sets fast. Use fresh cereal for best crunch. Store in refrigerator for up to 1 week or freeze for up to 3 months.
Nutrition
- Serving Size: 1 cookie
- Calories: 180
- Sugar: 16
- Sodium: 85
- Fat: 10
- Saturated Fat: 5
- Carbohydrates: 22
- Protein: 3
Keywords: no-bake cookies, avalanche cookies, white chocolate cookies, peanut butter cookies, easy dessert, kid-friendly, no-bake dessert