It was 11:47 PM on a random Wednesday in October, and I had a desperate craving for something pumpkin-spiced and swirly. The kind of craving that makes you rummage through cabinets like a raccoon who just discovered what sugar tastes like. I didn’t have the energy for a fancy layer cake, and honestly, I didn’t have the ingredients for one either. But I had a can of pumpkin puree, some cream cheese that was about to turn, and a vague memory of my aunt making something rolled up and glorious at a Thanksgiving I barely remembered. So I just went for it. I figured, how hard could a pumpkin roll be? Spoiler alert: it’s way easier than the internet makes it look, especially when you’re operating on late-night impulse and zero expectations. The first one I made was a bit lopsided and the filling squished out the end like a toothpaste tube, but you know what? It was the most delicious mistake I’d made in a long time. That’s the thing about this simple pumpkin roll with cream cheese filling—it doesn’t need to be perfect to be absolutely incredible. It just needs to be made. And maybe you’ve been there, staring at a can of pumpkin at 11 PM, wondering what to do with your life. This is the answer.
I’ve made this recipe at least two dozen times since that late-night experiment, and I’ve learned exactly what works and what doesn’t. No cracked cakes, no filling disasters, just a beautiful, swirly pumpkin roll that looks like you spent hours on it. The secret is all in the technique, and I’m going to walk you through every single step so you can nail it on your first try. Let’s get rolling.
Why You’ll Love This Simple Pumpkin Roll
This isn’t just another pumpkin dessert. This is the one that disappears at every gathering, the one people ask you to bring year after year. Here’s why it’s earned that spot in your recipe rotation:
- Quick & Easy: From start to finish, you’re looking at about 45 minutes of active time. The rest is just chilling in the fridge, which is the easiest kind of cooking there is.
- Simple Ingredients: No fancy grocery store trips. You probably have most of these in your pantry right now—flour, sugar, eggs, pumpkin puree, and cream cheese. That’s the whole list.
- Perfect for Fall Gatherings: Thanksgiving, Friendsgiving, Halloween parties, or just a cozy Tuesday night. This pumpkin roll fits every occasion without being fussy.
- Crowd-Pleaser: I’ve served this to kids who hate pumpkin and adults who claim they’re “not dessert people.” Every single one of them came back for seconds. It’s science, I swear.
- Unbelievably Delicious: The texture is what gets everyone. That tender, springy pumpkin cake wrapped around a silky, tangy cream cheese filling. It’s comfort food in its purest form.
What makes this recipe different from the dozens of others out there? I’ve tested this with different flour ratios, different cream cheese brands, and different rolling techniques. This version uses a specific method of rolling the cake while it’s still warm with a kitchen towel, which prevents cracking and gives you that perfect spiral every single time. It’s not just another recipe—it’s the one I’ve perfected through trial, error, and a lot of cream cheese.
This is the kind of dessert that makes you close your eyes after the first bite. It’s simple enough for a weeknight but impressive enough for a holiday table. And honestly? It makes your kitchen smell like autumn heaven while it’s baking.
What Ingredients You Will Need
This simple pumpkin roll uses straightforward ingredients, but each one plays a specific role in creating that perfect texture and flavor. Here’s what you’ll need and why each ingredient matters.
For the Pumpkin Cake
- ¾ cup all-purpose flour – Provides structure without making the cake tough. Spoon and level it for accuracy.
- 1 teaspoon baking powder – Helps the cake rise just enough to be light and tender.
- ½ teaspoon baking soda – Works with the acidity in the pumpkin for a soft, springy crumb.
- 1 teaspoon ground cinnamon – The backbone of that classic pumpkin spice flavor.
- ½ teaspoon ground ginger – Adds warmth without being overpowering.
- ½ teaspoon ground nutmeg – Freshly grated if you have it, but pre-ground works perfectly.
- ¼ teaspoon ground cloves – Just a pinch for depth.
- ½ teaspoon salt – Balances the sweetness and enhances all the flavors.
- 3 large eggs, room temperature – Room temperature eggs incorporate more air, making the cake lighter.
- 1 cup granulated sugar – Sweetens the cake and helps with browning.
- ⅔ cup pumpkin puree – Not pumpkin pie filling! Make sure you’re using 100% pure pumpkin puree. I prefer Libby’s for its consistent texture.
- 1 teaspoon vanilla extract – Rounds out the flavor profile.
- Powdered sugar for dusting – Essential for rolling without sticking.
For the Cream Cheese Filling
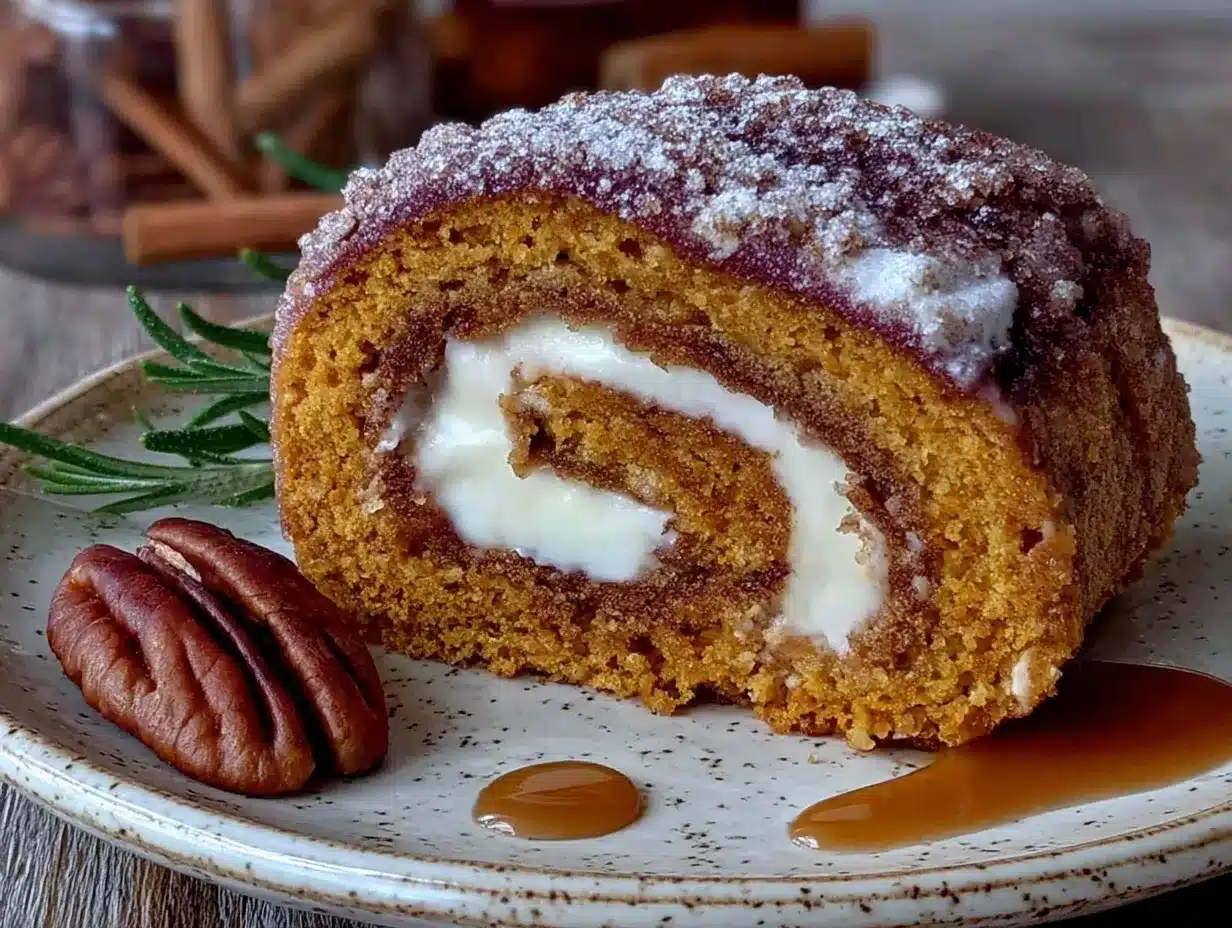
- 8 ounces cream cheese, softened – Full-fat is best for that rich, creamy texture. Let it sit out for at least 30 minutes.
- 6 tablespoons unsalted butter, softened – Adds richness and helps the filling set properly.
- 1 cup powdered sugar, sifted – Sifting prevents lumps in your filling.
- 1 teaspoon vanilla extract – Pure vanilla makes a difference here.
Ingredient Tips: For the creamiest filling, I recommend Philadelphia cream cheese. It’s consistently smooth and blends beautifully. If you’re dairy-free, you can use a plant-based cream cheese, but make sure it’s the block style, not the spreadable kind in a tub. The texture will be slightly different, but still delicious.
For the pumpkin puree, don’t be tempted to use pumpkin pie filling—it has added sugar and spices that will throw off the whole recipe. Stick with plain pumpkin puree and control the sweetness yourself.
Equipment Needed
You don’t need a fancy kitchen to make this simple pumpkin roll. Here’s what you’ll actually use:
- 15×10-inch jelly roll pan – This is the standard size for a pumpkin roll. If you don’t have one, a rimmed baking sheet of similar dimensions works.
- Parchment paper – Non-negotiable. It prevents sticking and helps lift the cake out cleanly.
- Kitchen towel – A clean, lint-free cotton towel. Flour sack towels are perfect. Avoid terry cloth—it’ll leave fuzz all over your cake.
- Electric mixer – Hand mixer or stand mixer both work. You need the power to whip the eggs and sugar properly.
- Large mixing bowls – At least two for separating wet and dry ingredients.
- Rubber spatula – For folding and scraping every last bit of batter.
- Cooling rack – Helps the cake cool evenly before filling.
- Serrated knife – For clean slices without squishing the roll.
If you don’t have a jelly roll pan, you can use a 9×13 baking dish, but the cake will be thicker and harder to roll. It’ll still taste great, just expect a slightly different shape. I’ve done it in a pinch, and honestly, it’s still delicious.
Preparation Method
Let’s break this down step by step. Read through everything once before you start—it’ll save you from any surprises.
Step 1: Preheat and Prepare Your Pan
Preheat your oven to 375°F (190°C). Line your 15×10-inch jelly roll pan with parchment paper, leaving a little overhang on the long sides. Lightly grease the parchment paper with cooking spray or butter. This ensures the cake releases without any drama.
Step 2: Mix the Dry Ingredients
In a medium bowl, whisk together the flour, baking powder, baking soda, cinnamon, ginger, nutmeg, cloves, and salt. Set this aside. Whisking aerates the flour and distributes the spices evenly, so don’t skip this step.
Step 3: Beat the Eggs and Sugar
In a large bowl, beat the eggs and granulated sugar with your electric mixer on medium-high speed for about 2-3 minutes. The mixture should be thick, pale, and fall in ribbons when you lift the beaters. This step is crucial—it creates the structure that will hold your cake together when you roll it.
Step 4: Add Pumpkin and Vanilla
Beat in the pumpkin puree and vanilla extract on low speed until just combined. Don’t overmix here. You want everything incorporated, but you don’t want to deflate all that air you just whipped in.
Step 5: Fold in the Dry Ingredients
Gradually add the flour mixture to the pumpkin mixture, folding gently with a rubber spatula. Fold just until you can’t see any streaks of flour. A few lumps are fine—overmixing will make the cake tough.
Step 6: Bake the Cake
Pour the batter into your prepared pan and spread it evenly with the spatula. It’ll be a thin layer—that’s exactly what you want. Bake for 13-15 minutes, or until the top springs back when lightly touched and the edges start to pull away from the pan. The cake should be golden and fragrant.
Step 7: The Critical Rolling Step
While the cake is baking, lay a clean kitchen towel on a flat surface and dust it generously with powdered sugar. As soon as the cake comes out of the oven, run a knife around the edges to loosen it. Invert the cake onto the sugared towel and carefully peel off the parchment paper. Starting at one short end, roll the cake and towel together into a tight log. Let it cool completely on a wire rack, seam side down. This takes about 1 hour.
Why this works: Rolling the cake while it’s still warm “trains” it to hold that shape. If you skip this step and try to roll it after it’s cooled, it will crack. Trust me, I learned this the hard way on my second attempt.
Step 8: Make the Filling
In a medium bowl, beat the softened cream cheese and butter together until smooth and fluffy, about 2 minutes. Add the sifted powdered sugar and vanilla extract, then beat on low speed until combined. Increase to medium speed and beat for another minute until the filling is light and creamy. Don’t overbeat, or the filling can become too soft.
Step 9: Assemble the Roll
Once the cake is completely cool, carefully unroll it. The edges might be a little wavy—that’s fine. Spread the cream cheese filling evenly over the cake, leaving a ½-inch border on all sides. This prevents the filling from squishing out when you roll it again.
Step 10: Roll and Chill
Gently re-roll the cake, this time without the towel. Use the towel to help guide it if needed. Wrap the finished roll tightly in plastic wrap and refrigerate for at least 2 hours, or overnight. Chilling sets the filling and makes slicing much easier.
Cooking Tips & Techniques
After making this simple pumpkin roll more times than I can count, here are the things I wish someone had told me from the start.
Don’t skip the towel rolling step. I know it seems fussy, but it’s the single most important technique for preventing cracks. The cake is still warm and pliable when you roll it, so it “learns” the curve. If you let it cool flat, it becomes brittle and will snap when you try to roll it with the filling.
Use room temperature ingredients. Cold eggs don’t whip as well, and cold cream cheese creates lumpy filling. Set everything out on the counter about 30 minutes before you start. It makes a noticeable difference.
Measure your flour correctly. Spoon the flour into your measuring cup and level it off with a knife. Scooping directly from the bag packs the flour down and can add up to 25% more flour than the recipe calls for. That extra flour makes the cake dry and prone to cracking.
Don’t overbake. The cake continues to cook from residual heat after it comes out of the oven. If you bake until it looks fully done in the pan, it’ll be overbaked and dry. Pull it out when the top springs back and the edges are just starting to brown.
Let it chill completely before slicing. I know it’s tempting to cut into it right away, but patience pays off here. A well-chilled roll slices cleanly without squishing the filling out the sides. Use a serrated knife and gentle sawing motion for the prettiest slices.
My biggest failure: The time I forgot to dust the towel with powdered sugar. The cake stuck to the towel like glue, and I spent 20 minutes picking lint off a mangled pumpkin mess. Learn from my mistakes—powdered sugar is your friend.
Variations & Adaptations
This simple pumpkin roll is incredibly versatile. Here are some ways to make it your own:
Gluten-Free Version
Substitute the all-purpose flour with a 1:1 gluten-free baking flour blend. I’ve used Bob’s Red Mill with great results. The texture is slightly more delicate, so be extra gentle when rolling.
Dairy-Free Version
Use dairy-free cream cheese (like Kite Hill or Miyoko’s) and vegan butter. The filling will be slightly softer, so chill it for at least 3 hours before slicing. I’ve made this for dairy-free friends, and they couldn’t tell the difference.
Chocolate Pumpkin Roll
Replace 2 tablespoons of the flour with unsweetened cocoa powder. The chocolate and pumpkin combo is surprisingly good—like a pumpkin brownie in roll form. Dust with cocoa powder instead of powdered sugar for a dramatic look.
Spiced Pecan Variation
Add ½ cup of finely chopped pecans to the cream cheese filling for a crunchy texture contrast. Toast the pecans first for deeper flavor. This is my favorite holiday variation.
Pumpkin Roll with Maple Cream Cheese Filling
Replace the vanilla extract in the filling with 2 tablespoons of pure maple syrup. Reduce the powdered sugar to ¾ cup to account for the extra sweetness. The maple flavor pairs beautifully with the pumpkin spices.
If you love pumpkin desserts, you might also enjoy my pumpkin bread recipe for another easy fall treat, or these pumpkin muffins with streusel topping when you want something portable.
Serving & Storage Suggestions
This simple pumpkin roll is best served chilled, straight from the fridge. The filling is firm and the cake is perfectly tender at this temperature. If you prefer it softer, let it sit at room temperature for about 10 minutes before slicing.
How to slice: Use a sharp serrated knife and wipe it clean between cuts. This gives you those beautiful, clean spirals that look so impressive on a plate. I usually get about 8-10 slices from one roll.
Presentation ideas: Dust the top with powdered sugar right before serving. Add a dollop of whipped cream and a sprinkle of cinnamon for a restaurant-worthy finish. Drizzle with caramel sauce if you’re feeling extra fancy.
Storage: Wrap the pumpkin roll tightly in plastic wrap and store it in the refrigerator for up to 5 days. The flavors actually meld and improve after a day or two. I honestly think day-old pumpkin roll is even better than fresh.
Freezing instructions: This pumpkin roll freezes beautifully. Wrap it in plastic wrap, then a layer of aluminum foil, and freeze for up to 3 months. Thaw overnight in the refrigerator before serving. I always make an extra one to keep in the freezer for unexpected guests or late-night cravings.
Flavor development: The spices mellow and blend together after a day in the fridge. The cake absorbs some moisture from the filling, becoming even more tender. If you can plan ahead, make this a day before you need it for the best flavor.
Nutritional Information & Benefits
Here’s the approximate nutritional breakdown for one slice (based on 10 slices per roll):
- Calories: 285
- Total Fat: 14g
- Saturated Fat: 8g
- Cholesterol: 85mg
- Sodium: 220mg
- Total Carbohydrates: 36g
- Dietary Fiber: 1g
- Sugars: 27g
- Protein: 4g
While this is definitely a treat, there are some redeeming qualities. Pumpkin is packed with vitamin A (over 200% of your daily needs in a single serving) and fiber. It’s also rich in antioxidants like beta-carotene, which supports eye health and immune function. The cream cheese provides calcium and protein, though in modest amounts.
For a lighter version, you can reduce the sugar in the cake to ¾ cup and use reduced-fat cream cheese. The texture will be slightly different, but it’s a good option if you’re watching your sugar intake. This recipe is naturally nut-free and can be made gluten-free with a simple swap.
Frequently Asked Questions
Why did my pumpkin roll crack when I rolled it?
The most common reason is that the cake was overbaked or cooled completely before rolling. Remember to roll it while it’s still warm with the powdered sugar-dusted towel. If it still cracks, don’t worry—the powdered sugar dusting hides a multitude of sins.
Can I make this pumpkin roll ahead of time?
Absolutely! In fact, I recommend it. Make the roll a day ahead, wrap it tightly, and refrigerate. The filling sets perfectly, and the flavors meld together beautifully. It’s one of the best make-ahead desserts for holidays.
Can I use pumpkin pie filling instead of pumpkin puree?
No, please don’t. Pumpkin pie filling has added sugar, spices, and thickeners that will completely change the texture and sweetness of the cake. Stick with 100% pure pumpkin puree for the best results.
How do I get clean slices without the filling squishing out?
Chill the roll for at least 2 hours before slicing. Use a sharp serrated knife and use a gentle sawing motion. Wipe the knife clean between each slice. A chilled roll is much easier to cut cleanly.
Can I freeze the pumpkin roll before adding the filling?
Yes, you can freeze the unfilled rolled cake for up to 2 months. Wrap it tightly in plastic wrap and foil. Thaw at room temperature, unroll, fill, and re-roll. This is a great time-saver if you’re prepping for a busy holiday season.
Conclusion
This simple pumpkin roll with cream cheese filling is everything I want in a fall dessert—impressive without being complicated, rich without being heavy, and nostalgic without being fussy. It’s the recipe I turn to when I want to feel like I’ve accomplished something beautiful in the kitchen, even on a random Wednesday night when I should probably be sleeping.
I hope you give this recipe a try and make it your own. Maybe you’ll add extra cinnamon, or swap in maple syrup, or serve it with a scoop of vanilla ice cream. That’s the beauty of a good recipe—it gives you a solid foundation and lets you play. If you make this, I’d love to hear how it turns out. Drop a comment below, share your photos, or tell me about the time you made a late-night kitchen masterpiece. Happy baking, friends!
For more fall baking inspiration, don’t miss my apple cider donut cake or these cranberry orange scones for another seasonal treat that comes together quickly.
Pin This Recipe!
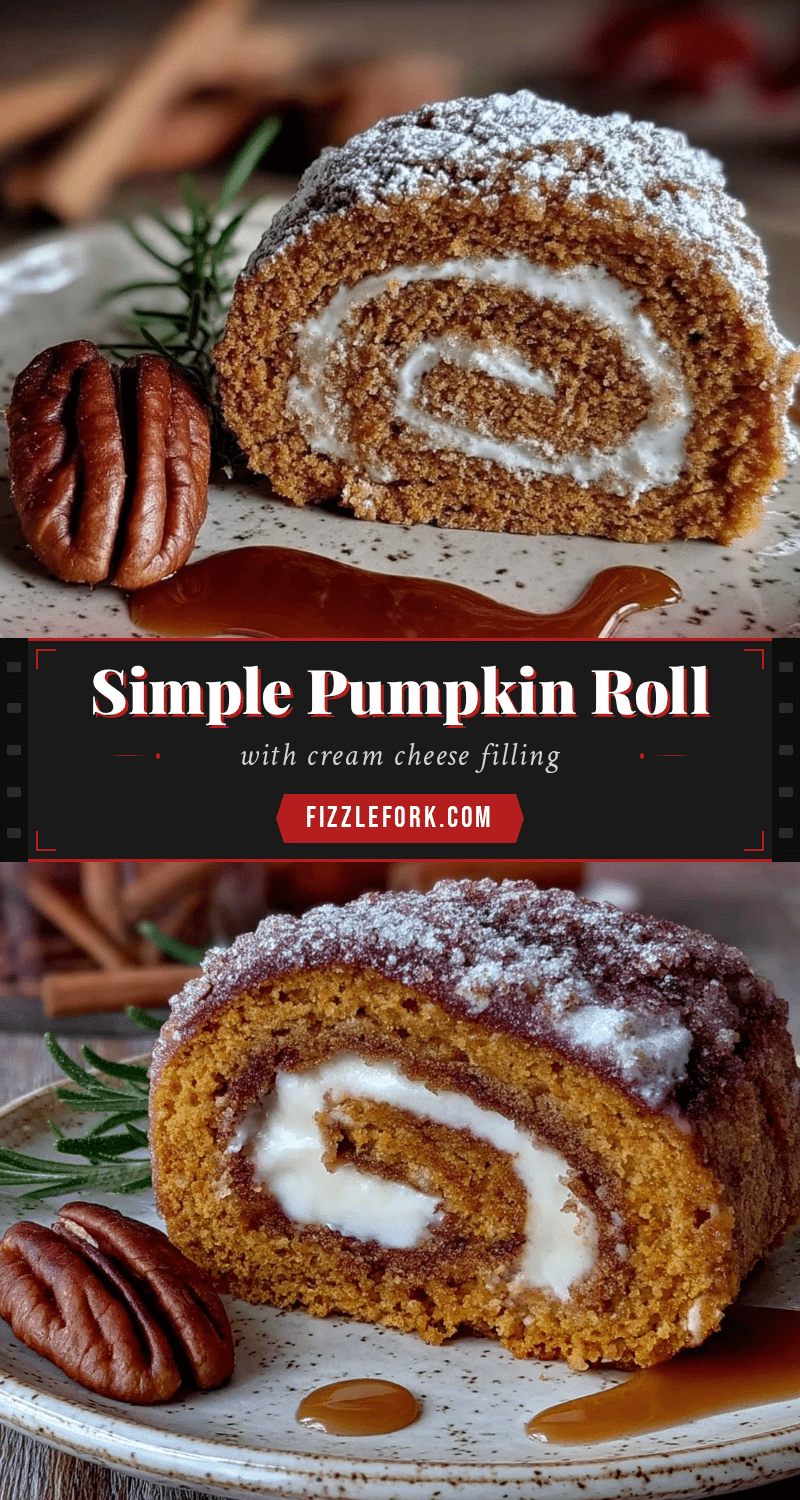
Simple Pumpkin Roll with Cream Cheese Filling
A tender, springy pumpkin cake rolled around a silky, tangy cream cheese filling. This easy recipe is perfect for fall gatherings and makes a beautiful, impressive dessert without being fussy.
- Prep Time: 45 minutes
- Cook Time: 15 minutes
- Total Time: 1 hour (plus 2 hours chilling)
- Yield: 10 servings 1x
- Category: Dessert
- Cuisine: American
Ingredients
- ¾ cup all-purpose flour
- 1 teaspoon baking powder
- ½ teaspoon baking soda
- 1 teaspoon ground cinnamon
- ½ teaspoon ground ginger
- ½ teaspoon ground nutmeg
- ¼ teaspoon ground cloves
- ½ teaspoon salt
- 3 large eggs, room temperature
- 1 cup granulated sugar
- ⅔ cup pumpkin puree (not pumpkin pie filling)
- 1 teaspoon vanilla extract
- Powdered sugar for dusting
- 8 ounces cream cheese, softened
- 6 tablespoons unsalted butter, softened
- 1 cup powdered sugar, sifted
- 1 teaspoon vanilla extract
Instructions
- Preheat oven to 375°F (190°C). Line a 15×10-inch jelly roll pan with parchment paper, leaving overhang on the long sides. Lightly grease the parchment paper.
- In a medium bowl, whisk together flour, baking powder, baking soda, cinnamon, ginger, nutmeg, cloves, and salt.
- In a large bowl, beat eggs and granulated sugar with an electric mixer on medium-high speed for 2-3 minutes until thick, pale, and ribbon-like.
- Beat in pumpkin puree and vanilla extract on low speed until just combined.
- Gradually fold the flour mixture into the pumpkin mixture with a rubber spatula until no streaks of flour remain.
- Pour batter into prepared pan and spread evenly. Bake for 13-15 minutes, until top springs back when lightly touched and edges pull away from pan.
- While cake bakes, lay a clean kitchen towel on a flat surface and dust generously with powdered sugar. As soon as cake comes out of oven, loosen edges, invert onto sugared towel, and peel off parchment paper. Starting at one short end, roll cake and towel together into a tight log. Cool completely on a wire rack, seam side down (about 1 hour).
- For filling: In a medium bowl, beat softened cream cheese and butter until smooth and fluffy, about 2 minutes. Add sifted powdered sugar and vanilla extract, beat on low until combined, then increase to medium speed for 1 minute until light and creamy.
- Once cake is completely cool, carefully unroll it. Spread cream cheese filling evenly over cake, leaving a ½-inch border on all sides.
- Gently re-roll cake without the towel. Wrap tightly in plastic wrap and refrigerate for at least 2 hours or overnight.
- To serve, slice with a serrated knife, wiping clean between cuts. Dust with powdered sugar if desired.
Notes
Roll the cake while it’s still warm with a powdered sugar-dusted towel to prevent cracking. Use room temperature ingredients for best results. Measure flour by spooning and leveling. Do not overbake. Chill completely before slicing for clean cuts.
Nutrition
- Serving Size: 1 slice
- Calories: 285
- Sugar: 27
- Sodium: 220
- Fat: 14
- Saturated Fat: 8
- Carbohydrates: 36
- Fiber: 1
- Protein: 4
Keywords: pumpkin roll, pumpkin dessert, cream cheese filling, fall dessert, Thanksgiving dessert, easy pumpkin roll