This was supposed to be a simple cheese plate. I had it all planned out—a classic French brie, some fancy crackers, maybe a few grapes for color. But then my friend Dana texted me the morning of our Friendsgiving gathering: “Hey, I’m bringing my cousin who’s allergic to dairy and gluten. Hope that’s cool!” And I was already halfway through arranging the brie on my favorite wooden board, the one my sister gave me that I’d never actually used because it felt too nice. I stood there, staring at the pale wedge of cheese, feeling like the whole plan had just collapsed. Honestly, I almost just grabbed a bag of chips and called it a day.
But something stopped me. Maybe it was the leftover roasted squash from last night’s dinner sitting on the counter. Or the jar of tahini I’d bought on a whim and hadn’t opened yet. I started grabbing things—apples, pecans, dried cranberries, a block of smoked gouda that was somehow dairy-free (thank you, modern food science). I threw it all on the board in a kind of frantic, what-do-I-have-to-lose arrangement. The result was a chaotic, colorful, completely unplanned spread that looked nothing like the neat rows of cheese I’d imagined. And you know what? Everyone went crazy for it. Dana’s cousin practically hugged me, and even the brie loyalists kept going back for the roasted squash dip.
That messy, last-minute board became the template for every Friendsgiving I’ve hosted since. It taught me that a charcuterie board doesn’t have to be fancy or fussy to be memorable. It just needs to feel generous and a little bit wild. This Wholesome Friendsgiving Fall Charcuterie Board is my way of bottling that happy accident—a spread that’s as forgiving as it is delicious, perfect for the friends who show up with dietary surprises and the ones who just show up hungry. Maybe you’ve been there, staring at a half-empty fridge and a text that changes everything. Trust me, this board has got you covered.
Why You’ll Love This Recipe
Let me tell you why this board has become my go-to for fall gatherings. I’ve tested it on picky eaters, health-conscious friends, and even my uncle who claims he “doesn’t like vegetables.” Everyone leaves happy, and that’s not easy to pull off.
- Quick & Easy: This board comes together in under 30 minutes. No cooking required (except maybe roasting the squash, which you can do ahead). Perfect for when you’re hosting and realize you’ve run out of time to make something complicated.
- Simple Ingredients: You probably already have most of these in your pantry. Apples, nuts, dried fruit, a few cheeses, and whatever seasonal veggies look good at the store. No fancy grocery trips needed.
- Perfect for Friendsgiving: This board is designed for sharing with the people who feel like family. It’s casual enough for a potluck but pretty enough to be the centerpiece of your table.
- Crowd-Pleaser: I’ve served this to groups of four and groups of twenty. It scales beautifully, and there’s always something for everyone—gluten-free, dairy-free, vegan, or just plain hungry.
- Unbelievably Delicious: The combination of sweet roasted squash, tangy dried cranberries, creamy cheese, and crunchy nuts is next-level comfort food. The textures alone will make you close your eyes after the first bite.
What makes this board different from the thousands of charcuterie boards out there? It’s the focus on fall flavors that actually work together, not just random ingredients thrown on a board. I’ve balanced sweet, savory, salty, and tangy in a way that feels intentional but not fussy. It’s comfort food reimagined—healthier, faster, but with the same soul-soothing satisfaction. Perfect for impressing guests without stress, or turning a simple fall gathering into something memorable.
What Ingredients You Will Need
This recipe uses simple, wholesome ingredients to deliver bold flavor and satisfying texture without the fuss. Most of these are pantry staples or easy to find at any grocery store during fall.
- For the Cheese:
- 8 oz aged cheddar, sliced (sharp cheddar adds a nice tang)
- 6 oz goat cheese, softened (I like the one from Vermont Creamery—it’s creamy without being too strong)
- 4 oz dairy-free gouda or smoked gouda (optional, but great for dairy-free guests)
- For the Roasted Squash:
- 1 small butternut squash, peeled and cubed (about 2 cups)
- 2 tbsp olive oil
- 1 tbsp maple syrup
- 1/2 tsp smoked paprika
- 1/4 tsp salt
- For the Fruits:
- 1 cup dried cranberries (unsweetened if you can find them—they’re less sticky)
- 2 apples, sliced (Honeycrisp or Fuji work best for sweetness and crunch)
- 1 pear, sliced (Bosc holds up well on the board)
- 1 cup pomegranate seeds (fresh is best, but frozen works if thawed)
- For the Nuts and Seeds:
- 1 cup pecans, toasted (toast them in a dry pan for 3 minutes—it makes a huge difference)
- 1/2 cup pumpkin seeds (pepitas)
- 1/4 cup walnuts, roughly chopped
- For the Spreads:
- 1/2 cup fig jam (I recommend Bonne Maman for a rich, not-too-sweet flavor)
- 1/4 cup honey (local honey adds a nice floral note)
- 1/4 cup tahini (for a savory option—trust me on this one)
- For the Crunch:
- 1 bag gluten-free crackers (I like Simple Mills almond flour crackers)
- 1 bag regular crackers or crostini (for the non-gluten-free folks)
- 1 cup roasted chickpeas (store-bought or homemade—they add a great savory crunch)
- For the Vegetables:
- 1 cup snap peas or sugar snap peas (adds freshness and color)
- 1/2 cup cherry tomatoes, halved
- 1/4 cup fresh rosemary sprigs (for garnish, but also adds a lovely aroma)
If you’re dairy-free, swap the aged cheddar for a plant-based version—I’ve had good luck with Miyoko’s brand. For a nut-free version, skip the pecans and walnuts and double the pumpkin seeds and roasted chickpeas.
Equipment Needed
You don’t need much to pull this board together, which is part of the beauty. Here’s what I use:
- Large wooden board or platter: At least 12×18 inches. I use an acacia wood board from Target that cost $20 and has held up for years. A large baking sheet works in a pinch.
- Small bowls: For the spreads and the pomegranate seeds. I use 3-4 ramekins or small ceramic bowls.
- Cheese knives: At least two—one for soft cheese, one for hard. If you don’t have them, use butter knives.
- Baking sheet: For roasting the squash. Line it with parchment paper for easy cleanup.
- Serving spoons: Small ones for the spreads and seeds.
- Paring knife: For slicing apples and pears. A sharp one makes all the difference.
I bought my first board from a thrift store for $5, and it worked perfectly. You really don’t need to spend a lot. Just make sure whatever you use is clean and dry before you start arranging.
Preparation Method
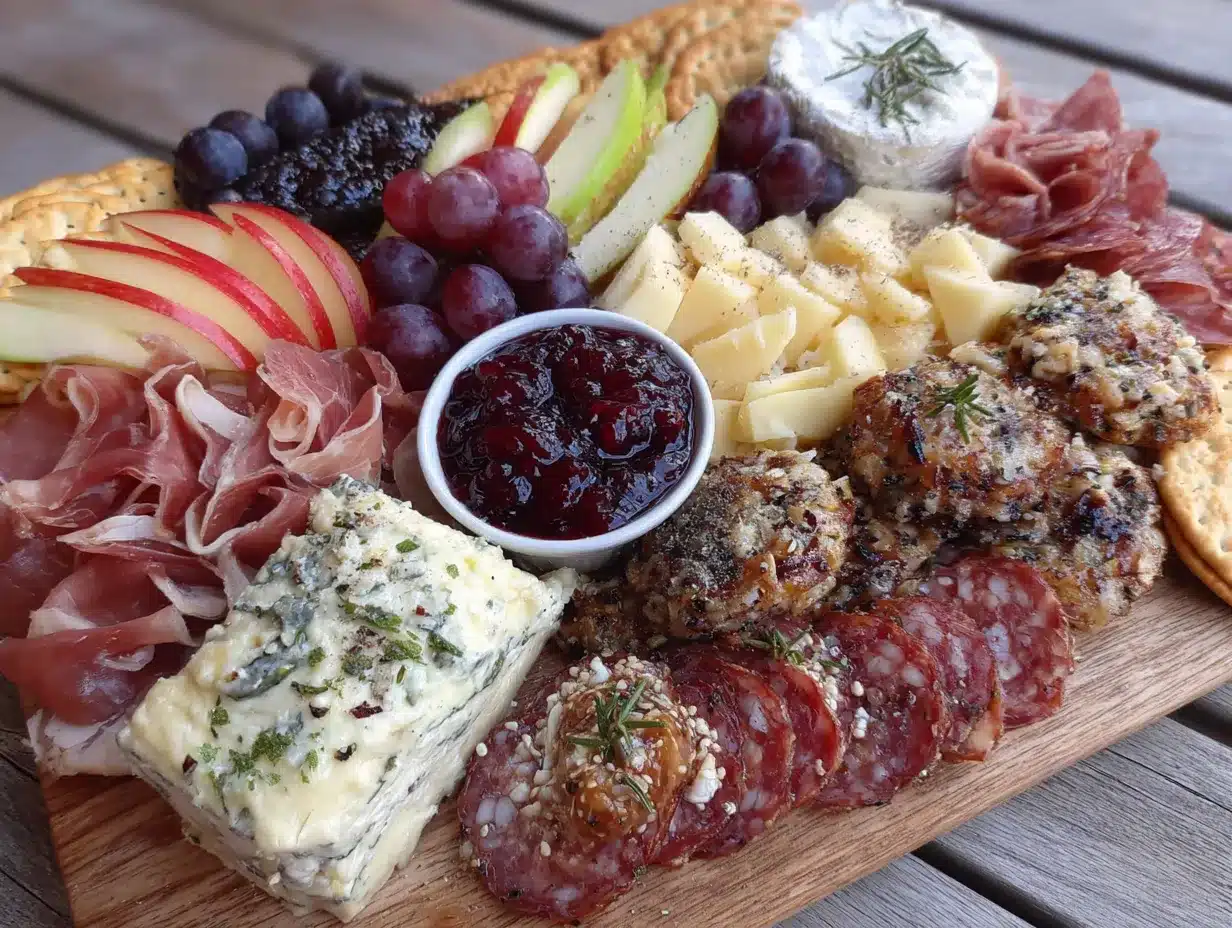
Here’s how to put this board together without losing your mind. I’ve broken it down into steps that flow naturally, so you’re not running around at the last minute.
- Roast the squash (can be done up to 2 days ahead): Preheat your oven to 400°F (200°C). Toss the cubed butternut squash with olive oil, maple syrup, smoked paprika, and salt. Spread it in a single layer on a parchment-lined baking sheet. Roast for 25-30 minutes, flipping halfway through, until the edges are caramelized and the squash is tender. Let it cool completely before adding to the board. Pro tip: Don’t overcrowd the pan, or the squash will steam instead of caramelizing.
- Toast the nuts (do this while the squash roasts): In a dry skillet over medium heat, toast the pecans for 2-3 minutes, shaking the pan frequently until they smell fragrant. Watch them closely—they burn fast. Transfer to a plate to cool. Do the same with the pumpkin seeds for 1-2 minutes.
- Prep the fruits and veggies: Slice the apples and pears just before serving to prevent browning. If you’re prepping ahead, toss them with a little lemon juice. Halve the cherry tomatoes and rinse the snap peas. Pop the pomegranate seeds out of the fruit—I do this over a bowl of water to avoid staining my counter.
- Arrange the cheese: Place the cheese wedges on the board first, spacing them out. I like to put the soft goat cheese in a small bowl to keep it contained. Slice the aged cheddar into thin triangles and fan them out. Leave room between cheeses for the other ingredients.
- Add the bowls: Place the small bowls for fig jam, honey, tahini, and pomegranate seeds in different spots on the board. This breaks up the visual space and makes it easier for guests to reach everything.
- Layer the fruits and veggies: Scatter the roasted squash, apple slices, pear slices, snap peas, and cherry tomatoes around the cheese and bowls. Try to create little clusters of color—don’t just dump everything in the middle.
- Fill in with nuts and crunchy bits: Sprinkle the toasted pecans, pumpkin seeds, walnuts, and roasted chickpeas in the gaps. This is where the board starts to look full and abundant. Don’t be afraid to pile things up a bit.
- Add the crackers and garnishes: Arrange the crackers in small stacks or fan them out along the edges of the board. Tuck rosemary sprigs in between ingredients for a pop of green and a lovely scent.
- Final check: Step back and look at your board. Are there any empty spots? Fill them with extra nuts or a few more crackers. The goal is to make it look like an abundant harvest, not a carefully measured arrangement.
If you’re making this for a crowd, double the roasted squash and nuts—those are always the first things to disappear. And don’t stress about making it look perfect. The messier it is, the more inviting it feels.
Cooking Tips & Techniques
I’ve learned a few things the hard way so you don’t have to. Here are my best tips for a board that looks like you spent hours on it (when you really didn’t).
- Let the squash cool completely before adding it to the board. I made this mistake once and ended up with warm squash melting the goat cheese into a sad puddle. Not a good look. Give it at least 30 minutes on the counter.
- Don’t slice the apples too thin. Thick slices hold up better on the board and don’t get soggy as quickly. Aim for 1/4-inch slices. If you’re serving this over a few hours, have a backup apple ready to slice fresh.
- Toast your nuts, even if you’re short on time. It takes three minutes and transforms the flavor completely. Raw nuts are fine, but toasted nuts have this deep, warm flavor that makes the board feel special. I forgot to toast them once and everyone noticed—even my friend who “doesn’t care about food.”
- Use a variety of textures. This is the secret to a great board. You want creamy cheese, crunchy nuts, crisp apples, chewy dried cranberries, and smooth jam. Each bite should feel different from the last.
- Prep everything before you start arranging. I learned this after a particularly chaotic Friendsgiving where I was slicing apples with one hand and trying to arrange cheese with the other. Have all your components ready to go, then assemble the board in one smooth flow.
- If you’re making this for a crowd, set up a “refill station.” Keep extra nuts, crackers, and sliced fruit in the kitchen so you can refresh the board without scrambling. Trust me, the board will look picked over within 20 minutes.
Variations & Adaptations
This board is endlessly flexible. Here are some of my favorite variations, all tested in my own kitchen.
- Vegan Version: Skip all the cheese and double the roasted chickpeas, nuts, and roasted squash. Add a cashew-based cheese spread or hummus for creaminess. I’ve made this for a vegan friend and she said it was the best board she’d ever had—and she wasn’t just being polite.
- Low-Carb/Keto: Replace the dried cranberries with fresh blackberries or raspberries. Skip the crackers and use cucumber slices or bell pepper strips for dipping. The nuts and cheese are already low-carb, so this is an easy adaptation.
- Fall Harvest Twist: Add roasted Brussels sprouts leaves (toss them in olive oil and salt, then roast at 400°F for 10 minutes until crispy) and candied pecans. It gives the board a warm, cozy feel that’s perfect for November.
- Spicy Version: Add a small bowl of honey mixed with red pepper flakes and a sprinkle of cayenne over the roasted squash before serving. The sweet-spicy combo is addictive—I’ve had guests ask for the recipe just for that.
- Brunch Board: Swap the aged cheddar for brie, add some sliced prosciutto, and include a small bowl of maple syrup for drizzling. It works beautifully for a late-morning Friendsgiving.
I once tried a version with pickled red onions and it was surprisingly good—the acidity cut through the richness of the cheese and nuts. Don’t be afraid to experiment. The best boards come from curiosity.
Serving & Storage Suggestions
This board is best served at room temperature, so take the cheese out of the fridge 30 minutes before serving. The flavors are much more pronounced when the cheese isn’t cold. Arrange everything on the board and let it sit for 15-20 minutes before guests arrive—this lets the flavors meld together.
For beverages, I love serving this with a dry hard cider or a light red wine like a Pinot Noir. For non-alcoholic options, sparkling water with a splash of pomegranate juice is perfect. The tartness cuts through the richness of the cheese and nuts.
Leftovers? Store the components separately. The cheese goes in the fridge wrapped in parchment paper (not plastic wrap—it breathes better). The nuts and crackers go in airtight containers at room temperature. The roasted squash keeps in the fridge for up to 3 days and is great thrown into salads or grain bowls. The sliced apples and pears won’t last more than a day, so enjoy those first.
If you’re making this ahead, roast the squash and toast the nuts up to 2 days in advance. Slice the apples and pears just before serving. The board itself should be assembled no more than an hour before guests arrive—any longer and the crackers get soft and the fruit starts to oxidize.
One thing I love about this board is how the flavors develop over time. The fig jam and honey mingle with the cheese, and the roasted squash gets even sweeter as it sits. Don’t be surprised if the board looks even better an hour into the party than it did at the start.
Nutritional Information & Benefits
This board is surprisingly balanced for something that feels so indulgent. Here’s a rough estimate per serving (assuming 8 servings):
- Calories: 380-420
- Protein: 12g
- Fat: 22g (mostly from nuts and cheese—the good kind)
- Carbohydrates: 38g
- Fiber: 6g
- Sugar: 18g (naturally occurring from fruit)
The butternut squash is packed with vitamin A and fiber, which is great for your immune system during cold season. The nuts provide healthy fats and protein that keep you full without feeling heavy. Pomegranate seeds are loaded with antioxidants—they’re basically nature’s superfood. And the cheese offers calcium and protein, so you’re not just eating empty calories.
If you’re watching your sugar intake, use unsweetened dried cranberries and skip the honey. The fig jam is still fine in moderation—a little goes a long way. This board is naturally gluten-free if you choose the right crackers, and it’s easy to make dairy-free with the substitutions I mentioned earlier.
I love that this board lets you eat well without feeling like you’re on a diet. It’s wholesome food that happens to taste amazing, and that’s a win in my book.
FAQs
Can I make this board ahead of time?
Yes! Roast the squash and toast the nuts up to 2 days in advance. Prep the fruits and veggies the morning of your gathering. Assemble the board no more than an hour before serving to keep everything fresh.
What if I don’t have a wooden board?
No problem! Use a large baking sheet, a cutting board, or even a clean pizza pan. I’ve used a marble pastry board in a pinch—it works fine. The key is having enough surface area to spread things out.
Can I add meat to this board?
Absolutely. Sliced prosciutto, salami, or turkey breast would be great additions. Just add them after the cheese and before the fruits, so they have their own space on the board. For a Friendsgiving vibe, I’d go with prosciutto—it feels special without being overwhelming.
How do I keep the apples from turning brown?
Toss the sliced apples in a little lemon juice or apple cider vinegar. I use about 1 tablespoon of lemon juice for 2 apples. It doesn’t affect the taste much, and it keeps them looking fresh for hours. Alternatively, slice them just before serving.
What’s the best way to arrange the board so it looks full?
Start with the largest items (cheese and bowls) and work your way down to the smallest (nuts and seeds). Fill in gaps with garnishes like rosemary sprigs or extra nuts. Don’t be afraid to pile things up—a full board looks more inviting than a sparse one. And remember, it doesn’t have to be perfect. The best boards look a little wild.
Conclusion
This Wholesome Friendsgiving Fall Charcuterie Board started as a happy accident, but it’s become a tradition I look forward to every year. It’s the kind of recipe that reminds me why I love cooking for people—it’s not about perfection, but about creating something that makes everyone feel welcome. Whether you’re hosting a big gathering or just having a quiet night with friends, this board delivers on flavor, flexibility, and that warm, cozy feeling that makes fall so special.
I’d love to hear how your board turns out. Did you add something unexpected? Did your guests fight over the roasted squash? Drop a comment below and share your version—I’m always looking for new ideas. And if you loved this recipe, share it with a friend who needs a little Friendsgiving inspiration. Happy hosting, friends!
Pin This Recipe!
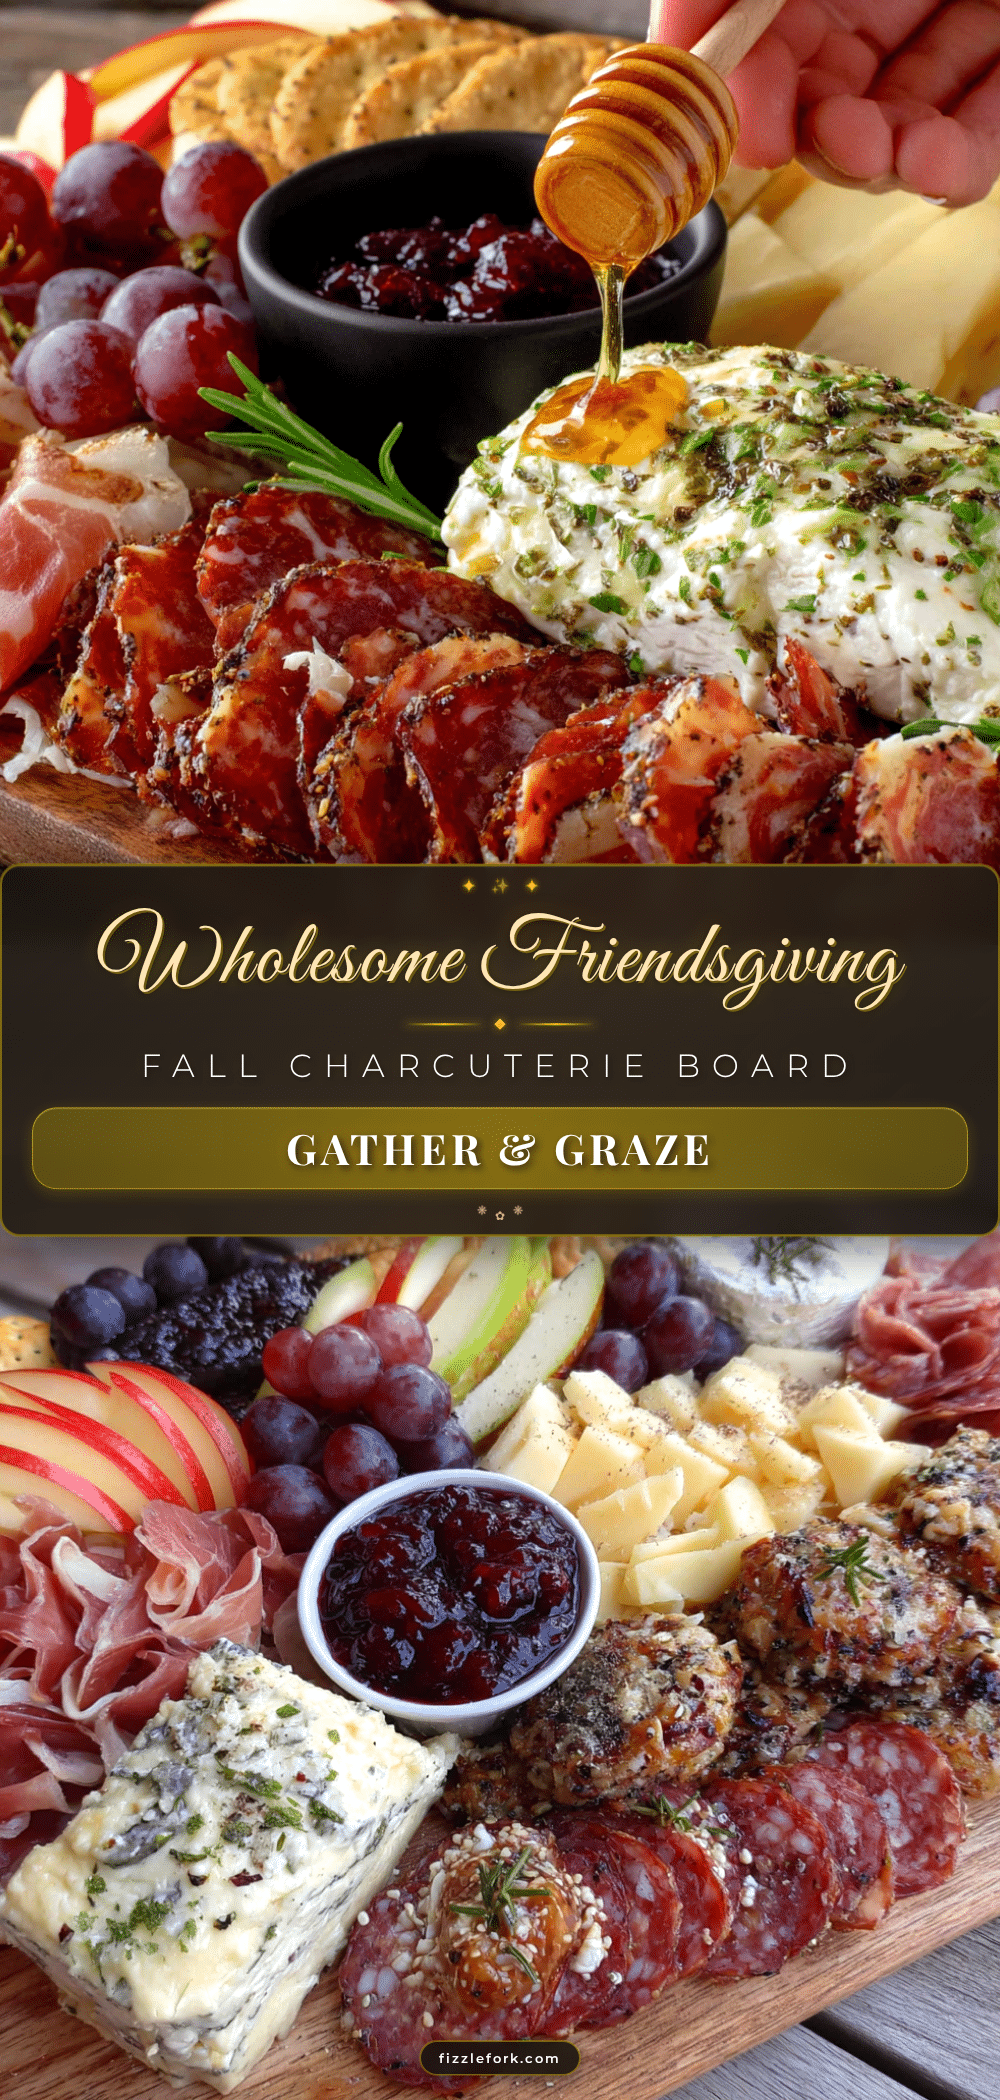
Wholesome Friendsgiving Fall Charcuterie Board
A generous, forgiving charcuterie board perfect for fall gatherings, featuring roasted butternut squash, cheeses, fruits, nuts, and spreads. This easy, crowd-pleasing board comes together in under 30 minutes and is adaptable for gluten-free, dairy-free, and vegan guests.
- Prep Time: 20 minutes
- Cook Time: 30 minutes
- Total Time: 50 minutes
- Yield: 8 servings 1x
- Category: Appetizer
- Cuisine: American
Ingredients
- 8 oz aged cheddar, sliced
- 6 oz goat cheese, softened
- 4 oz dairy-free gouda or smoked gouda (optional)
- 1 small butternut squash, peeled and cubed (about 2 cups)
- 2 tbsp olive oil
- 1 tbsp maple syrup
- 1/2 tsp smoked paprika
- 1/4 tsp salt
- 1 cup dried cranberries (unsweetened preferred)
- 2 apples, sliced (Honeycrisp or Fuji)
- 1 pear, sliced (Bosc)
- 1 cup pomegranate seeds
- 1 cup pecans, toasted
- 1/2 cup pumpkin seeds (pepitas)
- 1/4 cup walnuts, roughly chopped
- 1/2 cup fig jam
- 1/4 cup honey
- 1/4 cup tahini
- 1 bag gluten-free crackers (e.g., Simple Mills almond flour crackers)
- 1 bag regular crackers or crostini
- 1 cup roasted chickpeas
- 1 cup snap peas or sugar snap peas
- 1/2 cup cherry tomatoes, halved
- 1/4 cup fresh rosemary sprigs (for garnish)
Instructions
- Roast the squash (can be done up to 2 days ahead): Preheat oven to 400°F (200°C). Toss cubed butternut squash with olive oil, maple syrup, smoked paprika, and salt. Spread in a single layer on a parchment-lined baking sheet. Roast for 25-30 minutes, flipping halfway, until edges are caramelized and squash is tender. Let cool completely.
- Toast the nuts (while squash roasts): In a dry skillet over medium heat, toast pecans for 2-3 minutes, shaking frequently, until fragrant. Transfer to a plate to cool. Toast pumpkin seeds for 1-2 minutes.
- Prep fruits and veggies: Slice apples and pears just before serving (toss with lemon juice if prepping ahead). Halve cherry tomatoes and rinse snap peas. Pop pomegranate seeds out of the fruit.
- Arrange cheese: Place cheese wedges on the board first, spacing them out. Put soft goat cheese in a small bowl. Slice aged cheddar into thin triangles and fan them out.
- Add bowls: Place small bowls for fig jam, honey, tahini, and pomegranate seeds in different spots on the board.
- Layer fruits and veggies: Scatter roasted squash, apple slices, pear slices, snap peas, and cherry tomatoes around the cheese and bowls in little clusters of color.
- Fill in with nuts and crunchy bits: Sprinkle toasted pecans, pumpkin seeds, walnuts, and roasted chickpeas in the gaps.
- Add crackers and garnishes: Arrange crackers in small stacks or fan them along the edges. Tuck rosemary sprigs between ingredients.
- Final check: Step back and fill any empty spots with extra nuts or crackers. The goal is an abundant, inviting look.
Notes
Roast squash and toast nuts up to 2 days ahead. Assemble board no more than 1 hour before serving. Let cheese come to room temperature 30 minutes before serving. For dairy-free, use plant-based cheese. For nut-free, skip pecans/walnuts and double pumpkin seeds and roasted chickpeas. Toss sliced apples in lemon juice to prevent browning.
Nutrition
- Serving Size: 1 serving (approx. 1
- Calories: 400
- Sugar: 18
- Sodium: 450
- Fat: 22
- Saturated Fat: 8
- Carbohydrates: 38
- Fiber: 6
- Protein: 12
Keywords: charcuterie board, Friendsgiving, fall, butternut squash, cheese board, gluten-free, dairy-free, appetizer, party food


