I was standing in line at the post office—the one downtown with the sticky floor and the fan that sounds like a lawnmower—when the lady ahead of me started talking about cookies. She was holding a package wrapped in brown paper, and she turned around and said, “You look like someone who bakes.” I wasn’t sure if that was a compliment or an observation about the flour on my sleeve, but I smiled and said I did, mostly for my kids. She nodded, handed me her package to hold for a second, and dug through her purse. She pulled out a crumpled index card with handwriting so tiny I had to squint. “Peppermint Rice Krispie treats dipped in white chocolate,” she said. “My granddaughter’s favorite. She won’t eat the regular ones anymore.”
I almost laughed. I mean, I’d made a thousand Rice Krispie treats in my life. The marshmallow, the butter, the cereal—every parent knows that dance. But dipped in white chocolate? With peppermint? That felt like something from a fancy bakery, not from a post office line on a Tuesday. But she insisted, and honestly, I was curious. I took the card home, and let me tell you, I was skeptical. My kids are picky. They notice when I try to sneak in whole wheat flour or swap out sugar. But this recipe? It disappeared in one afternoon. My son, who usually picks out anything that looks “too fancy,” ate three of them before I could even get a picture.
Maybe you’ve been there—the moment when a recipe comes from the most unexpected place and turns out to be the one you keep coming back to. That’s this one. It’s simple enough for a Tuesday after school, but it feels special, like you actually planned ahead. And the best part? It costs pennies compared to the store-bought versions. So here it is, straight from that post office lady’s kitchen to yours.
Why You’ll Love This Recipe
These peppermint Rice Krispie treats dipped in white chocolate are not just another dessert. They are the kind of thing you make when you want to impress the kids without spending hours in the kitchen. I’ve tested this recipe about six times now—once with regular marshmallows, once with mini ones, once when I forgot the butter (don’t ask)—and I can tell you, this version is the one that works every time.
- Quick & Easy : From start to finish, you’re looking at about 20 minutes of active work. The hardest part is waiting for the white chocolate to set, which is honestly just a test of your willpower.
- Simple Ingredients : You probably have most of this in your pantry right now. Rice Krispies, marshmallows, butter, peppermint extract—nothing fancy. The white chocolate is the only thing you might need to grab at the store.
- Perfect for Family Movie Nights or Holiday Parties : These treats feel festive without being fussy. They’re great for Christmas, but honestly, we make them year-round because the kids love them that much.
- Crowd-Pleaser : I brought these to a school bake sale once, and they sold out in fifteen minutes. The other parents were asking for the recipe, and I had to text the post office lady to make sure I remembered it right.
- Unbelievably Delicious : The peppermint gives that cool, refreshing kick, and the white chocolate adds a creamy sweetness that balances everything out. It’s not too sugary, not too minty—it’s just right.
What makes this recipe different from the rest is the little trick of crushing the peppermint candies yourself instead of buying pre-crushed ones. It sounds like extra work, but trust me, the texture is way better. You get those tiny, crunchy bits that don’t dissolve into the marshmallow, so every bite has a little surprise. Plus, you can control how fine or chunky you want it. I like mine with a few bigger pieces for that satisfying crunch.
This recipe isn’t just good—it’s the kind that makes you close your eyes after the first bite. It’s comfort food reimagined, with a festive twist that feels like a treat without the stress. Perfect for making memories with the kids, or for sneaking one after they go to bed. I won’t judge.
What Ingredients You Will Need
This recipe uses simple, everyday ingredients that come together to create something special. No weird stuff, no hunting through specialty stores. Just good, honest ingredients that work.
- 3 tablespoons unsalted butter (salted works in a pinch, just skip the extra salt later)
- 1 bag (10 ounces) mini marshmallows (I prefer Jet-Puffed—they melt the smoothest, in my experience)
- 6 cups Rice Krispies cereal (or any crispy rice cereal—store brands work fine, but the texture might be slightly different)
- 1/2 teaspoon peppermint extract (not mint extract—peppermint has that cleaner, brighter flavor that doesn’t taste like toothpaste)
- 1/2 cup crushed peppermint candies or candy canes (about 8-10 regular-sized candy canes—crush them in a ziplock bag with a rolling pin, or use a food processor for finer pieces)
- 12 ounces white chocolate chips or melting wafers (I like Ghirardelli white chocolate chips for the smoothest melt, but any brand works—just avoid white chocolate “bark” as it doesn’t melt as evenly)
- 1 teaspoon coconut oil or vegetable shortening (optional, but helps the white chocolate melt smoother and gives that glossy finish)
- Optional: Red and green sprinkles (for that extra festive look, especially around the holidays)
A few notes on ingredients: If you’re using salted butter, you might want to reduce or skip any added salt. The marshmallows already have some salt, so it balances out. For the peppermint extract, be careful not to use too much—it’s strong stuff. Half a teaspoon is perfect. I once added a full teaspoon thinking “more is better,” and the treats tasted like a candy cane exploded in my mouth. Learn from my mistake.
For the white chocolate, melting wafers are easier because they’re designed to melt smoothly, but white chocolate chips work great if you add the coconut oil. If you’re dairy-free, there are good dairy-free white chocolate options out there—just check the label. The coconut oil helps everything come together nicely.
And about the crushed peppermint: you can buy pre-crushed candy canes at the store, but they’re often too fine and can dissolve into the marshmallow. Crushing your own gives you that perfect texture—some fine dust, some tiny chunks. It makes a difference, I promise.
Equipment Needed
You don’t need a fancy kitchen for these treats. Here’s what you’ll need:
- Large saucepan or pot (at least 4 quarts—you need room to stir everything without making a mess)
- Wooden spoon or silicone spatula (wooden spoons are great because they don’t scratch your pans, but silicone works too)
- 9×13 inch baking dish (glass or metal—both work, but glass tends to release the treats easier)
- Parchment paper or wax paper (for lining the dish—trust me, this saves so much cleanup time)
- Rolling pin or food processor (for crushing the peppermint—a rolling pin and ziplock bag is the budget-friendly option)
- Microwave-safe bowl or double boiler (for melting the white chocolate—microwave is faster, but a double boiler gives you more control)
- Small offset spatula or butter knife (for spreading the white chocolate evenly)
- Wire cooling rack (optional, but helps the chocolate set faster and more evenly)
If you don’t have a 9×13 dish, you can use a larger baking sheet and make thinner treats, or a smaller dish for thicker ones—just adjust the cooking time slightly. I’ve used a 9×9 dish before, and the treats were thicker and chewier, which my kids actually preferred. So don’t stress about having the exact pan.
Preparation Method
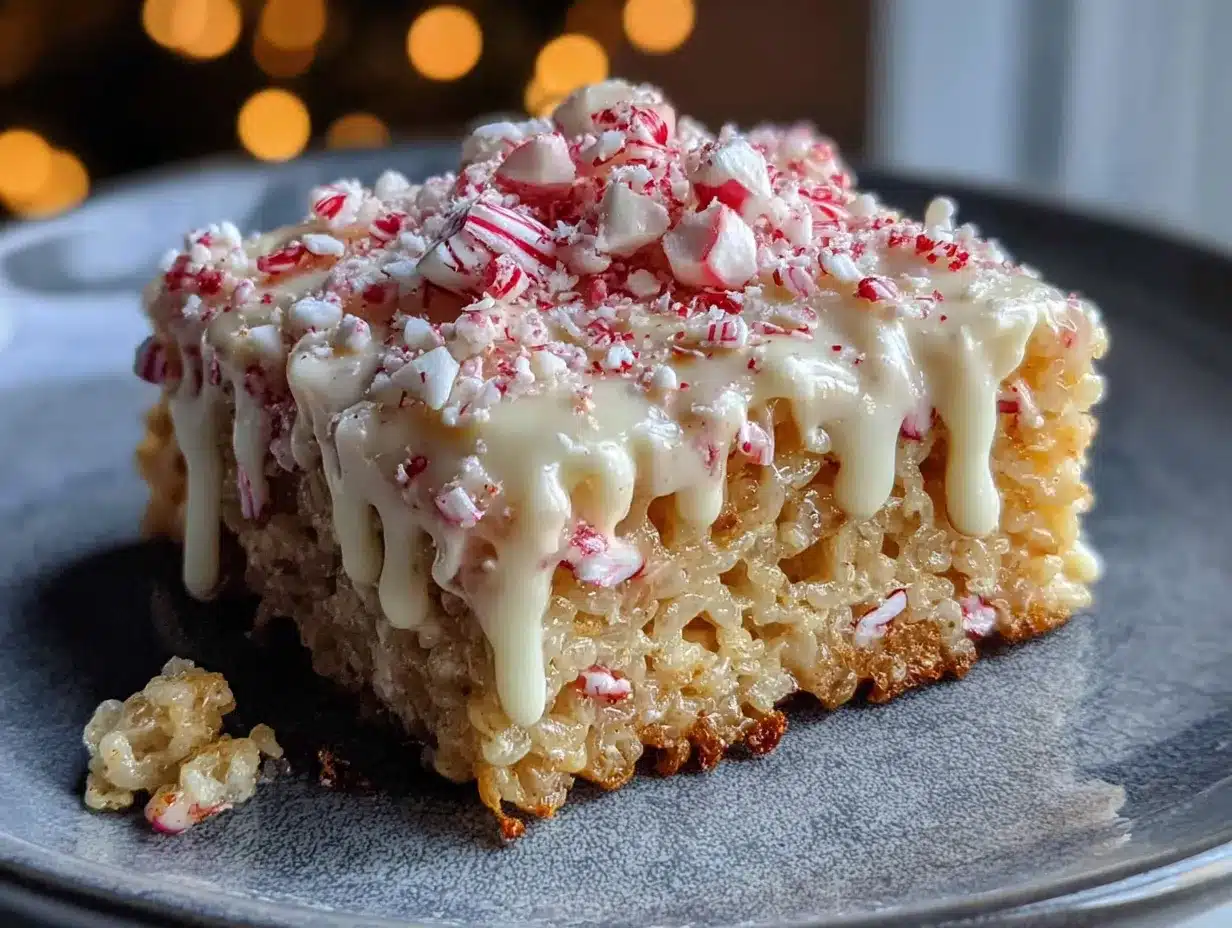
- Prep your pan : Line a 9×13 inch baking dish with parchment paper, leaving some overhang on two sides. This creates little “handles” that make lifting the treats out super easy later. Lightly grease the parchment with butter or non-stick spray.
- Crush the peppermint : Place your candy canes or peppermint candies in a sturdy ziplock bag. Seal it, then wrap it in a kitchen towel (this muffles the sound and prevents punctures). Use a rolling pin to crush them into small pieces. You want a mix of fine dust and tiny chunks—not powder, but not big shards either. Set aside about 2 tablespoons for the topping.
- Melt the butter and marshmallows : In a large saucepan over medium-low heat, melt the butter completely. Add the mini marshmallows and stir constantly until they’re fully melted and smooth. This takes about 5-7 minutes. Don’t walk away—burnt marshmallow is a tragedy. The mixture should be glossy and stretchy when you lift the spoon.
- Add the flavor : Remove the pan from the heat immediately. Stir in the peppermint extract and the crushed peppermint (minus the reserved 2 tablespoons). Mix until everything is well combined. The kitchen will smell amazing at this point—like a candy shop and Christmas morning rolled into one.
- Add the cereal : Pour in the Rice Krispies cereal all at once. Fold gently with your spatula until all the cereal is coated in the marshmallow mixture. Be careful not to crush the cereal—you want those crispy puffs intact. It takes about 2 minutes of gentle folding. If the mixture starts to stiffen, work quickly.
- Press into the pan : Transfer the mixture to your prepared pan. Use a piece of wax paper or a greased spatula to press it evenly into the corners. Don’t press too hard—you want them firm but not compacted. Aim for an even layer about 1 inch thick. Let them cool at room temperature for about 30 minutes, or until firm to the touch.
- Cut into squares : Once firm, lift the treats out using the parchment overhang. Place on a cutting board and cut into 12-16 squares, depending on how big you want them. A sharp knife works best—wipe it clean between cuts for neat edges.
- Melt the white chocolate : Place the white chocolate chips and coconut oil (if using) in a microwave-safe bowl. Microwave in 30-second intervals, stirring after each, until smooth and fully melted. This usually takes about 1.5 to 2 minutes total. Be careful not to overheat—white chocolate burns easily and gets grainy.
- Dip the treats : Line a baking sheet with parchment paper. Dip each square into the melted white chocolate, covering about half of the treat. Let the excess drip off, then place on the parchment. If the chocolate starts to thicken, pop it back in the microwave for 10 seconds.
- Add the topping : While the chocolate is still wet, sprinkle the reserved crushed peppermint over the dipped portions. If you’re using sprinkles, add them now too. Let the treats sit at room temperature until the chocolate is fully set—about 1 hour. Or pop them in the fridge for 20 minutes if you’re impatient (I won’t tell).
A few sensory cues: When you’re folding the cereal into the marshmallow, you’ll hear a soft crackling sound—that’s the cereal settling in. The mixture should look glossy and slightly sticky but not wet. When you press it into the pan, it should feel warm and pliable, not stiff. And when you bite into the finished treat, you want that initial crunch from the cereal, followed by the creamy white chocolate, and then the cool burst of peppermint. That’s the moment you know you did it right.
Cooking Tips & Techniques
I’ve made these treats more times than I care to admit, and I’ve learned a few things the hard way. Here’s what I wish someone had told me:
Don’t over-melt the marshmallows. This is the number one mistake people make. You want them just melted—smooth and glossy. If you keep cooking them, they get tough and chewy, and your treats will be hard instead of soft. As soon as the marshmallows are melted, pull them off the heat. No exceptions.
Work fast once the cereal goes in. The marshmallow mixture stiffens quickly as it cools. Once you pour in the Rice Krispies, you have about 3-4 minutes to mix and press it into the pan. If you take too long, it becomes impossible to spread evenly. I learned this the hard way when I stopped to answer the phone mid-mixing. The result was a lumpy, uneven mess that still tasted good but looked terrible.
Use a wet spatula for pressing. If you spray your spatula or your hands with a little non-stick cooking spray, the mixture won’t stick to it. This makes pressing the treats into the pan so much easier. I keep a small spray bottle of oil in my kitchen just for this purpose.
Let the white chocolate set properly. I know it’s tempting to eat them right away, but the white chocolate needs time to firm up. If you try to eat them too soon, the chocolate will smear everywhere and you’ll miss that satisfying snap when you bite through it. Patience, my friend.
Store them correctly. These treats are best eaten within 2-3 days. Store them in an airtight container at room temperature—not in the fridge, which can make the white chocolate bloom (get that weird white streaky look). If you need to keep them longer, freeze them without the white chocolate dip, then dip and serve later.
Variations & Adaptations
This recipe is flexible, and I’ve tried a few different versions over the years. Here are some ideas to make it your own:
Dark Chocolate Dip : Swap the white chocolate for dark chocolate (60-70% cocoa) for a richer, less sweet version. The bitterness of dark chocolate pairs beautifully with the cool peppermint. My husband prefers this version, and I have to admit, it feels a little more grown-up.
Gluten-Free Option : Rice Krispies are naturally gluten-free, but check the label to be sure (some brands use malt flavoring that contains gluten). Alternatively, use a certified gluten-free crispy rice cereal. Everything else in the recipe is gluten-free, so this is an easy swap.
Extra Crunchy Version : Add 1/2 cup of crushed pretzels or chopped nuts (like pecans or almonds) along with the cereal. The salty crunch contrasts with the sweet marshmallow and white chocolate. I tried this once for a party, and it was a hit—the salty-sweet combo is hard to resist.
Holiday Colors : For Christmas, add red and green sprinkles on top. For Valentine’s Day, use pink and red sprinkles. For Easter, pastel colors work great. The kids love customizing these for different holidays, and it makes them feel like they helped make the treats.
Mint Chocolate Chip Version : Fold in 1/2 cup of mini chocolate chips along with the cereal. The chocolate chips melt slightly into the warm marshmallow, creating little pockets of chocolate throughout. This is my personal favorite—it’s like eating a mint chocolate chip ice cream in treat form.
Serving & Storage Suggestions
These treats are best served at room temperature. The white chocolate should be firm but not hard, and the Rice Krispies should still have that satisfying crunch. If you’ve stored them in the fridge, let them sit out for about 15 minutes before serving.
For presentation, arrange them on a platter with a few extra crushed peppermint pieces scattered around. They look beautiful on a holiday dessert table or alongside a cup of hot cocoa. My kids love them as an after-school snack, and I’ve even packed them in lunchboxes (just wrap them individually in wax paper to prevent the chocolate from smudging).
Storage instructions : Store in an airtight container at room temperature for up to 3 days. If you need to stack them, place a sheet of wax paper between layers to prevent sticking. Do not refrigerate—the moisture can make the treats soggy and cause the white chocolate to bloom.
Freezer instructions : If you want to make them ahead, freeze the undipped treats for up to 2 months. Wrap each square tightly in plastic wrap, then place in a freezer-safe bag. When you’re ready to serve, thaw them at room temperature, then dip in white chocolate and add the toppings. The texture stays perfect this way.
One thing I’ve noticed: these treats actually get better after a day. The flavors meld together, and the peppermint becomes more pronounced. So if you can resist eating them all on day one, day two is even better.
Nutritional Information & Benefits
Let’s be real—these are treats, not health food. But here’s a rough estimate per serving (based on 16 squares):
- Calories : Approximately 220-250 per treat
- Fat : 10-12 grams (mostly from butter and white chocolate)
- Carbohydrates : 32-36 grams
- Sugar : 22-26 grams
- Protein : 2-3 grams
That said, there are a few bright spots. The peppermint can aid digestion and has a soothing effect on the stomach. Rice Krispies are fortified with iron and B vitamins, so you’re getting a little nutritional boost. And hey, a treat now and then is part of a balanced life. I’d rather my kids have a homemade treat with real ingredients than something from a box with preservatives I can’t pronounce.
If you’re watching sugar intake, you can use sugar-free white chocolate (though the texture might be slightly different) or reduce the crushed peppermint topping. For a dairy-free version, use dairy-free butter and dairy-free white chocolate. The treats won’t be exactly the same, but they’ll still be delicious.
Potential allergens: This recipe contains dairy (butter, white chocolate) and may contain gluten depending on the cereal brand. Always check labels if you’re serving someone with allergies.
Conclusion
These peppermint Rice Krispie treats dipped in white chocolate are proof that the best recipes come from the most unexpected places. A post office line, a crumpled index card, a grandmother who knew her granddaughter’s favorite treat—that’s where this started. And now it’s become a staple in my kitchen, the treat my kids ask for by name.
What I love most about this recipe is how it brings people together. I’ve made them for school events, holiday parties, and lazy Sunday afternoons. Every time, someone asks for the recipe. And every time, I think about that lady in the post office and smile.
I encourage you to make these your own. Add your favorite sprinkles, try different chocolate, crush the peppermint as fine or as chunky as you like. The recipe is a starting point, but your kitchen is where the magic happens.
If you make these, I’d love to hear about it. Leave a comment below, share a photo, or tell me how your family liked them. And if you have your own story of a recipe that came from an unexpected place, I’m all ears. Happy cooking—and happy snacking!
Frequently Asked Questions
Can I use regular marshmallows instead of mini marshmallows?
Yes, you can. Use about 40 regular marshmallows (which equals one 10-ounce bag). They take a little longer to melt, so be patient and stir constantly. Mini marshmallows are preferred because they melt faster and more evenly, but regular ones work in a pinch.
Why did my white chocolate seize up and get grainy?
White chocolate is sensitive to heat and moisture. If it gets too hot (above 110°F) or if even a drop of water gets in, it can seize up and become grainy. To prevent this, melt it slowly in 30-second intervals, stir gently, and make sure your bowl is completely dry. Adding a teaspoon of coconut oil can also help keep it smooth.
Can I make these treats without the white chocolate dip?
Absolutely! The base recipe for the peppermint Rice Krispie treats is delicious on its own. Just skip the dipping step and sprinkle the crushed peppermint directly over the warm treats before they set. They’ll be less fancy but still incredibly tasty.
How do I crush the candy canes without making a huge mess?
Place the candy canes in a sturdy ziplock bag, then wrap the bag in a kitchen towel before crushing. This muffles the sound and prevents any sharp pieces from poking through the bag. Use a rolling pin or the bottom of a heavy pan. A food processor works too, but pulse gently—you want chunks, not powder.
Can I freeze these treats for later?
Yes, but freeze them before dipping in white chocolate. Wrap each undipped square tightly in plastic wrap, then place in a freezer-safe bag. They’ll keep for up to 2 months. When you’re ready to serve, thaw at room temperature, then dip in white chocolate and add the toppings. This method keeps the texture perfect.
Pin This Recipe!
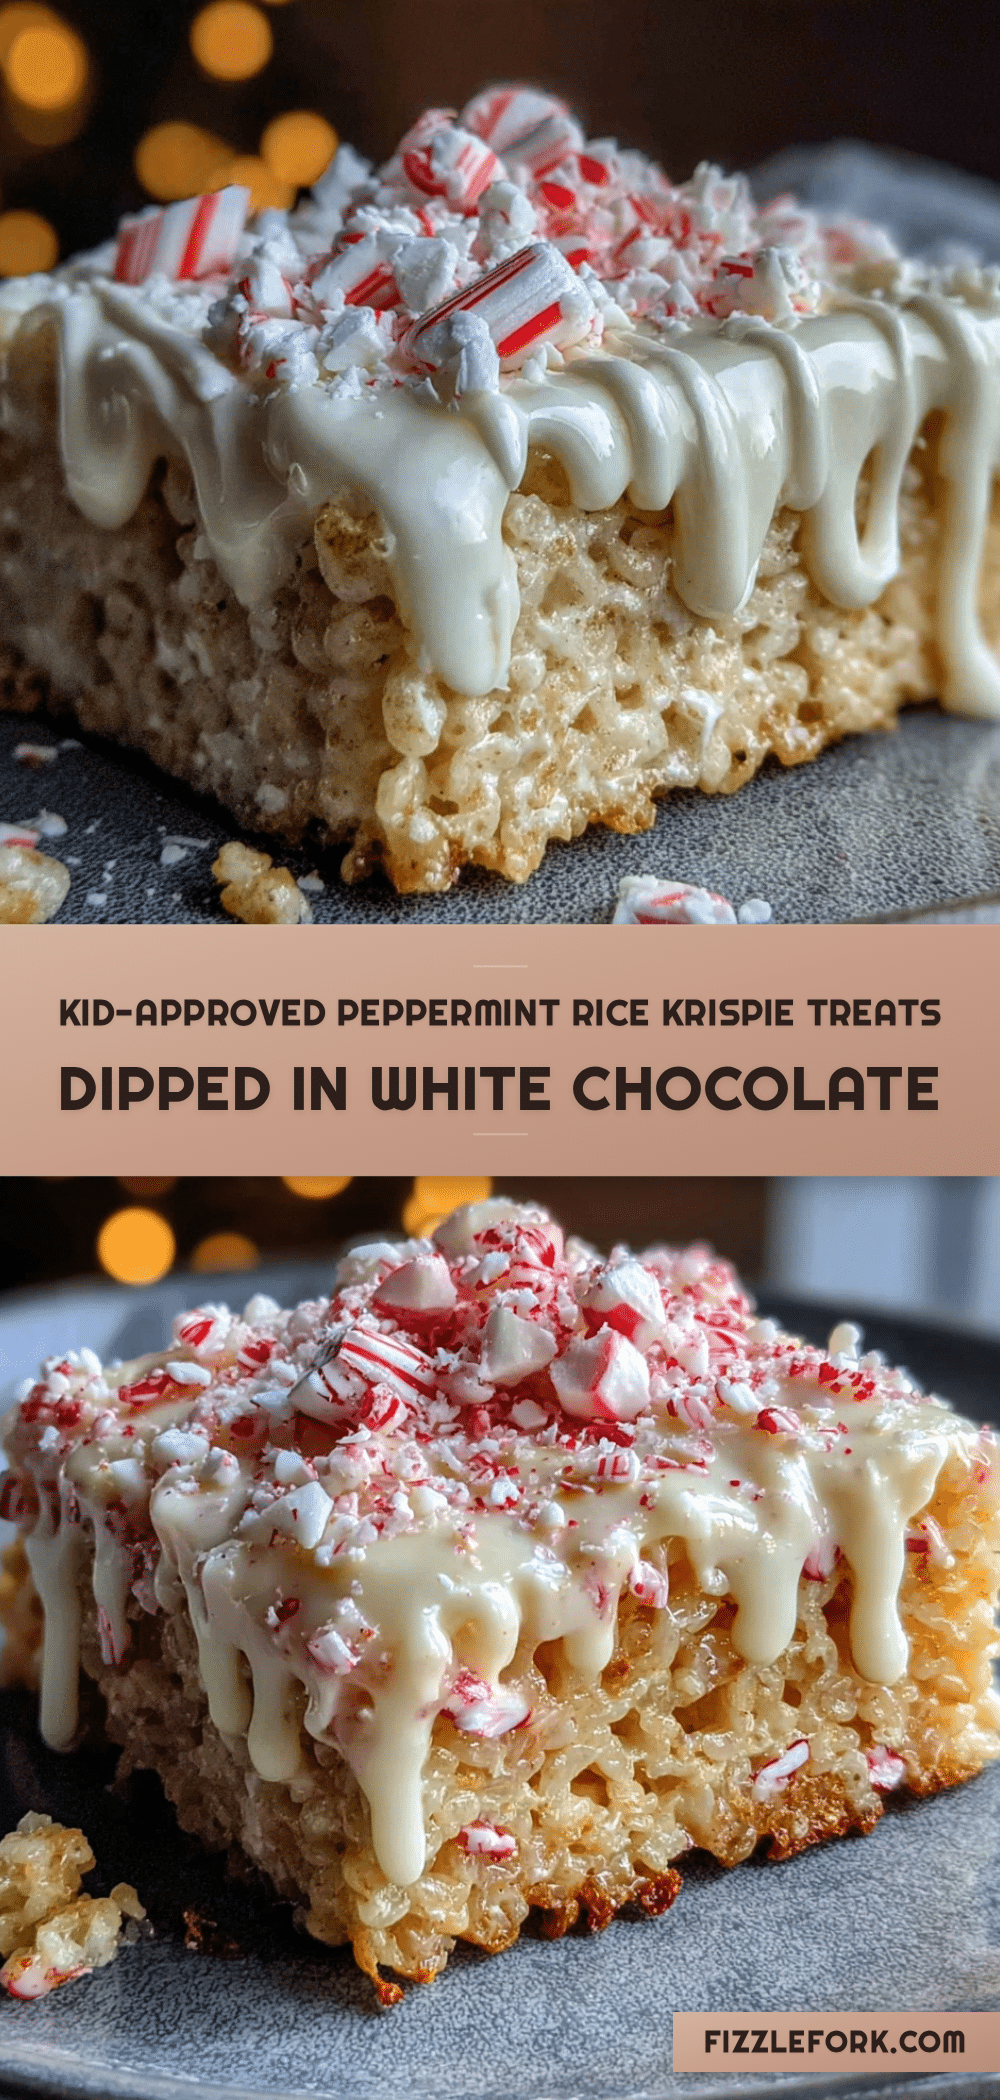
Easy Homemade Peppermint Rice Krispie Treats

These peppermint Rice Krispie treats dipped in white chocolate are a quick and easy dessert that feels special without the stress. Perfect for family movie nights, holiday parties, or any time you want a festive, crowd-pleasing treat.
- Prep Time: 20 minutes
- Cook Time: 10 minutes
- Total Time: 1 hour 30 minutes (including setting time)
- Yield: 12-16 servings 1x
- Category: Dessert
- Cuisine: American
Ingredients
- 3 tablespoons unsalted butter
- 1 bag (10 ounces) mini marshmallows
- 6 cups Rice Krispies cereal
- 1/2 teaspoon peppermint extract
- 1/2 cup crushed peppermint candies or candy canes (about 8–10 regular-sized candy canes)
- 12 ounces white chocolate chips or melting wafers
- 1 teaspoon coconut oil or vegetable shortening (optional)
- Optional: Red and green sprinkles
Instructions
- Line a 9×13 inch baking dish with parchment paper, leaving overhang on two sides. Lightly grease the parchment with butter or non-stick spray.
- Place candy canes or peppermint candies in a sturdy ziplock bag, seal, wrap in a kitchen towel, and crush with a rolling pin into small pieces (mix of fine dust and tiny chunks). Set aside about 2 tablespoons for topping.
- In a large saucepan over medium-low heat, melt the butter completely. Add the mini marshmallows and stir constantly until fully melted and smooth (about 5-7 minutes). Remove from heat immediately.
- Stir in the peppermint extract and the crushed peppermint (minus reserved 2 tablespoons) until well combined.
- Pour in the Rice Krispies cereal all at once. Fold gently with a spatula until all cereal is coated, being careful not to crush the cereal (about 2 minutes).
- Transfer mixture to prepared pan. Use a piece of wax paper or greased spatula to press evenly into corners, about 1 inch thick. Let cool at room temperature for about 30 minutes until firm.
- Once firm, lift treats out using parchment overhang. Place on a cutting board and cut into 12-16 squares.
- Place white chocolate chips and coconut oil (if using) in a microwave-safe bowl. Microwave in 30-second intervals, stirring after each, until smooth and fully melted (about 1.5 to 2 minutes total).
- Line a baking sheet with parchment paper. Dip each square into melted white chocolate, covering about half. Let excess drip off, then place on parchment.
- While chocolate is still wet, sprinkle reserved crushed peppermint over dipped portions. Add sprinkles if using. Let sit at room temperature until chocolate is fully set (about 1 hour) or refrigerate for 20 minutes.
Notes
Don’t over-melt the marshmallows; remove from heat as soon as they are smooth and glossy. Work fast once cereal is added—you have about 3-4 minutes to mix and press into the pan. Use a wet spatula for pressing to prevent sticking. Let white chocolate set properly before eating. Store in an airtight container at room temperature for up to 3 days; do not refrigerate. For freezing, freeze undipped treats for up to 2 months, then thaw and dip when ready.
Nutrition
- Serving Size: 1 square
- Calories: 235
- Sugar: 24
- Sodium: 120
- Fat: 11
- Saturated Fat: 7
- Carbohydrates: 34
- Protein: 2.5
Keywords: peppermint rice krispie treats, white chocolate dipped rice krispie treats, easy holiday dessert, no-bake treats, Christmas rice krispie treats


