I was about to roll out my standard butter crust, the one I’d been making for years, when my sister-in-law, Jen, peered over my shoulder. “Why don’t you just press it into the pan?” she asked. I started to explain why that wouldn’t work — something about gluten development and shrinkage and the structural integrity of a proper pie shell. Then I stopped. Honestly, I had no good answer. I was just repeating what I’d always been told.
So I shrugged, handed her the dough, and watched her press it into the dish with her fingertips, patting it up the sides like she was making a giant cookie. I was certain it would be a disaster. The crust would be tough, or it would slide down, or it would turn into a greasy mess. But let me tell you, I’ve never been happier to be wrong. That pie came out of the oven with the most tender, flaky crust I’d ever made, and it didn’t shrink one bit. The filling was the same old recipe, but the crust made it feel like a whole new pie.
Maybe you’ve been there — stuck in your ways, convinced there’s only one right way to do something in the kitchen, only to have someone show you a simpler path. That’s what this pumpkin pie is to me now. It’s a reminder that sometimes the best recipes come from letting go of a little control. The filling is rich and spiced just right, and the crust is so buttery and flaky you’ll want to eat it on its own. I’ve been making this pie for every Thanksgiving and random Tuesday since, and it’s become the one everyone asks for. It’s the kind of pie that makes you close your eyes after the first bite, not because it’s fancy, but because it just tastes like home.
Why You’ll Love This Recipe
This isn’t just another pumpkin pie recipe. I’ve tested it a dozen times, tweaked the spices, and landed on a version that’s both foolproof and absolutely delicious. Here’s why it works for real families like yours:
- Budget-Friendly Ingredients: You probably have most of these in your pantry right now. No expensive extracts or hard-to-find spices. Just good, honest ingredients that won’t break the bank.
- No-Fuss Crust: The press-in method is a total game-changer. No rolling, no chilling, no worrying about cracks. It comes together in minutes and bakes up perfectly flaky every single time.
- Crowd-Pleasing Flavor: The spice blend is balanced — not too gingery, not too clove-heavy. It’s the kind of pumpkin pie that disappears fast, even from people who say they’re “not big on pumpkin.”
- Reheats Like a Dream: Leftovers (if there are any) warm up beautifully. The crust stays crisp, and the filling gets creamy again. Perfect for next-day breakfast with coffee.
- Make-Ahead Friendly: You can prep the crust and filling a day ahead and bake it fresh. Or bake the whole pie and freeze it for up to a month. It’s a lifesaver during the holiday rush.
This recipe is built on real kitchen experience. I’ve made it with store-bought crust when I was short on time, and it’s good. But this homemade version? It’s the one that gets the “oh wow” reaction. It’s the one my neighbor, Mrs. Gable, asked me to bring to three different potlucks last fall. It’s the one that makes you feel like a hero in the kitchen without all the stress.
What Ingredients You Will Need
This recipe uses simple, wholesome ingredients to deliver that classic pumpkin pie flavor with a crust that’s genuinely flaky. Most of these are pantry staples, which makes this a great last-minute dessert option.
For the Flaky Press-In Crust
- All-purpose flour, 1 ¼ cups (156g) — Provides structure. I use Gold Medal, but any standard brand works.
- Granulated sugar, 1 tablespoon (12g) — Adds a touch of sweetness and helps with browning.
- Salt, ¼ teaspoon (1.5g) — Balances the sweetness and enhances flavor.
- Unsalted butter, ½ cup (113g), cold and cut into small cubes — This is key for flakiness. Keep it cold until you’re ready to use it.
- Ice water, 2-3 tablespoons (30-45ml) — Helps bind the dough without making it tough.
For the Pumpkin Filling
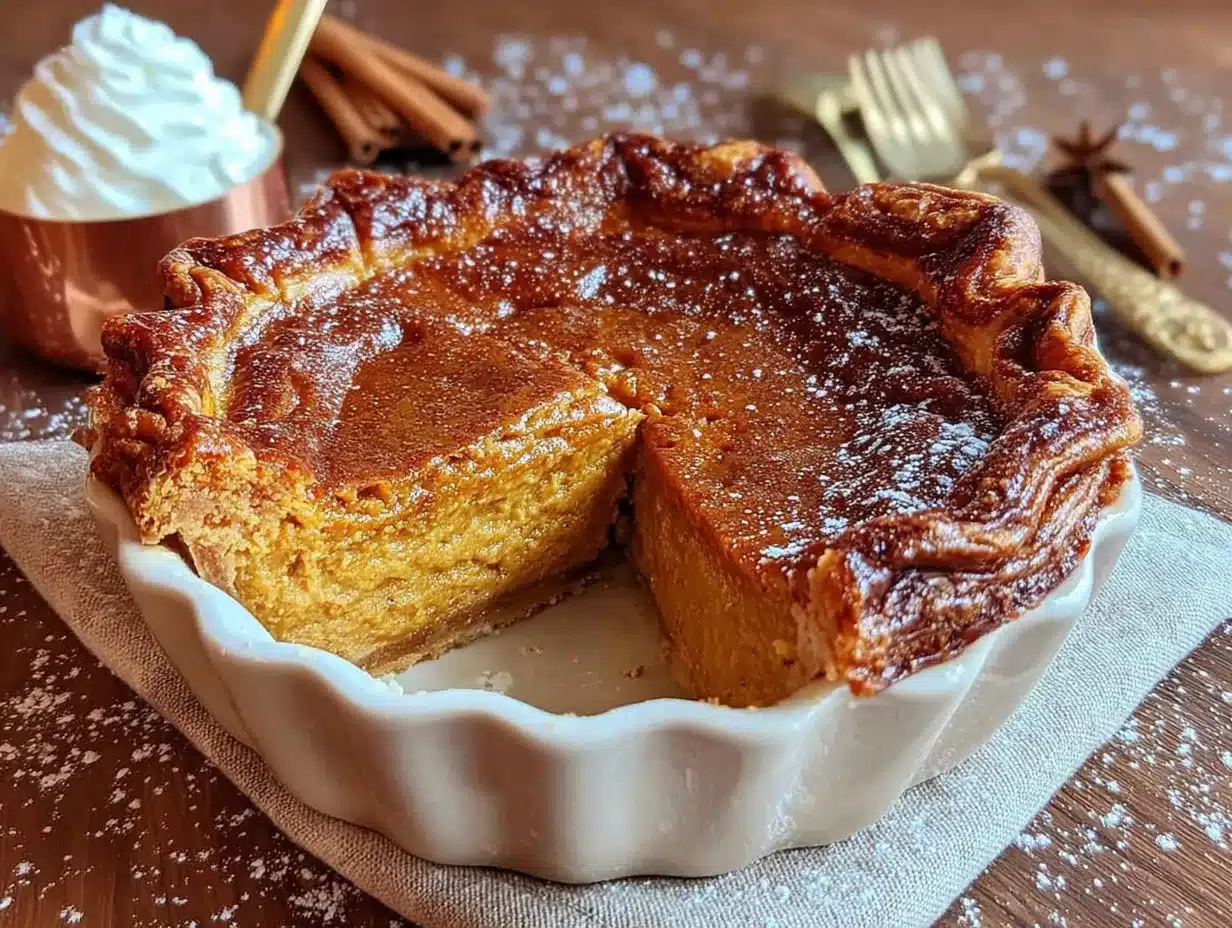
- Pumpkin puree, 1 can (15 oz) (425g) — Not pumpkin pie filling. Make sure you grab 100% pure pumpkin. Libby’s is my go-to for consistent texture.
- Sweetened condensed milk, 1 can (14 oz) (396g) — This is what gives the filling its creamy, rich texture without needing to add extra sugar. It’s a non-negotiable for me.
- Large eggs, 2 — They help set the filling. Room temperature is best for even mixing.
- Pumpkin pie spice, 1 ½ teaspoons (3g) — You can use store-bought or make your own with cinnamon, ginger, nutmeg, and cloves.
- Ground cinnamon, ½ teaspoon (1.5g) — Adds warmth and depth.
- Vanilla extract, 1 teaspoon (5ml) — Rounds out the flavors. Pure vanilla is worth it here.
- Salt, ¼ teaspoon (1.5g) — Just a pinch to balance the sweetness.
Ingredient Tips: If you’re out of pumpkin pie spice, mix 1 teaspoon cinnamon, ¼ teaspoon ginger, ¼ teaspoon nutmeg, and a pinch of cloves. For a dairy-free version, you can use full-fat coconut milk instead of sweetened condensed milk, but the texture will be slightly less creamy. I’ve tried it and it’s still good, just different.
Equipment Needed
You don’t need fancy tools for this pie. Here’s what I use and what I’ve learned along the way:
- 9-inch pie dish: A standard glass or ceramic dish works great. I prefer glass because you can see when the crust is golden on the bottom.
- Mixing bowls: One large for the filling, one medium for the crust.
- Pastry cutter or two forks: For cutting the butter into the flour. If you don’t have a pastry cutter, your fingers work too — just work quickly so the butter stays cold.
- Measuring cups and spoons: Accuracy matters in baking, so use proper measuring tools.
- Whisk: For smoothing out the filling.
- Spatula: A rubber spatula helps scrape every last bit of filling into the crust.
- Cooling rack: Essential for even cooling and preventing a soggy bottom.
Budget-Friendly Tip: If you don’t have a pastry cutter, you can use a food processor for the crust. Just pulse the butter into the flour until it looks like coarse meal, then add the water and pulse until it comes together. It’s faster and works perfectly.
Preparation Method
Let’s get to the good part. This method is broken down into simple steps, and I’ve included all the little details I’ve learned from making this pie more times than I can count.
Step 1: Make the Press-In Crust
In a medium bowl, whisk together the flour, sugar, and salt. Add the cold butter cubes and use a pastry cutter or your fingers to work the butter into the flour until the mixture looks like coarse meal with some pea-sized butter pieces remaining. This is what creates flakiness. Sprinkle 2 tablespoons of ice water over the mixture and stir with a fork until it starts to come together. If it’s too dry, add the remaining tablespoon of water, one teaspoon at a time. The dough should hold together when you squeeze it.
Now, here’s the part that changed everything for me. Instead of rolling it out, transfer the dough to your pie dish and press it evenly into the bottom and up the sides. Use your fingertips to press it firmly, making sure the thickness is even. Don’t worry about making it perfect — a rustic edge is part of the charm. Prick the bottom of the crust with a fork a few times to prevent bubbles. Pop it in the fridge for 15 minutes while you preheat the oven to 375°F (190°C).
Step 2: Par-Bake the Crust
After chilling, place the crust on a baking sheet (this makes it easier to handle and catches any drips) and bake for 12 minutes. The edges should look set but not brown. This step ensures the bottom of the crust cooks through and doesn’t get soggy from the filling. Let it cool on a wire rack for 10 minutes while you make the filling.
Step 3: Make the Pumpkin Filling
In a large bowl, whisk the pumpkin puree until smooth. Add the sweetened condensed milk and whisk until fully combined. The mixture should be thick and glossy. Add the eggs one at a time, whisking well after each. Stir in the pumpkin pie spice, cinnamon, vanilla, and salt. Whisk until everything is smooth and uniform. The filling will be fairly thin — that’s normal. Don’t worry if it looks a little runny; it sets beautifully as it bakes.
Step 4: Assemble and Bake
Pour the filling into the par-baked crust. It should fill the crust almost to the top. Gently tap the pie dish on the counter a few times to release any air bubbles. Place the pie on the baking sheet and bake at 375°F (190°C) for 15 minutes. Then, reduce the oven temperature to 350°F (175°C) and bake for another 35-40 minutes. The pie is done when the edges are set and the center jiggles just slightly when you gently shake the dish. A knife inserted near the center should come out mostly clean.
Step 5: Cool Completely
Place the pie on a wire rack and let it cool completely at room temperature. This takes about 2 hours. The filling will continue to set as it cools. Don’t rush this step — cutting into a warm pie will result in a runny mess. Once cool, you can serve it immediately or refrigerate it for later. I actually think it tastes even better the next day after the flavors have had time to meld.
Cooking Tips & Techniques
I’ve made my share of pie mistakes, and I’m happy to share them so you don’t have to repeat them.
The Biggest Mistake I Made: The first time I tried this press-in method, I used melted butter instead of cold. The crust came out greasy and dense. Cold butter is non-negotiable for flakiness. Those little butter pieces melt in the oven and create steam, which separates the dough into layers. That’s what gives you that beautiful flaky texture.
Timing is Everything: I once forgot to reduce the oven temperature after the first 15 minutes. The crust got too dark and the filling cracked on top. It still tasted fine, but it wasn’t as pretty. Set a timer for the temperature change — it’s easy to forget when you’re busy with other dishes.
How to Avoid a Soggy Bottom: Par-baking the crust and letting it cool before adding the filling makes a huge difference. Also, placing the pie on a preheated baking sheet helps the bottom cook faster. I started doing this after a particularly sad, soggy-bottomed pie a few years ago, and it’s never failed me since.
Multitasking Tip: While the crust is par-baking, make the filling. By the time the crust is out and cooling, your filling is ready to go. It saves about 10 minutes and keeps the workflow smooth.
Consistency Check: If your filling looks curdled after whisking, don’t panic. It usually means your eggs were too cold. Whisk it vigorously for another minute, and it should smooth out. If it doesn’t, it’ll still bake up fine — just give it an extra 5 minutes in the oven.
Variations & Adaptations
This recipe is a great base, and I’ve played around with it more than I’d like to admit. Here are some variations that actually work:
Spiced-Up Version
Add ¼ teaspoon of ground ginger and a pinch of black pepper to the filling. The pepper adds a subtle warmth that’s surprisingly good. I tried this on a whim one Thanksgiving when I ran out of pumpkin pie spice, and it was a hit.
Gluten-Free Option
Use a 1:1 gluten-free flour blend in the crust. I’ve used Bob’s Red Mill and King Arthur with good results. The texture is slightly crumblier, but the flavor is still great. Just make sure to chill the dough for an extra 10 minutes before baking.
Dairy-Free Adaptation
Swap the butter in the crust with cold coconut oil or a plant-based butter stick. For the filling, use full-fat coconut milk instead of sweetened condensed milk. The filling will be a little less sweet, so you might want to add an extra tablespoon of brown sugar. It’s not exactly the same, but it’s still creamy and delicious.
Mini Pie Version
Press the crust into a muffin tin instead of a pie dish. Use about 2 tablespoons of dough per cup, then fill with about 3 tablespoons of filling. Bake at 350°F (175°C) for 20-25 minutes. These are perfect for parties or portion control. I made these for a potluck last spring, and they were gone in minutes.
Serving & Storage Suggestions
Serving: This pie is best served at room temperature or slightly warm. If you’ve refrigerated it, let it sit on the counter for about 30 minutes before serving. A dollop of lightly sweetened whipped cream is the classic pairing, and for good reason — it cuts through the richness of the filling beautifully. If you’re feeling fancy, a sprinkle of cinnamon on top of the whipped cream adds a nice touch.
Storage: Cover the pie loosely with plastic wrap or aluminum foil and store it in the refrigerator for up to 5 days. The crust will soften slightly over time, but the flavor actually gets better. I’ve found that day three is the sweet spot — the spices have mellowed and melded together perfectly.
Freezing: This pie freezes wonderfully. Bake it, cool it completely, then wrap it tightly in plastic wrap, followed by a layer of foil. Freeze for up to 3 months. To serve, thaw it in the refrigerator overnight, then let it come to room temperature before slicing. I always make an extra pie for the freezer during pumpkin season — it’s a lifesaver for unexpected guests or lazy Sundays.
Reheating: If you want a warm slice, place it in a 300°F (150°C) oven for 10-15 minutes. The microwave works in a pinch, but the crust won’t be as crisp. Honestly, I prefer it cold straight from the fridge with a cup of coffee.
Nutritional Information & Benefits
Here’s the approximate nutritional breakdown for one slice (based on 8 servings):
- Calories: 380
- Fat: 18g
- Carbohydrates: 48g
- Protein: 7g
- Fiber: 3g
- Sugar: 32g
Pumpkin is packed with vitamin A, which is great for eye health and immune function. It’s also a good source of fiber, which helps keep you full. The eggs add protein, and the butter provides a small amount of vitamin A and healthy fats. While this is definitely a treat, it’s not as heavy as some other desserts. The sweetened condensed milk does add sugar, but it also means you don’t need to add extra refined sugar. I feel good about serving this to my family because I know exactly what’s in it, and it’s made with real, whole ingredients.
Dietary Considerations: This recipe contains gluten, dairy, and eggs. For gluten-free and dairy-free adaptations, see the variations section. It’s not suitable for a vegan diet, but the filling can be made with a flax egg and coconut milk if you’re willing to experiment.
Frequently Asked Questions
Can I use pumpkin pie filling instead of pumpkin puree?
I wouldn’t recommend it. Pumpkin pie filling already has sugar and spices added, so it would throw off the balance of this recipe. Stick with 100% pure pumpkin puree for the best results. If you only have pumpkin pie filling on hand, reduce the sugar and spices in the recipe, but honestly, it’s easier to just grab the right can.
Why did my pumpkin pie crack on top?
Cracks usually happen when the pie is overbaked or when it cools too quickly. The center should still jiggle slightly when you take it out of the oven — it will continue to set as it cools. Also, don’t open the oven door during the first 30 minutes of baking. The sudden temperature change can cause cracking. If it does crack, don’t worry. Whipped cream covers a multitude of sins.
Can I make this pie ahead of time?
Absolutely. You can make the crust and filling a day ahead and assemble and bake it the next day. Or bake the whole pie, cool it, and refrigerate it for up to 3 days before serving. I often make it two days before Thanksgiving — it actually tastes better after the flavors have had time to meld.
How do I know when the pie is done?
The edges should be set and slightly puffed, and the center should jiggle like Jell-O when you gently shake the dish. A knife inserted about an inch from the center should come out clean. The internal temperature should be around 175°F (80°C) when measured with an instant-read thermometer. Trust the jiggle test more than the clock — ovens vary.
Can I use a store-bought crust instead?
You can, and it’ll still be a good pie. But honestly, this press-in crust is so easy and so much better than anything you’ll buy at the store. It takes about 10 minutes to make, and the texture is night and day different. Give it a try — you might be surprised at how simple it is.
Conclusion
This homemade pumpkin pie with its flaky press-in crust has become a staple in my kitchen, and I hope it becomes one in yours too. It’s proof that you don’t need complicated techniques or fancy ingredients to make something truly special. The crust is forgiving, the filling is foolproof, and the result is a pie that tastes like all the best parts of fall wrapped up in one dish.
I love this recipe because it’s the one that taught me to question my own rules in the kitchen. It reminded me that sometimes the simplest way is the best way, and that a little humility can lead to something delicious. Whether you’re making it for a holiday feast, a family dinner, or just because it’s Tuesday and you deserve pie, I hope it brings you the same joy it’s brought me.
If you give this recipe a try, I’d love to hear about it. Leave a comment below and let me know how it turned out, or share your own twist on it. Did you add extra spice? Try a different crust? I’m always looking for new ideas. And if you have a picky eater who swears they don’t like pumpkin pie, this might just be the one that changes their mind. It happened in my house, and it could happen in yours.
Happy baking, friends. Here’s to good food, good company, and the occasional happy accident in the kitchen.
Pin This Recipe!
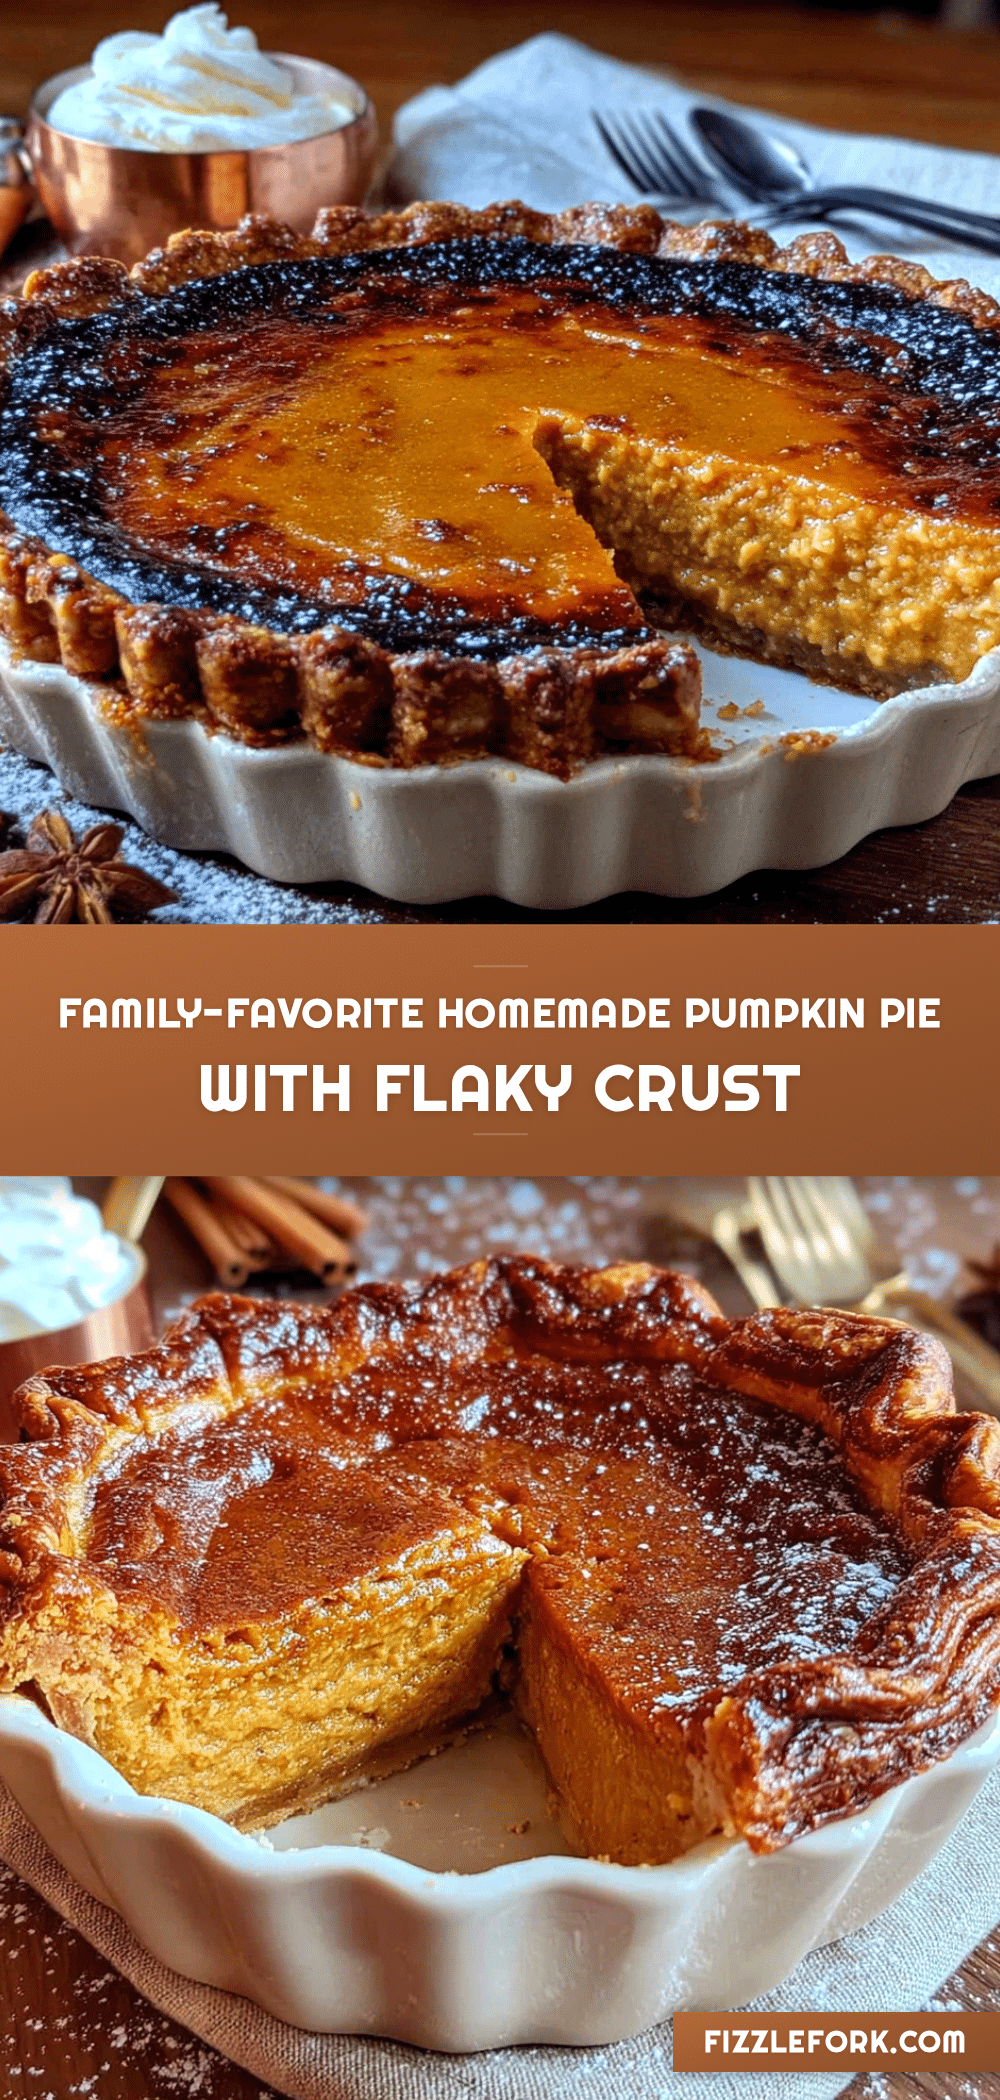
Best Homemade Pumpkin Pie with Flaky Crust (Family Favorite)
This homemade pumpkin pie features a tender, flaky press-in crust and a rich, spiced filling. It’s a foolproof, budget-friendly dessert that tastes like home and is perfect for holidays or any day you crave a classic pumpkin pie.
- Prep Time: 15 minutes
- Cook Time: 50 minutes
- Total Time: 2 hours 5 minutes (includes cooling)
- Yield: 8 servings 1x
- Category: Dessert
- Cuisine: American
Ingredients
- 1 ¼ cups (156g) all-purpose flour
- 1 tablespoon (12g) granulated sugar
- ¼ teaspoon (1.5g) salt
- ½ cup (113g) unsalted butter, cold and cut into small cubes
- 2–3 tablespoons (30-45ml) ice water
- 1 can (15 oz / 425g) pumpkin puree (100% pure pumpkin)
- 1 can (14 oz / 396g) sweetened condensed milk
- 2 large eggs, room temperature
- 1 ½ teaspoons (3g) pumpkin pie spice
- ½ teaspoon (1.5g) ground cinnamon
- 1 teaspoon (5ml) vanilla extract
- ¼ teaspoon (1.5g) salt
Instructions
- Make the press-in crust: In a medium bowl, whisk together flour, sugar, and salt. Add cold butter cubes and use a pastry cutter or your fingers to work the butter into the flour until the mixture looks like coarse meal with some pea-sized butter pieces remaining. Sprinkle 2 tablespoons of ice water over the mixture and stir with a fork until it starts to come together. If too dry, add remaining water, one teaspoon at a time. The dough should hold together when squeezed.
- Press the dough into a 9-inch pie dish evenly into the bottom and up the sides. Prick the bottom with a fork a few times. Refrigerate for 15 minutes while preheating oven to 375°F (190°C).
- Par-bake the crust: Place the crust on a baking sheet and bake for 12 minutes until edges are set but not brown. Let cool on a wire rack for 10 minutes.
- Make the pumpkin filling: In a large bowl, whisk pumpkin puree until smooth. Add sweetened condensed milk and whisk until fully combined. Add eggs one at a time, whisking well after each. Stir in pumpkin pie spice, cinnamon, vanilla, and salt. Whisk until smooth and uniform.
- Assemble and bake: Pour filling into par-baked crust. Tap the pie dish on the counter to release air bubbles. Place on baking sheet and bake at 375°F (190°C) for 15 minutes. Reduce oven temperature to 350°F (175°C) and bake for another 35-40 minutes, until edges are set and center jiggles slightly when shaken.
- Cool completely: Place pie on a wire rack and cool completely at room temperature, about 2 hours. The filling will continue to set as it cools. Serve at room temperature or refrigerate for later.
Notes
For a dairy-free version, use full-fat coconut milk instead of sweetened condensed milk and cold coconut oil or plant-based butter in the crust. For gluten-free, use a 1:1 gluten-free flour blend and chill dough an extra 10 minutes. The pie freezes well for up to 3 months. To avoid a soggy bottom, par-bake the crust and place the pie on a preheated baking sheet. The pie is done when the center jiggles slightly; internal temperature should be around 175°F (80°C).
Nutrition
- Serving Size: 1 slice (1/8 of pie)
- Calories: 380
- Sugar: 32
- Sodium: 320
- Fat: 18
- Saturated Fat: 10
- Carbohydrates: 48
- Fiber: 3
- Protein: 7
Keywords: pumpkin pie, homemade pumpkin pie, flaky crust, press-in crust, Thanksgiving dessert, fall dessert, easy pumpkin pie


