Box of Devil’s Food cake mix sitting on the counter, three overripe bananas in the fruit bowl, and a jar of peanut butter staring at me from the pantry when my kid asked if we could make something “really chocolatey” for the school bake sale. Honestly, I was about to default to those banana muffins I always make when the bananas start looking sad. But something about that peanut butter jar just wouldn’t let me go.
I’d been craving that salty-sweet combo for weeks — you know the one, where the chocolate hits your tongue first and then the peanut butter melts in right behind it. So I grabbed the cake mix, ignored the bananas (sorry, guys), and started thinking about poke cakes.
Here’s the thing about poke cakes — they’re basically foolproof. You bake a cake, poke holes in it, pour something delicious over the top, and suddenly you’ve got this incredibly moist, flavor-packed dessert that tastes like you spent hours on it. Which, let’s be real, is exactly the kind of baking I need in my life.
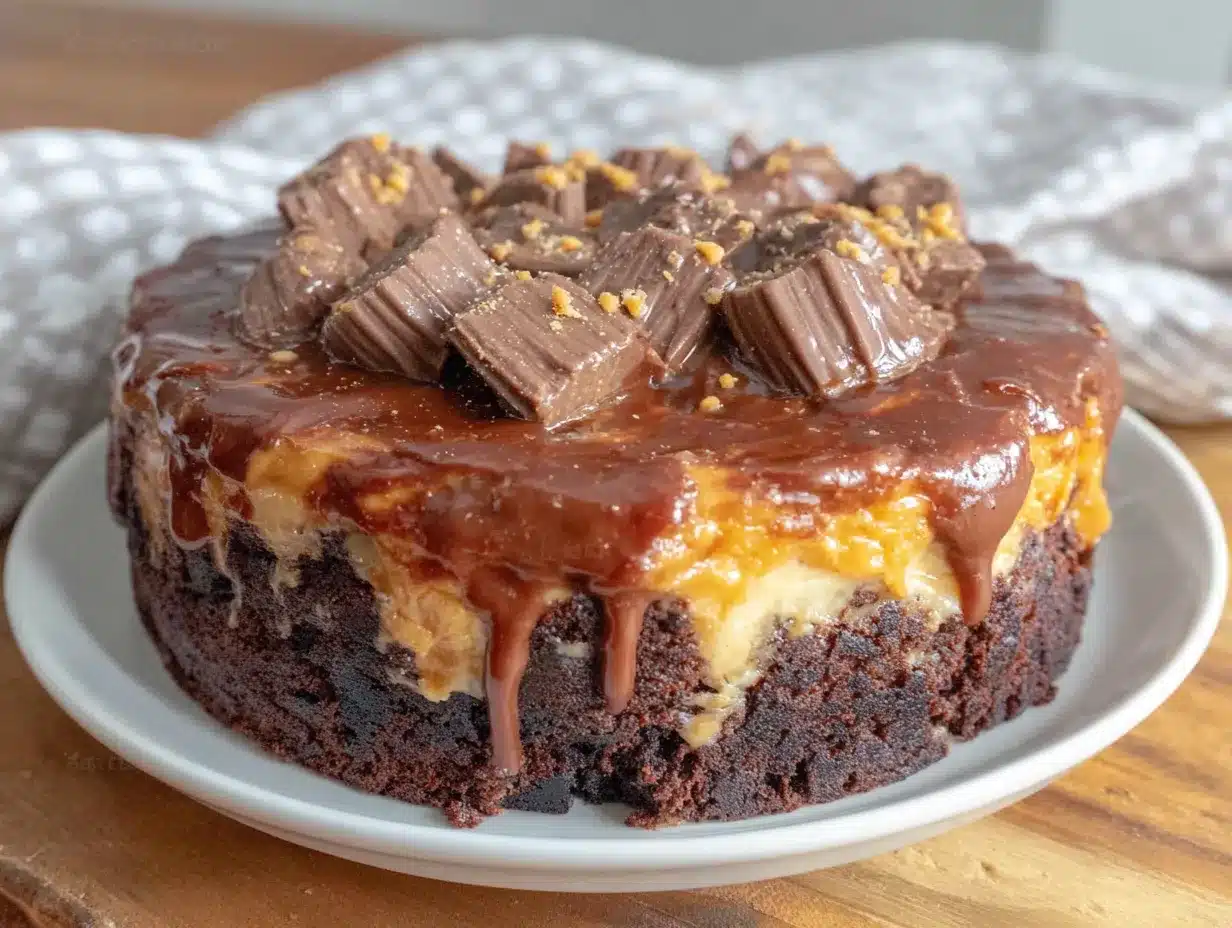
This Best Reese’s Peanut Butter Chocolate Poke Cake came together in about 45 minutes flat, and by the time I was pouring that warm peanut butter mixture over the warm cake, the whole kitchen smelled like a candy shop. My kid kept sneaking spoonfuls of the chocolate ganache topping while I wasn’t looking. I pretended not to notice.
What makes this one special is how the peanut butter seeps down into those holes and creates these little pockets of creamy, salty goodness throughout the cake. Every single bite has that Reese’s cup magic — and with only five main ingredients, it’s almost embarrassingly easy. This is the kind of dessert that makes people think you’re a baking genius, when really you just know how to use a box mix and a wooden spoon handle.
Why You’ll Love This Recipe
I’ve tested this cake four times now — yes, four times — because I wanted to get the ratios just right. Too much peanut butter and the cake gets soggy. Not enough and you miss the whole point. But this version? It’s absolutely perfect.
- Only 5 Ingredients : You probably already have most of these in your pantry right now. No fancy trips to specialty stores required.
- Quick & Easy : From start to finish, you’re looking at about 45 minutes. The hardest part is waiting for it to cool enough to eat.
- Perfect for Parties : This cake travels well, feeds a crowd, and always gets devoured. I’ve brought it to potlucks, bake sales, and family dinners — it never lasts.
- Crowd-Pleaser : Kids go crazy for it, adults sneak seconds, and even my friend who “doesn’t really like cake” ate two slices.
- Incredibly Moist : The poke method guarantees every bite is tender and flavorful. No dry cake here, ever.
What sets this apart from other chocolate peanut butter cakes is the texture. The sweetened condensed milk and peanut butter mixture soaks into those holes and creates these soft, fudgy pockets throughout the cake. Then the chocolate ganache on top adds that rich, glossy finish. It’s like a Reese’s cup in cake form — but somehow even better.
This is the kind of dessert that makes you close your eyes after the first bite. It’s comfort food at its finest — indulgent, nostalgic, and completely satisfying. Whether you’re making it for a birthday, a holiday, or just because it’s Tuesday, this cake delivers every single time.
What Ingredients You Will Need
This recipe keeps things simple with basic ingredients that work together to create something truly special. Each component plays an important role, so here’s what you need and why it matters.
For the Cake Base
- 1 box Devil’s Food cake mix (plus ingredients listed on the box — usually eggs, oil, and water) — I prefer Betty Crocker or Duncan Hines for consistent results. The dark chocolate flavor works perfectly with the peanut butter.
- 1 can (14 ounces) sweetened condensed milk — This is the secret to the poke filling. It adds sweetness and helps create that fudgy texture as it soaks into the cake.
- 1 cup creamy peanut butter — Use the standard processed kind like Jif or Skippy for the smoothest results. Natural peanut butter separates and can make the filling grainy. Trust me on this one — I learned the hard way.
For the Ganache Topping
- 1 cup semi-sweet chocolate chips — Ghirardelli or Guittard work beautifully here. The semi-sweet balances the sweetness of the cake and filling.
- 1/2 cup heavy cream — This creates a silky, pourable ganache that sets up perfectly on top of the cake.
Optional Add-Ins
- 1/2 cup chopped Reese’s cups — For sprinkling on top before serving. Because why not add more Reese’s to a Reese’s cake?
- Flaky sea salt — A light sprinkle on top enhances the sweet-salty contrast and makes everything pop.
You can also swap the Devil’s Food for a chocolate fudge cake mix if you want an even richer chocolate flavor. Both work great, so use whatever you have on hand.
Equipment Needed
You don’t need any fancy equipment for this recipe, which is part of why I love it so much. Here’s what you’ll need:
- 9×13-inch baking pan — Glass or metal both work fine. If using glass, reduce the oven temperature by 25°F to prevent over-browning.
- Mixing bowls — One large bowl for the cake batter, one medium bowl for the filling, and one small microwave-safe bowl for the ganache.
- Wooden spoon handle or chopstick — This is what you’ll use to poke the holes. A wooden spoon handle creates the perfect size holes without tearing the cake apart.
- Whisk — For combining the sweetened condensed milk and peanut butter until smooth.
- Rubber spatula — For scraping every last bit of that peanut butter mixture into the holes. Waste not, want not.
- Measuring cups and spoons — Standard set for accurate measurements.
If you don’t have a 9×13 pan, you can use two 8-inch round pans instead — just adjust the baking time and check for doneness a few minutes early. The poke method works the same way regardless of pan shape.
Preparation Method
Let me walk you through this step by step. I’ve made this cake enough times to know exactly where things can go wrong, so I’ll share all my little tricks along the way.
Step 1: Bake the Cake
Preheat your oven to 350°F (175°C). Grease your 9×13-inch baking pan with butter or non-stick spray. Prepare the Devil’s Food cake mix according to the package directions — usually that means combining the mix with eggs, oil, and water. Pour the batter into your prepared pan and spread it evenly. Bake for 28-32 minutes, or until a toothpick inserted in the center comes out clean or with just a few moist crumbs. Let the cake cool in the pan for about 10 minutes — you want it warm but not piping hot for the next step.
Step 2: Poke Those Holes
While the cake is still warm, grab your wooden spoon handle or chopstick. Poke holes all over the cake, spacing them about 1 inch apart. Push the handle all the way down to the bottom of the pan — you want those holes to go deep so the filling can really soak in. Don’t be shy here. More holes mean more peanut butter pockets, and that’s exactly what we’re after.
Step 3: Make the Peanut Butter Filling
In a medium bowl, whisk together the sweetened condensed milk and creamy peanut butter until completely smooth. It might look a little thick at first, but keep whisking — it’ll come together. If your peanut butter is particularly stiff, you can microwave the mixture for 15-20 seconds to help it blend easier. Pour this mixture evenly over the warm cake, making sure it fills all those holes. Use your spatula to spread it around if needed. Don’t worry if some pools on top — that’s actually perfect because it creates a peanut butter layer as the cake finishes cooling.
Step 4: Make the Chocolate Ganache
Place the semi-sweet chocolate chips in a medium heat-safe bowl. Heat the heavy cream in the microwave for about 45-60 seconds until it’s steaming but not boiling. Pour the hot cream over the chocolate chips and let it sit for 2-3 minutes without stirring. Then gently whisk until smooth and glossy. If there are still a few lumps, microwave for 10-second intervals, stirring between each, until completely smooth.
Step 5: Top and Chill
Pour the ganache over the cooled cake and spread it evenly with a spatula. If you’re adding chopped Reese’s cups, sprinkle them on top while the ganache is still wet so they stick. Pop the cake in the refrigerator for at least 2 hours — this lets everything set up properly. The cake is actually better the next day, so feel free to make it ahead.
Step 6: Serve and Enjoy
Slice and serve cold or at room temperature. If you want those clean, beautiful slices, use a sharp knife and wipe it clean between cuts. A sprinkle of flaky sea salt right before serving takes this over the top.
Cooking Tips & Techniques
After making this cake four times, I’ve collected a few hard-won lessons that will save you from my mistakes.
Don’t skip the cooling time. I know it’s tempting to pour that peanut butter mixture on a scorching hot cake, but if the cake is too hot, the filling can make the cake mushy instead of creating those lovely fudgy pockets. Ten minutes of cooling is the sweet spot.
Use room temperature ingredients. For the cake batter itself, room temperature eggs help everything mix together more evenly. Cold eggs can make the batter lumpy and affect the rise.
Watch your ganache. If your cream is too hot, it can seize the chocolate and turn your ganache grainy. Aim for steaming, not boiling. And if your ganache does seize? Add a tablespoon of warm cream and whisk vigorously — it usually saves it.
Poke deep and poke often. The first time I made this, I was too gentle with the poking. The holes were shallow and the filling barely soaked in. Now I go all the way to the bottom of the pan, and the difference is night and day.
Let it set overnight if you can. This cake truly gets better after 24 hours in the fridge. The flavors meld together, the texture becomes even more fudgy, and the ganache sets perfectly. Make it the day before you need it and thank me later.
Variations & Adaptations
One of the best things about this recipe is how easy it is to customize. Here are some of my favorite variations:
Peanut Butter Cup Explosion
Chop up a full bag of mini Reese’s cups and fold half into the cake batter before baking. Sprinkle the rest on top with the ganache. It’s extra indulgent and absolutely worth it.
Chocolate Peanut Butter Banana
Mash one ripe banana and swirl it into the cake batter before baking. The banana adds moisture and a subtle fruity flavor that pairs beautifully with the chocolate and peanut butter. This is a great way to use up those spotty bananas on your counter.
Gluten-Free Version
Use a gluten-free chocolate cake mix — King Arthur Flour makes an excellent one. Everything else in the recipe is naturally gluten-free, so this swap is seamless. Just make sure your peanut butter and chocolate chips are certified gluten-free if needed.
Dairy-Free Adaptation
Use a dairy-free cake mix (many are accidentally dairy-free) and substitute the sweetened condensed milk with a dairy-free condensed coconut milk. For the ganache, use full-fat coconut cream instead of heavy cream. The flavor is slightly different but still delicious.
White Chocolate Peanut Butter
Swap the semi-sweet chocolate chips for white chocolate chips in the ganache. The sweetness of the white chocolate pairs surprisingly well with the salty peanut butter filling. My kids beg for this version.
Serving & Storage Suggestions
This cake is incredibly versatile when it comes to serving. Here’s everything you need to know:
Serving Temperature: I actually prefer this cake cold straight from the fridge — the texture is denser and more fudgy, like a peanut butter cup. But it’s also delicious at room temperature if that’s your preference. For an extra special treat, warm a slice in the microwave for 10-15 seconds and serve with a scoop of vanilla ice cream.
Presentation Ideas: Dust the top with cocoa powder or powdered sugar before serving. Drizzle with melted peanut butter for a gorgeous finish. Or pile on some whipped cream and crushed Reese’s cups for maximum wow factor.
Storage: Keep the cake covered in the refrigerator for up to 5 days. The flavors actually improve after a day or two. If you’re bringing it to a party, you can make it up to 2 days ahead — just keep it covered in the fridge.
Freezing: This cake freezes beautifully. Wrap individual slices tightly in plastic wrap, then place them in a freezer-safe bag. They’ll keep for up to 3 months. Thaw overnight in the fridge before serving. I like to keep a few slices in the freezer for those emergency chocolate cravings.
Reheating: For that fresh-from-the-oven experience, microwave individual slices for 15-20 seconds. The chocolate gets all melty and the peanut butter filling becomes soft and gooey again. Pure heaven.
Nutritional Information & Benefits
Let’s be real — this is a dessert, not a health food. But that doesn’t mean it can’t have some redeeming qualities.
Estimated per slice (based on 12 servings):
- Calories: 420
- Fat: 22g
- Carbohydrates: 52g
- Protein: 8g
- Sugar: 38g
- Fiber: 2g
What’s Good About It: Peanut butter actually provides protein and healthy fats, which help keep you fuller longer than a regular cake. The dark chocolate in the ganache contains antioxidants (yes, really). And if you use a quality cake mix, you’re getting enriched flour with added vitamins and minerals — hey, every little bit counts, right?
Dietary Considerations: This recipe contains dairy, eggs, gluten, peanuts, and soy (from the chocolate). For a gluten-free version, use a GF cake mix. For dairy-free, use the adaptations I mentioned above. And if you have a peanut allergy, sun butter or almond butter work surprisingly well in the filling.
I’m not here to pretend this is a health food. It’s a celebration cake, a comfort dessert, a treat for the soul. And sometimes that’s exactly what we need.
Conclusion
This Best Reese’s Peanut Butter Chocolate Poke Cake has become my go-to dessert for pretty much every occasion. Birthday parties, potlucks, bake sales, random Tuesday cravings — it delivers every single time. The combination of moist chocolate cake, creamy peanut butter pockets, and silky chocolate ganache is absolutely irresistible.
What I love most about this recipe is how forgiving it is. You don’t need to be a pastry chef to nail it. You just need a box of cake mix, some peanut butter, and the willingness to poke a bunch of holes in a cake. That’s it. And the result tastes like something you’d find in a fancy bakery.
I’d love to hear how yours turns out! Did you add any fun toppings? Try a different variation? Leave a comment below and let me know — I read every single one and I always respond. And if you share a photo on Pinterest or Instagram, tag me so I can see your beautiful creation. Happy baking, friends!
Frequently Asked Questions
Can I make this cake ahead of time?
Absolutely! In fact, this cake is even better the next day. Make it up to 2 days in advance and keep it covered in the refrigerator. The flavors meld together and the texture becomes even more fudgy.
Can I use natural peanut butter?
I don’t recommend it. Natural peanut butter separates and can make the filling grainy. Stick with processed peanut butter like Jif or Skippy for the smoothest, creamiest results.
How do I get clean slices?
Use a sharp knife and wipe it clean between each cut. For the cleanest slices, chill the cake for at least 4 hours or overnight before cutting. You can also run your knife under hot water and dry it off before slicing.
Can I freeze this cake?
Yes! Wrap individual slices tightly in plastic wrap, then place them in a freezer-safe bag. They’ll keep for up to 3 months. Thaw overnight in the fridge before serving. You can also freeze the whole cake — just wrap it well in plastic wrap and foil.
What if I don’t have a 9×13 pan?
You can use two 8-inch round pans instead. Just adjust the baking time — start checking at 22 minutes. The poke method works the same way regardless of pan shape. You can also use a 9-inch square pan for a thicker cake, but you’ll need to increase the baking time by about 5 minutes.
Pin This Recipe!
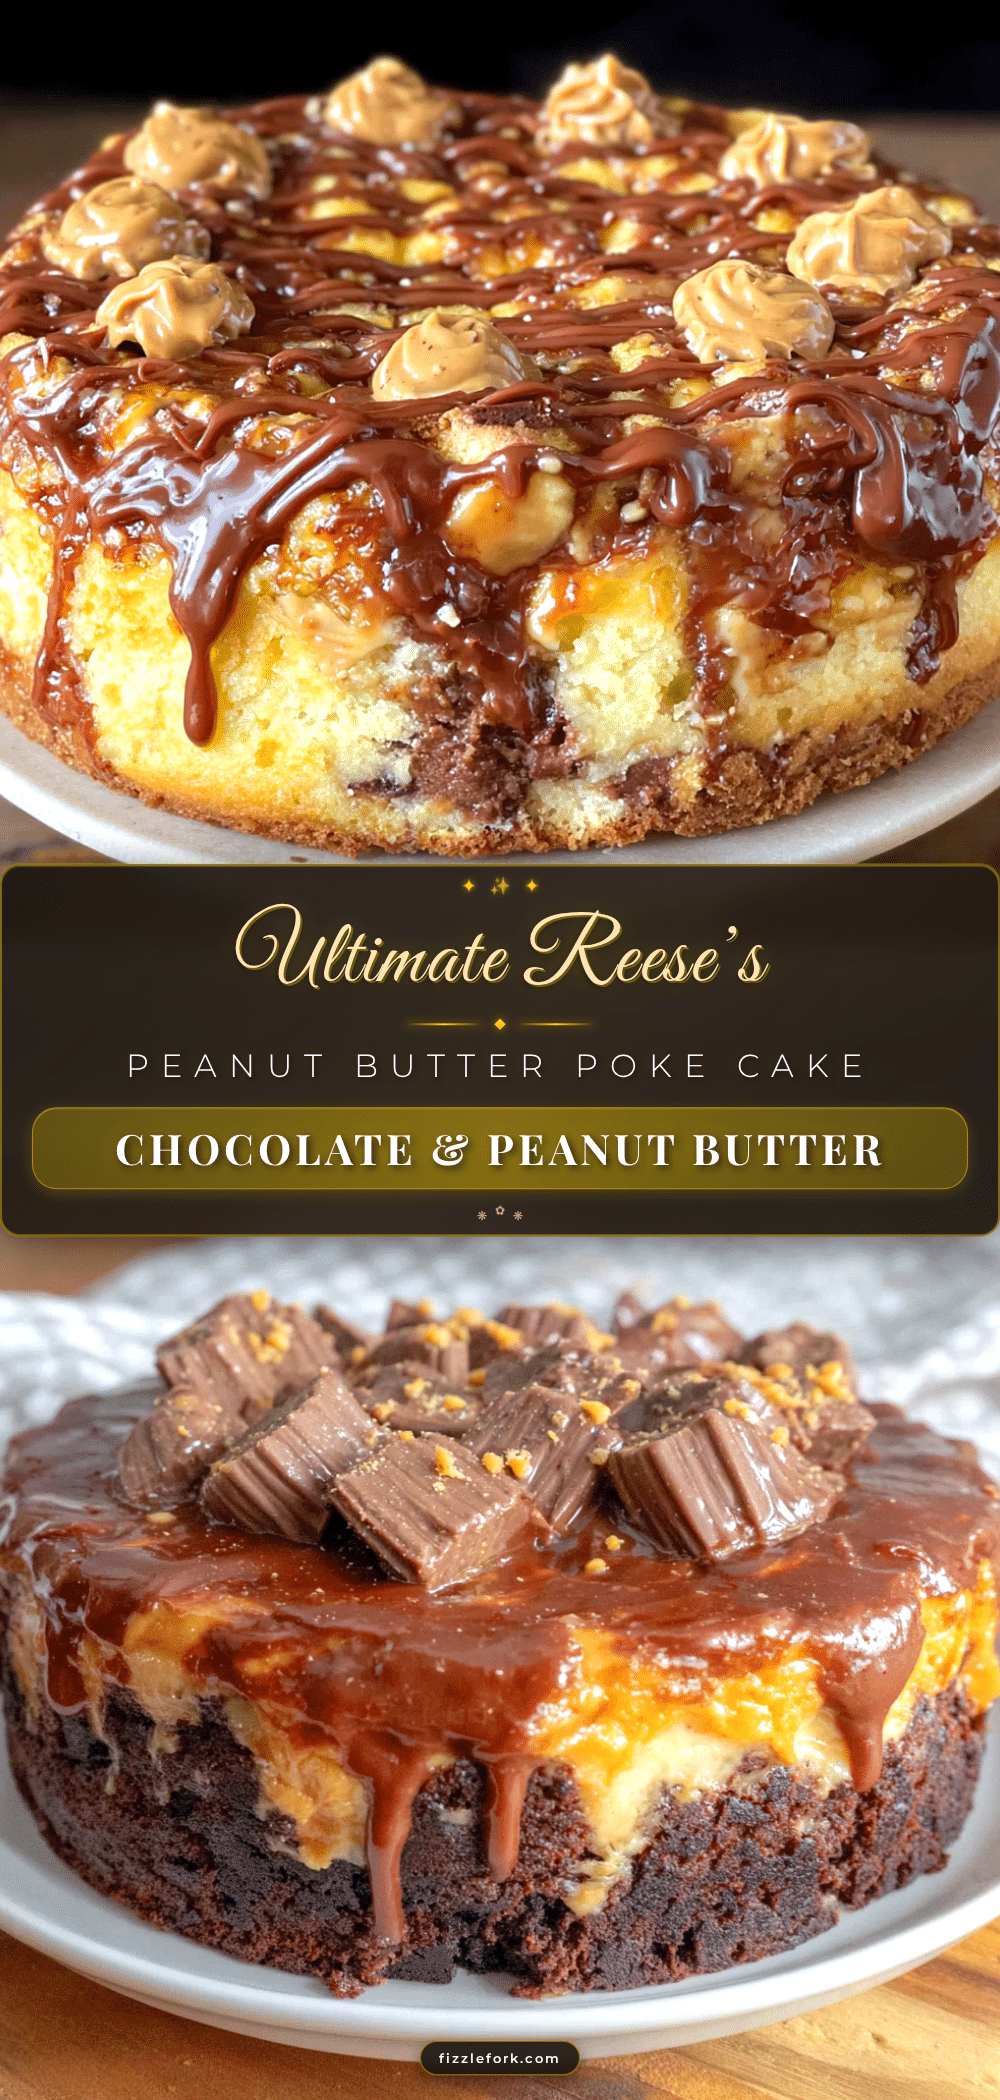
Best Reeses Peanut Butter Poke Cake – Easy 5-Ingredient Recipe

This Best Reese’s Peanut Butter Chocolate Poke Cake is an incredibly moist, flavor-packed dessert that tastes like a Reese’s cup in cake form. With only five main ingredients and a foolproof poke method, it’s perfect for parties, bake sales, or any chocolate craving.
- Prep Time: 15 minutes
- Cook Time: 30 minutes
- Total Time: 45 minutes
- Yield: 12 servings 1x
- Category: Dessert
- Cuisine: American
Ingredients
- 1 box Devil’s Food cake mix (plus ingredients listed on the box: eggs, oil, water)
- 1 can (14 ounces) sweetened condensed milk
- 1 cup creamy peanut butter (like Jif or Skippy)
- 1 cup semi-sweet chocolate chips
- 1/2 cup heavy cream
- 1/2 cup chopped Reese’s cups (optional)
- Flaky sea salt (optional)
Instructions
- Preheat oven to 350°F (175°C). Grease a 9×13-inch baking pan with butter or non-stick spray.
- Prepare the Devil’s Food cake mix according to package directions (usually combining mix with eggs, oil, and water). Pour batter into prepared pan and spread evenly.
- Bake for 28-32 minutes, or until a toothpick inserted in the center comes out clean or with a few moist crumbs. Let cake cool in pan for about 10 minutes.
- While cake is still warm, use a wooden spoon handle or chopstick to poke holes all over the cake, spacing them about 1 inch apart and pushing all the way to the bottom of the pan.
- In a medium bowl, whisk together sweetened condensed milk and creamy peanut butter until completely smooth. If needed, microwave for 15-20 seconds to help blend.
- Pour the peanut butter mixture evenly over the warm cake, making sure it fills all the holes. Use a spatula to spread if needed.
- Place semi-sweet chocolate chips in a medium heat-safe bowl. Heat heavy cream in microwave for 45-60 seconds until steaming but not boiling. Pour hot cream over chocolate chips and let sit for 2-3 minutes, then whisk until smooth and glossy.
- Pour ganache over cooled cake and spread evenly. If using, sprinkle chopped Reese’s cups on top while ganache is still wet.
- Refrigerate for at least 2 hours (overnight is best) to let everything set. Slice and serve cold or at room temperature. Sprinkle with flaky sea salt before serving if desired.
Notes
For best results, use processed peanut butter like Jif or Skippy, not natural. Let cake cool 10 minutes before poking holes. The cake is even better the next day after flavors meld. For gluten-free, use a GF cake mix. For dairy-free, use dairy-free cake mix, dairy-free condensed coconut milk, and coconut cream for ganache.
Nutrition
- Serving Size: 1 slice
- Calories: 420
- Sugar: 38
- Sodium: 380
- Fat: 22
- Saturated Fat: 8
- Carbohydrates: 52
- Fiber: 2
- Protein: 8
Keywords: Reese's, peanut butter, chocolate, poke cake, easy dessert, 5-ingredient, chocolate cake, peanut butter cake, bake sale, potluck


