My roommate Sarah asked why I couldn’t just use sweetened condensed milk instead of making a custard base for snow ice cream. I started to explain why that wouldn’t work — something about texture and sweetness ratios — then stopped. Honestly, I had no good reason except that I’d never seen it done before. So I handed her the can and said, “Fine, you’re in charge.”
She dumped the whole thing into a bowl of fresh snow, stirred it with a wooden spoon, and took a bite. Her face lit up in a way that made me feel like the biggest fool in the kitchen. The snow ice cream was incredibly creamy, perfectly sweet, and had this silky texture that my fussy custard version never quite achieved. I mean, I’d been making snow ice cream every winter for years, following my grandmother’s complicated recipe that involved eggs, cream, and a thermometer. And here was Sarah — who rarely cooks — showing me up with a can of condensed milk and a bowl of snow.
That was three winters ago, and I haven’t made snow ice cream any other way since. It’s become our little tradition — the first real snowfall of the year, and we’re both out on the porch with a mixing bowl, scooping up the freshest snow we can find. There’s something magical about turning nature’s simplest ingredient into dessert in under five minutes. Maybe you’ve been there, standing in your kitchen with a craving for something sweet and cozy, not wanting to deal with a complicated recipe. This one’s for you.
Why You’ll Love This Recipe
I’ve tested this snow ice cream recipe more times than I care to count, and it never fails to deliver. Here’s why this version stands out from every other snow ice cream recipe you’ll find online.
- Quick & Easy: You’ll have this ready in under 5 minutes. No cooking, no chilling, no fuss. Perfect for those spontaneous snow day cravings when you want something sweet right now.
- Simple Ingredients: You only need three things — fresh snow, sweetened condensed milk, and vanilla extract. Chances are you already have the last two in your pantry.
- Perfect for Snow Days: This is the ultimate cozy activity for kids and adults alike. It turns a snowy afternoon into a memory-making moment.
- Crowd-Pleaser: I’ve served this to everyone from picky toddlers to foodie friends, and it gets rave reviews every single time. The texture is surprisingly creamy — nothing like the icy, crunchy snow ice cream you might remember from childhood.
- Unbelievably Delicious: The sweetened condensed milk creates a rich, velvety base that coats each snowflake perfectly. It’s comfort food at its simplest and most satisfying.
What makes this recipe different is the technique — using sweetened condensed milk instead of a sugar-and-cream mixture. The condensed milk adds sweetness and body without making the ice cream watery, and it freezes into a softer, more scoopable texture. It’s the kind of recipe that makes you close your eyes after the first bite and just breathe. Pure winter magic.
What Ingredients You Will Need
This snow ice cream recipe uses the simplest ingredients to deliver the creamiest, most satisfying result. The magic is in the proportions and the quality of what you use.
- Fresh Snow, 8 cups (packed, not fluffy) — This is the star of the show. You want clean, fresh snow that’s fallen recently. Avoid snow that’s been sitting for days or has any discoloration. The fluffier and drier the snow, the better the texture. I prefer collecting it from our backyard deck, away from roads and foot traffic.
- Sweetened Condensed Milk, 1 can (14 ounces) — This is your sweetener and cream base all in one. I recommend Eagle Brand or Borden — both give consistent results. The sweetness is already balanced, so you don’t need to add extra sugar. If you’re dairy-free, look for coconut-based sweetened condensed milk, though the texture will be slightly different.
- Vanilla Extract, 1 teaspoon — Pure vanilla extract makes a noticeable difference here. Imitation vanilla works in a pinch, but the flavor won’t be as warm and rich. You can also experiment with other extracts — almond or peppermint are wonderful options.
- Pinch of Salt (optional but recommended) — Just a tiny pinch enhances the sweetness and balances the flavors. I use fine sea salt for this.
That’s it. Three main ingredients and one optional addition. The beauty of this snow ice cream recipe is that it doesn’t require any special planning — just a snowy day and a can of condensed milk in your pantry.
Equipment Needed
You don’t need fancy equipment for this recipe, which is part of its charm. Here’s what you’ll need:
- Large Mixing Bowl — A stainless steel or glass bowl works best. Avoid plastic bowls, as they can retain odors and affect the taste. I use a 4-quart bowl, which gives plenty of room for stirring.
- Wooden Spoon or Spatula — A wooden spoon is ideal because it’s sturdy and won’t scratch your bowl. A silicone spatula works too, but you’ll need to be more gentle.
- Measuring Cups — For scooping the snow. I use a 2-cup measuring cup to make it easy to get 8 cups total.
- Measuring Spoons — For the vanilla extract and salt.
- Freezer-Safe Container — If you’re not eating the snow ice cream immediately, you’ll need a container to store it. A glass loaf pan or airtight plastic container works well.
One tip I learned the hard way: don’t use a metal bowl if you’re planning to put the ice cream in the freezer. The metal conducts cold too quickly and can cause the edges to freeze solid while the center stays soft. Glass or ceramic is much more forgiving.
Preparation Method
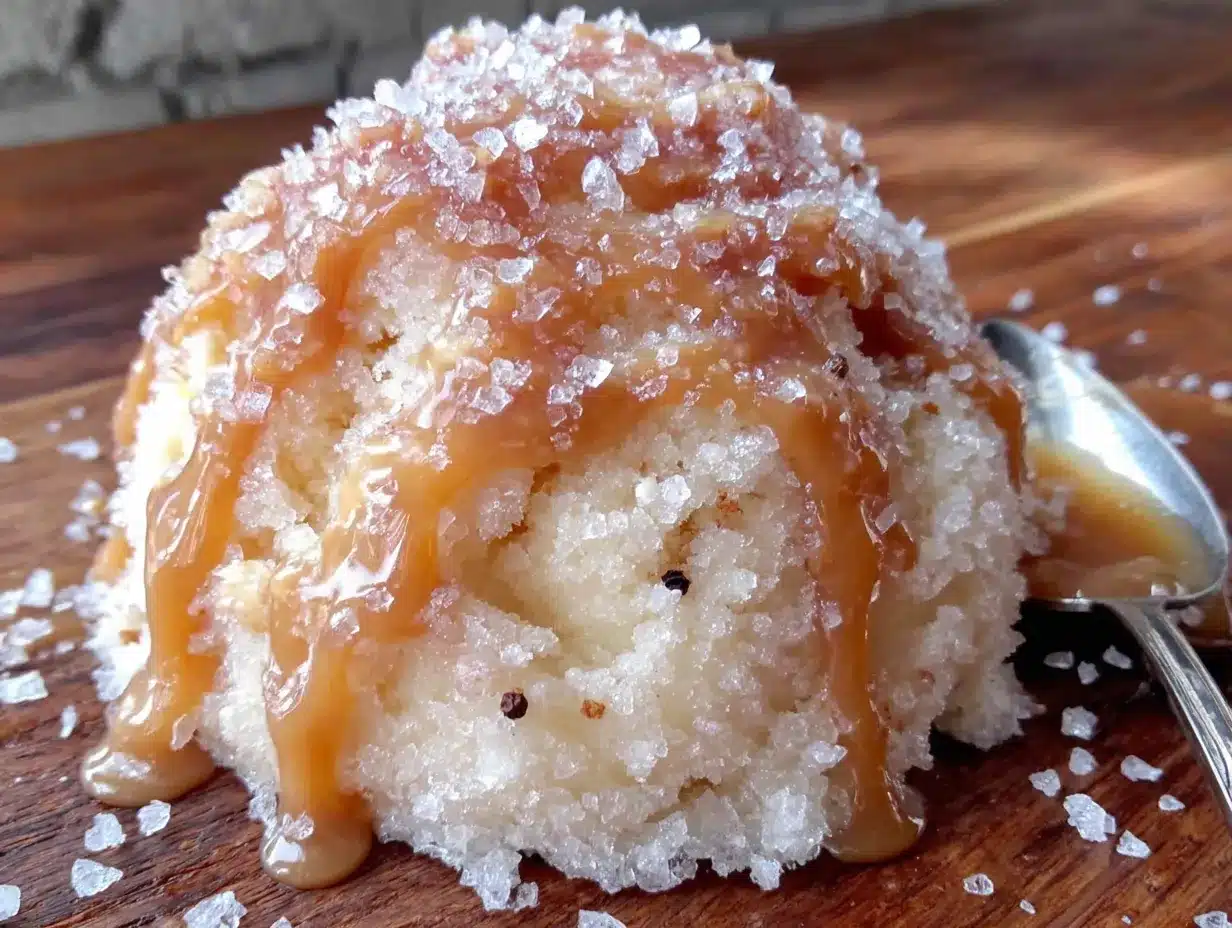
Making snow ice cream is incredibly simple, but there are a few tricks to get the texture just right. Follow these steps, and you’ll have the creamiest snow ice cream you’ve ever tasted.
- Collect the snow. Wait for a fresh snowfall — ideally within the first few hours. Head outside with your large mixing bowl and gently scoop up the top layer of snow. You want about 8 cups, packed lightly. Avoid snow that’s close to the ground or has any debris. I like to collect from our deck railing, where the snow is clean and fluffy.
- Bring it inside quickly. Snow melts fast, so move efficiently. Place the bowl on your counter and have your other ingredients ready to go. If the snow starts to melt before you add the condensed milk, the texture will be icy instead of creamy.
- Add the sweetened condensed milk. Pour the entire can of sweetened condensed milk over the snow. Don’t be shy — all 14 ounces go in. This is the key to getting that rich, creamy texture that sets this recipe apart.
- Add vanilla and salt. Drizzle in 1 teaspoon of vanilla extract and add a tiny pinch of salt. The salt is optional, but I really recommend it. It doesn’t make the ice cream salty — it just makes the sweetness more pronounced and balanced.
- Stir gently but thoroughly. Use your wooden spoon or spatula to fold the condensed milk into the snow. Start with slow, gentle motions to incorporate the milk without crushing the snow too much. You want to see ribbons of white and cream coming together. Keep folding until the mixture is uniform in color — no white streaks remaining. This should take about 1-2 minutes.
- Check the texture. The snow ice cream should be soft and scoopable, like soft-serve ice cream. If it’s too runny, add a bit more snow (a handful at a time) and fold it in. If it’s too thick, let it sit for a minute or two to soften slightly.
- Serve immediately or freeze. Snow ice cream is best enjoyed right away, while it’s still soft and fresh. If you want to save some for later, transfer it to a freezer-safe container and freeze for up to 2 hours. Beyond that, the texture will become icy.
A quick note: don’t overmix. I made that mistake once, and the snow melted into a soupy mess. Gentle folds are your friend here. The goal is to coat each snowflake in sweetened condensed milk, not to beat it into submission.
Cooking Tips & Techniques
Over the years, I’ve learned a few things about making snow ice cream that I wish I’d known from the start. Here are my best tips for getting it right every time.
Use the coldest snow possible. The temperature of the snow matters more than you’d think. Freshly fallen snow that’s still cold and fluffy will give you the best texture. If the snow has been sitting for a while and started to settle, it’ll be denser and melt faster. I’ve found that snow collected within the first hour of a snowfall is ideal.
Don’t skimp on the condensed milk. I know it seems like a lot, but the full can is necessary for the right consistency. Using less will result in icy, bland snow ice cream. Trust the process — the condensed milk is what makes this recipe work.
Work quickly but gently. Snow starts melting the moment it comes inside. Have everything measured and ready before you bring the snow in. And when you stir, be gentle — aggressive mixing will melt the snow and leave you with a puddle.
If it gets too soupy, don’t panic. Sometimes the snow is wetter than expected, or you took too long to mix. If your snow ice cream is runny, pop the bowl in the freezer for 10-15 minutes. It’ll firm up nicely. Just don’t leave it too long, or it’ll become a solid block.
Experiment with add-ins. Once you’ve mastered the basic recipe, try folding in chocolate chips, sprinkles, or crushed cookies. My personal favorite is a tablespoon of cocoa powder mixed into the condensed milk before adding it to the snow. It turns into the most decadent chocolate snow ice cream.
Variations & Adaptations
One of the best things about this snow ice cream recipe is how easy it is to customize. Here are some variations I’ve tried and loved.
Chocolate Snow Ice Cream: Whisk 2 tablespoons of unsweetened cocoa powder into the sweetened condensed milk before adding it to the snow. The cocoa powder blends in smoothly and creates a rich, chocolatey version that tastes like a frosty hot chocolate.
Peppermint Snow Ice Cream: Substitute the vanilla extract with 1/2 teaspoon of peppermint extract. The result is refreshing and festive — perfect for holiday snow days. Crush up some candy canes and fold them in for extra crunch and color.
Vegan-Friendly Version: Use coconut-based sweetened condensed milk instead of the dairy version. The texture will be slightly different — a bit softer and more coconut-forward in flavor — but it’s still delicious. Add an extra pinch of salt to balance the sweetness.
Fruity Snow Ice Cream: Fold in 1/2 cup of fresh or frozen berries after mixing the base. Strawberries, blueberries, or raspberries all work beautifully. The berries will freeze slightly and add little bursts of tartness against the sweet cream.
Cookie Butter Snow Ice Cream: Swirl in 3 tablespoons of cookie butter (like Biscoff or Speculoos) after mixing. It creates a marbled effect and adds a warm, spiced flavor that’s absolutely addictive.
Serving & Storage Suggestions
Snow ice cream is best enjoyed immediately, but there are ways to make it last a little longer. Here’s what I’ve learned about serving and storing this winter treat.
Serving Temperature: Serve the snow ice cream right after mixing, while it’s still soft and creamy. It should have the consistency of soft-serve ice cream. If you prefer a firmer texture, pop it in the freezer for 15-20 minutes before serving.
Presentation Ideas: Scoop the snow ice cream into bowls and top with a drizzle of extra sweetened condensed milk, a sprinkle of cinnamon, or a few chocolate shavings. For a fun touch, serve it in waffle cones or sugar cones. Kids love this — it makes the snow ice cream feel like a real treat.
Complementary Dishes: This snow ice cream pairs beautifully with warm desserts. Serve it alongside a slice of apple pie, a brownie, or a warm cookie. The contrast between hot and cold is heavenly. You could also serve it with a cup of hot cocoa or coffee for the ultimate cozy snow day experience.
Storage Instructions: If you have leftovers, transfer the snow ice cream to an airtight container and press a piece of plastic wrap directly onto the surface to prevent ice crystals from forming. Store it in the freezer for up to 2 hours. After that, the texture will become icy and less creamy. Honestly, it’s best to make only what you’ll eat in one sitting.
Reheating Note: You can’t really reheat snow ice cream — it’ll just melt. But if it’s been in the freezer and become too hard, let it sit at room temperature for 5-10 minutes to soften before scooping.
Nutritional Information & Benefits
While snow ice cream is definitely a treat, it’s worth knowing what’s in it. Here’s the nutritional breakdown for one serving (about 1 cup, based on 6 servings per recipe).
- Calories: Approximately 220 per serving
- Total Fat: 6g (mostly from the condensed milk)
- Carbohydrates: 38g (from the natural sugars in condensed milk)
- Protein: 4g
- Calcium: 15% of your daily value (thanks to the dairy)
Health Benefits: Sweetened condensed milk is a good source of calcium and vitamin D, which support bone health. The snow itself is just water, so this treat is hydrating in its own way. While it’s not health food, it’s a far better option than store-bought ice cream loaded with artificial ingredients and preservatives.
Dietary Considerations: This recipe is vegetarian-friendly. For a vegan version, use coconut-based sweetened condensed milk. It’s naturally gluten-free and nut-free, making it safe for most dietary restrictions. However, it is high in sugar, so enjoy it in moderation.
Allergen Note: Contains dairy. If you’re lactose intolerant, the coconut-based alternative works beautifully and is completely dairy-free.
FAQs
Can I use snow that’s been sitting for a few days?
I wouldn’t recommend it. Snow that’s been on the ground for more than a day tends to be denser and may contain dust, pollen, or other debris. Fresh snow is cleaner and fluffier, which gives you a better texture. If you have to use older snow, scoop from the top layer only.
What if I don’t have sweetened condensed milk?
You can make a substitute by simmering 1 cup of whole milk with 2/3 cup of sugar until it reduces by half, about 15 minutes. But honestly, it’s easier to just buy a can — they’re inexpensive and keep in the pantry for months. I always keep one on hand during winter.
Can I make this without a snowy day?
Technically, yes. You can use shaved ice from a snow cone machine or crushed ice from your blender. But the texture won’t be the same — real snow has a unique fluffiness that artificial ice can’t replicate. It’s worth waiting for a real snowfall.
How do I know if the snow is clean enough?
Look for snow that’s bright white and free of any discoloration. Avoid snow that’s near roads, driveways, or areas where pets might have been. Snow that’s collected on a clean surface like a deck railing or a picnic table is ideal. When in doubt, collect from the top layer only.
Can I double the recipe?
Absolutely. Just use 16 cups of snow and 2 cans of sweetened condensed milk. You’ll need a larger bowl, and you might need to work in batches to mix everything evenly. The ratio stays the same — 1 can of condensed milk for every 8 cups of snow.
Conclusion
This cozy 3-ingredient snow ice cream with sweetened condensed milk is more than just a recipe — it’s a winter ritual. It turns a snowy day into something special, a reminder that the simplest things often bring the most joy. I’ve made this with friends, with family, and even by myself on a quiet evening, and it never fails to make me smile.
I hope you give this recipe a try the next time snow falls in your neighborhood. Customize it with your favorite add-ins, serve it in a fancy bowl, or just eat it straight from the mixing bowl with a spoon — no judgment here. And if you come up with a variation I haven’t tried, I’d love to hear about it. Drop a comment below or tag me in your snow day photos. Let’s make this winter a little sweeter, one bowl of snow ice cream at a time.
Pin This Recipe!
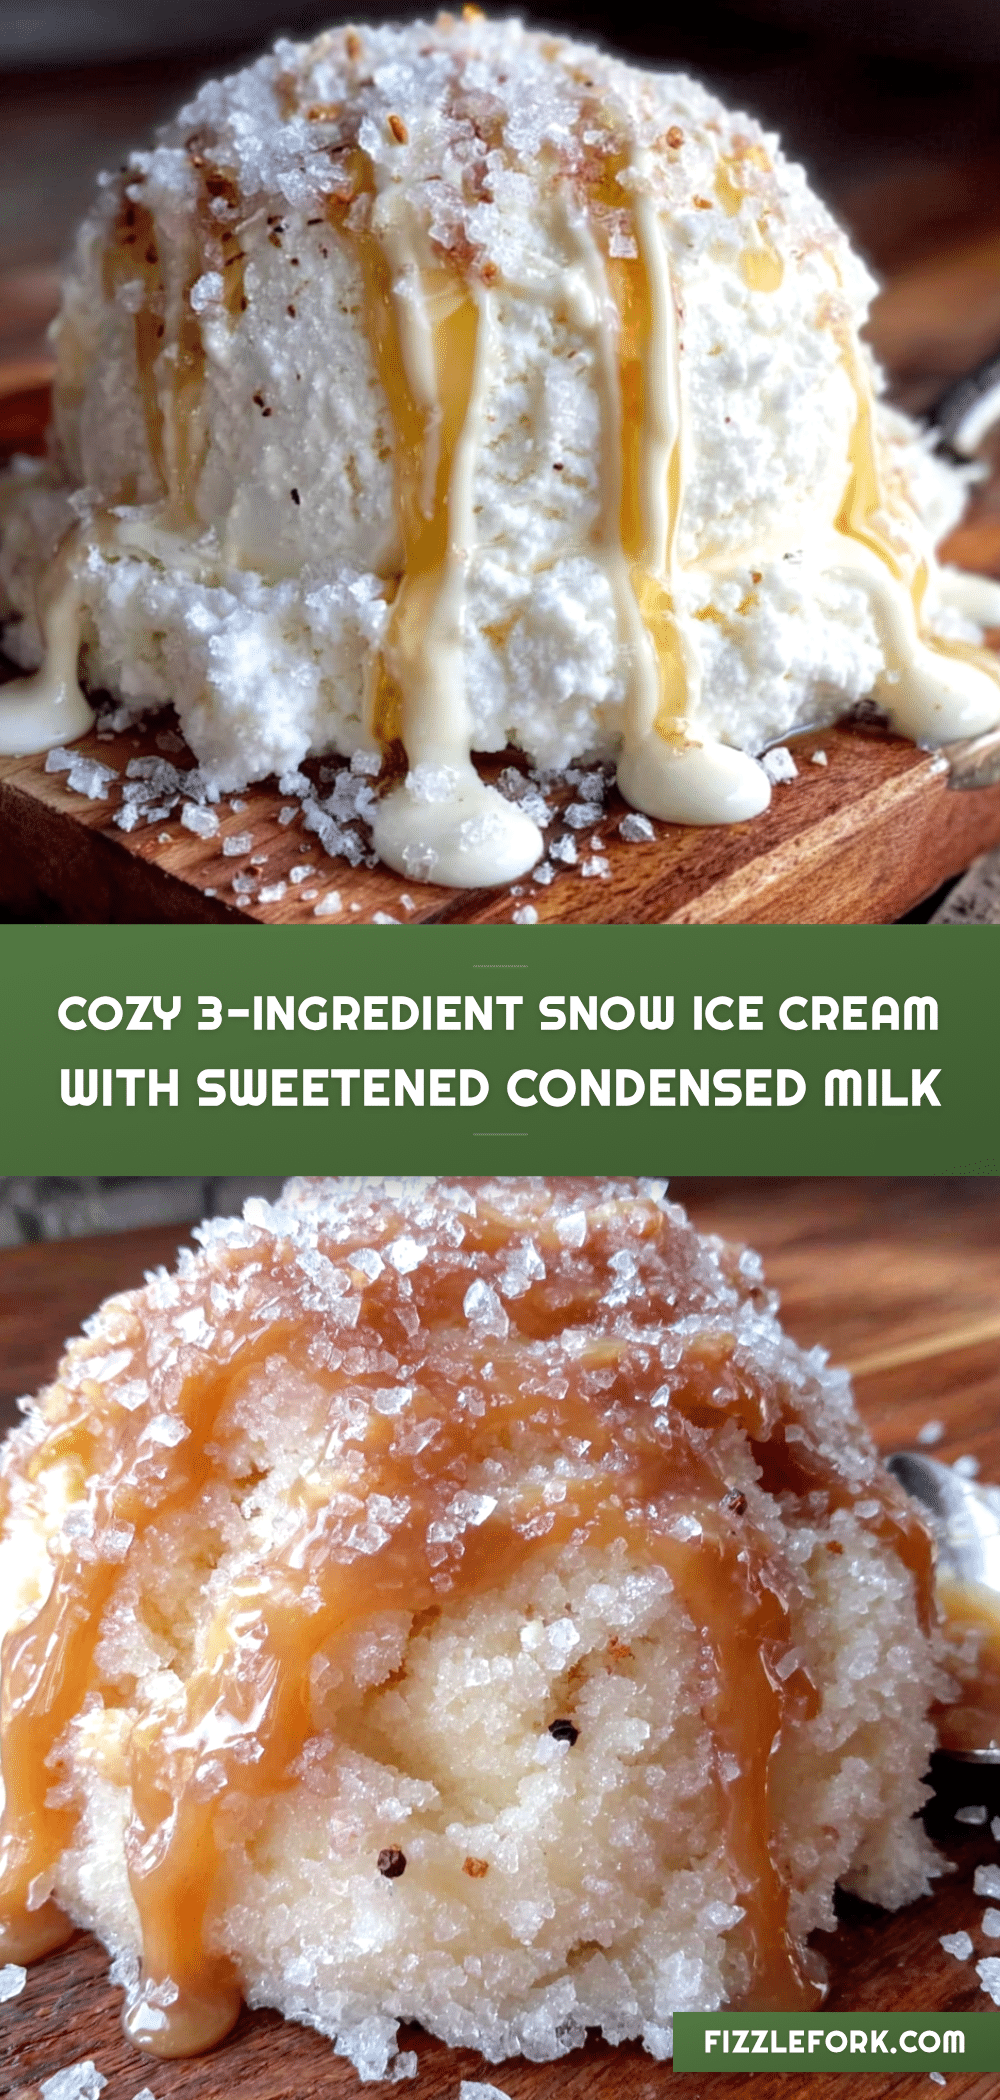
Cozy 3-Ingredient Snow Ice Cream with Sweetened Condensed Milk

This incredibly creamy snow ice cream uses just three ingredients and comes together in under five minutes. It’s the perfect winter treat for snow days, with a silky texture that beats any complicated custard version.
- Prep Time: 5 minutes
- Cook Time: 0 minutes
- Total Time: 5 minutes
- Yield: 6 servings 1x
- Category: Dessert
- Cuisine: American
Ingredients
- 8 cups fresh snow, packed
- 1 can (14 ounces) sweetened condensed milk
- 1 teaspoon vanilla extract
- Pinch of salt (optional)
Instructions
- Collect the snow: Wait for a fresh snowfall and gently scoop up the top layer of clean, fluffy snow into a large mixing bowl. You need about 8 cups, packed lightly.
- Bring it inside quickly: Have your other ingredients ready before bringing the snow in to prevent melting.
- Add the sweetened condensed milk: Pour the entire can of sweetened condensed milk over the snow.
- Add vanilla and salt: Drizzle in the vanilla extract and add a tiny pinch of salt if using.
- Stir gently but thoroughly: Use a wooden spoon or spatula to fold the condensed milk into the snow with slow, gentle motions until the mixture is uniform in color and has a soft-serve consistency. This takes about 1-2 minutes.
- Check the texture: If too runny, add a handful more snow and fold. If too thick, let sit for a minute to soften.
- Serve immediately or freeze: Enjoy right away for the best texture, or transfer to a freezer-safe container and freeze for up to 2 hours.
Notes
Use the coldest, freshest snow possible for best texture. Work quickly to prevent melting. Do not overmix. For variations, try adding cocoa powder, peppermint extract, or berries. Store leftovers in the freezer for up to 2 hours; after that, texture becomes icy.
Nutrition
- Serving Size: 1 cup
- Calories: 220
- Sugar: 38
- Sodium: 80
- Fat: 6
- Saturated Fat: 4
- Carbohydrates: 38
- Protein: 4
Keywords: snow ice cream, 3-ingredient snow ice cream, sweetened condensed milk snow ice cream, easy snow ice cream, winter dessert, snow day treat


