My nephew Leo asked why I couldn’t just dump everything in a jar and call it a gift. I started to explain why that wouldn’t work — then stopped. He was eight, and he was holding a mason jar with a hopeful look that suggested he had already solved a problem I didn’t know I had.
Honestly, I had been overthinking it. I was trying to create these elaborate hot cocoa bombs with molds and melting wafers, and my kitchen looked like a chocolate crime scene. There was cocoa powder on the ceiling. I’m not kidding. Meanwhile, Leo just wanted to layer some pretty ingredients in a jar for his teacher’s holiday gift. He didn’t care about fancy techniques. He cared about making something that looked nice and tasted good.
So I let him take over. He grabbed the Dutch-process cocoa, the powdered sugar, and a bag of mini marshmallows. He started layering them in a wide-mouth quart jar, and you know what? It looked beautiful. The contrast of the dark cocoa against the white sugar and the soft marshmallows created these cozy stripes that felt like winter in a jar. I felt a little silly that I had been making it so complicated.
That afternoon, we made six jars together. He wrapped them in cellophane bags with red ribbon, and his teachers absolutely lost their minds over them. One teacher even emailed me asking for the recipe — which was funny, because it was the simplest thing in the world. But that’s the thing about homemade gifts. They don’t need to be complicated to be special. They just need to come from a real place.
Maybe you’ve been there — trying too hard to impress when simple would have worked better. These cozy hot cocoa mix jars with marshmallows are my reminder that sometimes the best gifts are the ones you can make in ten minutes with ingredients from your pantry. They’re warm, they’re thoughtful, and they let people know you took the time to make something just for them.
Why You’ll Love This Recipe
Let me tell you why these cozy hot cocoa mix jars have become my go-to gift for everything from holiday parties to teacher appreciation week. I’ve made over forty jars in the last two years, and I keep coming back to them for good reason.
- Quick & Easy: You can assemble a batch of these jars in under fifteen minutes. No baking, no melting, no complicated steps. Just layer and go.
- Simple Ingredients: You probably already have cocoa powder, sugar, and salt in your kitchen. The only thing you might need to buy is the jars and maybe some fancy marshmallows.
- Perfect for Gifting: These jars work for holiday gifts, neighbor surprises, hostess presents, teacher appreciation, or just because. They’re appropriate for any occasion where you want to show someone you care.
- Crowd-Pleaser: I’ve never met anyone who doesn’t love a warm cup of hot cocoa. Kids adore them, adults appreciate them, and everyone loves the homemade touch.
- Unbelievably Delicious: The ratio of cocoa to sugar to milk powder is perfectly balanced. It’s not too sweet, not too bitter — just rich, creamy, and completely satisfying.
What makes this recipe different from the dozens of cocoa mix recipes online is the texture. I use a blend of Dutch-process and natural cocoa powder for a deeper flavor, and I add a tiny pinch of sea salt that makes the chocolate taste more intense. I also include dry milk powder so the recipient can just add hot water — no need to heat up milk on the stove. It’s convenience and quality in one jar.
This recipe isn’t just good — it’s the kind that makes people close their eyes after the first sip. I watched my neighbor take a sip of her cocoa and just pause for a second, like she needed to process how good it was. That’s the moment you know you’ve made something special.
What Ingredients You Will Need
This recipe uses simple, pantry-friendly ingredients to create a rich and creamy hot cocoa mix that tastes like you spent hours on it. Each ingredient plays a specific role in building the perfect cup of cocoa.
- Dutch-process cocoa powder (1 cup) — This gives the cocoa a darker color and a smoother, more mellow chocolate flavor. I prefer Droste or Rodelle brands for consistent quality. (creates a richer base)
- Natural unsweetened cocoa powder (1/2 cup) — Adds a brighter, more intense chocolate note that balances the Dutch-process. I use Hershey’s Special Dark for extra depth. (adds complexity)
- Powdered sugar (1 1/2 cups) — Dissolves instantly in hot liquid, unlike granulated sugar which can leave a gritty texture. It also helps create that silky mouthfeel. (ensures smooth sweetness)
- Dry milk powder (1 1/2 cups) — This is the secret to a creamy cup without needing fresh milk. Look for instant dry milk powder for best results. (creates creaminess)
- Fine sea salt (1/2 teaspoon) — A tiny amount that makes the chocolate taste more chocolatey. Don’t skip this — it’s not about making it salty, it’s about enhancing the flavor. (enhances chocolate flavor)
- Mini marshmallows (1 1/2 cups) — These go on top of the mix in the jar. I like the mini ones because they fit nicely in the jar and melt quickly into the hot cocoa. (adds sweetness and texture)
- Optional: Chocolate shavings or sprinkles (1/4 cup) — For extra visual appeal on top of the marshmallows. I sometimes add crushed candy canes during the holidays. (decorative touch)
Ingredient selection tips: For the best flavor, use a high-quality cocoa powder. I’ve tested this with generic store brands, and the difference is noticeable. The Dutch-process cocoa really does give a smoother flavor. If you can’t find Dutch-process, you can use all natural cocoa powder, but the flavor will be slightly more acidic and less mellow.
Substitution guidance: You can use coconut milk powder or almond milk powder instead of dairy milk powder for a dairy-free version. Just note that coconut milk powder has a slight coconut flavor that pairs beautifully with chocolate. For a sugar-free option, use powdered monk fruit sweetener or powdered erythritol — just make sure it’s a powdered form so it dissolves properly.
Equipment Needed
You don’t need much fancy equipment for this project, which is part of what makes it so great. Here’s what you’ll need:
- Wide-mouth quart jars (4 jars) — The wide mouth makes layering so much easier. I buy mine at craft stores or online. Regular mouth jars work too, but you’ll need a funnel for layering.
- Small funnel — This is optional but helpful for getting ingredients into the jar without making a mess. I use a metal canning funnel that fits wide-mouth jars perfectly.
- Measuring cups and spoons — Standard set for accurate measurements. I recommend using dry measuring cups for the powders.
- Mixing bowl — A medium bowl for combining the cocoa mix ingredients before layering.
- Whisk — To thoroughly combine the dry ingredients so there are no lumps.
- Cellophane gift bags — For wrapping the finished jars. I get these at craft stores or online in bulk.
- Ribbon or twine — For decorating the jars. I like red and white baker’s twine for a classic look.
- Gift tags — Include instructions for making the cocoa. I print mine on cardstock and punch a hole for the ribbon.
Budget-friendly options: You can reuse jars from pasta sauce or pickles — just make sure to wash them thoroughly and remove all labels. Soak them in hot, soapy water to loosen the labels easily. I’ve done this many times, and it works perfectly.
Preparation Method
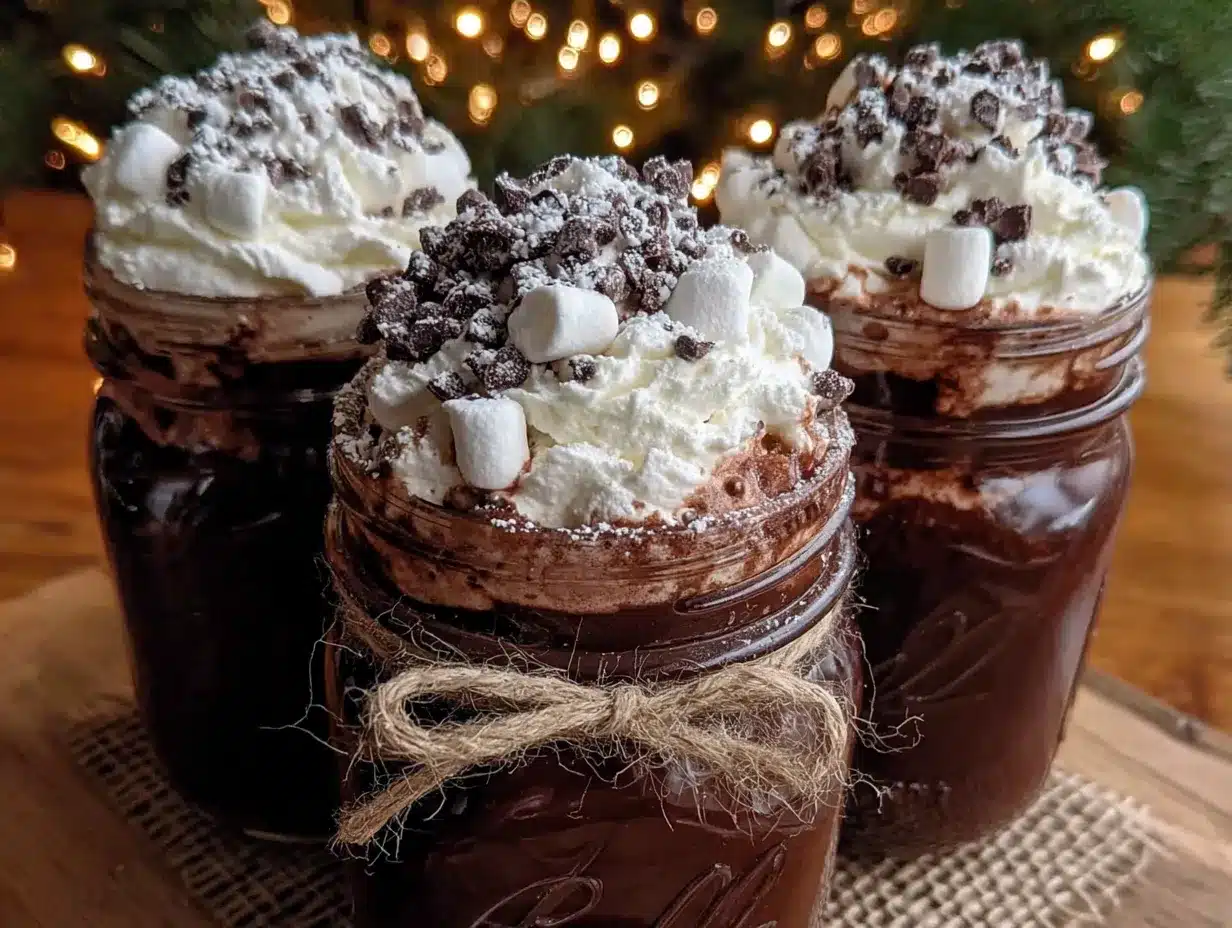
Follow these steps to create your cozy hot cocoa mix jars. The process is simple, but paying attention to the layering makes the jars look beautiful.
- Prepare your workspace. Clear your counter and lay out all your ingredients and equipment. Make sure your jars are clean and completely dry. Any moisture will cause the powders to clump.
- Combine the cocoa mix base. In a medium mixing bowl, whisk together 1 cup Dutch-process cocoa powder, 1/2 cup natural cocoa powder, 1 1/2 cups powdered sugar, 1 1/2 cups dry milk powder, and 1/2 teaspoon fine sea salt. Whisk until everything is evenly combined and there are no lumps. This takes about 2 minutes of thorough whisking. (about 2 minutes)
- Prepare your layering station. Set your jars on the counter with the funnel in the first jar. Have your cocoa mix, marshmallows, and any optional toppings ready in separate bowls.
- Layer the first stripe. Spoon about 1/2 cup of the cocoa mix into the jar through the funnel. Tap the jar gently on the counter to level it out. This creates the bottom layer.
- Add the marshmallow layer. Add about 1/3 cup of mini marshmallows on top of the cocoa mix. Try to distribute them evenly so they create a visible stripe when you look at the jar from the side.
- Layer the second cocoa stripe. Add another 1/2 cup of cocoa mix on top of the marshmallows. Again, tap the jar gently to level it. You should now see two cocoa stripes with a marshmallow stripe in between.
- Add the final marshmallow layer. Add another 1/3 cup of mini marshmallows on top. This will be the top layer visible when you open the jar.
- Top with decorations. If you’re using chocolate shavings, sprinkles, or crushed candy canes, sprinkle them on top of the final marshmallow layer. This adds visual appeal when the jar is opened.
- Seal the jar. Place the lid on the jar and screw it tight. Give it a gentle shake to settle everything, but not too hard — you want to keep the layers visible.
- Repeat for remaining jars. Continue with the remaining three jars until all the mix is used up. You should get exactly 4 jars with these measurements.
- Decorate the jars. Cut a piece of cellophane bag large enough to cover the jar. Place the jar in the center, gather the cellophane at the top, and tie it with ribbon or twine. Add a gift tag with instructions.
- Write the instructions. On the gift tag, write: “Add 3 tablespoons of mix to a mug. Pour in 8 ounces of hot water or hot milk. Stir until fully dissolved. Enjoy!”
Sensory cues: When you tap the jar, you should hear a solid thud from the cocoa mix settling. The marshmallows should look fluffy and visible through the glass. The layers should be distinct — dark brown cocoa, white marshmallows, dark brown cocoa, white marshmallows on top.
Preparation note: If you’re making these jars ahead of time, store them in a cool, dry place. They’ll keep for up to 6 months. Just make sure the marshmallows don’t get exposed to moisture, or they’ll become sticky and clump together.
Cooking Tips & Techniques
After making dozens of these jars, I’ve learned a few things the hard way. Let me save you some trouble.
Keep everything dry. This is the most important rule. Any moisture will cause the cocoa mix to clump and the marshmallows to get sticky. Make sure your jars are bone-dry before you start. I learned this when I made a batch on a humid summer day and the marshmallows turned into a sticky mess within a week.
Tap don’t pack. When you’re layering the cocoa mix, tap the jar gently on the counter to level it. Don’t press down or pack it tight. You want the layers to look natural, not compressed. Packing it too tight also makes it harder for the recipient to scoop out the mix.
Use a funnel. I know it seems like an extra step, but using a funnel keeps the sides of the jar clean. Cocoa powder gets everywhere — it’s like flour’s messy cousin. A funnel saves you from wiping down the inside of the jar with a paper towel (which can leave lint).
Double-check your ratios. I once made a batch where I accidentally doubled the powdered sugar, and the cocoa came out tasting like chocolate milk that forgot it was supposed to be chocolate. The ratio of cocoa to sugar to milk powder is carefully balanced — don’t wing it.
Make a test cup. Before you gift your jars, make one cup of cocoa from the mix to make sure the flavor is right. This is your quality control step. I always do this, and once I caught a batch where the dry milk powder had gone slightly rancid. Better to discover that yourself than have someone else discover it.
Timing strategy: I like to make these jars in batches of 8 or 12 at a time. It takes about the same amount of time as making 4, and then I have gifts ready for any occasion. I store them in a cool, dark cabinet and grab one whenever I need a last-minute gift.
Variations & Adaptations
One of the best things about this recipe is how easy it is to customize. Here are some variations I’ve tried and loved.
Peppermint Hot Cocoa: Add 1/4 cup of crushed candy canes to the cocoa mix and layer them with the marshmallows. The peppermint flavor infuses into the cocoa as it sits. I made these for a holiday cookie exchange, and they were the first thing to disappear from the gift table.
Spiced Mexican Hot Chocolate: Add 1 teaspoon of cinnamon, 1/4 teaspoon of cayenne pepper, and a pinch of nutmeg to the cocoa mix. The warmth of the spices balances beautifully with the rich chocolate. This is my personal favorite for cold winter nights.
Dairy-Free Version: Substitute the dry milk powder with coconut milk powder or almond milk powder. The coconut version adds a subtle tropical note that’s surprisingly good with chocolate. Just make sure to label the jar clearly so recipients know it’s dairy-free.
Dark Chocolate Lover’s Version: Use all Dutch-process cocoa powder and add 1/4 cup of dark chocolate shavings to the mix. This creates an intensely rich, almost bittersweet cocoa that adults tend to prefer over the standard version.
Single-Serving Jars: Use small 8-ounce jars and adjust the quantities. Each small jar gets about 1/3 cup of cocoa mix and a handful of marshmallows. These are perfect for stocking stuffers or party favors.
Personal variation I’ve tried: I once made a batch with a layer of freeze-dried raspberries crushed into powder. The raspberry-chocolate combination was incredible. I layered raspberry powder between the cocoa mix and marshmallows, and it created these beautiful pink stripes. The flavor was tart and sweet and completely addictive.
Serving & Storage Suggestions
These jars are designed to be gifts, but they’re also perfect for keeping in your own pantry for those moments when you need a warm hug in a mug.
Serving instructions: To make a cup of cocoa, add 3 tablespoons of the mix (including some marshmallows) to a mug. Pour in 8 ounces of hot water or hot milk. Stir vigorously until everything is fully dissolved. The marshmallows will float to the top and start melting. For an extra-treat version, top with whipped cream and a drizzle of chocolate syrup.
Temperature recommendations: The cocoa is best served piping hot, right after stirring. Let it cool for about a minute before sipping — the marshmallows hold heat and can burn your tongue. I learned this the hard way.
Storage instructions: Store the jars in a cool, dry place away from direct sunlight. A pantry or cabinet works perfectly. Do not refrigerate — the moisture in the fridge will ruin the marshmallows and cause the cocoa mix to clump.
Shelf life: Properly stored, these jars will keep for 6 months. The cocoa mix itself lasts even longer, but the marshmallows will start to dry out and become less fluffy after about 6 months. I usually make them within a month of gifting for the best texture.
How flavors develop: The cocoa mix actually gets better after about a week. The flavors meld together, and the powdered sugar fully integrates with the cocoa. If you’re making these for a specific occasion, try to make them at least a week in advance for the best flavor.
Reheating instructions: If your cocoa cools down, you can reheat it in the microwave for 30 seconds. Just be careful not to overheat it, or the milk powder can develop a slightly cooked flavor.
Nutritional Information & Benefits
Here’s the nutritional breakdown for one serving (3 tablespoons of mix prepared with water):
| Nutrient | Amount per Serving |
|---|---|
| Calories | 180 |
| Total Fat | 4g |
| Saturated Fat | 2.5g |
| Cholesterol | 5mg |
| Sodium | 180mg |
| Total Carbohydrates | 34g |
| Dietary Fiber | 2g |
| Sugars | 28g |
| Protein | 4g |
| Calcium | 150mg |
| Iron | 1.5mg |
Health benefits of key ingredients: Cocoa powder is rich in antioxidants called flavonoids, which can help reduce inflammation and improve heart health. The dry milk powder provides calcium and protein, making this more than just empty calories. And let’s be honest — sometimes you need a little comfort, and that has its own mental health benefits.
Dietary considerations: This recipe contains dairy from the milk powder. For a dairy-free version, use coconut milk powder. It’s naturally nut-free and egg-free. The sugar content is moderate for a treat, but you can reduce it by using less powdered sugar or a sugar substitute.
Allergen information: Contains milk. May contain traces of soy depending on the cocoa powder brand. Always check labels if gifting to someone with allergies.
Conclusion
These cozy hot cocoa mix jars with marshmallows have become my signature gift, and I’m honestly a little proud of that. They’re simple enough that anyone can make them, but thoughtful enough that people feel genuinely special receiving them. That’s a hard balance to strike, and these jars do it perfectly.
I love that this recipe lets me be creative with the presentation while keeping the actual process foolproof. You can customize the colors, the toppings, the ribbons — every jar can be unique. I’ve made them for teachers, neighbors, coworkers, and family members, and every single person has smiled when they received one.
So go ahead and make a batch. Or two. Or ten. Experiment with the variations, find your favorite combination, and share them with the people you care about. And when someone asks you for the recipe — because they will — send them my way. I’d love to hear about your cocoa jar adventures.
Now go make some cozy magic in a jar!
Frequently Asked Questions
Can I use this cocoa mix with cold milk?
This mix is designed for hot liquid. The dry milk powder and cocoa need heat to dissolve properly. If you want iced cocoa, make the hot version first, then let it cool and pour it over ice.
How long do these jars stay fresh?
Stored in a cool, dry place, they’ll stay fresh for up to 6 months. The marshmallows might start to dry out after 4-5 months, but the cocoa mix itself will be fine for longer.
Can I use regular granulated sugar instead of powdered sugar?
I don’t recommend it. Granulated sugar doesn’t dissolve as easily in hot water, and it can leave a gritty texture in your cocoa. Powdered sugar dissolves instantly and creates a smoother drink.
What if I don’t have dry milk powder?
You can leave it out and instruct the recipient to use hot milk instead of hot water. Just write “Add 3 tablespoons of mix to 8 ounces of hot milk” on the gift tag. The cocoa won’t be as creamy, but it’ll still taste great.
Can I add other mix-ins to the jar?
Absolutely! Try adding chocolate chips, crushed peppermint, cinnamon sticks, or even a small packet of instant coffee for a mocha version. Just make sure any additions are dry and won’t introduce moisture to the jar.
Pin This Recipe!
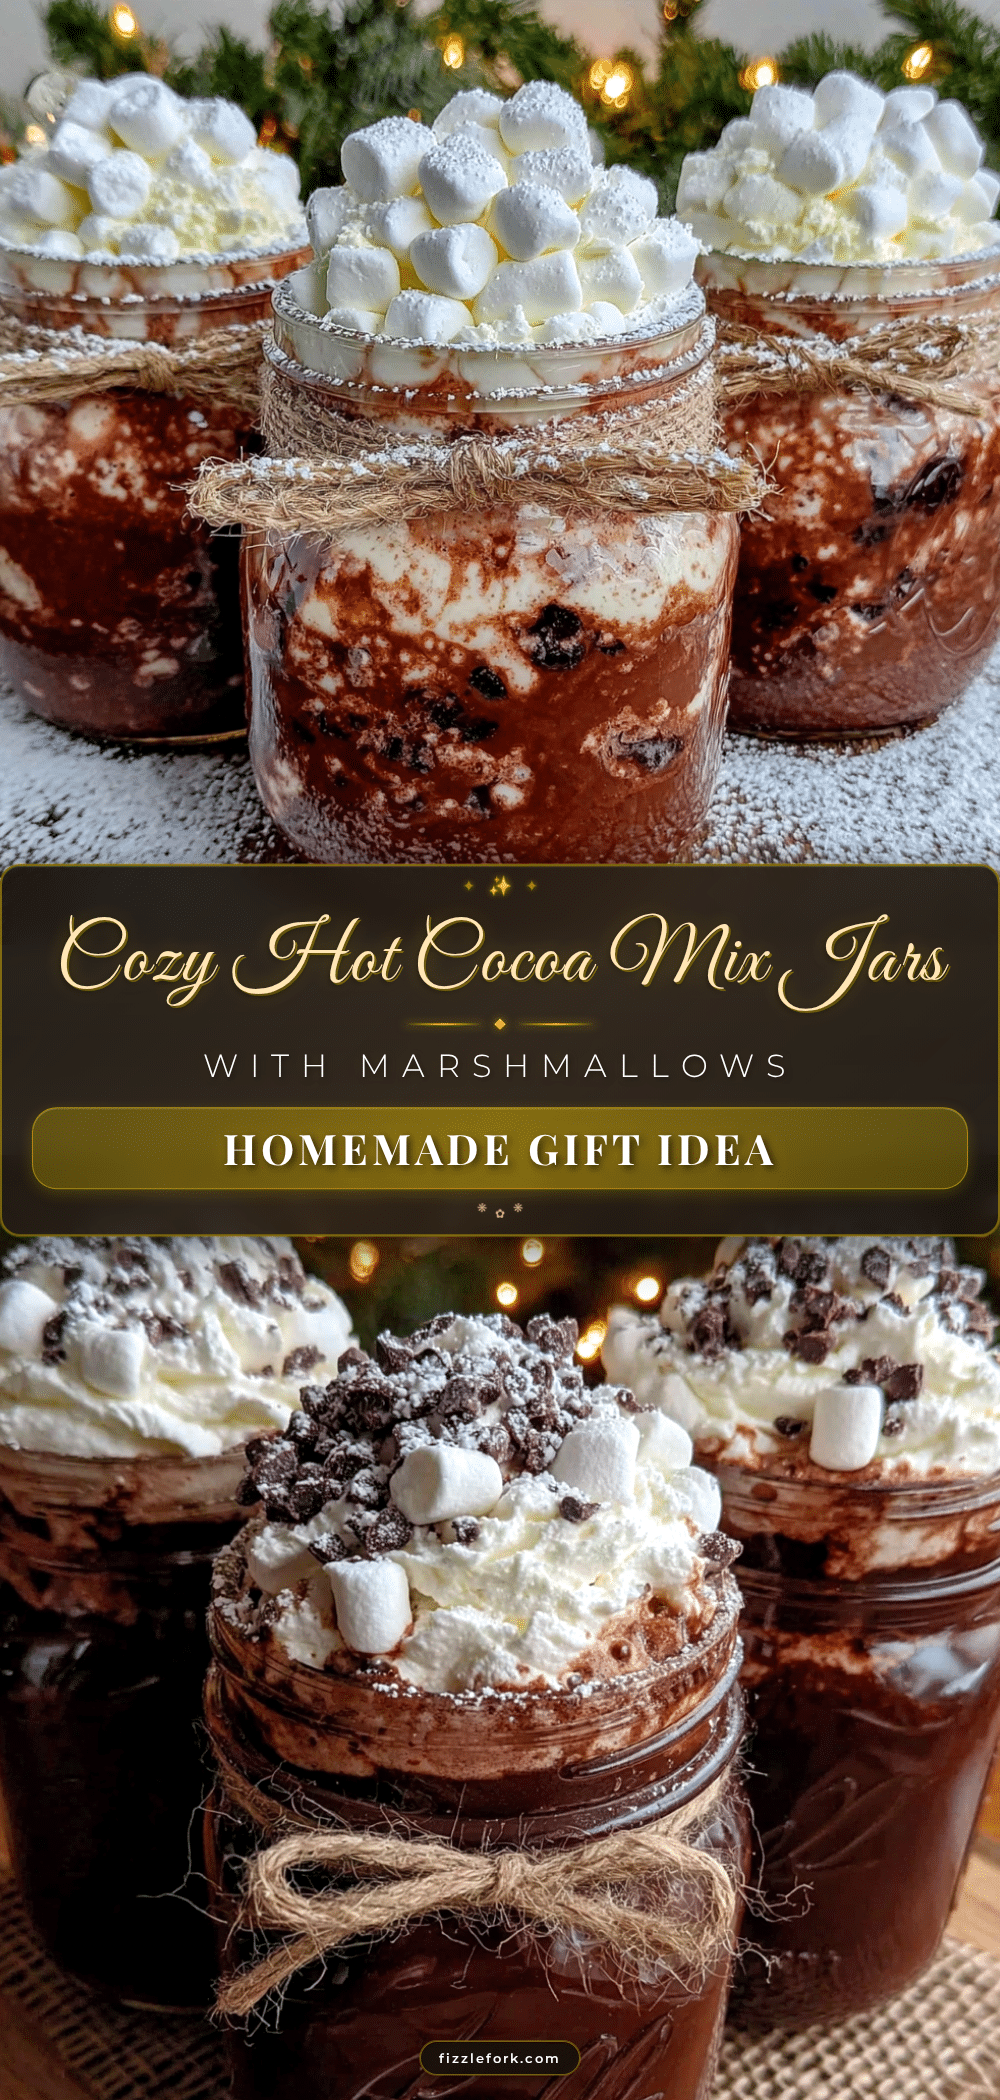
Cozy Hot Cocoa Mix Jars: Easy Homemade Gift Idea

These cozy hot cocoa mix jars with marshmallows are a simple, thoughtful homemade gift that can be assembled in under fifteen minutes using pantry-friendly ingredients. Perfect for holiday parties, teacher appreciation, or any occasion where you want to show someone you care.
- Prep Time: 15 minutes
- Cook Time: 0 minutes
- Total Time: 15 minutes
- Yield: 4 jars 1x
- Category: Beverage
- Cuisine: American
Ingredients
- 1 cup Dutch-process cocoa powder
- 1/2 cup natural unsweetened cocoa powder
- 1 1/2 cups powdered sugar
- 1 1/2 cups dry milk powder
- 1/2 teaspoon fine sea salt
- 1 1/2 cups mini marshmallows
- 1/4 cup chocolate shavings or sprinkles (optional)
Instructions
- Prepare your workspace. Clear your counter and lay out all your ingredients and equipment. Make sure your jars are clean and completely dry.
- Combine the cocoa mix base. In a medium mixing bowl, whisk together 1 cup Dutch-process cocoa powder, 1/2 cup natural cocoa powder, 1 1/2 cups powdered sugar, 1 1/2 cups dry milk powder, and 1/2 teaspoon fine sea salt. Whisk until everything is evenly combined and there are no lumps. This takes about 2 minutes of thorough whisking.
- Prepare your layering station. Set your jars on the counter with the funnel in the first jar. Have your cocoa mix, marshmallows, and any optional toppings ready in separate bowls.
- Layer the first stripe. Spoon about 1/2 cup of the cocoa mix into the jar through the funnel. Tap the jar gently on the counter to level it out.
- Add the marshmallow layer. Add about 1/3 cup of mini marshmallows on top of the cocoa mix. Try to distribute them evenly so they create a visible stripe.
- Layer the second cocoa stripe. Add another 1/2 cup of cocoa mix on top of the marshmallows. Again, tap the jar gently to level it.
- Add the final marshmallow layer. Add another 1/3 cup of mini marshmallows on top.
- Top with decorations. If you’re using chocolate shavings, sprinkles, or crushed candy canes, sprinkle them on top of the final marshmallow layer.
- Seal the jar. Place the lid on the jar and screw it tight. Give it a gentle shake to settle everything, but not too hard — you want to keep the layers visible.
- Repeat for remaining jars. Continue with the remaining three jars until all the mix is used up. You should get exactly 4 jars with these measurements.
- Decorate the jars. Cut a piece of cellophane bag large enough to cover the jar. Place the jar in the center, gather the cellophane at the top, and tie it with ribbon or twine. Add a gift tag with instructions.
- Write the instructions. On the gift tag, write: ‘Add 3 tablespoons of mix to a mug. Pour in 8 ounces of hot water or hot milk. Stir until fully dissolved. Enjoy!’
Notes
Keep everything dry to prevent clumping. Tap the jar gently to level layers, do not pack. Use a funnel to keep jar sides clean. Make a test cup before gifting to ensure flavor is correct. Store in a cool, dry place for up to 6 months. For dairy-free version, substitute dry milk powder with coconut milk powder or almond milk powder.
Nutrition
- Serving Size: 3 tablespoons of mix
- Calories: 180
- Sugar: 28
- Sodium: 180
- Fat: 4
- Saturated Fat: 2.5
- Carbohydrates: 34
- Fiber: 2
- Protein: 4
Keywords: hot cocoa mix, homemade gift, mason jar gift, hot chocolate, easy gift idea, holiday gift, teacher gift, cocoa mix in a jar


