My partner took one spoonful of these creamy no-bake pumpkin pie cheesecake cups and just stopped talking. Not because he was speechless in a dramatic way, but because his eyes got that glazed-over look, you know the one when someone’s savoring something that hits exactly right. I caught him sneaking back to the fridge two more times that evening, totally unbothered by my amused smirk. It wasn’t a big family gathering or some fancy dinner party—it was just a quiet Tuesday night, and somehow this dessert made the whole evening feel a little cozier.
The subtle spices of pumpkin mixed with the silky cheesecake filling created a texture that’s almost too smooth to believe without tasting it yourself. Honestly, I had been fiddling with pumpkin recipes for years, but this particular no-bake cheesecake cup was the first to make him pause mid-bite. It wasn’t just the flavor—it was how the crust held just enough crunch beneath all that creamy richness. The cinnamon and nutmeg hit just right, but without overpowering the pumpkin’s natural sweetness.
Watching his quiet enjoyment made me realize this recipe isn’t just another fall dessert; it’s that unexpected little joy you didn’t know you needed. It’s perfect for when you want to impress someone but don’t want to spend hours in the kitchen. Plus, no oven means less heat, which is a total win in my book (especially since I’m always juggling dinner and dessert prep). Somehow, these pumpkin pie cheesecake cups became my go-to treat during the season, and I trust they’ll stick with you too.
Why You’ll Love This Creamy No-Bake Pumpkin Pie Cheesecake Cups Recipe
After testing this recipe through multiple pumpkin seasons, I can say it nails the balance between indulgence and ease. This isn’t your run-of-the-mill pumpkin pie or cheesecake—it’s a mashup that feels fresh, fun, and downright cozy. Here’s why you’ll want to keep this one in your fall dessert rotation:
- Quick & Easy: You can whip these up in under 30 minutes, no baking required. Perfect for those busy weeknights or when unexpected guests drop by.
- Simple Ingredients: Nothing fancy here. Most are pantry staples, so you can make these without a special trip to the store.
- Perfect for Fall Gatherings: Whether it’s a casual dinner or a holiday potluck, these cups fit right in with that warm, autumn vibe.
- Crowd-Pleaser: Kids, adults, even pumpkin skeptics can’t get enough. It’s a creamy, spiced dream that appeals to a wide range of tastes.
- Unbelievably Delicious: The texture combo—smooth cheesecake filling with a crunchy graham cracker crust—is just next-level comfort food.
This recipe stands apart because of the no-bake method that keeps everything light and creamy, without sacrificing flavor or texture. I like to blend the pumpkin puree with cream cheese and a touch of vanilla to get that ultra-smooth filling that melts in your mouth. Plus, the secret sprinkle of ginger adds a little warmth that rounds out the classic pumpkin spice notes perfectly.
Honestly, this recipe isn’t just dessert—it’s that comforting little moment in your day when you can sit back, close your eyes, and just enjoy the simple things.
What Ingredients You Will Need
This recipe uses simple, wholesome ingredients to deliver bold flavor and satisfying texture without the fuss. Most of these you probably have on hand or can swap easily if needed.
- Graham cracker crumbs: About 1 ½ cups (150g) for the crust. I prefer honey-flavored for a little extra sweetness.
- Unsalted butter: 6 tablespoons (85g), melted, to bind the crust. Use real butter for best flavor, but plant-based works too.
- Cream cheese: 8 ounces (225g), softened. I recommend full-fat for creaminess, but light cream cheese can be used.
- Pumpkin puree: 1 cup (245g), canned or homemade. Avoid pumpkin pie filling since it has added spices and sugar.
- Powdered sugar: ¾ cup (90g), sifted, to keep the filling smooth and sweet.
- Vanilla extract: 1 teaspoon for that warm, inviting aroma.
- Ground cinnamon: 1 ½ teaspoons, a key spice for that classic pumpkin flavor.
- Ground nutmeg: ½ teaspoon, adds subtle warmth.
- Ground ginger: ¼ teaspoon, the little twist that sets this apart.
- Whipped cream: 1 cup (240ml), for folding into the filling to keep it light and airy. Use store-bought or homemade.
- Optional toppings: Chopped pecans, a dusting of cinnamon, or a drizzle of caramel sauce if you’re feeling fancy.
For a gluten-free option, swap the graham cracker crumbs with almond flour or gluten-free cookie crumbs. If you want to keep it dairy-free, mashed silken tofu or coconut cream can replace the cream cheese, though the texture will be slightly different.
Equipment Needed
- Mixing bowls: One medium and one large for combining crust and filling separately.
- Electric mixer or hand mixer: Makes whipping the cream cheese and folding in whipped cream much easier.
- Measuring cups and spoons: For precise ingredient amounts (US and metric measurements are included).
- Spatula: For folding ingredients gently without deflating the whipped cream.
- Serving cups or ramekins: Small glass jars, clear plastic cups, or ceramic ramekins work perfectly for individual servings.
- Optional: Food processor or blender — handy if you want to make your own graham cracker crumbs from scratch.
Personally, I’ve found that a hand mixer is sufficient and easy to clean, but if you’re making large batches, a stand mixer saves some arm fatigue. For storage, small mason jars with lids are great—they keep the cheesecake cups fresh and look adorable on the table.
Preparation Method
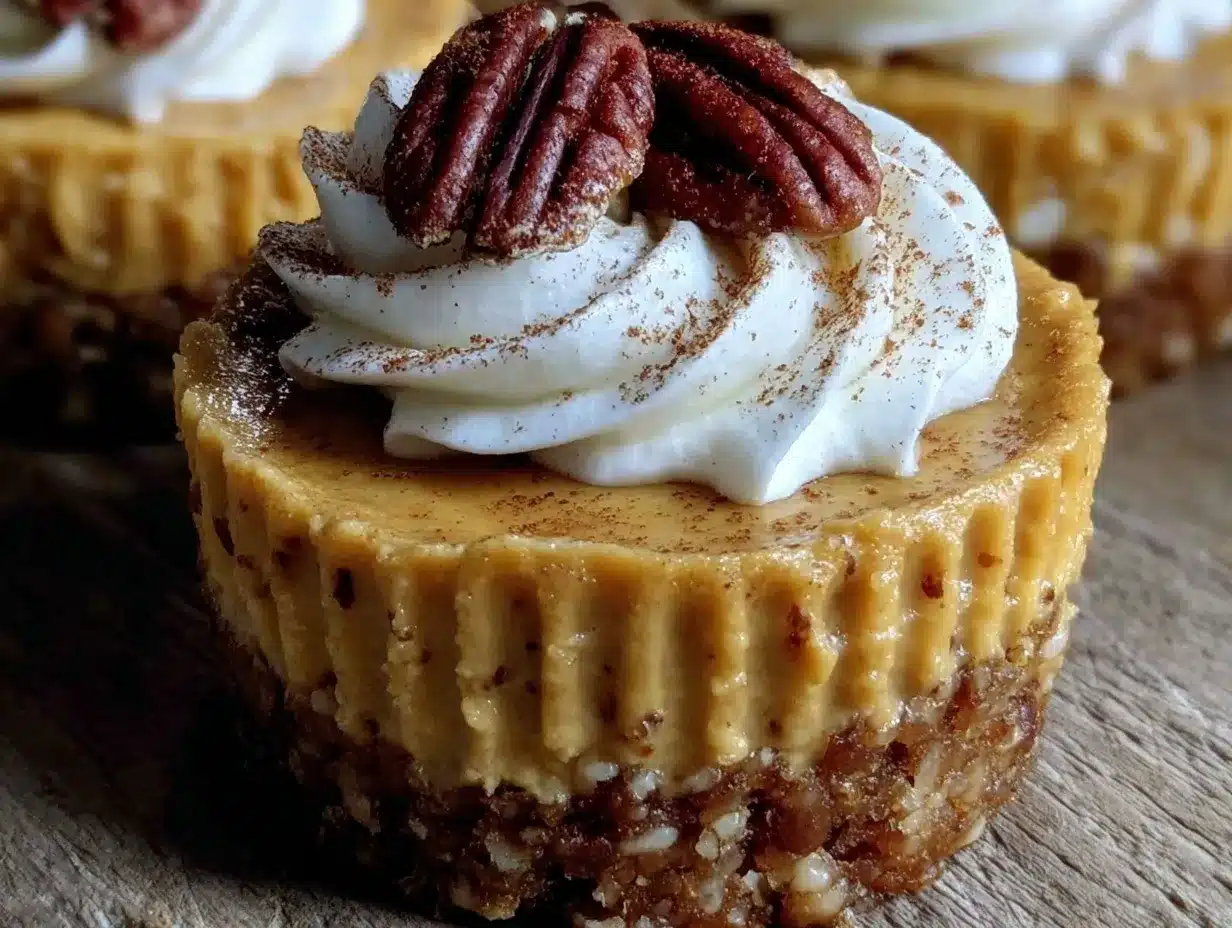
- Prepare the crust: In a medium bowl, combine 1 ½ cups (150g) of graham cracker crumbs with 6 tablespoons (85g) melted unsalted butter. Mix until the crumbs are evenly coated and hold together when pressed. This should take about 2 minutes.
- Press crust into cups: Divide the crust mixture evenly among 6 serving cups. Press firmly into the bottom using the back of a spoon or your fingers to create a compact base. Place the cups in the fridge to chill for at least 10 minutes while you prepare the filling.
- Mix the filling base: In a large bowl, beat 8 ounces (225g) softened cream cheese with ¾ cup (90g) powdered sugar until smooth and creamy, about 3-4 minutes on medium speed. Scrape down the sides as needed to avoid lumps.
- Add pumpkin and spices: Blend in 1 cup (245g) pumpkin puree, 1 teaspoon vanilla extract, 1 ½ teaspoons cinnamon, ½ teaspoon nutmeg, and ¼ teaspoon ginger. Mix until everything is well incorporated and the mixture smells warmly spiced.
- Fold in whipped cream: Gently fold 1 cup (240ml) whipped cream into the pumpkin mixture using a spatula. Do this slowly to keep the filling light and airy. The filling should be smooth and hold soft peaks.
- Assemble the cups: Spoon the filling over the chilled crusts, dividing it evenly among the 6 cups. Smooth the tops with the back of a spoon or an offset spatula.
- Chill before serving: Refrigerate the assembled cups for at least 2 hours, preferably 4, to let them set and develop flavor. Cover with plastic wrap or lids to prevent drying out.
- Optional garnish: Just before serving, top with chopped pecans, a dusting of cinnamon, or a drizzle of caramel sauce for extra flair.
Note: If your cream cheese isn’t soft enough, zap it for 10 seconds in the microwave (don’t melt it!)—this makes mixing smoother. Also, be sure to sift the powdered sugar to avoid lumps. If the filling feels too thick, a tablespoon of milk can loosen it slightly without losing creaminess.
Cooking Tips & Techniques
When working with no-bake cheesecakes, texture is everything. Here’s what I’ve learned from trial and error:
- Softening cream cheese: Room temperature is key. Cold cream cheese leads to lumps and a grainy texture. If you forget, the quick microwave trick helps.
- Folding whipped cream: Take your time here. Fold gently to keep the air in. I once overmixed and ended up with a dense filling—never again!
- Pressing crust firmly: Don’t skimp on this step. A solid crust base prevents the cups from collapsing when you eat them.
- Chilling time: Patience pays off. The longer you refrigerate (within reason), the better the cups hold their shape and the flavors meld.
- Multitasking: While the crust chills, prep the filling to save time. If you’re short on time, even 1 hour chilling works, but the texture will be softer.
Also, I’ve found that using a stand mixer speeds up the mixing process, but a good hand mixer works just fine. If you’re looking for a similar quick-fix dinner to pair with this dessert, you might enjoy the creamy Tuscan chicken—the flavors pair surprisingly well!
Variations & Adaptations
This recipe is pretty flexible and easy to tweak depending on your taste or dietary needs:
- Dairy-free: Swap cream cheese for a plant-based alternative and use coconut whipped cream instead of dairy whipped cream. The texture changes slightly but stays delicious.
- Spice it up: Add a pinch of cloves or allspice for a deeper fall spice profile, or switch the ginger for cardamom for a subtle twist.
- Crunchy crust swaps: Use crushed gingersnaps or gingerbread cookies instead of graham crackers for a spicier crust.
- Mini pumpkin pie jars: Layer in a bit of homemade cranberry sauce or salted caramel between crust and filling for a festive touch.
- Less sweet: Reduce powdered sugar by ¼ cup or swap for maple syrup to keep sweetness natural and mellow.
I once tried adding chopped toasted pecans into the crust, which added a lovely nutty crunch—totally worth the extra step if you love texture. For a lighter version, you can fold in Greek yogurt with the pumpkin, but it’s a bit tangier.
Serving & Storage Suggestions
These pumpkin pie cheesecake cups are best served chilled, straight from the fridge. The cold temperature really brings out the creamy texture and spice aroma.
Serve them as a sweet finish after a meal featuring savory dishes like zesty fajita bowls or a simple autumn salad. A hot cup of spiced tea or coffee pairs beautifully, too.
Store leftovers covered in the fridge for up to 4 days. If you want to prep ahead, you can assemble the cups a day in advance—flavors actually deepen overnight. Just don’t add toppings until serving to keep them fresh.
Reheat? Nah, these are best cold. But if you want a softer texture, leave them out on the counter for 10 minutes before eating.
Nutritional Information & Benefits
Each serving of these creamy no-bake pumpkin pie cheesecake cups clocks in around 300-350 calories, depending on your ingredient choices. They’re moderately rich in fat from the cream cheese and butter but balanced by the fiber and vitamins in pumpkin.
Pumpkin is packed with vitamin A and antioxidants, which support eye health and immunity. Using real spices like cinnamon and ginger adds anti-inflammatory benefits without extra calories.
If you need a gluten-free dessert option, swapping the crust for almond flour or gluten-free crumbs keeps it safe for most diets. Just watch the sugar amount if you’re watching your intake.
From a wellness perspective, this dessert feels indulgent without being over the top—perfect for those seasonal cravings when you want a treat that also feels a little nourishing.
Conclusion
These creamy no-bake pumpkin pie cheesecake cups are a simple but special way to bring fall flavors into your kitchen. They blend the best of pumpkin spice and cheesecake with ease and a little flair. Whether you’re making them for a casual weeknight treat or a holiday gathering, they’re easy to customize and sure to please.
I love this recipe because it’s fuss-free but never feels like a compromise on taste or texture. It’s become my go-to dessert for when I want something comforting but don’t want to heat up the oven or spend hours in the kitchen. And judging by my partner’s reaction, that’s a recipe that’s hard to beat.
If you try these, I’d love to hear how you make them your own—drop a comment or share your favorite topping combo! Here’s to cozy moments and creamy indulgence.
Frequently Asked Questions about Creamy No-Bake Pumpkin Pie Cheesecake Cups
- Can I make these cups ahead of time? Absolutely! They actually taste better after chilling overnight since the flavors meld beautifully.
- What if I don’t have graham cracker crumbs? You can crush digestive biscuits, gingersnaps, or even gluten-free cookies as a substitute.
- How long do these cheesecake cups last in the fridge? Up to 4 days. Keep them covered tightly to prevent drying out.
- Can I freeze the cheesecake cups? It’s possible, but texture may change slightly. If you freeze, thaw in the fridge overnight before serving.
- Is there a way to make this recipe vegan? Yes! Use vegan cream cheese, coconut cream whipped topping, and a vegan butter substitute for the crust.
Pin This Recipe!
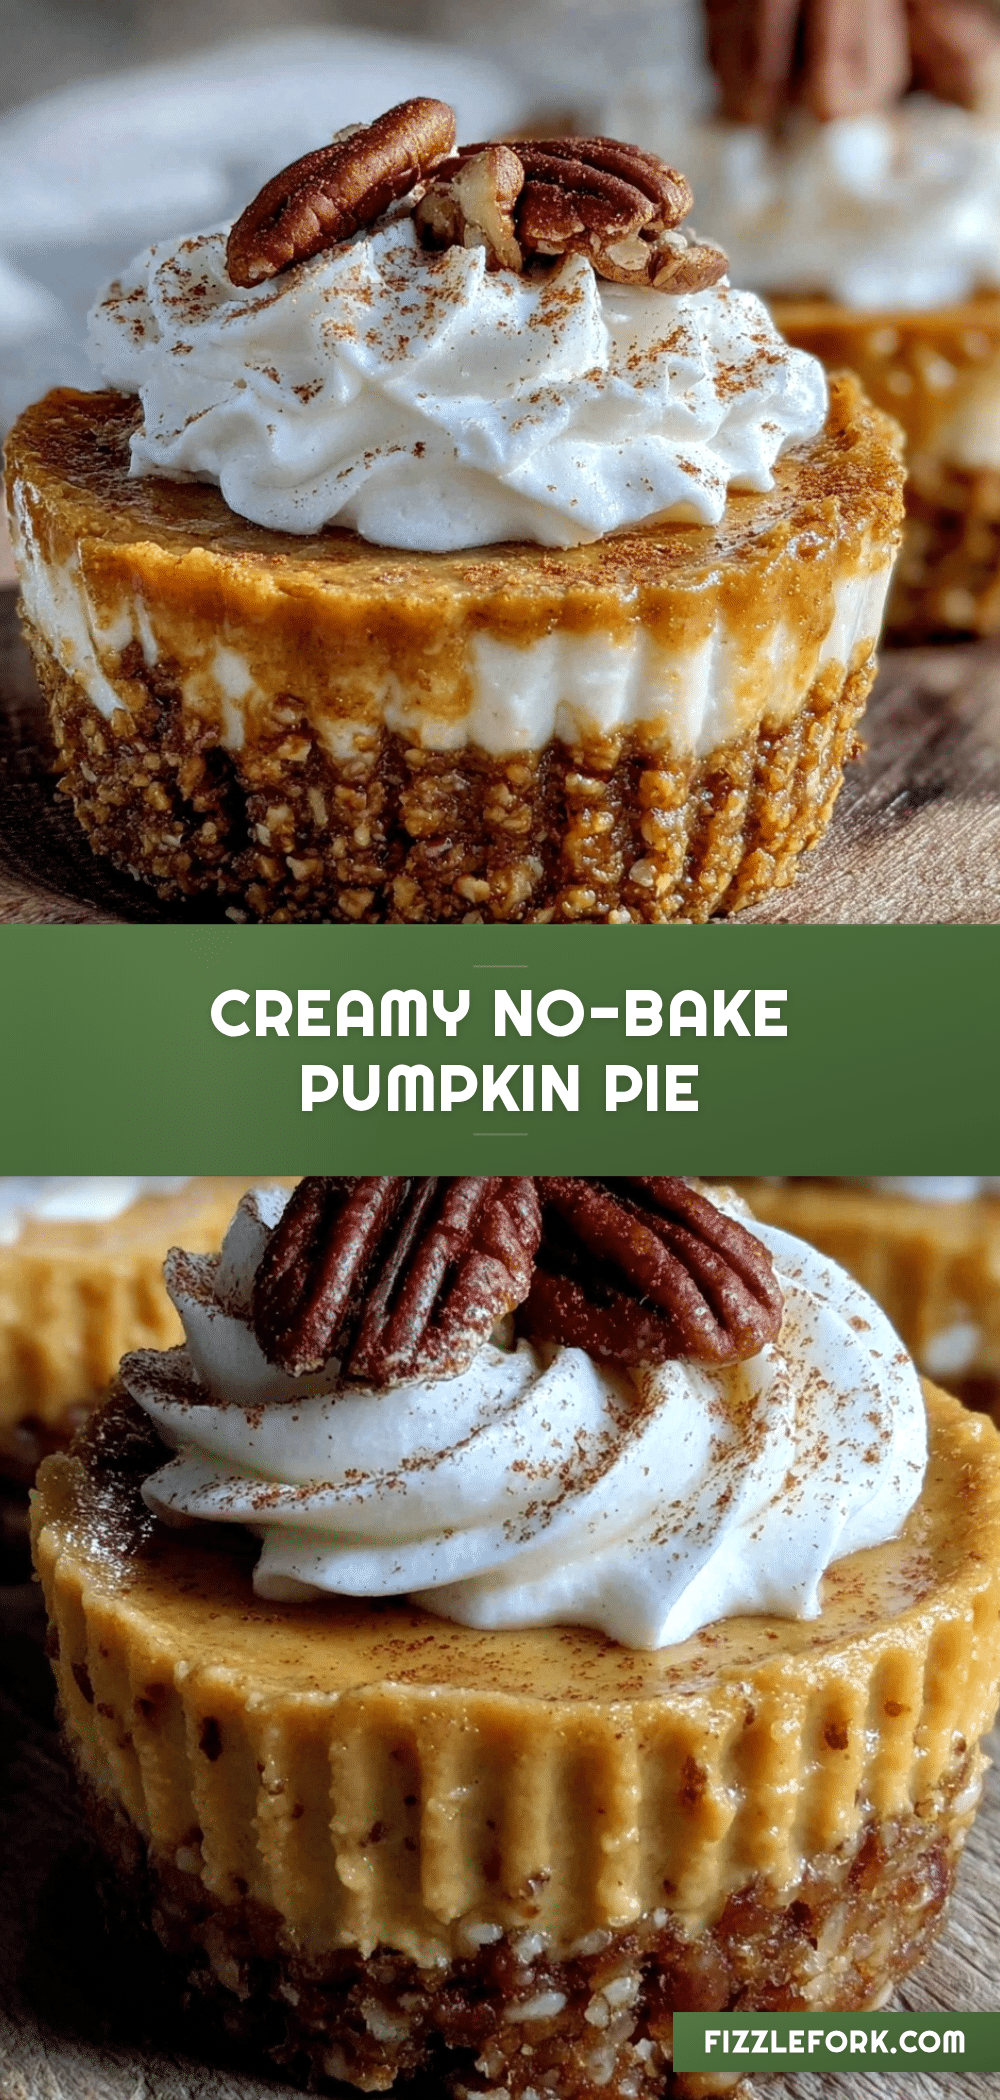
Creamy No-Bake Pumpkin Pie Cheesecake Cups
A quick and easy no-bake dessert combining smooth pumpkin cheesecake filling with a crunchy graham cracker crust, perfect for fall gatherings and cozy nights.
- Prep Time: 15 minutes
- Cook Time: 0 minutes
- Total Time: 2 hours 15 minutes
- Yield: 6 servings 1x
- Category: Dessert
- Cuisine: American
Ingredients
- 1 ½ cups (150g) graham cracker crumbs (honey-flavored preferred)
- 6 tablespoons (85g) unsalted butter, melted
- 8 ounces (225g) cream cheese, softened
- 1 cup (245g) pumpkin puree, canned or homemade
- ¾ cup (90g) powdered sugar, sifted
- 1 teaspoon vanilla extract
- 1 ½ teaspoons ground cinnamon
- ½ teaspoon ground nutmeg
- ¼ teaspoon ground ginger
- 1 cup (240ml) whipped cream
- Optional toppings: chopped pecans, dusting of cinnamon, drizzle of caramel sauce
Instructions
- Prepare the crust: In a medium bowl, combine graham cracker crumbs with melted unsalted butter. Mix until crumbs are evenly coated and hold together when pressed, about 2 minutes.
- Press crust into cups: Divide crust mixture evenly among 6 serving cups. Press firmly into the bottom to create a compact base. Chill in fridge for at least 10 minutes.
- Mix the filling base: In a large bowl, beat softened cream cheese with powdered sugar until smooth and creamy, about 3-4 minutes on medium speed.
- Add pumpkin and spices: Blend in pumpkin puree, vanilla extract, cinnamon, nutmeg, and ginger until well incorporated.
- Fold in whipped cream: Gently fold whipped cream into pumpkin mixture using a spatula to keep filling light and airy.
- Assemble the cups: Spoon filling over chilled crusts evenly among the 6 cups. Smooth tops.
- Chill before serving: Refrigerate assembled cups for at least 2 hours, preferably 4, covered to prevent drying.
- Optional garnish: Before serving, top with chopped pecans, cinnamon dusting, or caramel drizzle.
Notes
Softening cream cheese to room temperature is key to avoid lumps. Fold whipped cream gently to keep filling airy. Press crust firmly to prevent collapse. Chill at least 2 hours for best texture; overnight chilling improves flavor. Microwave cream cheese for 10 seconds if too firm. Sift powdered sugar to avoid lumps. Add a tablespoon of milk if filling is too thick.
Nutrition
- Serving Size: 1 cup (1 cheesecake
- Calories: 325
- Sugar: 18
- Sodium: 210
- Fat: 22
- Saturated Fat: 13
- Carbohydrates: 27
- Fiber: 2
- Protein: 5
Keywords: pumpkin pie, no-bake cheesecake, fall dessert, pumpkin spice, creamy cheesecake cups, easy dessert, autumn dessert


