I did not trust a granola bar that came from my kitchen instead of a wrapper. The ones from the box were predictable—crunchy, sweet, and uniform in a way that felt almost sterile. Homemade ones, in my experience, were either crumbly disasters or rock-hard hockey pucks that required a glass of milk just to get through a single bite. So when my sister-in-law handed me a container of these at a picnic last summer, claiming they were no-bake and held together without any weird syrups or binders, I smiled politely and mentally prepared a polite excuse to stash them in my bag for later disposal.
Then I ate one. And then I ate another one. They were chewy in that perfect way—not sticky, not dry, just dense enough to feel substantial but light enough to grab as a quick snack before running out the door. The chocolate chips were scattered throughout in little pockets of sweetness, and the oats had this satisfying texture that made you feel like you were eating something real. I asked for the recipe before I even finished the first bar, and she just laughed and said it was nothing—literally just oats, peanut butter, honey, and chocolate chips mixed together and pressed into a pan.
That moment changed how I thought about homemade snacks forever. Here was a recipe that actually delivered on its promise: quick, no-bake, and genuinely delicious without any of the fuss I had assumed was unavoidable. It took me maybe three tries to tweak the ratios to my liking (I wanted a little more salt, a little less honey), but once I had it dialed in, I stopped buying granola bars altogether. This is the recipe that finally convinced me that homemade can be just as convenient—and way better tasting—than anything from a store shelf.
Why You’ll Love This Recipe
These granola bars solve the biggest problem with homemade snacks: they actually hold together without turning into a science experiment. I have tested this recipe on busy weekday mornings, after-school snack attacks, and even as a quick pre-workout bite, and they deliver every single time.
- No Oven Required: Seriously, you don’t even turn on the stove for more than a minute. This is the kind of recipe you can make when it’s ninety degrees outside and you refuse to heat up the kitchen.
- Pantry Staples: Oats, peanut butter, honey, chocolate chips—chances are you have everything already. No specialty ingredients, no trips to a health food store.
- Kid-Friendly: My niece helped me press the mixture into the pan last week, and she ate three before I could even cut them into bars. They are sweet enough to feel like a treat but wholesome enough to pack in a lunchbox.
- Customizable: Swap the chocolate chips for dried fruit, add a spoonful of chia seeds, or use almond butter instead of peanut—the base is forgiving and adaptable.
- Perfect for Meal Prep: Make a batch on Sunday, and you have grab-and-go snacks for the entire week. They stay fresh at room temperature or in the fridge, whichever you prefer.
What makes these different from every other no-bake granola bar recipe out there is the texture. I spent a lot of time figuring out the exact ratio of wet to dry ingredients so that the bars are chewy without being greasy, and firm without being hard. They are not those crumbly bars that fall apart in your bag, nor are they the sticky, overly sweet ones that leave residue on your fingers. These are just right—the kind of granola bar you actually look forward to eating.
What Ingredients You Will Need
This recipe relies on simple, wholesome ingredients that work together to create a bar that is both satisfying and portable. The magic is in how the peanut butter and honey bind the oats without requiring any baking or complicated steps.
- Rolled Oats (2 cups): Use old-fashioned rolled oats, not instant or steel-cut. Rolled oats provide the perfect chewy texture and absorb the wet ingredients without turning mushy. I prefer Bob’s Red Mill or Quaker Old-Fashioned for consistent results.
- Creamy Peanut Butter (1/2 cup): Natural peanut butter works, but you want one that is well-stirred and not too oily. If your peanut butter is very runny, the bars may not set as firmly. I use Skippy Natural or Jif Natural for the best texture.
- Honey (1/3 cup): Honey acts as the primary sweetener and binder. Use a runny honey, not crystallized. If you are vegan, maple syrup works as a substitute, though the bars will be slightly softer.
- Chocolate Chips (1/2 cup): Semi-sweet or dark chocolate chips are my go-to. Milk chocolate works too, but the bars will be sweeter. I like Guittard or Ghirardelli for quality chocolate that melts nicely.
- Unsalted Butter (2 tablespoons): Butter adds richness and helps the mixture hold together. You can substitute coconut oil for a dairy-free version, though the flavor will be slightly different.
- Vanilla Extract (1 teaspoon): A little vanilla rounds out the flavors and makes the bars taste more like a treat. Use pure vanilla extract if you have it.
- Salt (1/4 teaspoon): Salt balances the sweetness and enhances the peanut butter and chocolate flavors. If you are using salted peanut butter, reduce or omit the added salt.
For ingredient selection, look for oats that are fresh—stale oats can make the bars taste flat. If your peanut butter has separated and you see oil on top, stir it vigorously before measuring. And for the chocolate chips, I recommend using mini chocolate chips if you can find them; they distribute more evenly throughout the bars.
Equipment Needed
The beauty of this recipe is that it requires almost no special equipment. Here is what you will need:
- 8×8-inch Baking Pan: This is the ideal size for getting bars that are thick enough to be satisfying but not too thick. A 9×9-inch pan will work, but the bars will be thinner.
- Parchment Paper: Lining the pan with parchment paper makes lifting the bars out effortless. Leave an overhang on two sides for easy removal.
- Medium Saucepan: For melting the peanut butter, honey, and butter together. A heavy-bottomed saucepan works best to prevent scorching.
- Large Mixing Bowl: To combine the dry ingredients with the wet mixture.
- Spatula or Wooden Spoon: For mixing and pressing the mixture into the pan. A silicone spatula works well for scraping every last bit.
- Measuring Cups and Spoons: Accurate measurements matter here, especially for the wet ingredients.
If you do not have an 8×8 pan, you can use a loaf pan and make thicker bars, or a 9×13 pan for thinner, snack-sized bars. I have also used a small casserole dish in a pinch—just adjust the thickness and press firmly.
Preparation Method
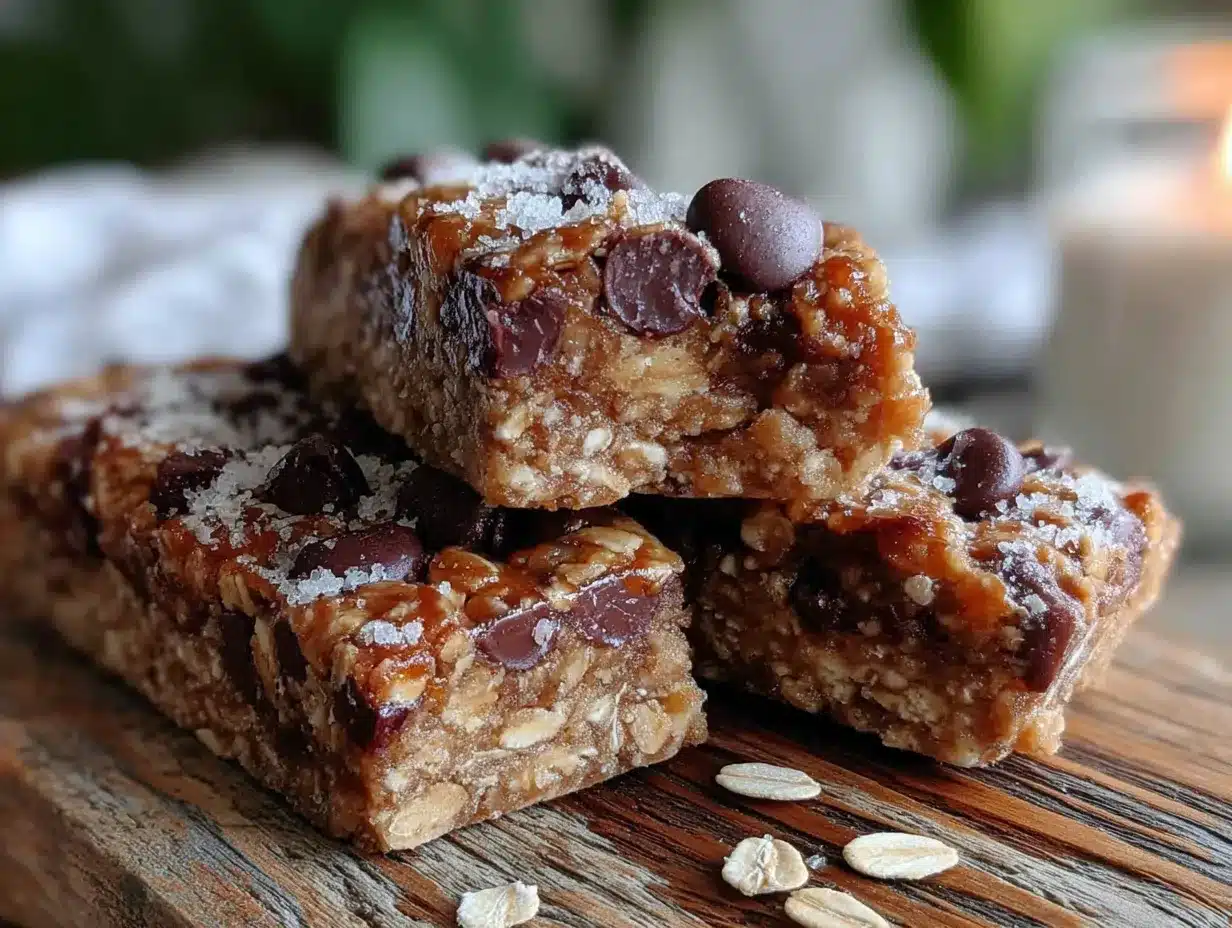
This recipe comes together in about 15 minutes of active time, plus a couple of hours for chilling. The steps are straightforward, but a few small details make a big difference in the final texture.
- Line your pan. Cut a piece of parchment paper to fit the bottom and sides of your 8×8-inch pan, leaving a couple of inches of overhang on two opposite sides. This will let you lift the entire block of granola bars out later without any sticking.
- Combine the wet ingredients. In a medium saucepan over low heat, combine 1/2 cup creamy peanut butter, 1/3 cup honey, and 2 tablespoons unsalted butter. Stir constantly with a spatula or wooden spoon until everything is melted and smooth. This takes about 2-3 minutes. Do not let it boil—you just want it warm enough to combine easily.
- Add vanilla and salt. Remove the saucepan from the heat and stir in 1 teaspoon vanilla extract and 1/4 teaspoon salt. The mixture will look glossy and smell amazing at this point.
- Mix the dry ingredients. In a large mixing bowl, place 2 cups rolled oats. Pour the warm peanut butter mixture over the oats and stir until every oat is coated. The mixture will look thick and slightly sticky—that is exactly what you want.
- Fold in the chocolate chips. Add 1/2 cup chocolate chips to the oat mixture and fold gently until they are evenly distributed. If the mixture is still warm, the chocolate chips might start to melt slightly, which is fine—it helps them stick.
- Press into the pan. Transfer the mixture to your lined pan. Use the back of a spatula or a piece of parchment paper to press it down firmly and evenly. This step is crucial—if you do not press hard enough, the bars will be crumbly. I press down until the surface is flat and the mixture feels compact.
- Chill until firm. Place the pan in the refrigerator for at least 2 hours, or until the mixture is completely firm to the touch. If you are in a hurry, you can pop it in the freezer for about 45 minutes, but the fridge gives a more even set.
- Slice and serve. Once firm, lift the whole block out using the parchment overhang. Place it on a cutting board and use a sharp knife to cut into 8-10 bars. A clean cut comes from slicing in one smooth motion—do not saw back and forth.
One thing I learned the hard way: if the mixture feels too dry when you are pressing it into the pan, you might have measured the oats too generously. Fluff your oats before measuring, or add an extra tablespoon of honey if needed. The mixture should hold together when you squeeze a small amount in your hand.
Cooking Tips & Techniques
Over the dozens of batches I have made, I have picked up a few tricks that make these bars turn out perfectly every time.
Do not overheat the wet ingredients. I made this mistake early on—I got distracted and let the peanut butter mixture bubble for a minute. The bars turned out greasy and the texture was off. Keep the heat low and stir constantly. You just want everything melted, not cooked.
Press, press, press. This cannot be overstated. The difference between a bar that holds together and one that crumbles apart is how firmly you press the mixture into the pan. Use a piece of parchment paper on top and press down with your hands or the bottom of a glass. Apply even pressure across the entire surface.
Let them chill completely. I know it is tempting to cut into them after an hour, but they really need the full 2 hours to set properly. If you cut too early, the bars will be soft and may fall apart. Patience pays off here.
Use a sharp knife for clean cuts. A dull knife will drag through the mixture and create ragged edges. I run my knife under hot water, dry it, and then slice—the warmth helps the knife glide through without sticking.
Store them properly. These bars keep well at room temperature for about 3 days, but they last longer in the refrigerator—up to a week. If you stack them, place a piece of parchment paper between layers to prevent sticking.
Variations & Adaptations
One of the best things about this base recipe is how easily it adapts to different tastes and dietary needs. Here are a few variations I have tried and loved:
- Peanut Butter & Jelly: Reduce the chocolate chips to 1/4 cup and swirl in 2 tablespoons of your favorite jam or jelly before pressing the mixture into the pan. The jam adds a fruity sweetness that pairs beautifully with the peanut butter.
- Coconut Almond: Swap the peanut butter for almond butter, use white chocolate chips instead of semi-sweet, and fold in 1/4 cup shredded coconut. The coconut adds a chewy texture and tropical flavor.
- Seedy Crunch: Add 2 tablespoons each of chia seeds, flax seeds, and sunflower seeds to the oat mixture. This version is extra crunchy and packed with healthy fats and fiber. You might need an extra tablespoon of honey to help everything bind.
- Vegan Option: Use maple syrup instead of honey and coconut oil instead of butter. The bars will be slightly softer but just as delicious. I have made this version for friends with dietary restrictions, and they never complain.
- Double Chocolate: Use chocolate peanut butter (yes, it exists) and add an extra 1/4 cup chocolate chips. This version is decadent and tastes like a dessert bar, but it still uses the same base method.
For a seasonal twist, try adding a pinch of cinnamon and a handful of dried cranberries in the fall, or swap the chocolate chips for white chocolate and dried blueberries in the summer.
Serving & Storage Suggestions
These granola bars are incredibly versatile when it comes to serving. I like them straight from the fridge on a warm day—the chocolate chips stay slightly firm, and the bar has a satisfying chew. At room temperature, they soften a bit and become almost cookie-like in texture.
For a quick breakfast, I grab one bar and a piece of fruit, and I am out the door. They pair beautifully with a cup of coffee or a glass of cold milk. If you are packing them for a lunchbox, wrap each bar individually in parchment paper or beeswax wrap to keep them fresh.
For storage, keep the bars in an airtight container at room temperature for up to 3 days. In the refrigerator, they will stay fresh for about a week. I have also frozen them successfully—just wrap each bar tightly in plastic wrap and place them in a freezer bag. They thaw at room temperature in about 15 minutes, or you can eat them frozen for a chewy, cold treat.
One note: if you store them at room temperature and the weather is warm, the chocolate chips may soften or melt slightly. This does not affect the taste, but if you want firmer bars, keep them in the fridge.
Nutritional Information & Benefits
These granola bars are a balanced snack that provides energy from whole grains, healthy fats from peanut butter, and a touch of sweetness from honey. Here is an approximate breakdown per bar (based on 10 bars):
- Calories: 220
- Fat: 12g
- Carbohydrates: 26g
- Fiber: 3g
- Protein: 6g
- Sugar: 14g
The oats provide beta-glucan, a type of soluble fiber that supports heart health and helps keep you full. Peanut butter adds protein and monounsaturated fats, which are good for energy and satiety. Honey offers natural sweetness along with trace amounts of antioxidants.
If you are watching your sugar intake, you can reduce the honey to 1/4 cup and add an extra tablespoon of peanut butter to compensate for the moisture. For a lower-carb option, use sugar-free chocolate chips and swap half the oats for unsweetened coconut flakes.
These bars are naturally vegetarian and can be made vegan with simple substitutions. They contain peanuts and gluten (from oats), so they are not suitable for those with allergies unless you use certified gluten-free oats and a nut-free seed butter.
Conclusion
These quick no-bake chocolate chip granola bars have become a staple in my kitchen for one simple reason: they actually work. No oven, no complicated steps, no weird ingredients—just a handful of pantry staples that come together into a snack that is genuinely delicious and satisfying. I have made them for road trips, afternoon snacks, and even as a quick breakfast when I am running late, and they never disappoint.
I love that this recipe is forgiving enough to let you experiment. Throw in some dried fruit, swap the nut butter, add a pinch of cinnamon—it is hard to go wrong. The base is solid, and the possibilities are endless.
If you try these, I would love to hear how they turn out. Leave a comment below and let me know what variations you tried, or tag me in your photos if you share them online. Happy snacking!
Frequently Asked Questions
Can I use quick oats instead of rolled oats?
You can, but the texture will be different. Quick oats are finer and more processed, so they absorb moisture faster and create a softer, less chewy bar. If you only have quick oats, reduce the honey slightly and chill the bars for at least 3 hours to help them set properly.
Why did my granola bars turn out crumbly?
Crumbly bars usually mean one of three things: you did not press the mixture firmly enough into the pan, the wet ingredients were not warm enough to bind the oats, or you cut the bars before they were fully chilled. Next time, press down with extra force and give them the full 2 hours in the fridge.
Can I make these without peanut butter?
Absolutely. Almond butter, cashew butter, sunflower seed butter, or even tahini all work as substitutes. Keep in mind that different nut butters have different moisture levels, so you may need to adjust the honey slightly. Sunflower seed butter can turn green when combined with baking soda, but since this recipe does not use baking soda, you are safe.
How long do these bars last at room temperature?
They stay fresh at room temperature for about 3 days in an airtight container. After that, they are better off in the refrigerator. If you notice the bars getting soft or the chocolate chips melting, move them to the fridge immediately.
Can I double this recipe?
Yes, and I do it all the time. Double all the ingredients and use a 9×13-inch pan. The chilling time stays the same, but you may need to press the mixture a little harder to ensure even thickness. These make great gifts when wrapped in parchment paper and tied with twine.
Pin This Recipe!
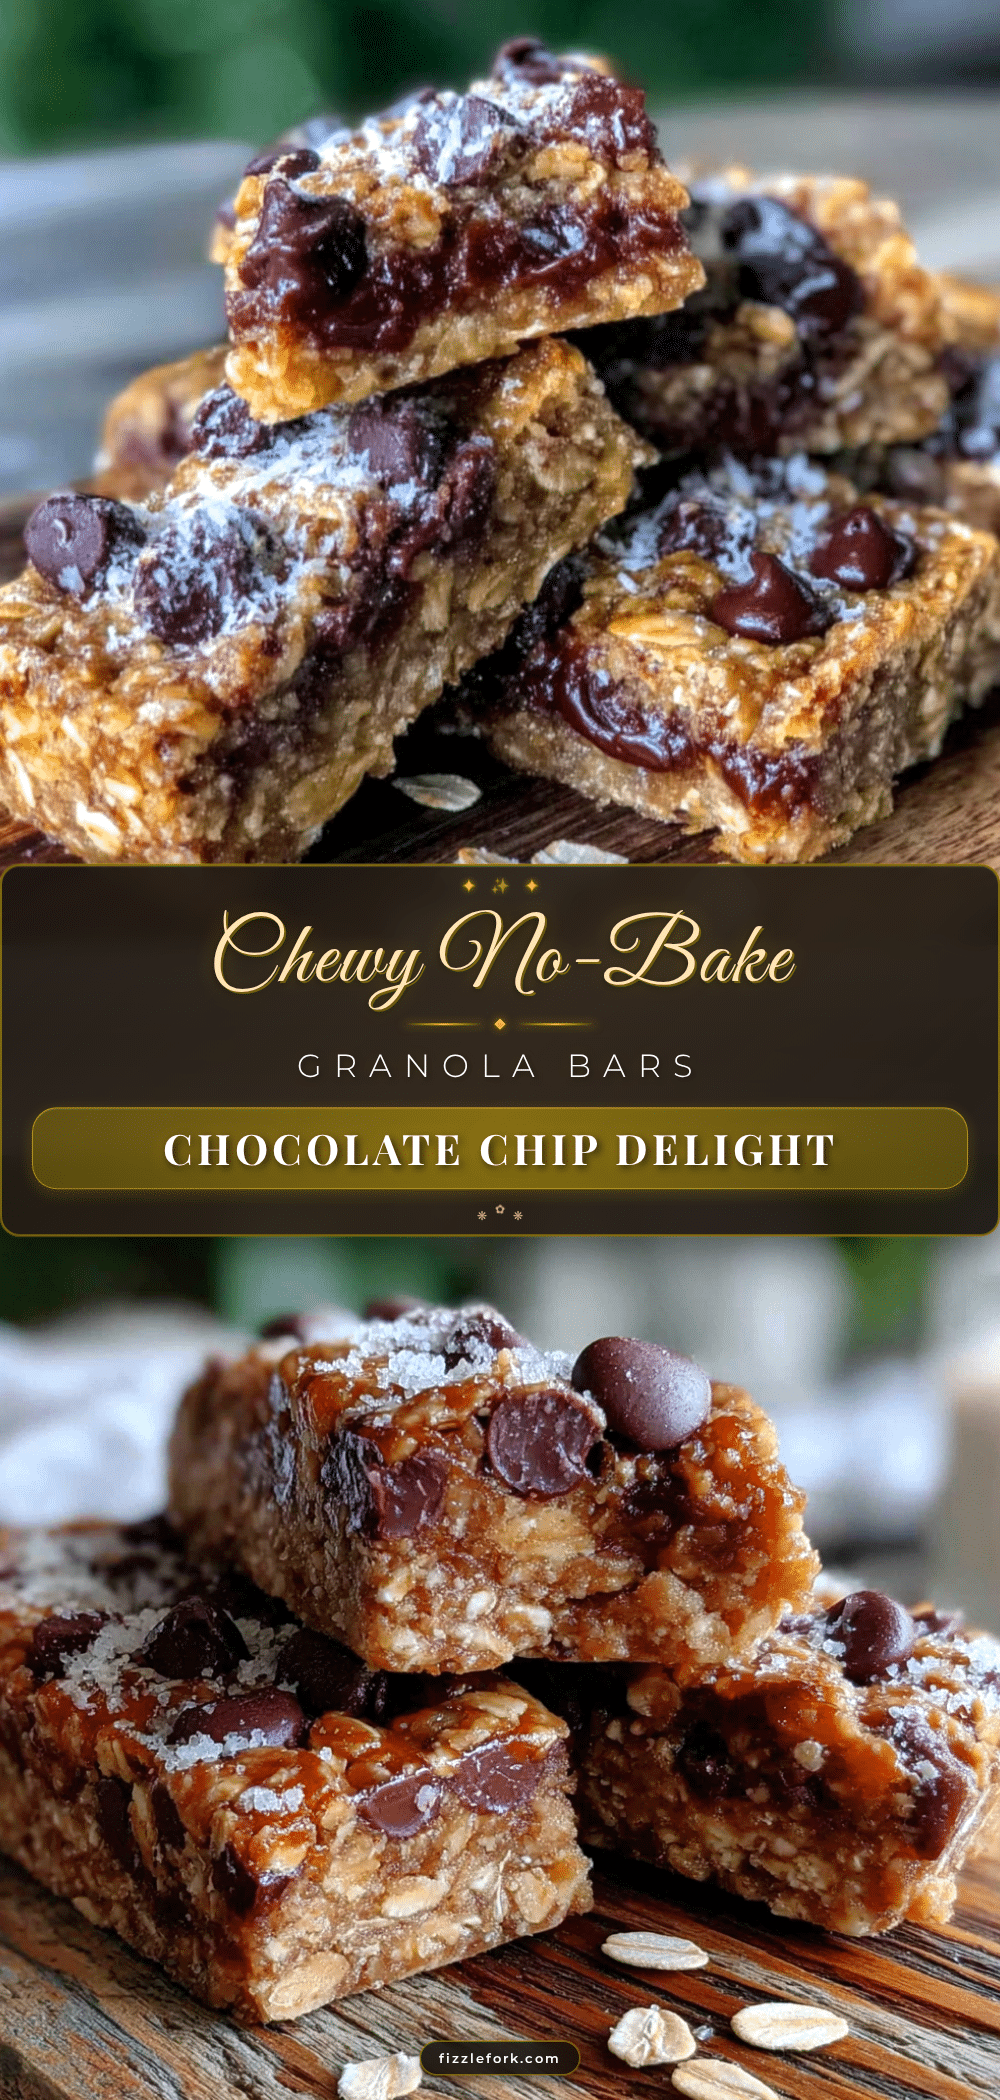
Easy No-Bake Chocolate Chip Granola Bars Recipe
These no-bake granola bars are chewy, satisfying, and made with simple pantry staples like oats, peanut butter, honey, and chocolate chips. They hold together perfectly without any baking, making them an ideal grab-and-go snack for busy days.
- Prep Time: 15 minutes
- Cook Time: 0 minutes
- Total Time: 2 hours 15 minutes
- Yield: 8-10 bars 1x
- Category: Snack
- Cuisine: American
Ingredients
- 2 cups rolled oats
- 1/2 cup creamy peanut butter
- 1/3 cup honey
- 1/2 cup chocolate chips
- 2 tablespoons unsalted butter
- 1 teaspoon vanilla extract
- 1/4 teaspoon salt
Instructions
- Line an 8×8-inch baking pan with parchment paper, leaving overhang on two sides.
- In a medium saucepan over low heat, combine peanut butter, honey, and butter. Stir constantly until melted and smooth, about 2-3 minutes. Do not let it boil.
- Remove from heat and stir in vanilla extract and salt.
- In a large mixing bowl, place rolled oats. Pour the warm peanut butter mixture over the oats and stir until every oat is coated.
- Fold in chocolate chips until evenly distributed.
- Transfer the mixture to the lined pan. Press down firmly and evenly with a spatula or piece of parchment paper.
- Refrigerate for at least 2 hours, or until firm.
- Lift the block out using the parchment overhang, place on a cutting board, and cut into 8-10 bars with a sharp knife.
Notes
Press the mixture firmly into the pan to prevent crumbling. For vegan option, use maple syrup instead of honey and coconut oil instead of butter. Store in an airtight container at room temperature for up to 3 days or in the refrigerator for up to a week.
Nutrition
- Serving Size: 1 bar
- Calories: 220
- Sugar: 14
- Sodium: 95
- Fat: 12
- Saturated Fat: 4
- Carbohydrates: 26
- Fiber: 3
- Protein: 6
Keywords: no-bake granola bars, chocolate chip granola bars, homemade granola bars, easy snack, no-bake snack


