The crackle. That’s what I was after. Not the taste of the toasted marshmallow, not the chocolate, but the sound it makes when you break through the top layer of a s’more that’s been held just a little too close to the fire. That brittle, glassy shatter of caramelized sugar giving way to something soft underneath. I wanted that in ice cream form, and honestly, I wasn’t sure it was possible.
Labor Day weekend has this weird energy, you know? It’s the last official breath of summer, but the weather is still hot, the grill is still going, and everyone is trying to squeeze in one more perfect moment before the season turns. For me, that moment always involves a campfire. But this year, the fire pit was buried behind a pile of patio furniture cushions, and the mosquitoes were staging a full-scale invasion. So, I did what any reasonable person would do—I brought the campfire to my kitchen. Or at least, I brought the flavors of it.
This easy no-churn s’mores ice cream for Labor Day was born out of that specific kind of stubbornness. I wanted the smoky, charred, melty chaos of a s’more, but in a bowl that wouldn’t drip down my arm or attract every bug in a three-mile radius. It took a few tries (and one very sad batch that turned into chocolate soup), but the result is a frozen dessert that actually delivers on that crackle. The graham cracker base gives it a toasty, almost nutty foundation, the chocolate ripples through in fudgy pockets, and those marshmallows? They get toasted under the broiler before being folded in, so every bite has a little bit of that campfire magic. It’s the kind of recipe that feels like a treat, but doesn’t require any fancy equipment or a trip to the store for obscure ingredients. You probably have everything you need right now.
Why You’ll Love This Recipe
This isn’t just another ice cream recipe. This is the one you’ll make when you want to impress people without actually trying very hard. It’s the dessert that shows up to the Labor Day cookout and steals the show from the brownies. Here’s why it works.
- No Ice Cream Maker Required: Seriously. No churning, no freezing bowls overnight, no expensive gadgets. Just a mixer and a loaf pan. That’s it.
- Campfire Flavor Without the Campfire: We toast the marshmallows under the broiler, which gives you that same smoky, caramelized exterior without having to build a fire or fight off ants.
- Perfect for a Crowd: This recipe makes a generous amount, so it’s great for parties, potlucks, or just having a stash in the freezer for when the craving hits.
- Incredibly Rich and Creamy: The combination of heavy cream and sweetened condensed milk creates a texture that’s almost like soft serve, even after it’s been frozen solid. It’s decadent without being heavy.
- Customizable to Your Taste: Don’t like milk chocolate? Use dark. Want extra crunch? Add more graham crackers. This recipe is a template, not a rulebook.
I’ve tested this recipe about six times now, and I can tell you with confidence that the key is in the toasting. You want the marshmallows to be deeply browned, almost blistered in spots. That char is where the flavor lives. It’s what separates this from a generic chocolate-marshmallow ice cream and turns it into something that actually tastes like a s’more. This is the kind of dessert that makes people close their eyes after the first bite, and it’s so easy you’ll feel like you’re getting away with something.
What Ingredients You Will Need
This recipe relies on a handful of simple, pantry-friendly ingredients. The magic is in how they come together, not in a long list of obscure items. Here’s what you’ll need to grab.
- 2 cups heavy cream (480 ml): This is the base of our no-churn ice cream. It needs to be cold straight from the fridge so it whips up nice and fluffy. Don’t try to substitute half-and-half or milk—it won’t work. The high fat content is what gives the ice cream its creamy, scoopable texture.
- 1 can (14 oz / 397 g) sweetened condensed milk: This is the sweetener and the stabilizer all in one. It keeps the ice cream from turning into a rock-hard block of ice. I use the full-fat version for the best texture, but you can use a dairy-free sweetened condensed milk if you need to.
- 1 teaspoon vanilla extract: A good quality vanilla adds depth and rounds out the flavors. If you have vanilla bean paste, even better.
- 1 ½ cups (about 150 g) graham cracker crumbs: You can buy them pre-crushed, but I prefer to crush my own from whole graham crackers. It gives you a mix of fine crumbs and slightly larger pieces, which adds texture. Honey or cinnamon graham crackers both work great here.
- 1 cup (about 100 g) mini marshmallows: The mini ones toast more evenly and fold into the ice cream better than the big ones. You’ll be toasting these under the broiler, so have them ready on a baking sheet.
- 4 oz (113 g) semi-sweet or milk chocolate, chopped: You want good quality chocolate here. I usually use a bar of Ghirardelli or Lindt, but chocolate chips will work in a pinch. The chocolate gets melted and swirled into the ice cream, so the better the chocolate, the better the final result.
- 2 tablespoons unsalted butter: This gets melted with the chocolate to make the swirl extra smooth and rich. It also helps prevent the chocolate from seizing up when it hits the cold cream.
One thing I’ve learned from making this so many times—don’t skip toasting the marshmallows. I know it’s tempting to just fold them in raw, but you’ll miss out on that signature s’mores flavor. The toasting process caramelizes the sugar on the outside, giving them a deep, almost butterscotch-like taste that pairs perfectly with the chocolate and graham crackers. If you’re feeling adventurous, you can even toast a few extra marshmallows to crumble on top when you serve it.
Equipment Needed
You don’t need a lot of fancy gear for this recipe, which is honestly my favorite thing about it. Here’s what you’ll need to have on hand.
- Electric hand mixer or stand mixer: Whipping the cream by hand is possible, but it’ll take a while and your arm will get tired. A mixer makes it quick and easy.
- Large mixing bowl: You’ll need a big bowl for whipping the cream and another one for folding everything together.
- 9×5-inch loaf pan: This is the perfect size for freezing the ice cream. If you don’t have a loaf pan, you can use a similar-sized freezer-safe container.
- Baking sheet: For toasting the marshmallows under the broiler. Line it with parchment paper for easy cleanup.
- Small saucepan or microwave-safe bowl: For melting the chocolate and butter together.
- Spatula: A rubber spatula is best for folding the ingredients together without deflating the whipped cream.
- Plastic wrap or a lid: To cover the loaf pan while the ice cream freezes.
If you don’t have a broiler, you can toast the marshmallows in a dry skillet over medium heat. Just keep them moving so they don’t burn in one spot. It’s a little more hands-on, but it gets the job done.
Preparation Method
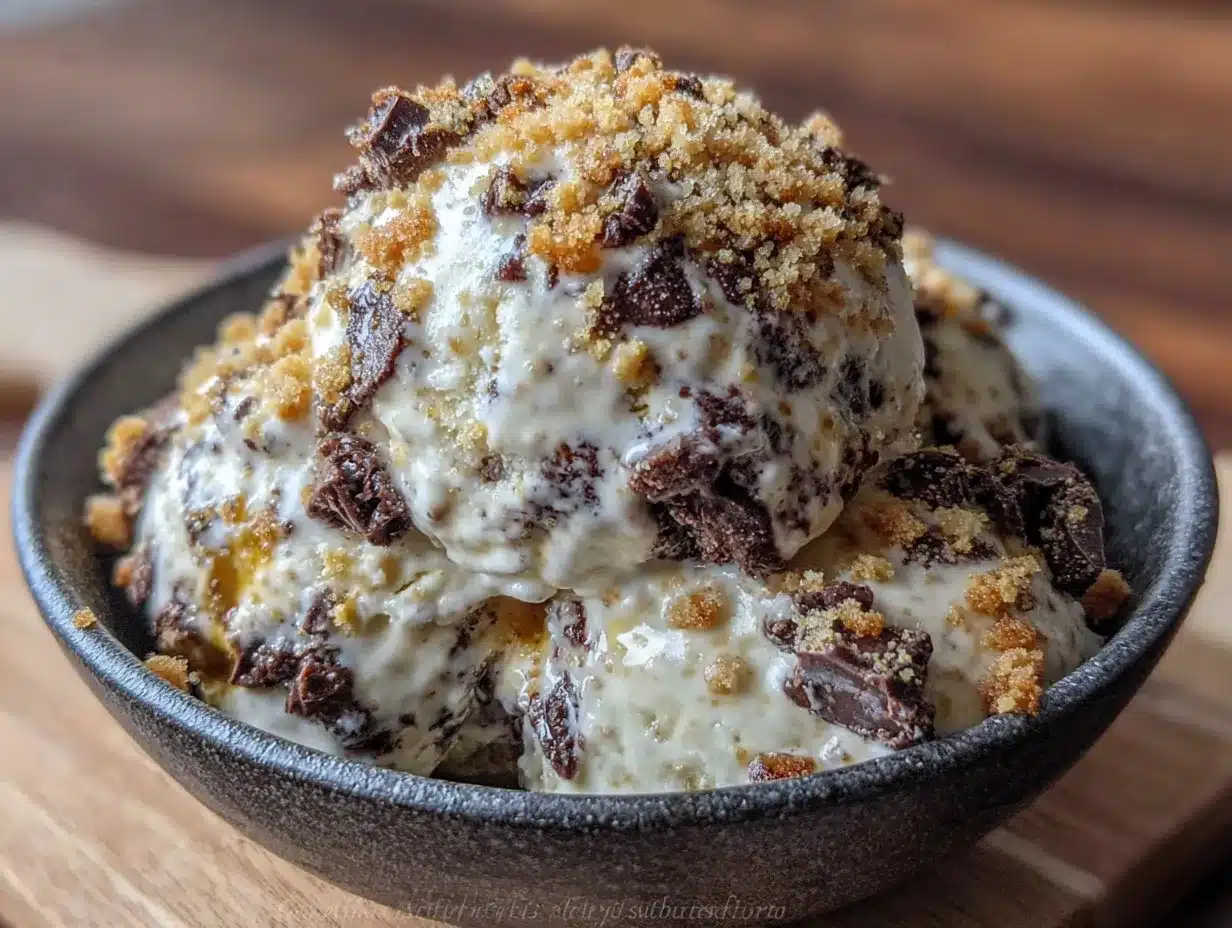
This is the fun part. The process is straightforward, but there are a few little tricks that make a big difference. Follow these steps, and you’ll have a batch of ice cream that tastes like you spent hours on it.
- Toast the Marshmallows: Preheat your broiler to high. Spread the mini marshmallows in a single layer on a parchment-lined baking sheet. Place the sheet under the broiler and watch them like a hawk. They can go from perfectly toasted to burnt in about 15 seconds. You want them deeply browned with some black spots, about 1-2 minutes. Remove from the oven and let them cool completely. They will harden as they cool, which is exactly what we want.
- Make the Graham Cracker Base: In a small bowl, combine the graham cracker crumbs with a pinch of salt. Set aside. This will be folded into the ice cream later.
- Whip the Cream: Pour the cold heavy cream into a large mixing bowl. Using an electric hand mixer or a stand mixer fitted with the whisk attachment, whip the cream on medium-high speed until stiff peaks form. This means when you lift the beaters, the cream stands up straight and doesn’t flop over. Be careful not to over-whip it, or you’ll end up with butter. It should take about 3-5 minutes.
- Fold in the Sweetened Condensed Milk: Pour the sweetened condensed milk and vanilla extract over the whipped cream. Use a rubber spatula to gently fold everything together until it’s just combined. You don’t want to stir it vigorously, or you’ll deflate all that air we just whipped in. A few streaks of condensed milk are fine.
- Assemble the Ice Cream: Spread about one-third of the cream mixture into the bottom of your loaf pan. Sprinkle with one-third of the graham cracker crumbs and one-third of the cooled, toasted marshmallows. Drizzle with one-third of the melted chocolate-butter mixture (see note below). Repeat these layers two more times, ending with a drizzle of chocolate on top.
- Create the Swirl: Take a butter knife or a skewer and gently run it through the layers in a figure-eight pattern. This will create those beautiful chocolate ribbons throughout the ice cream. Don’t over-swirl, or you’ll lose the distinct layers.
- Freeze: Cover the loaf pan tightly with plastic wrap or a lid. Place it in the freezer for at least 6 hours, but preferably overnight. The ice cream needs to be completely solid before you scoop it.
Note on melting the chocolate: In a small saucepan over low heat, or in a microwave-safe bowl in 20-second bursts, melt the chopped chocolate and butter together. Stir until smooth. Let it cool for about 5 minutes before drizzling it into the ice cream. If it’s too hot, it will melt the cream mixture.
Cooking Tips & Techniques
I’ve made this recipe enough times to know exactly where things can go wrong. Here are the lessons I learned the hard way, so you don’t have to.
- Don’t Skip the Butter in the Chocolate: The first time I made this, I just melted the chocolate by itself. When I drizzled it into the cold cream, it seized up into little hard chunks. The butter keeps the chocolate fluid and creates a smooth, fudgy swirl instead of chocolate gravel.
- Let the Marshmallows Cool Completely: If you fold warm marshmallows into the cream, they’ll melt and turn the whole thing into a sticky, gooey mess. You want them to be completely cool and firm so they retain their chewy texture in the frozen ice cream.
- Use a Metal Loaf Pan: Metal conducts cold much better than glass or ceramic. Your ice cream will freeze faster and more evenly in a metal pan. If you only have glass, just expect it to take a little longer.
- Warm Your Knife for Clean Slices: When you’re ready to serve, run your ice cream scoop or knife under hot water for a few seconds. It will glide through the frozen ice cream like butter, giving you perfect, Instagram-worthy scoops.
- Multitask Wisely: While the marshmallows are toasting and cooling, you can whip the cream and melt the chocolate. This recipe comes together in about 15 minutes of active time, so a little planning goes a long way.
Variations & Adaptations
This recipe is incredibly forgiving, so feel free to make it your own. Here are a few ways I’ve changed it up depending on my mood or what I have in the pantry.
- Dark Chocolate Lover’s Version: Swap the semi-sweet or milk chocolate for dark chocolate (70% cacao or higher). The bitterness of the dark chocolate balances the sweetness of the condensed milk and marshmallows beautifully.
- Peanut Butter S’mores: Swirl in ⅓ cup of creamy peanut butter along with the chocolate. Warm the peanut butter slightly so it drizzles easily. The salty, nutty flavor is a game-changer. This actually reminds me of the gooey peanut butter stuffed brownie cookies I make for game day—same kind of indulgence, just frozen.
- Gluten-Free Option: Use gluten-free graham crackers or even crushed gluten-free vanilla wafers. The texture will be slightly different, but it’s just as delicious.
- Extra Crunch: Add ½ cup of toasted chopped pecans or walnuts along with the graham cracker crumbs. The nuts add a savory note that contrasts with the sweet marshmallow.
- Berry Swirl: Before layering, swirl in ⅓ cup of strawberry or raspberry jam. The tart fruit cuts through the richness and makes it taste like a fancy ice cream parlor creation. It’s a great way to use up the last of the summer berries, much like the grilled peach burrata salad that celebrates fresh summer produce.
Serving & Storage Suggestions
This ice cream is best served straight from the freezer, but a little patience goes a long way. Here’s how to get the perfect scoop and keep your leftovers tasting fresh.
- Serving Temperature: Let the ice cream sit at room temperature for 5-10 minutes before scooping. This softens it just enough to make scooping easy without it turning into soup.
- Presentation: Serve in a bowl or a cone, and top with an extra toasted marshmallow, a drizzle of chocolate sauce, and a sprinkle of graham cracker crumbs. It makes for a stunning presentation that looks like it came from a fancy dessert shop.
- Pairings: This ice cream is amazing on its own, but it’s also incredible served alongside a warm skillet peach cobbler or a slice of brown butter banana bread. The hot-and-cold contrast is pure magic.
- Storage: Keep the ice cream in the loaf pan, tightly covered with plastic wrap and then a layer of aluminum foil. It will keep for up to 2 weeks, though I doubt it’ll last that long.
- Preventing Ice Crystals: Press a piece of plastic wrap directly onto the surface of the ice cream before sealing the pan. This prevents air from reaching it and forming those annoying ice crystals.
- Flavor Development: The flavors actually meld together and deepen after the first day. If you can wait, this ice cream is even better on day two.
Nutritional Information & Benefits
Let’s be real—this is a treat, not a health food. But knowing what’s in it helps you enjoy it mindfully. Here’s a rough estimate per serving (based on 8 servings).
- Calories: Approximately 420-480 per serving
- Fat: 28-32g (mostly from cream and chocolate, which is satisfying)
- Carbohydrates: 42-48g
- Protein: 5-7g
- Sugar: 35-40g
On the plus side, this recipe does contain some calcium from the cream and milk, and a bit of fiber from the graham crackers. If you use dark chocolate, you’ll also get a small dose of antioxidants. It’s a dessert that feels decadent but is made from simple, real ingredients—no weird stabilizers or artificial flavors. And honestly, sometimes the best thing you can do for your mental health is sit on the porch on a warm evening with a bowl of homemade ice cream. That counts as self-care, right?
Conclusion
This easy no-churn s’mores ice cream for Labor Day is more than just a dessert. It’s a way to hold onto the last few days of summer, to capture that campfire feeling without the smoke in your eyes. It’s simple enough to make on a whim but impressive enough to serve at your end-of-summer party. The combination of crunchy graham crackers, fudgy chocolate swirls, and chewy, toasted marshmallows is a classic for a reason.
I really hope you give this recipe a try. Make it your own—add extra chocolate, swap in your favorite candy bars, or go heavy on the marshmallows. There’s no wrong way to do it. And if you do make it, I’d love to hear about it. Drop a comment below and let me know how it turned out, or share a photo of your creation. It’s the kind of recipe that makes people smile, and I think we could all use a little more of that.
Frequently Asked Questions
Can I make this recipe dairy-free?
Yes, you can. Use a dairy-free heavy cream alternative (like coconut cream) and a dairy-free sweetened condensed milk. The texture will be slightly different, but it will still be delicious.
Do I have to toast the marshmallows?
Technically no, but I strongly recommend it. Toasting them gives the ice cream that signature s’mores flavor. If you skip it, you’ll just have a chocolate-marshmallow ice cream, which is good, but not the same.
Can I use a different type of chocolate?
Absolutely. Dark, milk, white, or even a mix of all three will work. Just make sure to melt it with the butter so it stays smooth.
How long does this ice cream keep in the freezer?
It will keep for up to 2 weeks if stored properly. Make sure it’s tightly covered to prevent ice crystals from forming.
Can I double this recipe?
Yes, just double all the ingredients and use a larger container, like a 9×13-inch baking dish. The freezing time might be a little longer since there’s more volume.
Pin This Recipe!
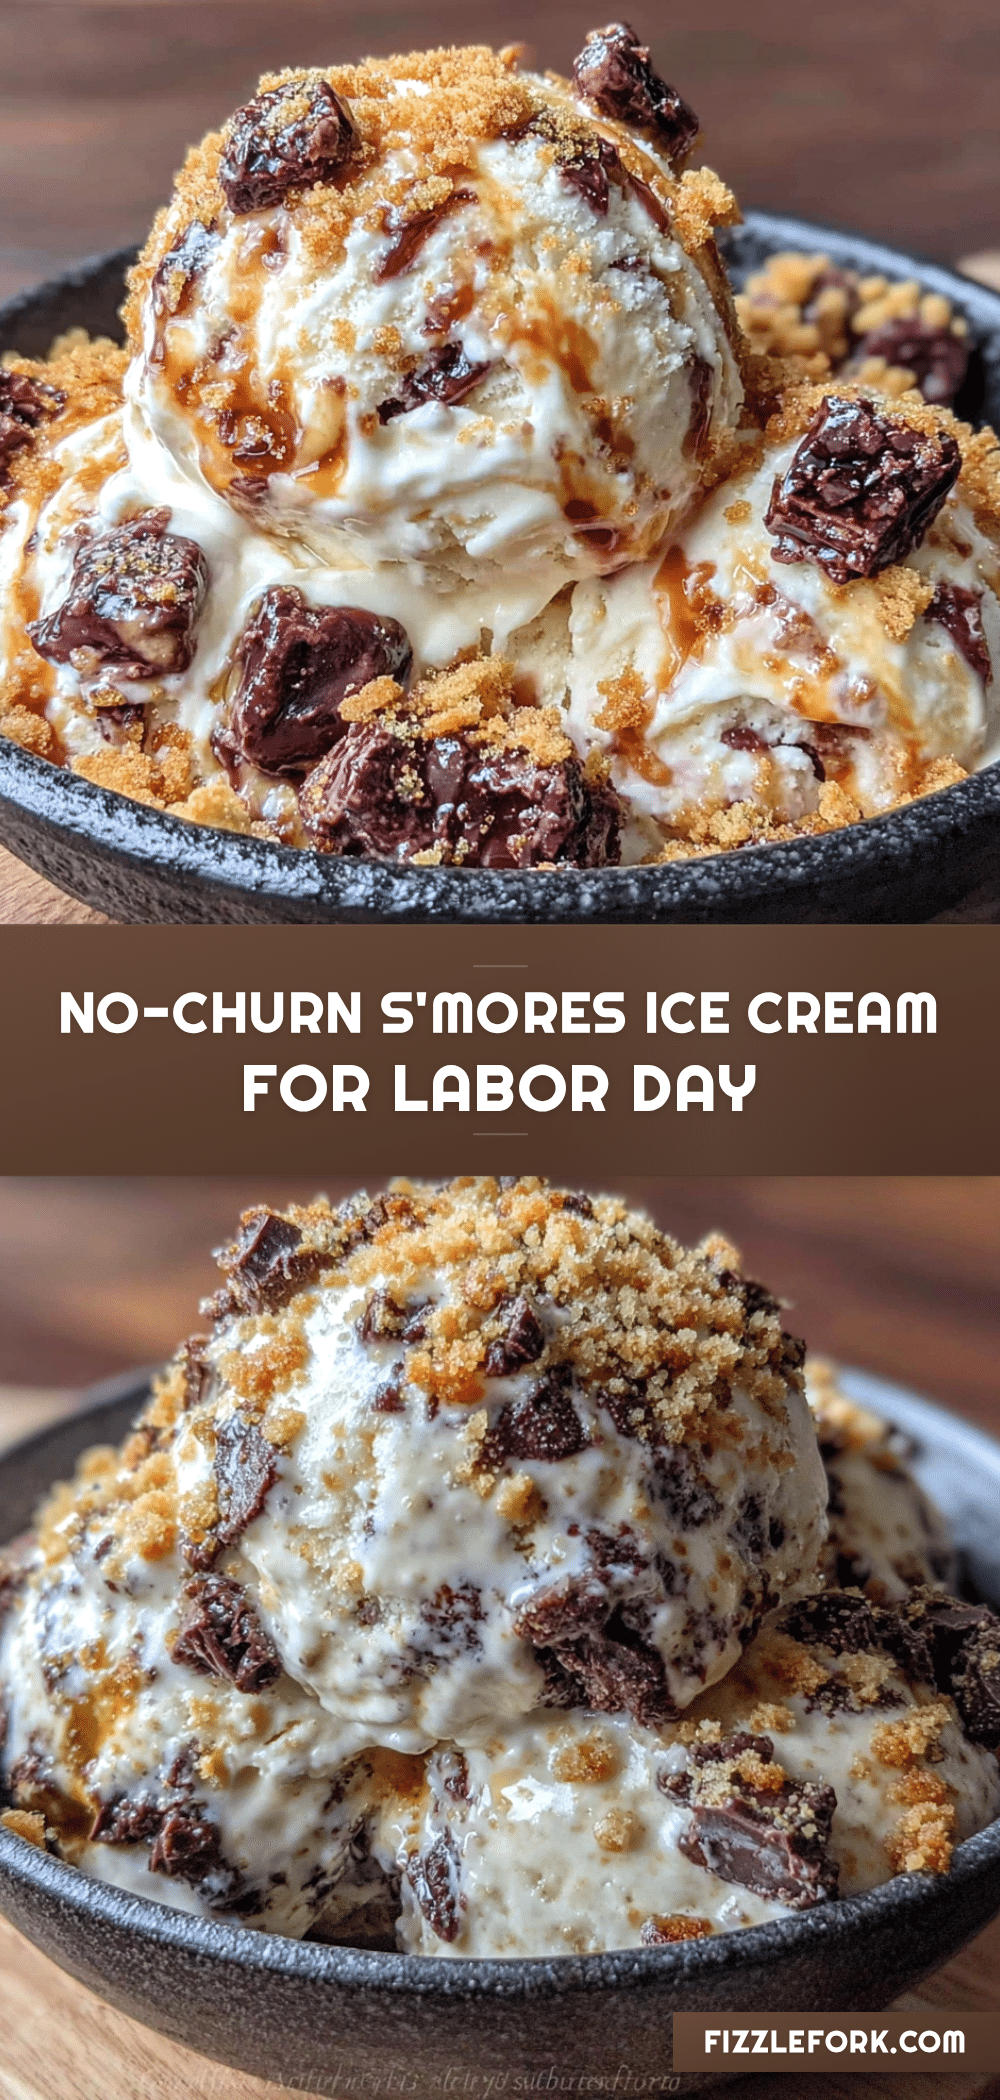
Easy No-Churn Smores Ice Cream – Perfect for Labor Day

This easy no-churn s’mores ice cream captures the smoky, charred, melty chaos of a campfire s’more in a frozen dessert. With a graham cracker base, fudgy chocolate swirls, and broiler-toasted marshmallows, it delivers that signature crackle and campfire flavor without any fancy equipment.
- Prep Time: 15 minutes
- Cook Time: 2 minutes
- Total Time: 6 hours 17 minutes
- Yield: 8 servings 1x
- Category: Dessert
- Cuisine: American
Ingredients
- 2 cups heavy cream (480 ml)
- 1 can (14 oz / 397 g) sweetened condensed milk
- 1 teaspoon vanilla extract
- 1 ½ cups (about 150 g) graham cracker crumbs
- 1 cup (about 100 g) mini marshmallows
- 4 oz (113 g) semi-sweet or milk chocolate, chopped
- 2 tablespoons unsalted butter
Instructions
- Toast the Marshmallows: Preheat your broiler to high. Spread the mini marshmallows in a single layer on a parchment-lined baking sheet. Place the sheet under the broiler and watch them like a hawk. They can go from perfectly toasted to burnt in about 15 seconds. You want them deeply browned with some black spots, about 1-2 minutes. Remove from the oven and let them cool completely. They will harden as they cool, which is exactly what we want.
- Make the Graham Cracker Base: In a small bowl, combine the graham cracker crumbs with a pinch of salt. Set aside. This will be folded into the ice cream later.
- Whip the Cream: Pour the cold heavy cream into a large mixing bowl. Using an electric hand mixer or a stand mixer fitted with the whisk attachment, whip the cream on medium-high speed until stiff peaks form. This means when you lift the beaters, the cream stands up straight and doesn’t flop over. Be careful not to over-whip it, or you’ll end up with butter. It should take about 3-5 minutes.
- Fold in the Sweetened Condensed Milk: Pour the sweetened condensed milk and vanilla extract over the whipped cream. Use a rubber spatula to gently fold everything together until it’s just combined. You don’t want to stir it vigorously, or you’ll deflate all that air we just whipped in. A few streaks of condensed milk are fine.
- Assemble the Ice Cream: Spread about one-third of the cream mixture into the bottom of your loaf pan. Sprinkle with one-third of the graham cracker crumbs and one-third of the cooled, toasted marshmallows. Drizzle with one-third of the melted chocolate-butter mixture (see note below). Repeat these layers two more times, ending with a drizzle of chocolate on top.
- Create the Swirl: Take a butter knife or a skewer and gently run it through the layers in a figure-eight pattern. This will create those beautiful chocolate ribbons throughout the ice cream. Don’t over-swirl, or you’ll lose the distinct layers.
- Freeze: Cover the loaf pan tightly with plastic wrap or a lid. Place it in the freezer for at least 6 hours, but preferably overnight. The ice cream needs to be completely solid before you scoop it.
Notes
Don’t skip toasting the marshmallows; the char is where the flavor lives. Let the marshmallows cool completely before folding them in. Use a metal loaf pan for faster, more even freezing. Warm your knife or scoop under hot water for clean slices. The ice cream is even better on day two as flavors meld.
Nutrition
- Serving Size: 1 serving
- Calories: 450
- Sugar: 38
- Sodium: 180
- Fat: 30
- Saturated Fat: 18
- Carbohydrates: 45
- Fiber: 1
- Protein: 6
Keywords: no-churn ice cream, s'mores ice cream, Labor Day dessert, easy ice cream, campfire ice cream


