I burned the top of this pumpkin dump cake three times before I figured out what I was doing wrong. Not a little brown around the edges—I mean, properly scorched, fill-the-kitchen-with-smoke, wave-a-towel-under-the-smoke-detector burned. The first time, I got distracted by a phone call and left it in too long. The second time, I thought, “Well, I’ll just check it later” and forgot entirely. The third time, I was so frustrated I nearly gave up on the whole thing. But here’s the thing—even those burned versions had people scraping the pan clean, asking for the recipe, and swearing it was the best thing they’d eaten all fall. That’s when I realized this recipe isn’t just forgiving. It’s practically foolproof, which is ironic coming from someone who managed to fool it up three times.
What finally clicked was understanding that this cake doesn’t need to be babied. It doesn’t need precise mixing or careful folding or any of that fussy baking stuff. It needs patience—the kind where you let it bake low and slow enough that the pumpkin custard sets up creamy underneath while the cake topping gets that perfect golden crunch. The smell that fills your kitchen is ridiculous, honestly. Cinnamon and nutmeg and that warm, almost caramel note from the butter melting into the cake mix. It’s the kind of dessert that makes people close their eyes after the first bite, and you get to sit there knowing you barely lifted a finger. That’s the magic of this thing. It’s not about skill. It’s about trust.
Why You’ll Love This Recipe
Let me tell you why this pumpkin dump cake has become my most-requested fall dessert, even over pies and elaborate layer cakes. I’ve tested this version more times than I care to count, tweaking the baking time, the butter distribution, and even the pan size until it came out perfect every single time. Here’s what makes it special:
- Only 4 Ingredients – No trips to three different grocery stores. No specialty items. Just pumpkin puree, evaporated milk, yellow cake mix, and butter. That’s it.
- No Mixing Bowls Required – You literally dump everything into the baking dish. No dirtying a stand mixer, no whisking, no sifting. Your sink will thank you.
- Perfect for Fall Gatherings – This dessert feeds a crowd with zero stress. It’s the kind of thing you can throw together while the turkey rests or the ham finishes glazing.
- Kid-Approved and Adult-Addicted – The crunchy, buttery topping combined with that silky pumpkin custard underneath? It hits everyone right in the comfort zone.
- Impossibly Easy – I’m not being dramatic when I say my 10-year-old nephew made this by himself last Thanksgiving. If he can do it, you can do it.
What makes this version different from every other pumpkin dump cake out there is the technique. Most recipes tell you to just dump everything and hope for the best. I’ve figured out the exact butter distribution—thin slices, covering every inch of that cake mix—so you get a consistently crunchy, golden topping without any dry patches of powder. The custard underneath stays creamy, not watery or rubbery, because the ratio of pumpkin to evaporated milk is just right. This isn’t just another recipe. It’s the one I’d make for someone who said they didn’t like pumpkin desserts. It’s that good.
What Ingredients You Will Need
This recipe uses simple, everyday ingredients to create something that tastes like you spent hours in the kitchen. The beauty is in how these four humble ingredients transform into something magical with just heat and time.
- 1 can (15 oz) pumpkin puree – Not pumpkin pie filling, just pure pumpkin. I recommend Libby’s for consistent texture and flavor. Look for cans labeled “100% pure pumpkin” with no added spices or sugar.
- 1 can (12 oz) evaporated milk – This gives the pumpkin layer its silky, custard-like texture. Regular milk will make it too thin, and sweetened condensed milk will make it cloyingly sweet. Stick with evaporated.
- 1 box (15.25 oz) yellow cake mix – The star of the topping. I’ve tried generic brands and name brands, and honestly, Betty Crocker or Duncan Hines give the best crunchy, buttery result. The cheap ones tend to clump more.
- 1 cup (2 sticks) unsalted butter, melted – This is non-negotiable. Don’t use margarine or spreads. The butter is what creates that golden, crispy crust on top. I use salted butter sometimes and just skip adding extra salt.
- Optional: 1 teaspoon pumpkin pie spice – If your pumpkin puree is unspiced, add this to the pumpkin mixture for that classic fall flavor. I usually add it because I like the extra warmth.
- Optional: 1/2 cup chopped pecans or walnuts – For extra crunch on top. I’ve done it both ways, and the nut version is fantastic for texture contrast.
That’s genuinely it. No eggs, no sugar, no vanilla extract, no heavy cream. Just four ingredients plus a couple of optional add-ins. The cake mix has all the sugar and leavening you need already built in, and the butter does the rest of the work. If you’re looking for a dessert that uses pantry staples you probably already have on hand, this is it. I’ve made this with gluten-free yellow cake mix before, and it worked beautifully—just make sure it’s a 15.25 oz box, as some gluten-free mixes come in different sizes.
Equipment Needed
You don’t need a fancy kitchen to make this recipe work. Here’s what you’ll need:
- 9×13-inch baking dish – Glass or ceramic works best. I use a Pyrex dish because I can see the bottom layer setting through the sides. Metal pans work too, but they conduct heat differently, so check for doneness a few minutes early.
- Measuring cups and spoons – For the butter and optional spices. Nothing fancy needed.
- Can opener – For the pumpkin and evaporated milk. A manual one works fine.
- Spatula or spoon – For spreading the pumpkin mixture evenly. I use a rubber spatula because it scrapes every last bit of pumpkin out of the can.
- Small saucepan or microwave-safe bowl – For melting the butter. I microwave mine in 30-second bursts, stirring in between.
If you don’t have a 9×13 dish, you can use two 8×8 square pans and reduce the baking time by about 10 minutes. I’ve also made this in a disposable aluminum pan for potlucks, and it works perfectly—just put it on a baking sheet to catch any potential overflow.
Preparation Method
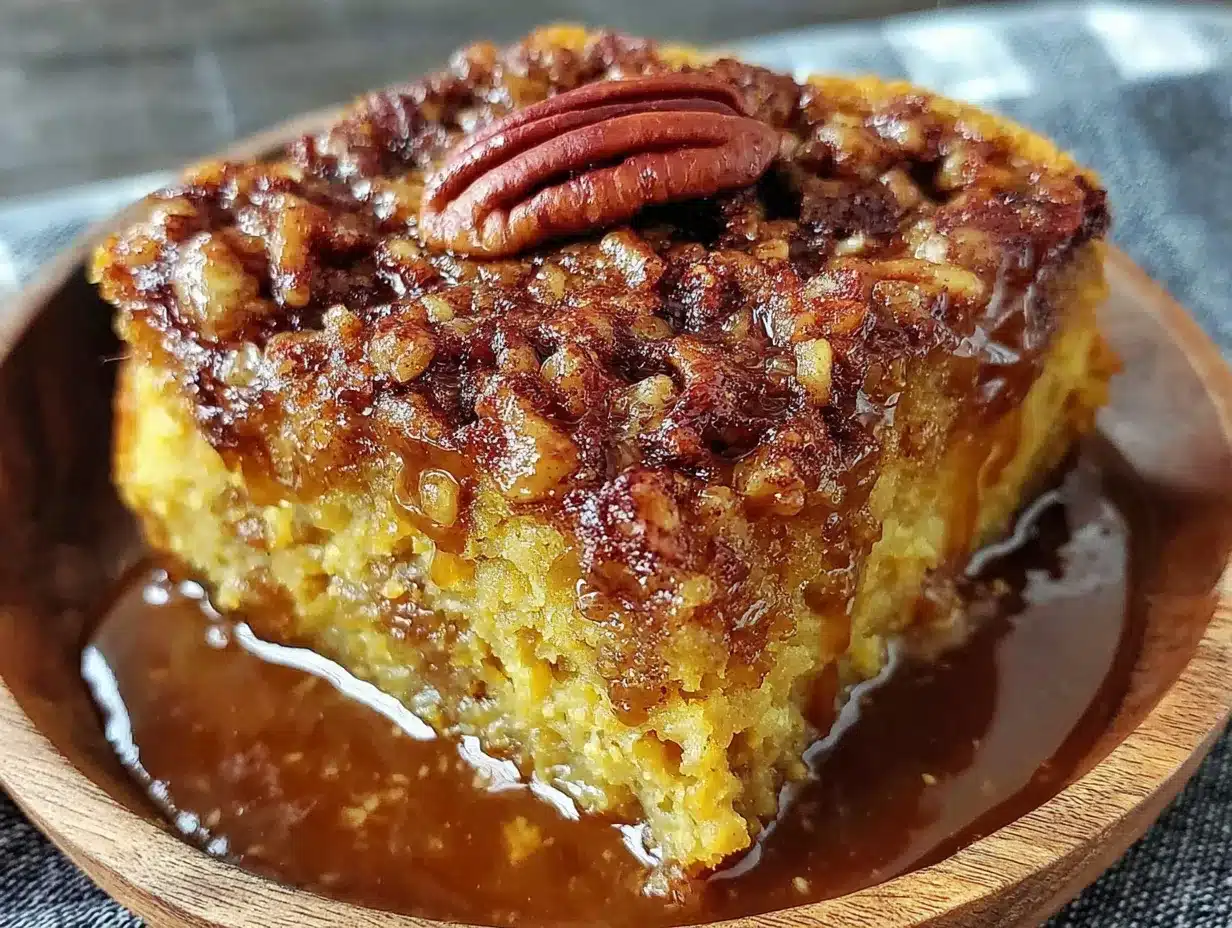
This is the part where most dump cake recipes just say “dump everything in a pan and bake.” I’m going to give you the exact method I use, including the little tricks I learned from my three burned attempts. Follow these steps, and you’ll get a perfect result on your first try.
- Preheat your oven to 350°F (175°C). Position the rack in the center of the oven. Don’t put it on the top rack—that’s what caused my first burned disaster. The topping needs even heat from all sides.
- Lightly grease your 9×13 baking dish. Use butter or non-stick spray. I prefer butter because it adds a little flavor to the edges, but spray works fine. Don’t skip this step, or the pumpkin layer will stick something awful.
- In the baking dish itself, combine the pumpkin puree and evaporated milk. Yes, right in the dish. No bowl needed. Use your spatula to stir them together until smooth and fully combined. The mixture should be a uniform orange color with no streaks of white milk. Spread it evenly across the bottom of the dish.
- If using pumpkin pie spice, stir it into the pumpkin mixture now. Make sure it’s fully incorporated. I usually add about a teaspoon, but you can adjust based on your preference. A little extra cinnamon never hurt anyone.
- Sprinkle the entire box of yellow cake mix evenly over the pumpkin mixture. Here’s the trick: don’t just dump it all in one spot and try to spread it. Shake the box as you go, covering every inch of the pumpkin layer. You want a uniform blanket of dry cake mix with no thick spots or bare patches. This is crucial for even baking.
- Pour the melted butter evenly over the cake mix. This is the step that took me three tries to get right. Don’t pour it all in the center and hope it spreads. Drizzle it in a zigzag pattern across the entire surface, then use the back of a spoon to gently nudge any dry patches of cake mix into the butter. Every single grain of cake mix needs to be moistened by butter. If you see white powder, it won’t brown—it’ll stay chalky.
- If using nuts, sprinkle them over the top now. Press them gently into the butter mixture so they stick. They’ll toast beautifully as the cake bakes.
- Bake for 45-50 minutes. Here’s what to look for: the top should be deep golden brown and crunchy to the touch. The edges will be bubbling with caramelized pumpkin goodness. You might see a few spots where the butter is still bubbling—that’s normal. The center should be set but still slightly jiggly underneath the crust. If you insert a toothpick into the topping, it should come out clean, but if you poke through to the pumpkin layer, it’ll be wet.
- Let it cool for at least 15 minutes before serving. This is the hardest part, I know. The pumpkin layer needs time to set up, or it’ll be soupy. It continues to thicken as it cools. I’ve learned this the hard way, digging in too early and ending up with pumpkin soup under a crunchy crust. Wait the 15 minutes. Your patience will be rewarded.
Sensory cues to watch for: Your kitchen will smell like autumn heaven—cinnamon, butter, and warm pumpkin. The top should look like a golden, craggy landscape with little butter bubbles around the edges. When you tap the crust with a spoon, it should sound hollow and crisp. The pumpkin layer underneath should be thick and creamy, not runny.
Cooking Tips & Techniques
After making this pumpkin dump cake more times than I can count, I’ve collected a few tips that’ll save you from my early mistakes. Listen, I’m not a trained pastry chef. I’m just someone who burned this three times and learned from every single one.
The butter distribution is everything. I cannot stress this enough. The most common mistake people make is pouring the melted butter in the center and hoping it spreads. It won’t. You’ll end up with a soggy middle and dry, powdery edges. Drizzle that butter like you’re an artist painting a masterpiece. Cover every inch. If you see a dry patch, use a spoon to push some butter over it. The cake mix needs to be fully saturated to create that crunchy, golden crust.
Don’t stir the cake mix into the pumpkin. I know it’s tempting to mix everything together for a more “uniform” dessert. Don’t. The whole point of a dump cake is the separate layers—creamy pumpkin custard on the bottom, crunchy cake topping on top. If you stir it, you’ll get a dense, gummy mess. Trust the layers.
Use room temperature butter for easier melting. Cold butter straight from the fridge takes longer to melt and can seize up if you’re not careful. I cut my butter into tablespoons and let it sit on the counter while I preheat the oven. By the time I’m ready to melt it, it’s soft enough to melt evenly in about 30 seconds in the microwave.
Bake on the middle rack. My first burned cake happened because I baked it on the top rack, thinking it would brown faster. It did brown faster—into charcoal. The middle rack gives you even heat distribution and prevents the top from burning before the pumpkin layer sets.
Check for doneness at 40 minutes. Every oven runs differently. My friend’s oven runs hot, and her cake is done at 38 minutes. Mine takes the full 50. Start checking at 40 minutes by looking at the color and tapping the crust. If it’s golden and sounds hollow, it’s done. If it’s still pale, give it more time.
Variations & Adaptations
One of the best things about this recipe is how easily it adapts to different tastes and dietary needs. Here are some variations I’ve tried and loved:
Gluten-Free Version: Use a gluten-free yellow cake mix. I’ve tried this with King Arthur measure-for-measure mix and it worked beautifully. The texture is slightly more crumbly on top, but the flavor is identical. Just make sure your cake mix box is the same weight as the standard 15.25 oz.
Spice It Up: Add a teaspoon of cinnamon, half a teaspoon of ginger, and a quarter teaspoon of cloves to the pumpkin mixture for a more complex spice profile. I did this for a Thanksgiving gathering and everyone asked what my “secret ingredient” was. It’s just spices, but it feels fancy.
Chocolate Pumpkin Dump Cake: Swap the yellow cake mix for chocolate cake mix. I know it sounds weird, but chocolate and pumpkin are a surprisingly good pair. The chocolate adds a rich depth that complements the pumpkin’s earthiness. My kids went crazy for this version.
Vegan Option: Use a vegan yellow cake mix and substitute the butter with melted coconut oil or vegan butter. Use full-fat coconut milk instead of evaporated milk (it’s thicker and gives a similar creamy texture). I tested this for a friend with dairy allergies, and honestly, it was still delicious—just slightly less rich.
Add a Cream Cheese Layer: Before adding the cake mix, drop spoonfuls of softened cream cheese over the pumpkin mixture. Swirl it gently with a knife. The tangy cream cheese cuts through the sweetness and adds a cheesecake-like element. This is my personal favorite variation for when I want to impress guests.
Nut-Free Option: Simply skip the nuts on top. The cake is still crunchy and delicious without them. If you want extra texture, try sprinkling a tablespoon of granulated sugar over the butter before baking—it creates an even crispier crust.
Serving & Storage Suggestions
This pumpkin dump cake is best served warm, when the crust is still crunchy and the pumpkin layer is soft and creamy. Let it cool for 15-20 minutes after baking, then scoop it into bowls. The texture is perfect at this point—not too hot, not too cold.
What to serve with it: A scoop of vanilla ice cream is the classic pairing, and for good reason. The cold, creamy ice cream melts into the warm pumpkin layer and creates this incredible sauce. Whipped cream works beautifully too, especially if you add a pinch of cinnamon to it. For a truly indulgent experience, drizzle caramel sauce over the top. I’ve also served this with a dollop of pumpkin cold foam on the side for a fun twist.
Storage: Cover the baking dish tightly with foil or plastic wrap and store in the refrigerator for up to 5 days. The crust will soften slightly as it sits, but that’s not a bad thing—it becomes more like a cobbler topping. I actually like it even better the next day, cold from the fridge, eaten straight from the dish with a spoon. Don’t judge me.
Reheating: The best way to reheat individual servings is in the microwave for 20-30 seconds. This brings back the warmth and softens the pumpkin layer without making the crust soggy. For the whole dish, reheat in a 325°F oven for 10-15 minutes, covered with foil to prevent the top from over-browning.
Freezing: This cake freezes beautifully. Let it cool completely, then wrap the entire dish in plastic wrap, then foil, and freeze for up to 3 months. Thaw overnight in the refrigerator and reheat as directed. I’ve also frozen individual portions in airtight containers for quick desserts—just microwave from frozen for about a minute.
Nutritional Information & Benefits
I’m not a nutritionist, but I can tell you what’s in this dish and why it’s not as indulgent as it seems. Here’s the approximate nutritional breakdown per serving (based on 12 servings):
| Nutrient | Amount per Serving |
|---|---|
| Calories | 320 |
| Total Fat | 18g |
| Saturated Fat | 11g |
| Carbohydrates | 38g |
| Sugar | 22g |
| Fiber | 2g |
| Protein | 4g |
| Vitamin A | 190% DV |
The good stuff: Pumpkin is packed with vitamin A, which is great for eye health and immune function. It’s also a good source of fiber, which helps with digestion. The butter and milk add calcium and healthy fats that help your body absorb the fat-soluble vitamins in the pumpkin. Is this a health food? No. But it’s a dessert that gives you some nutritional benefits while satisfying your sweet tooth, and I think that’s a win.
Dietary considerations: This recipe contains gluten, dairy, and nuts (if you add them). For a gluten-free version, use a gluten-free cake mix. For a dairy-free version, use vegan butter and coconut milk. The pumpkin itself is naturally vegan and gluten-free, so the base is accommodating. If you’re watching your sugar intake, you can use a sugar-free yellow cake mix, though I find the texture is slightly less tender.
Conclusion
If you take nothing else away from this post, let it be this: you don’t need to be a skilled baker to make a dessert that tastes like you spent hours in the kitchen. This pumpkin dump cake proves that simple ingredients, treated with a little care and patience, can create something genuinely special. I’ve made this for Thanksgiving dinners, potlucks, casual weeknight desserts, and even just because I wanted the house to smell like fall. Every single time, people ask for the recipe. Every single time, they’re shocked when I tell them it’s just four ingredients.
I’d love to hear how yours turns out. Did you add nuts? Try the chocolate version? Serve it with ice cream or whipped cream? Drop a comment below and let me know—I read every single one, and I love seeing your variations. If you’re in the mood for more cozy fall desserts, you should try my pumpkin banana bread with chocolate chips or these brown butter pumpkin cream cheese swirl muffins. Both are perfect for using up leftover pumpkin puree. And if you make this dump cake, don’t forget to pin it for later and share it with a friend who needs an easy dessert in their life. Happy baking, friends!
Frequently Asked Questions
Can I use pumpkin pie filling instead of pumpkin puree?
I wouldn’t recommend it. Pumpkin pie filling already has sugar and spices added, which will throw off the sweetness and texture of the final dessert. Stick with 100% pure pumpkin puree for the best results. If all you have is pumpkin pie filling, reduce or skip the optional pumpkin pie spice, and expect a sweeter, denser final product.
Do I need to refrigerate the leftovers?
Yes, because of the pumpkin and evaporated milk, this dessert needs to be stored in the refrigerator. Cover it tightly and it’ll keep for up to 5 days. I actually love eating it cold straight from the fridge—the crust softens slightly and the pumpkin layer firms up into a custard-like texture.
Can I make this in a slow cooker?
You can, but the texture will be different. The top won’t get as crunchy because there’s no direct heat from above. If you want to try it, cook on low for 3-4 hours, then remove the lid and let it sit for 30 minutes to allow some moisture to escape. The result is more like a pumpkin pudding with a soft cake topping—still delicious, just different.
Why is my pumpkin dump cake soupy in the middle?
This usually happens for one of two reasons: either you didn’t bake it long enough, or you cut into it too soon. The pumpkin layer needs time to set, and it continues to thicken as it cools. Make sure you’re baking until the edges are bubbling and the center is set but still slightly jiggly. Then let it cool for at least 15-20 minutes before serving.
Can I use a different flavor of cake mix?
Absolutely! I’ve tried spice cake mix, butter pecan cake mix, and even white cake mix with great results. Spice cake adds extra warmth that pairs beautifully with the pumpkin. Butter pecan adds a nutty flavor that’s amazing. Just avoid chocolate fudge or very dark cake mixes, as they can overpower the delicate pumpkin flavor. If you’re feeling adventurous, try the pumpkin chocolate chip sourdough bread for a completely different take on pumpkin desserts.
Pin This Recipe!
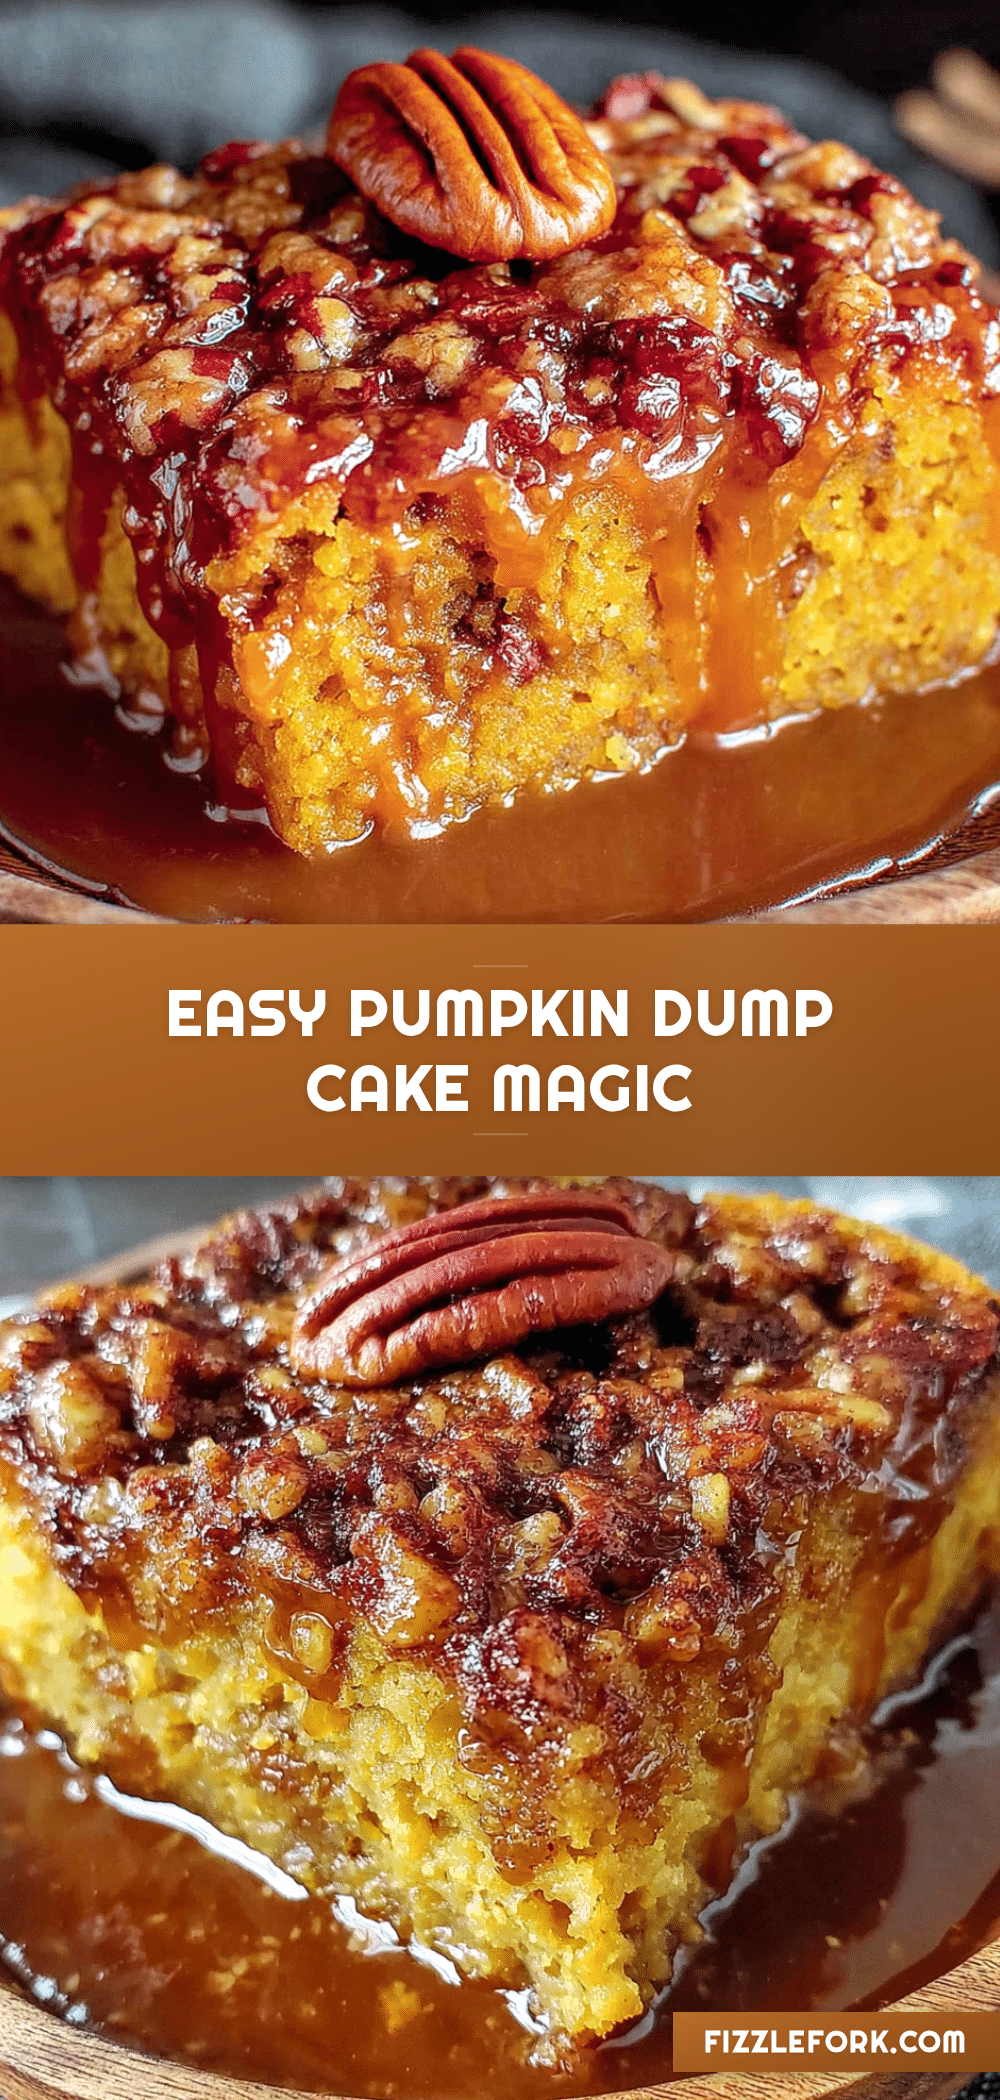
Easy Pumpkin Dump Cake: Best 4-Ingredient Dessert
This incredibly easy pumpkin dump cake requires only 4 ingredients and no mixing bowls. With a crunchy, buttery cake topping and a silky pumpkin custard layer underneath, it’s the perfect foolproof fall dessert that feeds a crowd.
- Prep Time: 10 minutes
- Cook Time: 50 minutes
- Total Time: 1 hour 15 minutes
- Yield: 12 servings 1x
- Category: Dessert
- Cuisine: American
Ingredients
- 1 can (15 oz) pumpkin puree (not pumpkin pie filling)
- 1 can (12 oz) evaporated milk
- 1 box (15.25 oz) yellow cake mix
- 1 cup (2 sticks) unsalted butter, melted
- 1 teaspoon pumpkin pie spice (optional)
- 1/2 cup chopped pecans or walnuts (optional)
Instructions
- Preheat your oven to 350°F (175°C). Position the rack in the center of the oven.
- Lightly grease a 9×13-inch baking dish with butter or non-stick spray.
- In the baking dish itself, combine the pumpkin puree and evaporated milk. Stir until smooth and fully combined. Spread evenly across the bottom.
- If using pumpkin pie spice, stir it into the pumpkin mixture now.
- Sprinkle the entire box of yellow cake mix evenly over the pumpkin mixture, covering every inch in a uniform blanket.
- Pour the melted butter evenly over the cake mix in a zigzag pattern. Use the back of a spoon to gently nudge any dry patches into the butter until all cake mix is moistened.
- If using nuts, sprinkle them over the top and press gently into the butter mixture.
- Bake for 45-50 minutes, until the top is deep golden brown and crunchy, and the edges are bubbling. The center should be set but still slightly jiggly underneath the crust.
- Let cool for at least 15 minutes before serving to allow the pumpkin layer to set.
Notes
Butter distribution is crucial—drizzle evenly to avoid dry patches. Don’t stir the cake mix into the pumpkin layer. Bake on the middle rack to prevent burning. Check for doneness at 40 minutes as oven temperatures vary. For best results, let cool 15-20 minutes before serving.
Nutrition
- Serving Size: 1 serving
- Calories: 320
- Sugar: 22
- Sodium: 320
- Fat: 18
- Saturated Fat: 11
- Carbohydrates: 38
- Fiber: 2
- Protein: 4
Keywords: pumpkin dump cake, easy pumpkin dessert, 4-ingredient dessert, fall dessert, pumpkin cake, dump cake recipe


