For a while, I just accepted that making a sourdough starter from scratch was this complicated, mysterious process that only seasoned bakers could handle. I’d peeked at recipes, watched videos where people talked about wild yeast and bubbling jars, but honestly, it all felt a bit out of reach for a patient home cook like me. I craved that tangy, rustic flavor of sourdough bread—something that felt alive and genuine—but no starter recipe I found quite fit the bill without feeling intimidating or overly fussy.
There were moments when I’d mix flour and water and wait, hoping for a lively, bubbly jar, but instead, I’d end up with a sad, still mixture that didn’t quite come to life. The air in my kitchen smelled a little off, and I wasn’t sure if I’d done something wrong or if this was just how sourdough starters behaved before they blossomed. I kept at it, not frustrated, just quietly persistent, because I knew there had to be a straightforward way to welcome wild yeast into my kitchen without the guesswork or the stress.
Sometimes, I’d catch a faint sour aroma, a tiny bubble here and there, and think maybe this batch would be the one. And then, slowly but surely, the starter would thicken, bubble, and smell a little fruity and tangy—almost like it was alive, which it was. It wasn’t a quick process or a flashy one, but it was quietly satisfying. This easy sourdough starter from scratch with a step-by-step feeding guide is what I finally settled on—a recipe that doesn’t require fancy ingredients or complicated tools, just patience, simple flour and water, and a little care.
Now, this starter sits on my counter, ready for new batches of homemade bread anytime, with a gentle rhythm and a familiar scent that feels like home. The recipe stuck with me because, well, it’s real and manageable—and it’s the reason my kitchen smells like fresh bread more often than not.
Why You’ll Love This Recipe
After many attempts, I found this sourdough starter recipe to be refreshingly straightforward and reliable, which is not always the case with wild yeast wonderings. Here’s why it’s become a favorite for anyone wanting a true homemade sourdough experience without the fuss:
- Simple & Foolproof: The recipe uses just flour and water—nothing fancy or expensive. You don’t need special flours or additives, making it accessible for any pantry.
- Step-by-Step Feeding Guide: Clear, manageable instructions take the guesswork out of feeding your starter, helping you build a healthy, active culture over a week.
- Perfect for Homemade Bread: This starter gives you that authentic tang and chewy crumb that turns ordinary bread into a comforting, crusty masterpiece.
- Patience-Driven: It’s made for patient cooks who want to see and understand the process rather than rush through it. You get to watch the magic unfold day by day.
- Reliable Results: Once mature, this starter is robust and forgiving, perfect for baking your favorite recipes like the crispy air fryer chicken thighs with honey sriracha glaze or even something simple like a quick lemon garlic shrimp pasta.
What sets this recipe apart is the focus on steady, consistent feeding and paying attention to your starter’s behavior—rather than chasing a perfect bubble count or a strict schedule. It’s less about rushing and more about developing trust with the culture. Honestly, it feels like a little science project and a hobby rolled into one, with delicious results.
What Ingredients You Will Need
This recipe uses simple, wholesome ingredients to deliver a lively sourdough starter without fuss. All of them are pantry staples, and you can easily adjust based on what you have.
- Unbleached all-purpose flour: About 120 grams (1 cup) for starting and feeding. I prefer King Arthur brand for consistent results—it has just the right protein content to encourage fermentation.
- Whole wheat flour: Optional, 30 grams (2 tablespoons) for the initial mix. This adds extra nutrients and wild yeast to jumpstart your culture. You can swap this with rye flour for a more tangy flavor.
- Filtered or bottled water: 120 ml (½ cup) at room temperature. Chlorine in tap water can inhibit yeast growth, so filtered water works best.
- Additional flour for feedings: Same as above—mostly all-purpose, but you can mix in whole wheat or rye occasionally to keep your starter lively.
Feel free to experiment with different flours once your starter is established, but start simple. Some people like to use organic flours, which can sometimes have more active microflora, but it’s not necessary.
Equipment Needed
- Glass or plastic container: A clear jar or bowl about 1-quart (1 liter) capacity works well so you can watch the bubbles form. Avoid metal containers as they can react with the acidic starter.
- Kitchen scale: For precise measurement of flour and water. This really helps with consistency, but if you don’t have one, measuring cups can work too.
- Rubber spatula or wooden spoon: For mixing the starter — nothing metal to interfere with the natural fermentation.
- Loose lid or clean kitchen towel: To cover your jar. You want air to flow but keep dust and bugs out.
- Clean jar scraper or spoon: For removing starter when feeding. I’ve found silicone spatulas great for scraping every last bit without waste.
If you don’t own a scale, using measuring cups is fine, but keep in mind that flour can compact differently, so the starter might behave slightly differently each time. Glass containers are easy to clean and don’t retain odors, which is helpful for sourdough starters.
Preparation Method
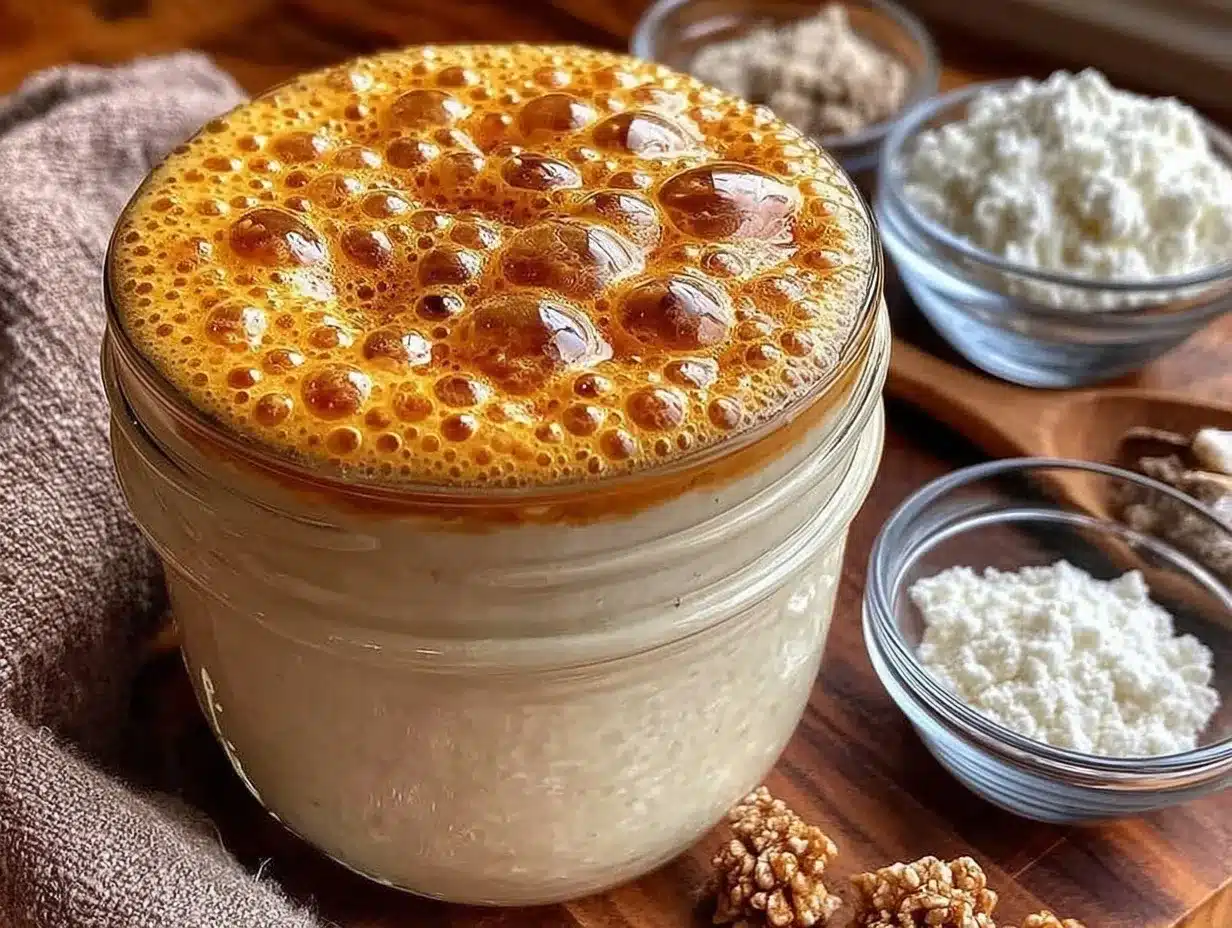
- Day 1 – Mix your starter: Combine 60 grams (½ cup) unbleached all-purpose flour and 30 grams (2 tablespoons) whole wheat flour in your container. Add 90 ml (⅓ cup + 1 tablespoon) filtered water at room temperature. Stir well until smooth. The mixture should be thick but stirrable—think pancake batter consistency. Cover loosely with a towel or lid and leave at room temperature (about 70°F/21°C) for 24 hours.
- Day 2 – Check and feed: You might see a few bubbles but don’t worry if you don’t. Stir the starter to aerate it. Discard about half (roughly 90 grams or ⅓ cup) and feed with 60 grams (½ cup) all-purpose flour and 90 ml (⅓ cup + 1 tablespoon) filtered water. Mix thoroughly and cover again.
- Day 3 – Look for activity: By now, bubbles should appear, and the starter might smell tangy or fruity. Repeat the discard and feeding process as on day 2. Keep the consistency like thick batter. Remember, your starter may be slow or fast depending on your kitchen environment.
- Day 4 – Increase feedings if needed: If your starter is bubbly and doubling in size within 6-8 hours, you’re on track. If not, continue daily feeding. You can start feeding twice a day if the starter is very active—discard half and feed with 60 grams flour and 90 ml water each time.
- Day 5 to 7 – Mature your starter: By day 5, the starter should consistently double in volume within 4-6 hours of feeding and have a pleasant, slightly sour aroma. Continue feeding twice daily if possible to build strength. Your starter is ready when it floats in water—this “float test” means it’s airy and active.
- Maintenance: Once mature, feed your starter regularly—daily if kept at room temperature, or weekly if refrigerated. Always discard most of the starter before feeding to keep acidity balanced and yeast happy.
Throughout the process, watch for changes in smell, texture, and bubbles. A sour, fruity scent is good; if it smells like nail polish remover or rotten, discard and start over. The thickness should stay like thick pancake batter, not watery or dry clumps. Patience is key—sometimes starters take a bit longer, especially in cooler kitchens.
Cooking Tips & Techniques
Getting your sourdough starter just right is a bit of an art, but a few practical tips can save you from common pitfalls.
- Use room temperature water: Too cold and fermentation slows; too hot and it kills the yeast. Aim for about 70°F (21°C).
- Feed consistently: Regular feedings keep the yeast active and prevent your starter from developing off-flavors.
- Discarding is important: It might feel wasteful, but removing half the starter before feeding keeps acidity balanced and encourages healthy yeast growth.
- Watch the bubbles, not just the smell: Bubbles mean fermentation, even if the aroma varies a bit.
- Adjust feeding schedule based on activity: If your starter is doubling quickly, feed more often; if slow, stick to once a day.
- Keep your container loosely covered: Airflow is needed for wild yeast, but you want to avoid contamination from dust or insects.
- If your starter develops a gray liquid (hooch): It’s okay! Stir it back in or pour it off before feeding. It means your starter is hungry.
From personal experience, I once ignored the discard step and ended up with a starter that smelled too sour and sluggish. After starting fresh with proper feeding, the difference was night and day. Also, once your starter is mature, it pairs beautifully with recipes that use wild yeast, like the crispy Mediterranean salmon or even for a quick snack inspiration such as crispy mini bagel pizzas.
Variations & Adaptations
This sourdough starter recipe is flexible and can be adjusted to suit different preferences and dietary needs.
- Gluten-free starter: Use gluten-free flours like brown rice or buckwheat flour. Expect it to take longer to develop and require more frequent feeding.
- Whole grain boost: Swap some or all all-purpose flour with whole wheat or rye flour for a more robust, tangy starter. Rye especially encourages rapid fermentation.
- Hydration tweaks: You can adjust the water-to-flour ratio to create a thicker (stiffer) starter or a thinner, more liquid one, depending on your bread recipe’s needs.
- Cold fermentation: Once mature, store your starter in the fridge and feed weekly. This slows activity but keeps it alive with less maintenance.
- Personal variation: I once tried feeding with a mix of unbleached all-purpose and spelt flour, which gave the starter a lovely nutty aroma and made my sourdough loaves extra flavorful.
Serving & Storage Suggestions
Your sourdough starter is the foundation for delicious homemade bread, but it also deserves care when not baking.
- Serving temperature: Use your starter at room temperature for best rise. If refrigerated, take it out and feed it a few hours before baking.
- Storage: Keep your starter in a loosely covered jar at room temperature if baking often, feeding daily. For less frequent baking, refrigerate and feed once a week.
- Freezing: You can freeze a portion of starter for backup, but it’s best revived gradually through feedings.
- Complementary recipes: Use your starter to make crusty breads, pancakes, waffles, or even creative recipes like quick lemon garlic shrimp pasta where you can incorporate sourdough discard for flavor.
- Flavors develop over time: Older starters may develop deeper, tangier flavors. This can be great for artisan breads with complex profiles.
Nutritional Information & Benefits
Sourdough starters are more than just a baking ingredient—they bring nutritional benefits to your homemade breads. The natural fermentation breaks down gluten and phytic acid, making minerals more available and easier to digest for many people.
This starter recipe itself is free from additives, preservatives, and refined sugars. Using whole grain flours in your starter can add fiber and B vitamins to your bread. It’s naturally gluten-containing unless adapted with gluten-free flours.
From a wellness perspective, I’ve found that sourdough bread made with a well-maintained starter feels gentler on my digestion than commercial yeast breads. Plus, it’s a satisfying, wholesome ritual that connects you to your food in a real way.
Conclusion
This easy sourdough starter from scratch with a step-by-step feeding guide is worth the patience it asks for. It’s not instant gratification, but there’s a quiet reward in nurturing a living culture that turns simple flour and water into beautiful bread.
Feel free to make this recipe your own by playing with flours or feeding schedules. I love this starter because it made sourdough approachable and dependable for me—and I hope it does the same for you. If you’re curious how to turn this into your next baking project, try pairing it with a hearty meal like creamy Tuscan chicken or a quick skillet dinner to bring everything full circle.
Enjoy the process, trust the bubbles, and happy baking!
FAQs
How long does it take to make a sourdough starter from scratch?
Typically, it takes about 5 to 7 days for a starter to become active and strong enough for baking. Some starters develop sooner, but patience is key.
Can I use tap water for my sourdough starter?
Tap water with chlorine can hinder yeast growth. It’s best to use filtered or bottled water, or let tap water sit out for a few hours to dissipate chlorine before using.
What do I do if my sourdough starter smells bad?
A healthy starter smells tangy, fruity, or mildly sour. If it smells like nail polish remover or rotten, it’s best to discard and start fresh.
How often should I feed my sourdough starter?
For room temperature starters, feed once or twice daily. If refrigerated, feeding once a week is sufficient.
Can I use my sourdough starter to make other recipes?
Absolutely! Besides bread, sourdough starter can be used in pancakes, waffles, crackers, and even some pasta dishes—giving them a unique tang and texture.
Pin This Recipe!
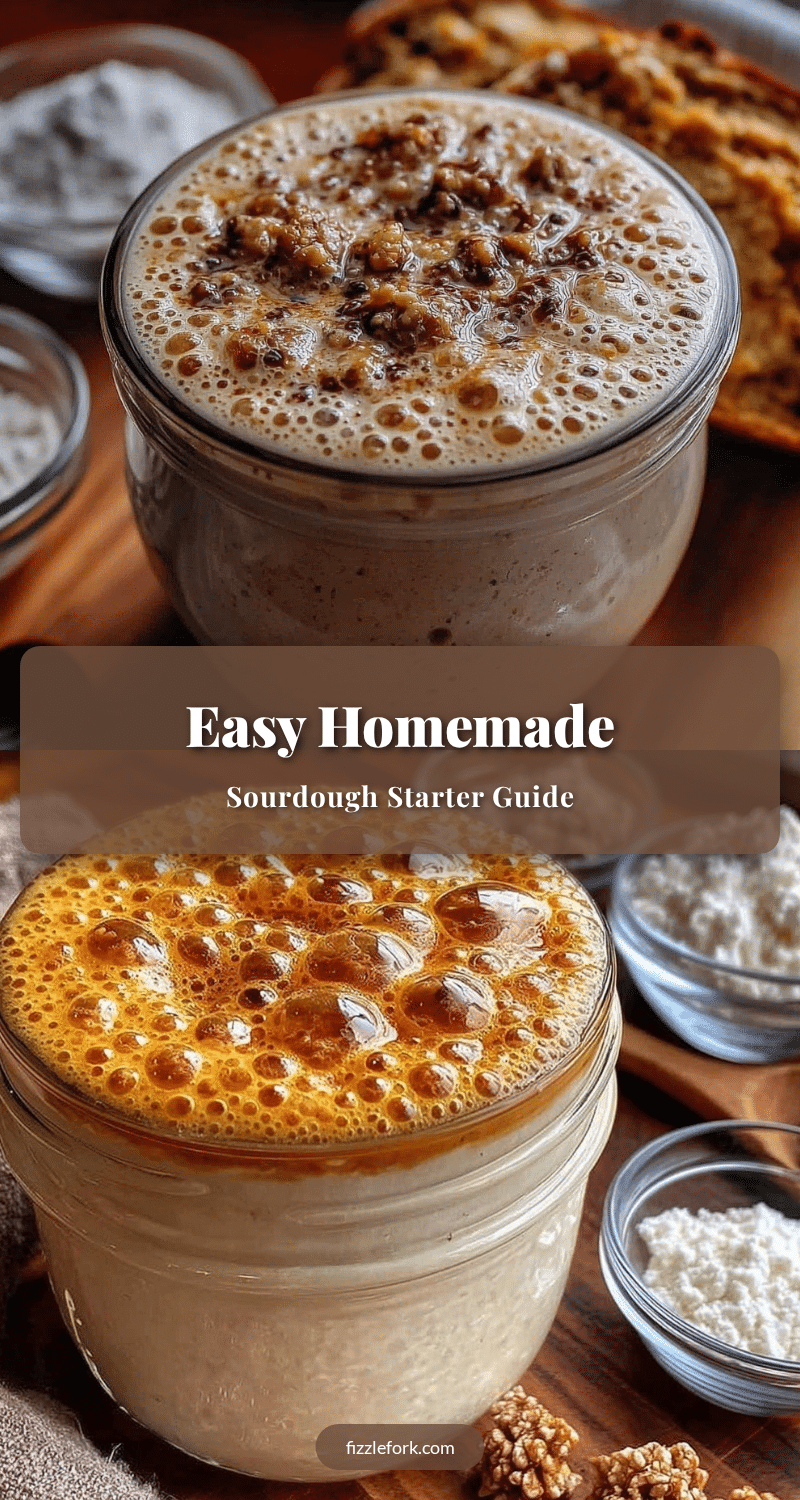
Easy Sourdough Starter From Scratch Step-by-Step Feeding Guide for Perfect Homemade Bread
A straightforward and reliable sourdough starter recipe using simple flour and water, designed for patient home cooks to develop a lively, tangy starter perfect for homemade bread.
- Prep Time: 10 minutes
- Cook Time: 0 minutes
- Total Time: 5 to 7 days
- Yield: About 1 quart starter, enough for multiple bread batches 1x
- Category: Baking
- Cuisine: American
Ingredients
- 120 grams (1 cup) unbleached all-purpose flour
- 30 grams (2 tablespoons) whole wheat flour (optional, can substitute with rye flour)
- 120 ml (½ cup) filtered or bottled water at room temperature
- Additional flour for feedings (mostly all-purpose, optionally whole wheat or rye)
Instructions
- Day 1 – Mix your starter: Combine 60 grams (½ cup) unbleached all-purpose flour and 30 grams (2 tablespoons) whole wheat flour in your container. Add 90 ml (⅓ cup + 1 tablespoon) filtered water at room temperature. Stir well until smooth. Cover loosely and leave at room temperature (about 70°F/21°C) for 24 hours.
- Day 2 – Check and feed: Stir the starter to aerate it. Discard about half (roughly 90 grams or ⅓ cup) and feed with 60 grams (½ cup) all-purpose flour and 90 ml (⅓ cup + 1 tablespoon) filtered water. Mix thoroughly and cover again.
- Day 3 – Look for activity: Bubbles should appear and the starter might smell tangy or fruity. Repeat discard and feeding as on day 2. Keep consistency like thick batter.
- Day 4 – Increase feedings if needed: If bubbly and doubling in size within 6-8 hours, continue daily feeding. If very active, feed twice a day with 60 grams flour and 90 ml water each time.
- Day 5 to 7 – Mature your starter: Starter should double in volume within 4-6 hours of feeding and have a pleasant sour aroma. Feed twice daily if possible. Starter is ready when it floats in water.
- Maintenance: Once mature, feed regularly—daily at room temperature or weekly if refrigerated. Always discard most of the starter before feeding.
Notes
Use filtered or bottled water to avoid chlorine which inhibits yeast growth. Maintain room temperature around 70°F (21°C). Discard half the starter before feeding to keep acidity balanced. If hooch (gray liquid) forms, stir it back or pour off before feeding. Patience is key; starters may take longer in cooler environments.
Nutrition
- Serving Size: N/A (starter used as
- Calories: 30
- Carbohydrates: 6
- Fiber: 0.5
- Protein: 1
Keywords: sourdough starter, homemade bread, wild yeast, fermentation, baking starter, easy sourdough, bread starter recipe


