It was 11:47 PM on a random Tuesday, and I had an overwhelming need for something cold, creamy, and salty-sweet. You know that feeling when your brain just will not let go of a craving? I didn’t have an ice cream maker—never have, honestly—and the store-bought stuff in the freezer was all vanilla, which felt like a betrayal of my late-night ambitions. But I had a can of sweetened condensed milk staring at me from the pantry, a carton of heavy cream that was probably a day from expiring, and a bag of good sea salt. The idea hit me like a lightning bolt: what if I just whisked it all together and froze it? No churning, no fancy equipment, just pure desperation and a prayer. I mean, what was the worst that could happen—a frozen block of sadness? Spoiler alert: it was the opposite of sad. It was the kind of happy accident that makes you wonder why you ever bothered with the complicated stuff.
That first batch was a little messy, I’ll admit. I forgot to line the loaf pan with parchment, so getting it out involved some strategic warm-water-and-knife action. But the taste? Honestly, it stopped me in my tracks. The salt cut through the sweetness in a way that felt almost sophisticated for a Tuesday night in sweatpants. I brought the rest to a potluck that weekend, and let me tell you, people were scraping the container. Someone actually asked me if I had a secret ice cream machine hidden somewhere. Nope. Just a whisk, a bowl, and a late-night epiphany. This no-churn salted caramel ice cream has been my go-to ever since—for parties, for quiet nights, for those moments when you need a little victory.
Maybe you’ve been there, staring at your kitchen at an unreasonable hour, convinced you can make something magical from nothing. That is exactly where this recipe was born. And it has never let me down since.
Why You’ll Love This Recipe
Let me be real with you—I have tested this recipe about a dozen times to get it just right. I am that person who will make three batches in one weekend just to see if a pinch more salt makes a difference (it does). So when I say this is the best no-churn salted caramel ice cream, I mean it with my whole chest. Here is why it works so well for hosting and impressing a crowd:
- No Ice Cream Maker Needed: Seriously, zero special equipment. You just need a bowl, a whisk (or mixer), and a freezer. That is it. Perfect for when you want to show off without the hassle.
- Simple Ingredients: Heavy cream, sweetened condensed milk, vanilla, salt, and a little caramel sauce. You probably have most of these in your kitchen right now. No weird stabilizers or hard-to-find extracts.
- Perfect for Dinner Parties: This is a showstopper dessert that you can make days in advance. It sits in the freezer, waiting to impress your guests while you focus on the main course. It is the ultimate host move.
- Crowd-Pleaser Guaranteed: I have served this at birthdays, barbecues, and holiday dinners. It gets devoured every single time. The combination of sweet caramel and flaky salt is basically irresistible to everyone.
- Unbelievably Creamy Texture: No ice crystals, no icy mess. The sweetened condensed milk works magic here, giving you a scoopable, velvety texture that rivals any premium brand. You will close your eyes after the first bite—I still do.
What makes this recipe different from all the other no-churn recipes out there? It is the salt. I use a generous amount of flaky sea salt, and I layer it in. You get pockets of salty crunch that wake up your taste buds. It is not just sweet—it is balanced, complex, and deeply satisfying. This is comfort food reimagined: faster, easier, but with the same soul-soothing satisfaction that makes you reach for a second scoop before you have even finished the first.
What Ingredients You Will Need
This recipe uses simple, wholesome ingredients to deliver that big, bold salted caramel flavor. Everything is easy to find at any grocery store, which is part of the beauty of it. Here is what you need and why each one matters:
- 2 cups (480 ml) heavy cream: This is the backbone of your ice cream. You need full-fat heavy cream (not half-and-half) for that rich, luscious texture. I prefer Horizon Organic or Land O Lakes for consistent results. Make sure it is very cold—pop it in the fridge overnight before you start.
- 1 can (14 ounces / 397 g) sweetened condensed milk: This is the magic ingredient that makes no-churn ice cream work. It adds sweetness and prevents ice crystals from forming. Do not substitute with evaporated milk—it is not the same. I use Eagle Brand or Nestlé, both work perfectly.
- 1/2 cup (120 ml) homemade or high-quality store-bought caramel sauce: You can use store-bought to save time, but homemade is incredible here. Look for a thick, rich caramel—not the thin, runny kind. My favorite store-bought is Trader Joe’s Fleur de Sel Caramel Sauce. If making your own, just cook sugar and butter until amber, then add cream and salt.
- 1 teaspoon vanilla extract: Pure vanilla extract adds warmth and depth. Avoid imitation vanilla if you can—it tastes artificial. I love Nielsen-Massey for its rich flavor.
- 1 1/2 teaspoons flaky sea salt (plus more for topping): This is non-negotiable. Flaky sea salt (like Maldon or Jacobsen) gives you those little bursts of saltiness that make the caramel sing. Do not use fine table salt—it dissolves too quickly and can make the ice cream taste harsh.
- Optional: 1/4 cup (60 ml) bourbon or dark rum: A little booze lowers the freezing point, making the ice cream softer and easier to scoop. It also adds a lovely warmth that pairs beautifully with caramel. I have used Bulleit Bourbon and Goslings Dark Rum—both are fantastic.
Ingredient Selection Tips: For the best texture, make sure your heavy cream is at least 36% milk fat. Lower fat creams will not whip as stiffly, which can lead to a denser, less airy ice cream. If you are using homemade caramel sauce, let it cool completely before adding it to the cream mixture—warm caramel will deflate your whipped cream.
Substitution Guidance: Need a dairy-free option? Use full-fat coconut cream (chilled overnight) in place of heavy cream, and use a dairy-free sweetened condensed coconut milk (like Nature’s Charm). The texture will be slightly different—a bit more coconutty—but still delicious. For a lower-sugar version, you can use a sugar-free sweetened condensed milk, but the texture may be a tad icier.
Equipment Needed
You do not need much for this recipe, which is why I love it. Here is the short list:
- Large mixing bowl: Glass or stainless steel works best. Make sure it is very clean—any grease can prevent your cream from whipping properly.
- Electric hand mixer or stand mixer: You can whisk by hand, but it will take a solid 10-15 minutes of vigorous arm work. A mixer makes it easy and quick. I use my KitchenAid hand mixer for this.
- Rubber spatula: For folding everything together gently. A silicone spatula is ideal because it won’t scratch your bowl.
- 9×5-inch (23×13 cm) loaf pan: This is the perfect size for this recipe. If you do not have one, you can use a 8×8-inch square pan or even a metal mixing bowl—just adjust the freezing time.
- Parchment paper or plastic wrap: Lining the pan makes it so much easier to lift the ice cream out for serving. Trust me on this one—I learned the hard way.
- Freezer-safe container with lid: If you are making this ahead, you will need something airtight to prevent freezer burn. A Pyrex glass dish with a lid works great.
Budget-Friendly Options: You do not need a fancy mixer. A simple $15 hand mixer from a discount store will do the job. If you are truly without any mixer, you can shake the cream in a sealed mason jar—it takes effort, but it works. I have done it camping, and it is a great arm workout!
Preparation Method
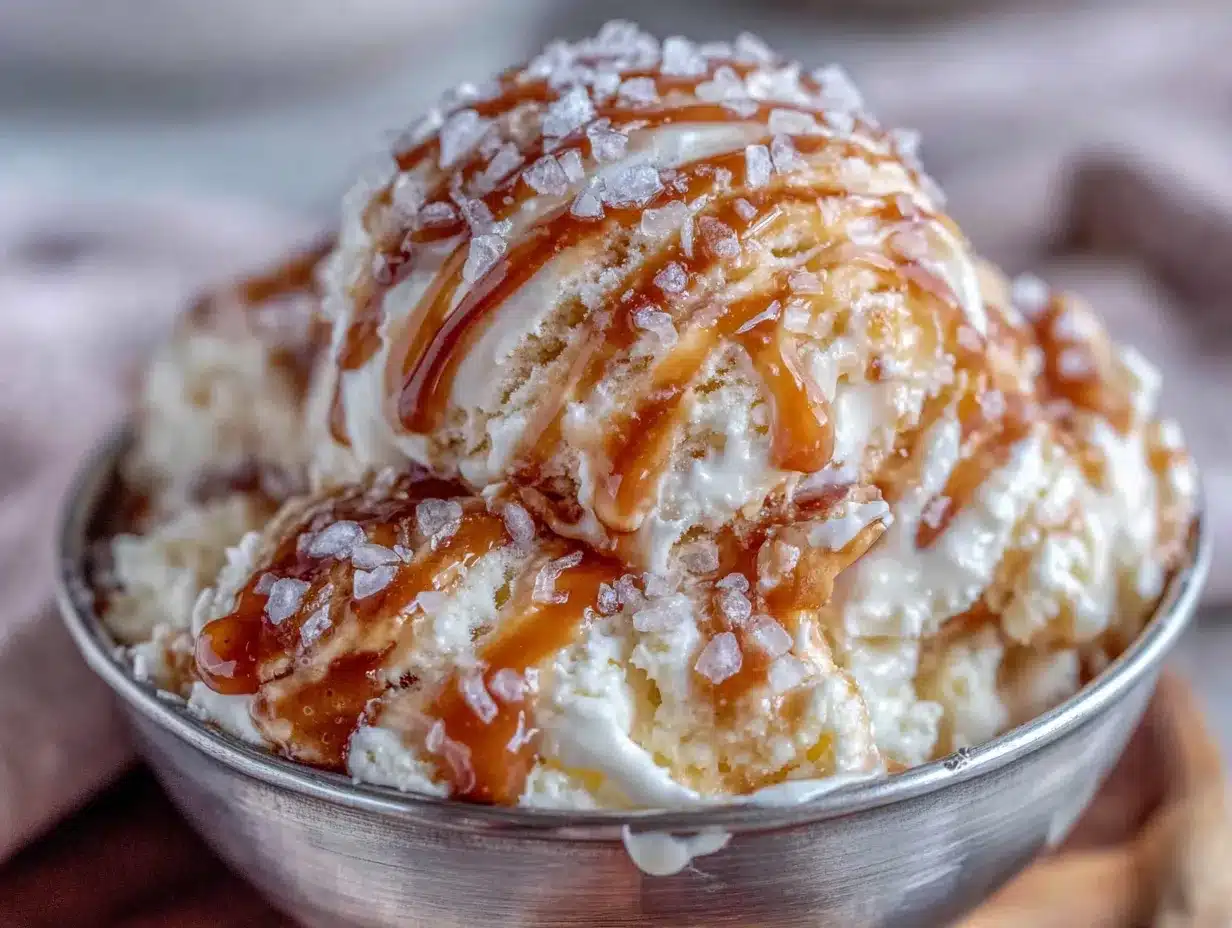
This no-churn salted caramel ice cream comes together in about 15 minutes of active work. The hardest part is waiting for it to freeze. Here is exactly how to do it:
- Whip the cream (5 minutes): Pour the cold heavy cream into your large mixing bowl. Using an electric hand mixer on medium-high speed, whip the cream until stiff peaks form. You are looking for peaks that stand up straight when you lift the beaters—not floppy. Be careful not to overwhip, or you will end up with butter. It should take about 3-5 minutes. (Pro tip: chill your bowl and beaters in the freezer for 10 minutes before starting—it helps the cream whip faster.)
- Combine the base (2 minutes): In a separate small bowl, whisk together the sweetened condensed milk, vanilla extract, and 1/2 cup of your caramel sauce. If you are using bourbon or rum, add it here. Stir until it is smooth and well combined. The mixture will be thick and sticky—that is perfect.
- Fold it together (3 minutes): Pour the caramel-condensed milk mixture over the whipped cream. Using your rubber spatula, gently fold everything together. Start from the bottom and lift up, turning the bowl as you go. Do not stir vigorously—you want to keep as much air in the cream as possible. Fold until there are no more white streaks, but do not overmix. The batter should look like a thick, soft mousse.
- Layer in the salt (2 minutes): Line your loaf pan with parchment paper, leaving some overhang on the sides. Spoon about one-third of the ice cream mixture into the pan and spread it evenly. Sprinkle with about 1/2 teaspoon of flaky sea salt. Add another third of the mixture, sprinkle with another 1/2 teaspoon of salt, and repeat with the final layer. Top with the remaining 1/2 teaspoon of salt and drizzle a little extra caramel sauce on top if you want it to look pretty.
- Freeze (6 hours minimum, preferably overnight): Cover the pan tightly with plastic wrap or a lid. Place it in the coldest part of your freezer. Let it freeze for at least 6 hours, but overnight is better. The longer it sits, the firmer and more scoopable it becomes. Do not peek and open it every hour—that lets in warm air and can cause ice crystals.
- Serve (2 minutes): When you are ready to serve, let the ice cream sit at room temperature for about 5-10 minutes to soften slightly. Lift it out of the pan using the parchment overhang. Slice or scoop, and top with an extra drizzle of caramel sauce and a pinch of flaky salt. Watch your guests lose their minds.
Sensory Cues: When you fold the mixture, it should look like a soft, pillowy cloud with caramel ribbons running through it. The smell is intoxicating—sweet vanilla, rich caramel, and a hint of salt. When you scoop it after freezing, it should feel creamy and smooth, not icy or hard. If it is too hard straight from the freezer, just let it sit out for a few minutes—it softens beautifully.
Cooking Tips & Techniques
I have made this recipe more times than I can count, and I have definitely made some mistakes along the way. Here is what I have learned so you do not have to repeat my failures:
Do not overwhip the cream. This is the number one mistake. If you whip the cream too far, it will start to separate and turn grainy. You want stiff peaks, but stop the second they form. When I first made this, I got distracted by a phone call and ended up with sweetened butter. It was a sad, expensive mistake. Watch it closely in the last minute.
Use cold everything. Cold cream, cold bowl, cold beaters. Warm cream will not whip properly. I stick my bowl and beaters in the freezer for 10-15 minutes before I start. It makes a noticeable difference in how quickly the cream whips and how stable the foam is.
Layer the salt strategically. Do not just dump all the salt on top. By layering it in, you get those little salty pockets that make each bite interesting. It is like a treasure hunt for your taste buds. If you mix all the salt into the batter, it just dissolves and you lose that pop of flavor.
Plan your timing. This ice cream needs at least 6 hours to freeze, but it is really at its best after 24 hours. The flavors meld and the texture becomes perfectly scoopable. If you are hosting a dinner party, make this two days ahead. It is one less thing to worry about on the day of your event.
Multitasking tip: While the cream is whipping, you can mix the caramel base. It takes less than a minute, so you can do it simultaneously. This recipe is so fast that you can literally make it during a commercial break of your favorite show.
Variations & Adaptations
One of the best things about this recipe is how easy it is to customize. Here are some of my favorite variations that have all been tested in my kitchen:
Chocolate Salted Caramel: Melt 4 ounces of dark chocolate (I use Ghirardelli 60%) and let it cool slightly. Fold it into the ice cream base along with the caramel. The chocolate adds a rich, almost fudgy texture that pairs beautifully with the salt. This is my go-to for chocolate lovers who think caramel is too sweet on its own.
Vegan Coconut Caramel: Use full-fat coconut cream (chilled overnight) instead of heavy cream, and use a dairy-free sweetened condensed coconut milk. The coconut flavor is subtle but lovely, and the texture is surprisingly creamy. I have served this to dairy-free friends and they could not tell the difference. Just make sure your caramel sauce is also dairy-free (many are).
Spiced Chai Caramel: Add 1 teaspoon of chai spice mix (cinnamon, cardamom, ginger, cloves) to the condensed milk mixture. The warm spices cut through the sweetness and add a cozy, autumnal flavor. I made this for a fall dinner party and it was a hit—everyone asked for the recipe.
Boozy Bourbon Pecan: Add 1/4 cup of bourbon to the base, and fold in 1/2 cup of toasted, chopped pecans just before freezing. The bourbon keeps the ice cream soft and scoopable, and the pecans add a wonderful crunch. This is my personal favorite for adult gatherings—it feels a little decadent and special.
Berry Swirl: Make a quick berry compote by simmering 1 cup of mixed berries with 2 tablespoons of sugar until thick. Let it cool completely, then swirl it into the ice cream base before freezing. The tartness of the berries balances the sweet caramel beautifully. I use frozen berries in winter and fresh in summer—both work great.
Serving & Storage Suggestions
This ice cream is a showstopper, and how you serve it can make all the difference. Here are my best tips for presentation and storage:
Serving Temperature: Let the ice cream sit at room temperature for 5-10 minutes before scooping. This softens it just enough to make scooping easy without melting it. If you are serving it straight from the freezer, it will be too hard to scoop gracefully—trust me, I have made that mistake at a party.
Presentation Ideas: Scoop the ice cream into pretty glass bowls or small mason jars. Drizzle extra caramel sauce on top and sprinkle with a pinch of flaky sea salt. Add a small cookie (like a shortbread or chocolate wafer) on the side for texture. For a dinner party, I like to serve it in tiny cups with a little spoon—it feels elegant and indulgent.
What to Serve Alongside: This ice cream is fantastic on its own, but it also pairs beautifully with warm desserts. Try it on top of a warm brownie or apple crisp. The hot-and-cold contrast is incredible. For a simple pairing, serve it with a slice of pound cake or a buttery shortbread cookie.
Storage Instructions: Store the ice cream in an airtight container in the coldest part of your freezer. It will keep well for up to 2 weeks, but honestly, it rarely lasts that long in my house. If you are making it ahead for a party, you can keep it in the freezer for up to a month—just make sure it is tightly sealed to prevent freezer burn.
Reheating (if needed): You do not really reheat ice cream, but if it has become too hard from sitting in the freezer for a while, let it sit at room temperature for 10-15 minutes. You can also microwave it for 10-15 seconds on low power to soften it, but be careful not to melt it.
Flavor Development: The flavors actually deepen and improve after a day or two in the freezer. The caramel and salt meld together beautifully. So do not be afraid to make this a few days ahead—it will taste even better.
Nutritional Information & Benefits
Let’s be honest—this is a treat, not a health food. But knowing what is in it can help you enjoy it mindfully. Here is the estimated nutritional breakdown per serving (based on 10 servings):
| Nutrient | Amount per Serving |
|---|---|
| Calories | 380 |
| Total Fat | 22g |
| Saturated Fat | 14g |
| Carbohydrates | 42g |
| Sugar | 38g |
| Protein | 4g |
| Sodium | 320mg |
Health Benefits: While this is an indulgent dessert, there are a few bright spots. The heavy cream provides some calcium and vitamin A. The sea salt contains trace minerals like magnesium and potassium. And honestly, the biggest benefit is the joy it brings—sharing a homemade dessert with people you love is good for the soul.
Dietary Considerations: This recipe is gluten-free (just make sure your caramel sauce is gluten-free). It is not dairy-free, but I have included a vegan variation above. It contains dairy and potentially nuts (if you add the pecan variation). Always check your ingredients if you are serving someone with allergies.
My Personal Perspective: I believe in balance. I eat vegetables and whole foods most of the time, but I also believe that dessert should be decadent and satisfying. This ice cream is my way of having both—a treat that feels special and is made with real, recognizable ingredients. No weird chemicals or preservatives. Just cream, sugar, salt, and love.
Conclusion
Honestly, this no-churn salted caramel ice cream is one of those recipes that makes you feel like a kitchen genius without actually having to work that hard. It is creamy, salty, sweet, and completely irresistible. I have made it for birthdays, dinner parties, and just because it was Tuesday. Every single time, people ask for the recipe. Every single time, they are shocked that there is no ice cream maker involved.
I hope you give this a try—maybe for your next gathering, or maybe just for yourself on a quiet night. Feel free to play with the variations and make it your own. Add chocolate, add bourbon, add berries. The base is so forgiving and adaptable. And when you take that first bite and taste that perfect balance of sweet and salty, I think you will understand why this recipe has become a staple in my kitchen.
If you make it, I would love to hear how it turned out. Drop a comment below and let me know what you think—or share your own twist on it. And if you are looking for more easy, crowd-pleasing desserts, be sure to check out my easy homemade vanilla ice cream or my no-bake chocolate peanut butter bars. Happy cooking, and enjoy every last scoop!
Frequently Asked Questions
Can I use half-and-half instead of heavy cream? I would not recommend it. Half-and-half has less fat, which means it will not whip into stiff peaks. The result will be a denser, icier ice cream. Stick with heavy cream for the best texture.
How long does this ice cream need to freeze? At least 6 hours, but overnight is best. The longer it freezes, the firmer and more scoopable it becomes. If you are in a rush, you can eat it after 4 hours, but it will be quite soft.
Can I use store-bought caramel sauce? Absolutely. I do it all the time when I am short on time. Just look for a thick, high-quality caramel sauce—not the thin, runny kind used for coffee. Trader Joe’s and Ghirardelli both make great options.
Why did my ice cream turn out icy? This usually happens if the cream was not whipped enough or if the mixture was not folded gently. Ice crystals form when there is too much water and not enough fat. Make sure your cream is very cold and whip it to stiff peaks. Also, do not open the freezer too often while it is freezing.
Can I make this without a mixer? Yes, you can! It takes some elbow grease, but you can whip the cream by hand with a whisk. It will take about 10-15 minutes of steady whisking. Alternatively, you can shake the cream in a sealed mason jar—it works surprisingly well, though it is a bit of a workout.
Pin This Recipe!
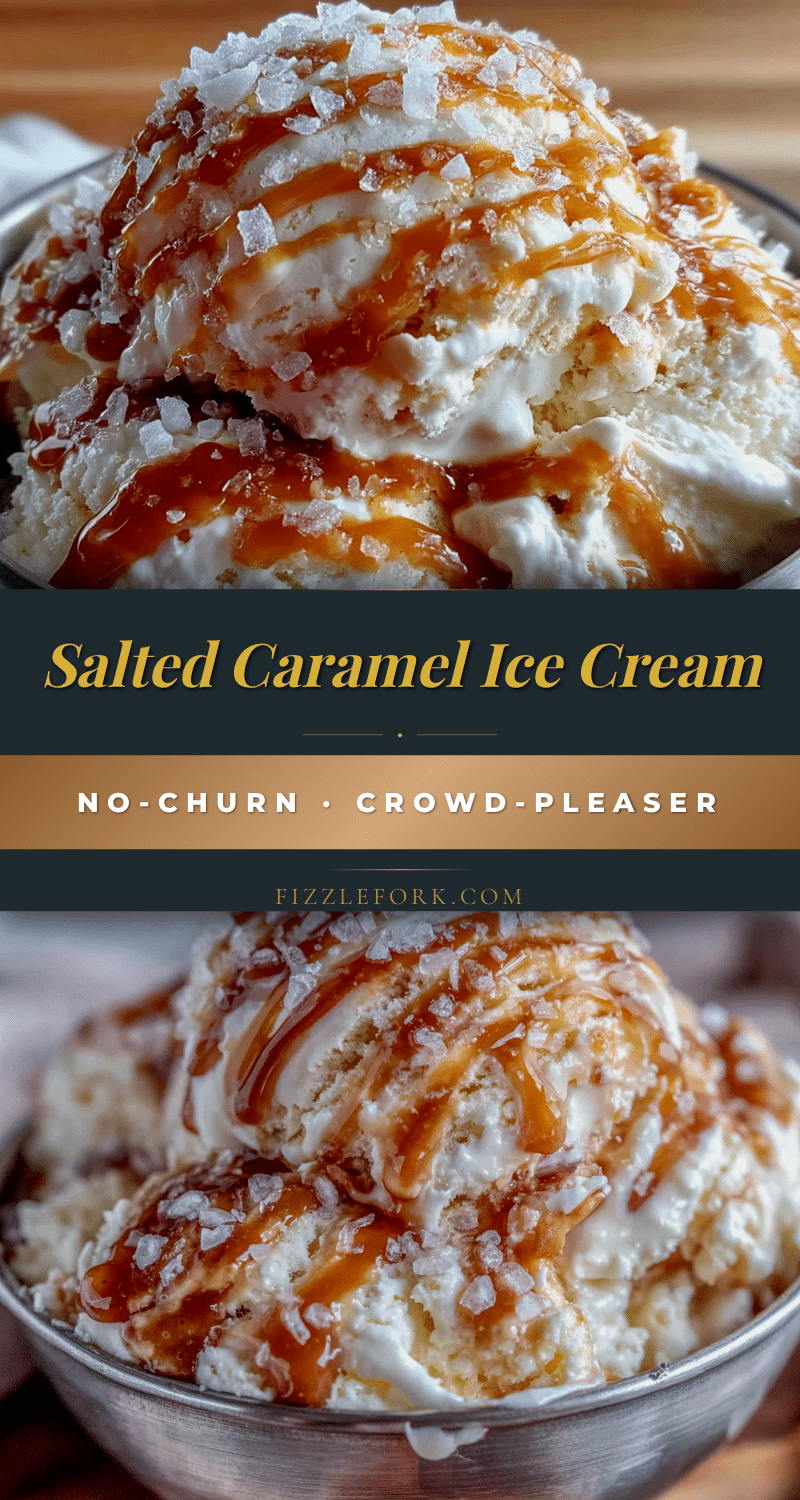
Easy No-Churn Salted Caramel Ice Cream – Best Homemade Recipe
This no-churn salted caramel ice cream is creamy, salty, sweet, and completely irresistible. Made without an ice cream maker, it’s a showstopper dessert that you can make days in advance.
- Prep Time: 15 minutes
- Cook Time: 0 minutes
- Total Time: 6 hours 15 minutes (includes freezing)
- Yield: 10 servings 1x
- Category: Dessert
- Cuisine: American
Ingredients
- 2 cups (480 ml) heavy cream
- 1 can (14 ounces / 397 g) sweetened condensed milk
- 1/2 cup (120 ml) homemade or high-quality store-bought caramel sauce
- 1 teaspoon vanilla extract
- 1 1/2 teaspoons flaky sea salt (plus more for topping)
- Optional: 1/4 cup (60 ml) bourbon or dark rum
Instructions
- Whip the cream: Pour the cold heavy cream into a large mixing bowl. Using an electric hand mixer on medium-high speed, whip the cream until stiff peaks form, about 3-5 minutes.
- Combine the base: In a separate small bowl, whisk together the sweetened condensed milk, vanilla extract, and 1/2 cup of caramel sauce. If using bourbon or rum, add it here. Stir until smooth.
- Fold it together: Pour the caramel-condensed milk mixture over the whipped cream. Gently fold together with a rubber spatula until no white streaks remain, being careful not to overmix.
- Layer in the salt: Line a 9×5-inch loaf pan with parchment paper. Spoon one-third of the mixture into the pan and spread evenly. Sprinkle with about 1/2 teaspoon of flaky sea salt. Repeat with another third and another 1/2 teaspoon of salt, then top with the remaining mixture and remaining 1/2 teaspoon of salt. Drizzle extra caramel sauce on top if desired.
- Freeze: Cover the pan tightly with plastic wrap or a lid. Freeze for at least 6 hours, preferably overnight.
- Serve: Let the ice cream sit at room temperature for 5-10 minutes to soften slightly. Lift out of the pan using the parchment overhang. Slice or scoop, and top with extra caramel sauce and a pinch of flaky salt.
Notes
Do not overwhip the cream. Use cold everything (bowl, beaters, cream). Layer the salt strategically for pockets of salty crunch. Plan ahead—this ice cream needs at least 6 hours to freeze, but is best after 24 hours.
Nutrition
- Serving Size: 1 serving (about 1/2
- Calories: 380
- Sugar: 38
- Sodium: 320
- Fat: 22
- Saturated Fat: 14
- Carbohydrates: 42
- Protein: 4
Keywords: no-churn ice cream, salted caramel, homemade ice cream, easy dessert, no ice cream maker


