Three ham slices left in the package and a bag of shredded cheddar staring at me from the fridge when the clock read 9:47 PM on a Sunday night. I’d forgotten — again — to plan school lunches for the week, and the usual sandwich routine felt like a punishment for everyone involved. My youngest had taken one look at her lunchbox the previous Friday and announced it was “boring bread with boring stuff.” Ouch. So I grabbed a bento box I’d bought on a whim months ago, threw together some ham, cheese, crackers, and fruit, and called it dinner prep. That little experiment turned into the most excited text I’d ever gotten from the school pickup line: “Mom, can I have the lunchbox with the squares again?”
This easy ham and cheese bento lunchbox became our saving grace. It’s not fancy — honestly, it’s barely a recipe — but that’s exactly the point. No heating up, no soggy bread, no complaints. Just a balanced, kid-approved lunch that takes ten minutes to assemble and makes you look like you have your life together. And let’s be real, we all need that sometimes.
Why You’ll Love This Recipe
This isn’t just another lunch idea. After packing over a hundred of these for my own kids, I’ve refined the formula to hit all the right notes for busy parents and picky eaters alike.
- Ready in 10 Minutes : No cooking required. You can throw this together while your coffee brews in the morning or the night before when you’re already exhausted.
- Simple Ingredients : You probably have everything in your fridge right now. Ham, cheese, crackers, and whatever fruit or veggies are hanging around.
- Perfect for School Lunches : No heating required, no messy sauces, and everything stays separate so nothing gets soggy by lunchtime.
- Totally Customizable : Swap the ham for turkey, the cheddar for Swiss, the crackers for pretzels — it bends to whatever you have on hand.
- Zero Food Waste : Use up those last few slices of deli meat and that lonely block of cheese before they go bad.
What makes this different from every other lunchbox idea out there? It’s the balance. You get protein from the ham and cheese, carbs from the crackers, fiber from the fruit, and a little crunch from the veggies. My kids actually eat everything — and that’s coming from a mom who once found a full sandwich hidden under a couch cushion. If you’re looking for more creative lunch ideas, these creamy hidden veggie cream cheese sandwich pinwheels are another winner in our rotation.
What Ingredients You Will Need
This recipe uses simple, everyday ingredients to build a lunch that feels special without requiring a special trip to the store. The beauty is in the combination — salty ham, creamy cheese, crunchy crackers, and sweet fruit all play off each other perfectly.
- Ham slices (4-6 slices per lunchbox): I prefer honey ham or black forest ham from the deli counter. Pre-packaged works fine too, just look for lower sodium options if that matters to you. For a different twist, try leftover roasted ham from a holiday meal — it’s even better.
- Cheese (2-3 slices or 1/2 cup cubed): Cheddar, Colby Jack, or Swiss all work beautifully. I usually buy a block and cut it into small cubes or use a crinkle cutter for fun shapes. Pre-sliced is fine in a pinch, but cubed cheese feels more special to kids.
- Whole wheat crackers (about 10-12 crackers): Ritz, wheat thins, or even pretzel crisps work great. I like the mini versions because they fit perfectly in bento compartments. Gluten-free options work just as well.
- Fresh fruit (1/2 cup): Grapes (halved lengthwise for little ones), apple slices tossed in lemon juice to prevent browning, strawberries, blueberries, or melon balls. Whatever is in season or on sale.
- Crunchy vegetables (1/4 cup): Cucumber rounds, baby carrots, snap peas, or bell pepper strips. I cut these into small, manageable pieces so they’re easy to eat.
- Optional extras : A small treat like a few dark chocolate chips, a mini cookie, or a handful of these easy no-bake peanut butter oat energy bites for a little sweetness.
Ingredient Tips from My Kitchen
I’ve learned a few tricks the hard way. Roll the ham slices into tight pinwheels instead of laying them flat — they’re easier for little fingers to grab and feel more like a treat. For the cheese, I use a small cookie cutter to make star or heart shapes on special occasions. It takes thirty seconds and makes my kids actually excited about lunch. And if you’re packing this in the morning, put the crackers in a separate small container or baggie so they stay crunchy. Nobody likes soggy crackers.
Equipment Needed
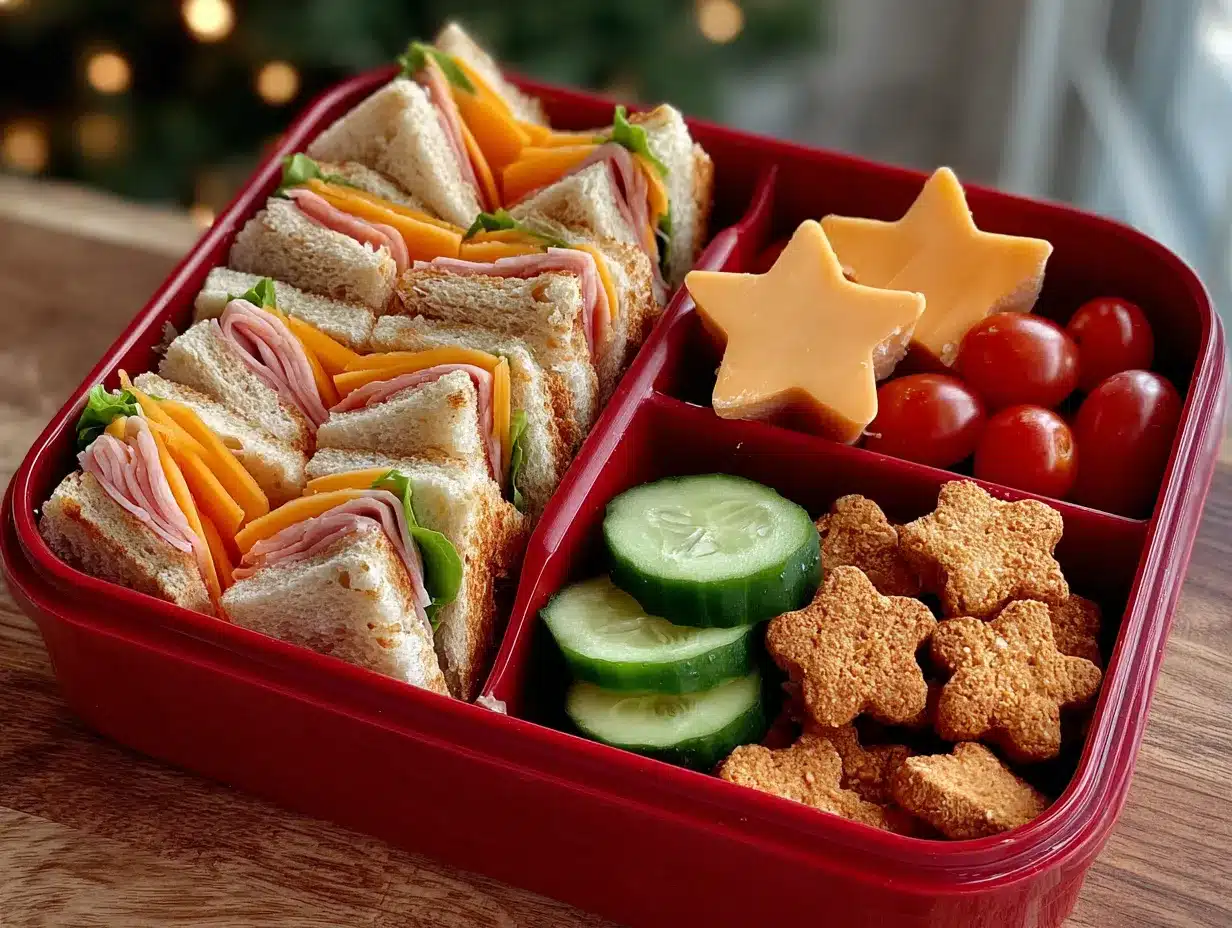
- Bento box or compartmentalized lunch container : The key is separate sections to keep everything from touching. I use a three-compartment box, but any divided container works.
- Small cookie cutters (optional): For cutting cheese into fun shapes. Star, heart, and dinosaur shapes are big hits in our house.
- Crinkle cutter (optional): Makes cucumber and carrot slices look more appealing. Kids eat with their eyes first.
- Small containers or silicone muffin cups : For separating crackers from moist ingredients if your bento box doesn’t have enough dividers.
- Sharp knife and cutting board : For slicing fruit and vegetables safely.
- Lunchbox ice pack : Keeps everything cold until lunchtime, especially important if you’re using cheese and lunch meat.
You don’t need anything fancy. I started with a basic plastic container with snap-on dividers from the grocery store. It worked perfectly for months before I invested in a proper bento box. If you’re just starting out, a muffin tin works surprisingly well — just put each component in a different cup.
Preparation Method
- Wash and prep your produce first (2 minutes). Rinse the grapes, cucumber, and any other fresh ingredients. Pat them dry thoroughly — excess moisture makes everything soggy. Cut grapes lengthwise for kids under 5 to prevent choking. Slice cucumbers into rounds or sticks.
- Cut the cheese (1 minute). Slice your cheese into small cubes, about 1/2-inch pieces. If you’re using cookie cutters, press them firmly into the cheese slices to make fun shapes. I usually make 6-8 cubes or 3-4 shapes per lunchbox.
- Roll the ham (1 minute). Take each ham slice and roll it tightly from one end to the other. For smaller kids, cut each roll in half crosswise so they’re bite-sized. You can also fold the ham into quarters if rolling feels like too much effort — it works just fine.
- Portion the crackers (30 seconds). Count out 10-12 crackers and place them in their own compartment or a small baggie. If your bento box has a tight seal, you can put them directly in the main compartment — just make sure they’re not touching any moist ingredients.
- Arrange everything in the bento box (2 minutes). Place the ham rolls in one section, cheese in another, crackers in a third, and fruit and veggies in the remaining spaces. Try to create visual contrast — red grapes next to green cucumber, orange cheese next to brown crackers. It sounds silly, but the color variety makes the lunchbox more appealing.
- Add any extras (30 seconds). Tuck in a small treat, a napkin, or a silly note if you’re feeling extra. My kids love finding a sticker or a joke written on a sticky note.
- Pack with an ice pack (10 seconds). Place a small ice pack on top of the closed bento box or in the lunch bag. This keeps the ham and cheese safe until lunchtime, especially during warmer months.
Pro Tips for Morning Assembly
I prep everything the night before and store the components separately in the fridge. In the morning, I just grab, assemble, and pack — it takes under three minutes. The ham and cheese actually taste better when they’ve been chilled overnight together. If you’re packing this for a picnic or day out, assemble it right before you leave and keep it in a cooler bag. And here’s a trick I learned from my sister: freeze a small water bottle overnight and use it as both an ice pack and a cold drink at lunchtime. Two birds, one stone.
Cooking Tips & Techniques
After making hundreds of these lunchboxes, I’ve collected some wisdom worth sharing. First, invest in a good bento box with a tight seal. I went through three cheap ones before finding one that doesn’t leak and keeps compartments truly separate. The difference is night and day — no more crackers tasting like fruit.
Second, variety in texture is your secret weapon. Kids get bored with the same soft foods day after day. That’s why I always include something crunchy (crackers or cucumber), something soft (cheese or ham), and something juicy (grapes or berries). The contrast keeps them interested and actually eating.
Third, involve your kids in the packing process. I let my youngest choose between grapes and apple slices, and my older one decides on the cracker shape. They’re way more likely to eat something they helped choose. I learned this after a week of untouched lunches — turns out my daughter hates green grapes but loves red ones. Who knew?
One mistake I made early on was overpacking. A bento box should look full but not overflowing. Kids get overwhelmed by too much food, and it ends up in the trash. Stick to reasonable portions — about 4-6 ham rolls, 6-8 cheese cubes, 10-12 crackers, and a handful of fruit and veggies. You can always add more if they’re still hungry.
For hot days, freeze the grapes overnight. They thaw by lunchtime and keep everything else cold. It’s a game changer for summer lunches without needing an extra ice pack. For more lunchbox inspiration, check out this fresh rainbow veggie hummus bento box lunch for a vegetarian option that’s just as easy.
Variations & Adaptations
- Turkey and Swiss version : Swap the ham for sliced turkey and the cheddar for Swiss cheese. Add a smear of honey mustard on the ham rolls for extra flavor. My husband steals these from the fridge for his work lunches.
- Vegetarian option : Replace the ham with extra cheese cubes, hard-boiled egg slices, or hummus in a small container. Add roasted chickpeas for crunch and protein. My vegetarian niece loves this version with cream cheese and cucumber pinwheels.
- Gluten-free adaptation : Use gluten-free crackers or rice cakes instead of regular crackers. Most deli meats and cheeses are naturally gluten-free, but always check labels to be safe.
- Low-carb version for adults : Skip the crackers and add extra vegetables like celery sticks, cherry tomatoes, and bell pepper strips. Use thick-cut ham and extra cheese for staying power.
- Holiday themed : Use red and green grapes for Christmas, heart-shaped cheese for Valentine’s Day, or orange cheese cubes with black olives for Halloween. It takes two extra minutes and makes the lunchbox feel festive.
I’ve tried all of these variations, and the turkey and Swiss version is my personal favorite for adult lunches. It feels more grown-up while still being just as easy to pack. My kids, of course, prefer the original ham and cheddar — they’re creatures of habit.
Serving & Storage Suggestions
Serve this bento lunchbox cold, straight from the refrigerator. The ham and cheese taste best when they’re nicely chilled, and the crackers stay perfectly crunchy. If you’re packing it for a school lunch, assemble it the night before and store it in the fridge overnight. The flavors meld together slightly, and everything stays fresh.
For storage, keep the assembled bento box in the refrigerator for up to 24 hours. If you’re prepping for the week, store the components separately — ham in one container, cheese in another, crackers in a baggie — and assemble each morning. The fruit should be cut fresh or stored with a squeeze of lemon juice to prevent browning.
This lunchbox doesn’t freeze well because of the fresh vegetables and crackers. However, you can freeze the ham and cheese separately for up to a month. Thaw them overnight in the fridge before assembling.
Reheating isn’t necessary — this is a cold lunch through and through. If you want a warm option, try these easy mini turkey and cream cheese pinwheel roll-ups instead.
Flavors actually improve slightly after a few hours in the fridge. The ham absorbs a bit of moisture from the cheese, and the whole thing comes together into something more than the sum of its parts. It’s one of those rare lunches that tastes better at noon than it did at 7 AM.
Nutritional Information & Benefits
This bento lunchbox provides a balanced meal with protein, healthy fats, complex carbohydrates, and fiber. Here’s an approximate breakdown for one serving:
| Nutrient | Amount |
|---|---|
| Calories | 380-420 |
| Protein | 22-25g |
| Carbohydrates | 35-40g |
| Fiber | 4-6g |
| Fat | 16-20g |
| Sodium | 800-1000mg |
The ham provides high-quality protein for sustained energy throughout the school day. Cheese offers calcium for growing bones and teeth, plus a little fat to keep kids feeling full. Whole wheat crackers contribute complex carbohydrates and fiber, while fresh fruit and vegetables deliver vitamins, antioxidants, and hydration.
For lower sodium, choose low-sodium ham and skip the salt on any vegetables. For extra fiber, add a handful of baby spinach or swap the crackers for whole grain options. This lunchbox naturally fits a balanced diet and can be adjusted for various dietary needs — just swap out ingredients as needed.
Conclusion
This easy ham and cheese bento lunchbox has honestly changed our weekday mornings. No more scrambling, no more complaints, no more uneaten sandwiches coming home in the lunchbox. It’s simple, it’s fast, and it actually gets eaten — which is really all any of us are asking for.
I love that this recipe adapts to whatever you have in your fridge. Some weeks it’s ham and cheddar, other weeks it’s turkey and Swiss, and sometimes it’s whatever random cheese cubes and crackers are left in the pantry. It always works. It always makes my kids happy. And it always takes less than ten minutes.
Try it this week and see what your family thinks. Swap in your kids’ favorite fruits and vegetables, use whatever cheese is on sale, and make it your own. I’d love to hear how it goes — drop a comment below and tell me what variations your family loved. And if you’re looking for more easy lunch ideas, check out our easy Mediterranean chicken meal prep bowls for a grown-up lunch option that’s just as simple to pack. Happy lunching!
Frequently Asked Questions
Can I make this bento lunchbox the night before?
Absolutely! Assemble everything the night before and store it in the refrigerator. The flavors actually meld together nicely overnight. Just keep the crackers in a separate baggie until morning to maintain their crunch.
How long will this lunchbox stay fresh in a lunch bag?
With a good ice pack, this lunchbox stays fresh for about 4-5 hours. The ham and cheese are fine at cool temperatures, and the fruit and vegetables hold up well. Avoid packing it without an ice pack during warm weather.
What if my child doesn’t like ham?
No problem at all! Swap the ham for turkey, chicken, roast beef, or even hard-boiled eggs. You can also use cream cheese roll-ups or hummus for a vegetarian option. The formula stays the same — just change the protein.
Can I add a warm component to this lunchbox?
This bento is designed to be eaten cold, but you can absolutely add a small thermos of warm soup, mac and cheese, or leftovers on the side. Just keep the warm items separate from the cold components to maintain food safety.
How do I keep crackers from getting soggy?
The trick is separation. Use a bento box with tight compartments, or put crackers in a small baggie or silicone cup. Make sure fruit and vegetables are patted completely dry before packing. Moisture is the enemy of crunchy crackers.
Pin This Recipe!
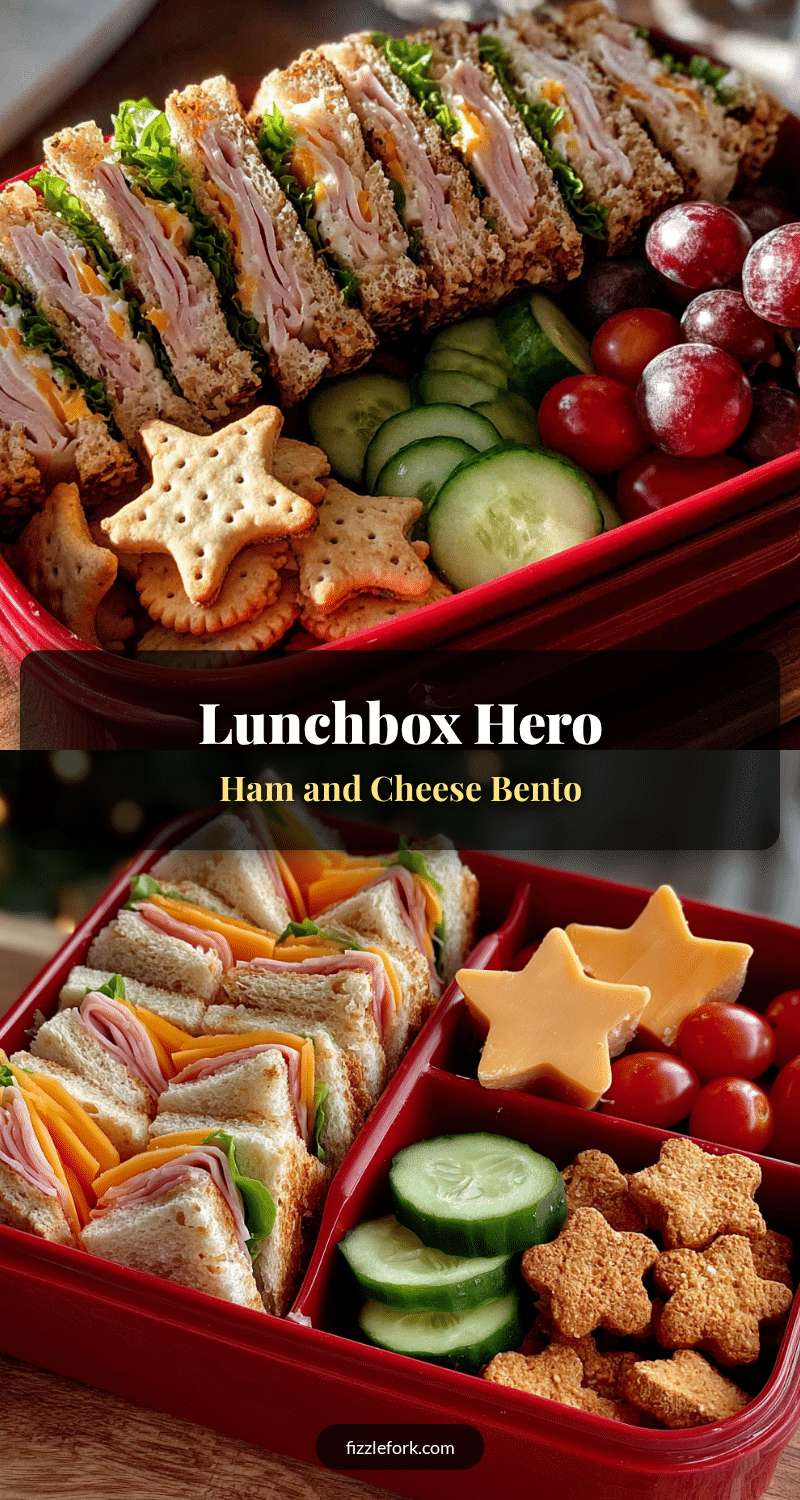
Easy Ham and Cheese Bento Lunchbox: Best Kid-Friendly Recipe

A quick, no-cook bento lunchbox with ham, cheese, crackers, fruit, and veggies that takes 10 minutes to assemble. Perfect for school lunches, it’s balanced, kid-approved, and totally customizable.
- Prep Time: 10 minutes
- Cook Time: 0 minutes
- Total Time: 10 minutes
- Yield: 1 serving 1x
- Category: Lunch
- Cuisine: American
Ingredients
- 4–6 slices ham (honey ham or black forest ham)
- 2–3 slices or 1/2 cup cubed cheese (cheddar, Colby Jack, or Swiss)
- 10–12 whole wheat crackers (Ritz, wheat thins, or pretzel crisps)
- 1/2 cup fresh fruit (grapes, apple slices, strawberries, blueberries, or melon balls)
- 1/4 cup crunchy vegetables (cucumber rounds, baby carrots, snap peas, or bell pepper strips)
- Optional: small treat (dark chocolate chips, mini cookie, or energy bites)
Instructions
- Wash and prep produce: rinse grapes, cucumber, and other fresh ingredients. Pat dry thoroughly. Cut grapes lengthwise for kids under 5. Slice cucumbers into rounds or sticks.
- Cut cheese into small 1/2-inch cubes or use cookie cutters to make fun shapes. Make 6-8 cubes or 3-4 shapes per lunchbox.
- Roll each ham slice tightly from one end to the other. For smaller kids, cut each roll in half crosswise. Alternatively, fold ham into quarters.
- Portion 10-12 crackers into a separate compartment or small baggie to keep them crunchy.
- Arrange everything in the bento box: ham rolls in one section, cheese in another, crackers in a third, and fruit and veggies in remaining spaces. Create visual contrast with colors.
- Add any extras like a small treat, napkin, or note.
- Pack with an ice pack on top or in the lunch bag to keep everything cold until lunchtime.
Notes
Prep everything the night before and store components separately in the fridge for quick morning assembly (under 3 minutes). Roll ham into pinwheels for easier grabbing. Use cookie cutters for cheese shapes to make lunch more fun. Keep crackers separate from moist ingredients to prevent sogginess. Freeze grapes overnight to use as a natural ice pack. Involve kids in choosing ingredients to increase likelihood they’ll eat everything.
Nutrition
- Serving Size: 1 bento lunchbox
- Calories: 380420
- Sodium: 8001000
- Fat: 1620
- Carbohydrates: 3540
- Fiber: 46
- Protein: 2225
Keywords: bento lunchbox, ham and cheese, kid-friendly lunch, school lunch, easy lunch, no-cook lunch, bento box recipe


